Big Al's Revenge: an OEM+, MTech1 325e restoration

Collapse
X
 
  • Time
  • Show
Clear All
new posts

  • Albie325
    replied
    Made some good progress since getting back from CT:

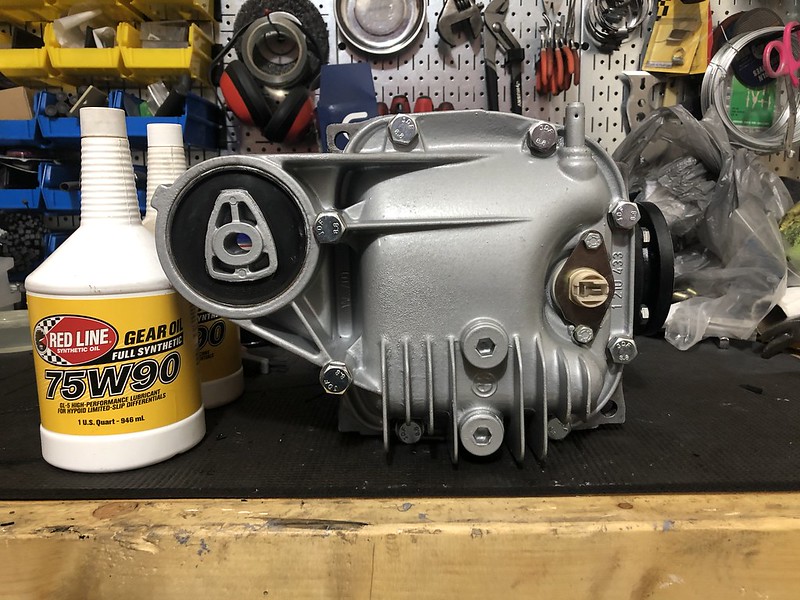
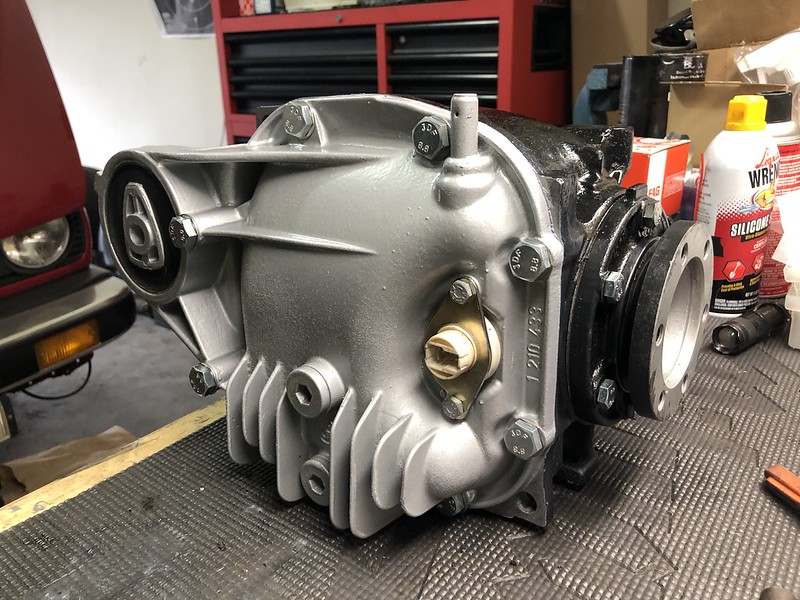
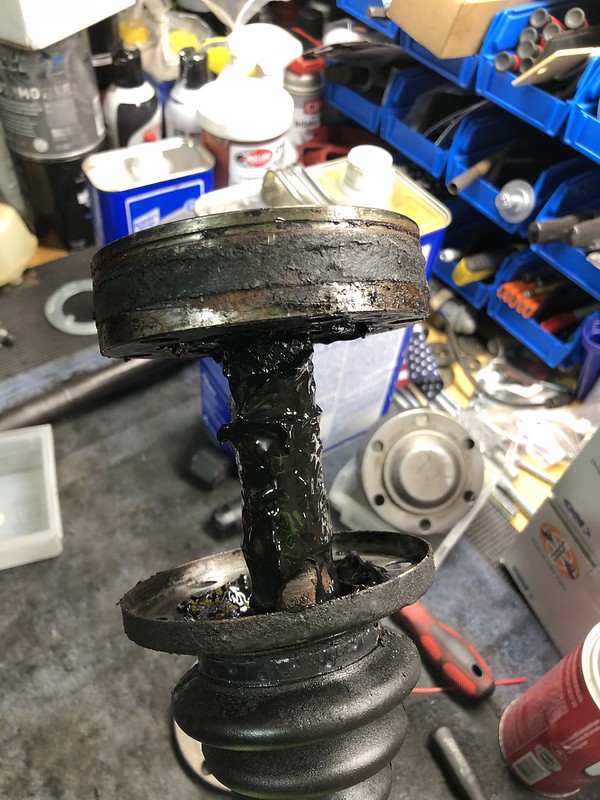
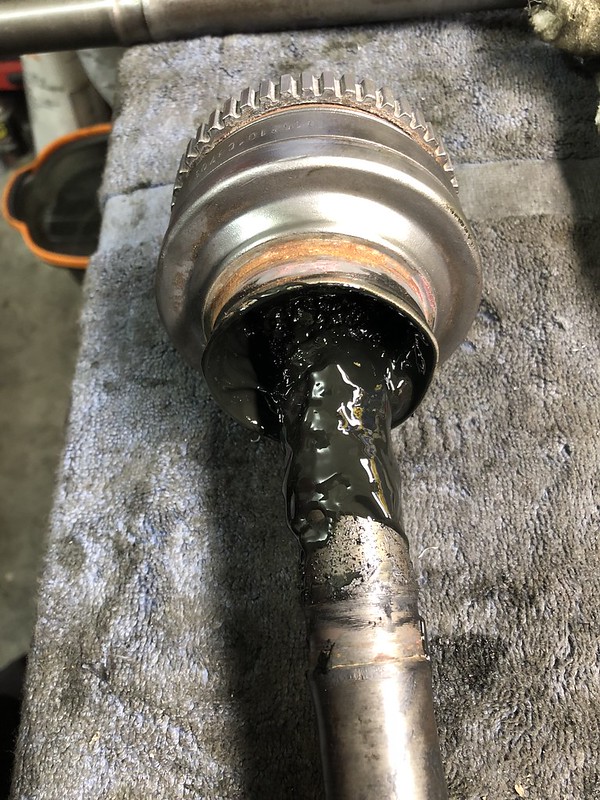
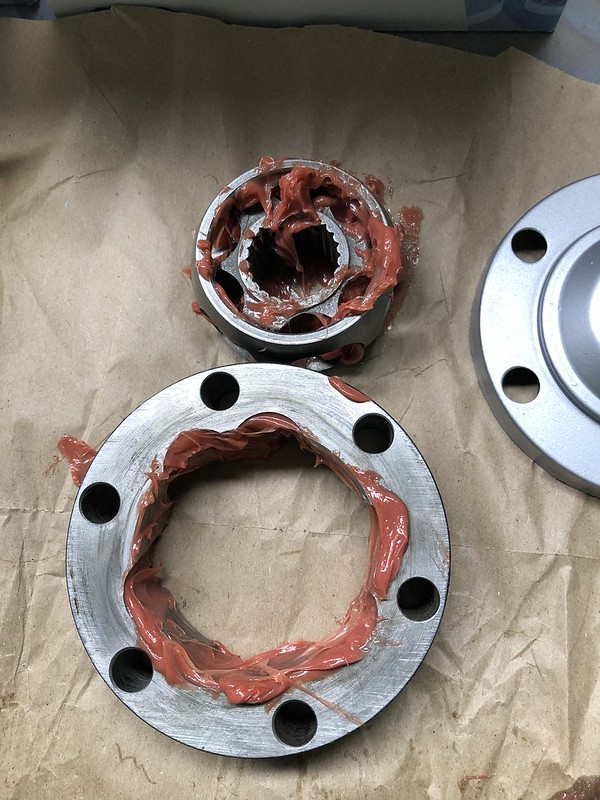
    Re-sealed the diff with Permatex Ultra:


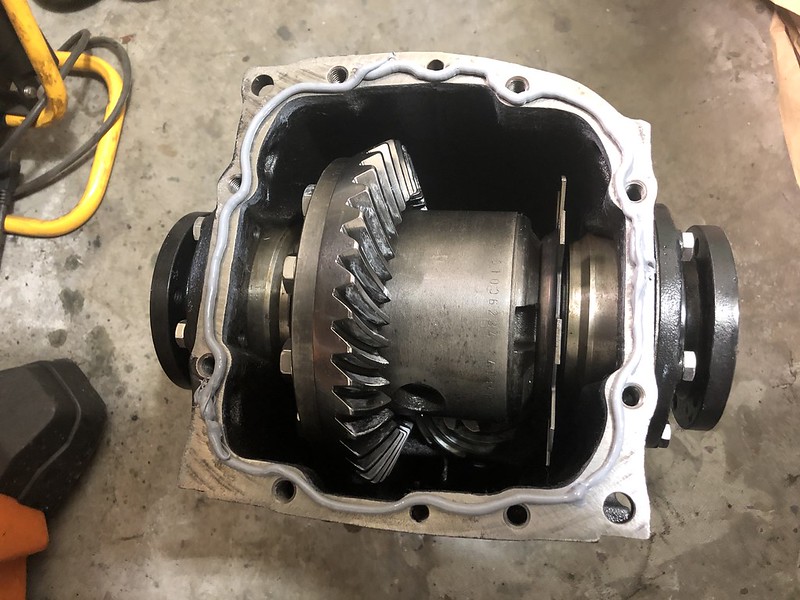
    I had a paper gasket as well but decided to forego it after a bunch of reading. If it ends up leaking I can always use it.

    Hand tightened the nuts and got a nice bead to squeeze out all around, then waited an hour to torque down.


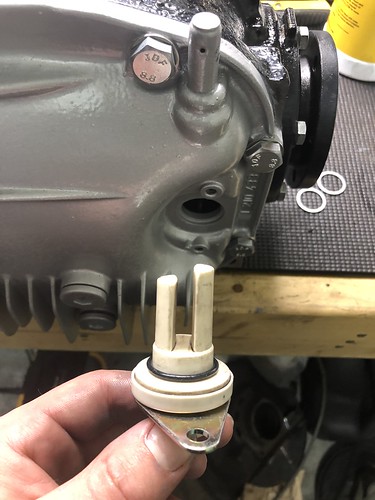
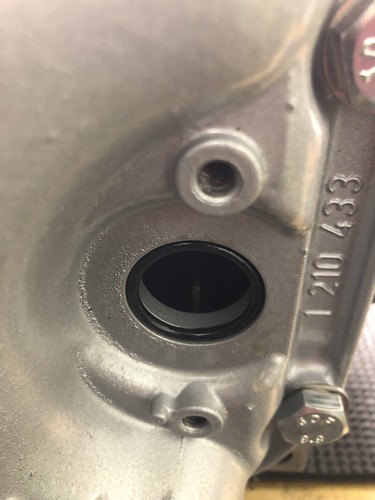
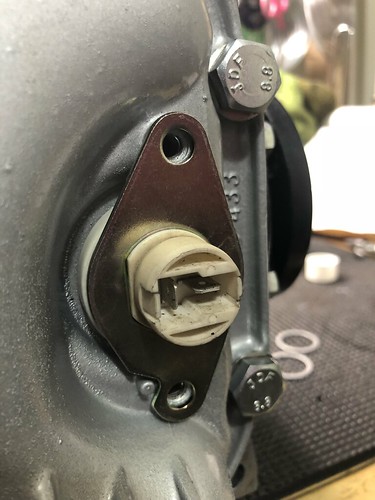
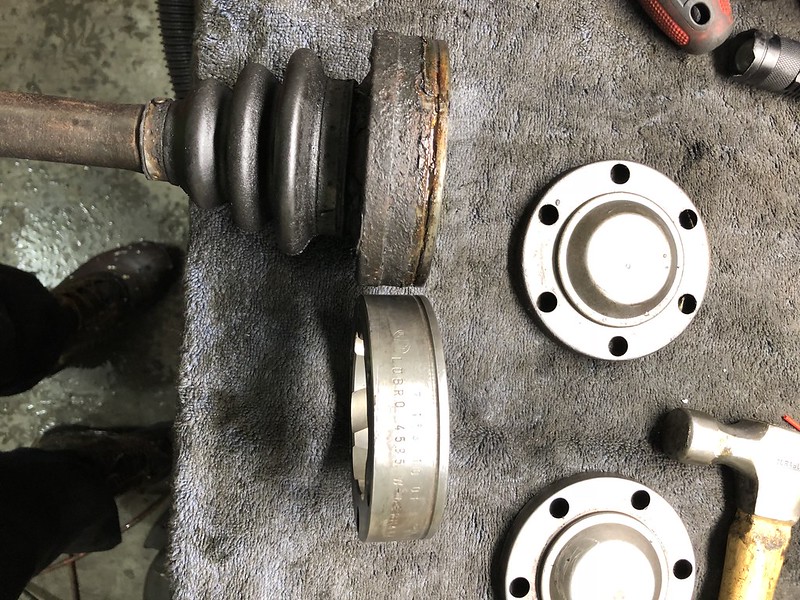
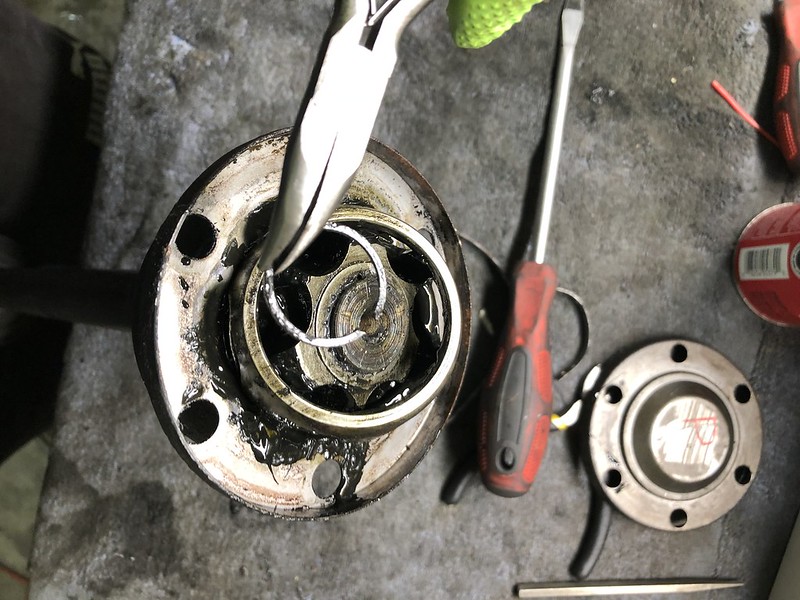
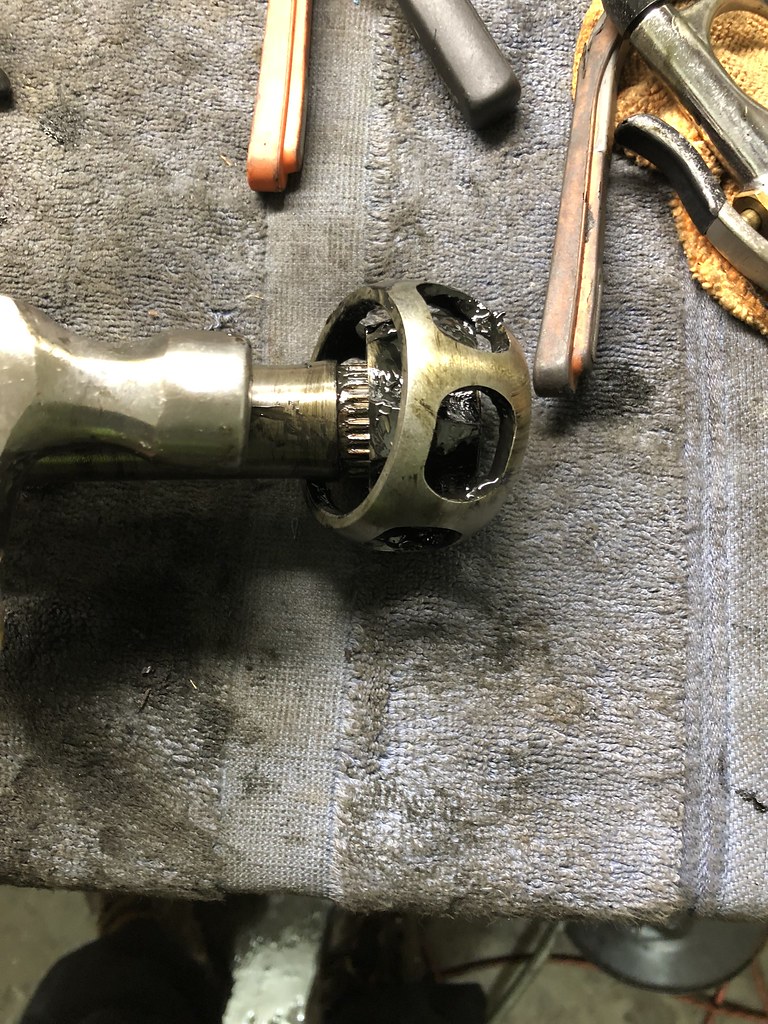
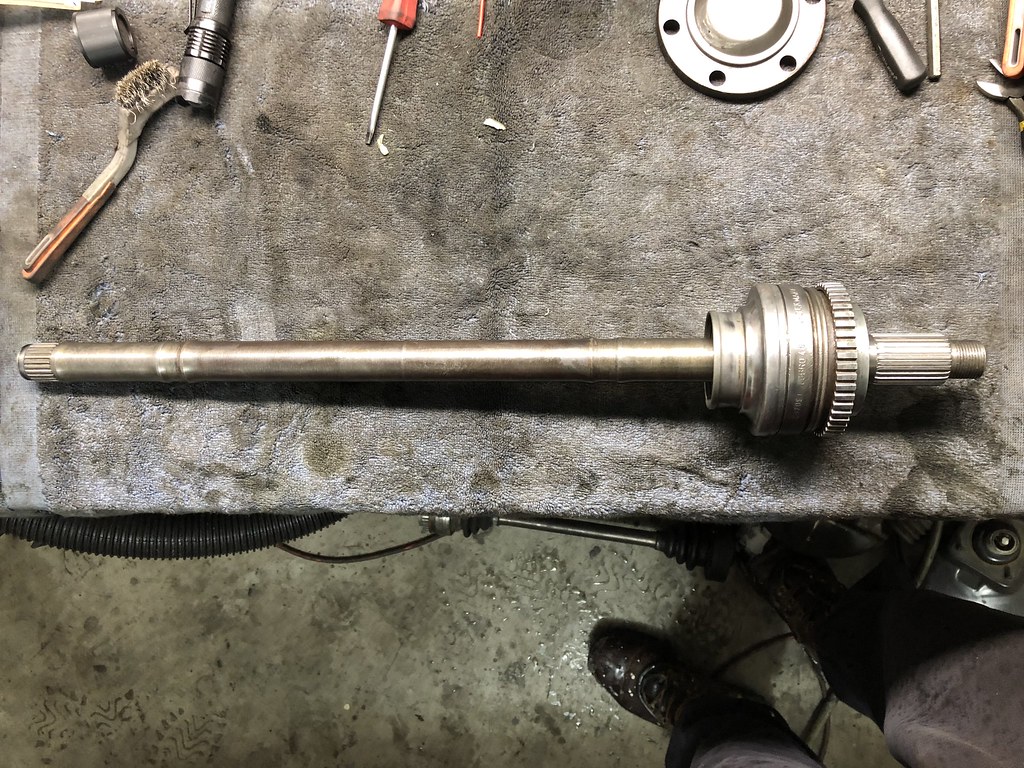
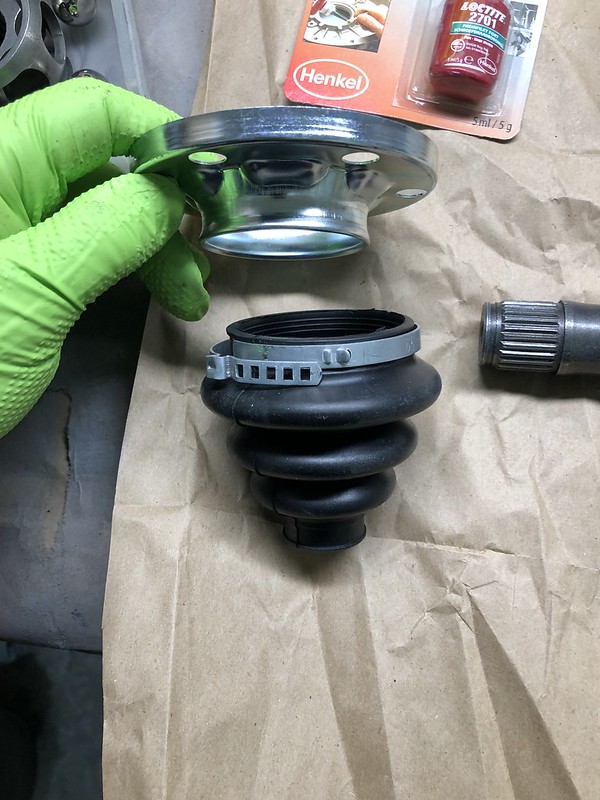
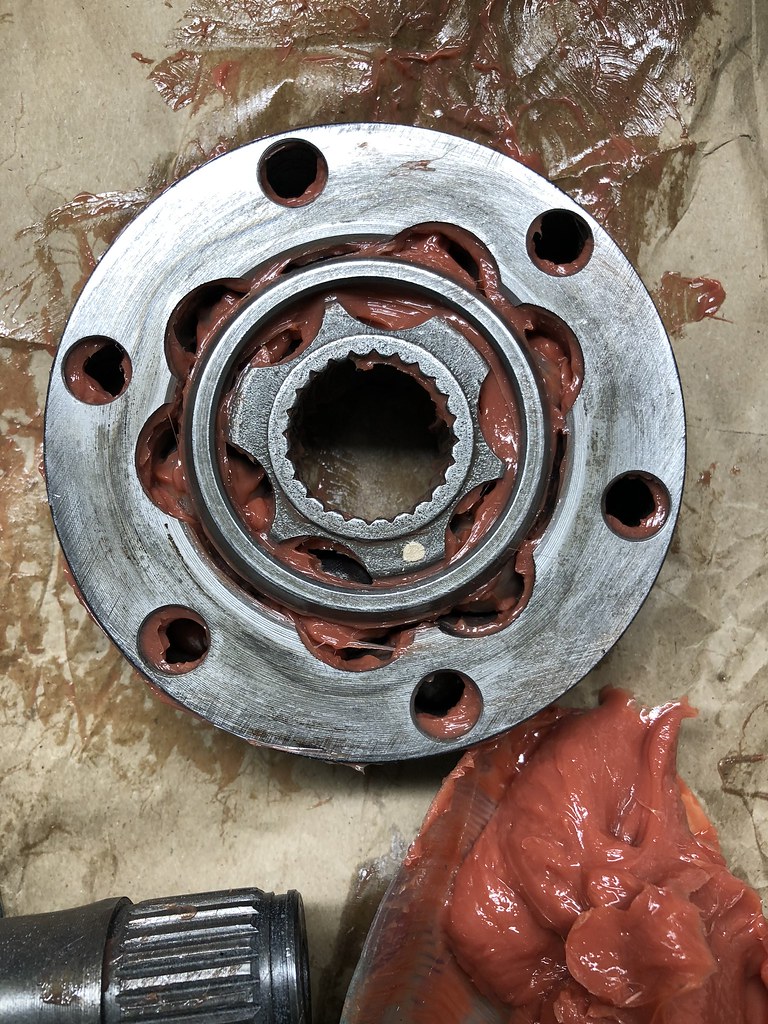
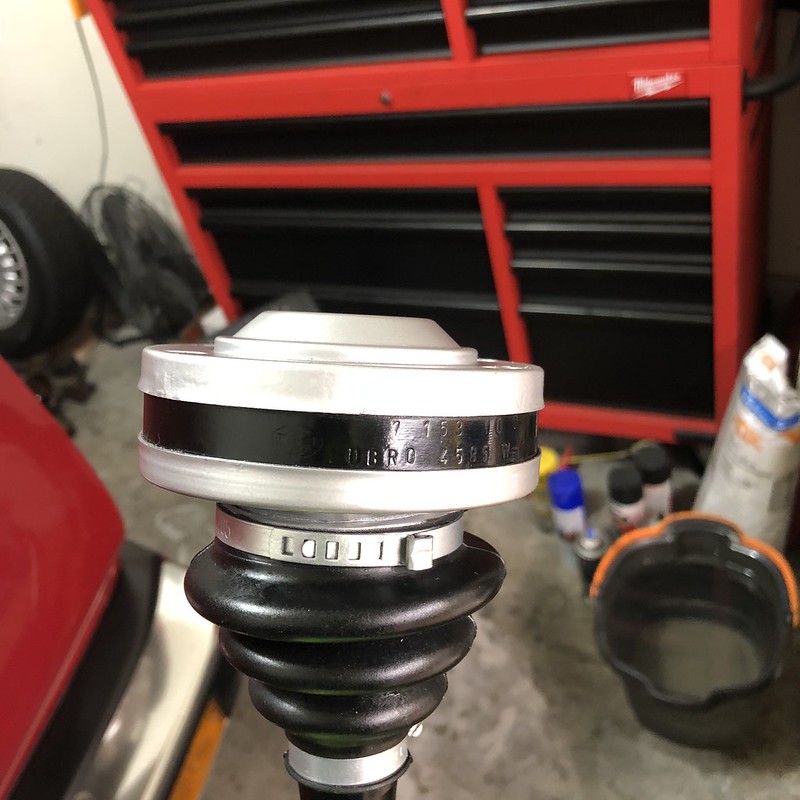
    I waited til the next day to fill it with Redline 75w90. Also replaced the speed sensor, the longer end goes towards the outside of the diff. When you put the securing plate back on you'll see it can only go on one way. Also, don't forget the speed sensor O-ring:


    It was easier to put the O-ring in the hole first and slide the sensor in than to seat it on the sensor and try to get it on:


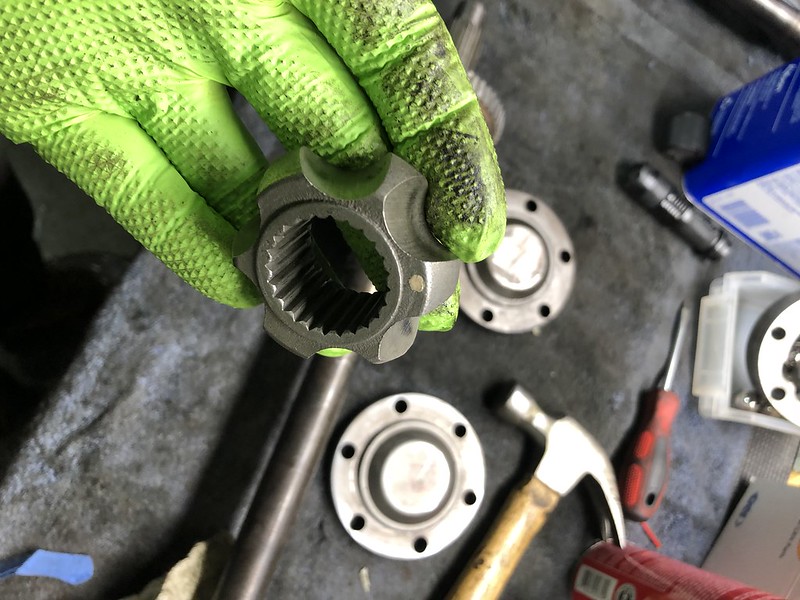
    Flat side of the sensor aligns with the flat part of the lock plate:


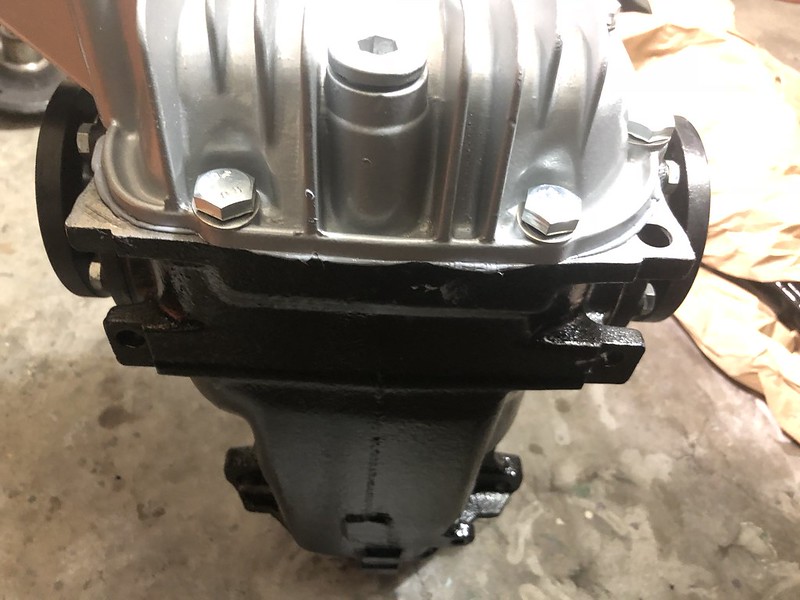
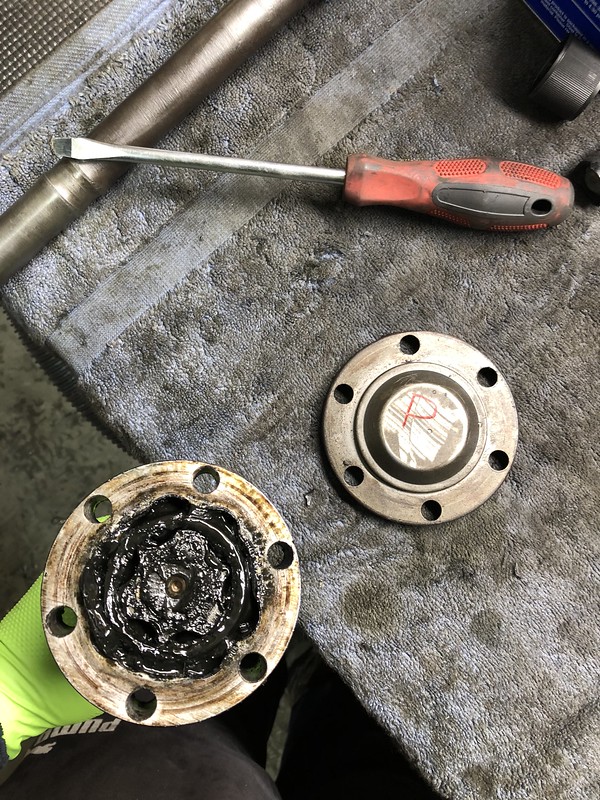
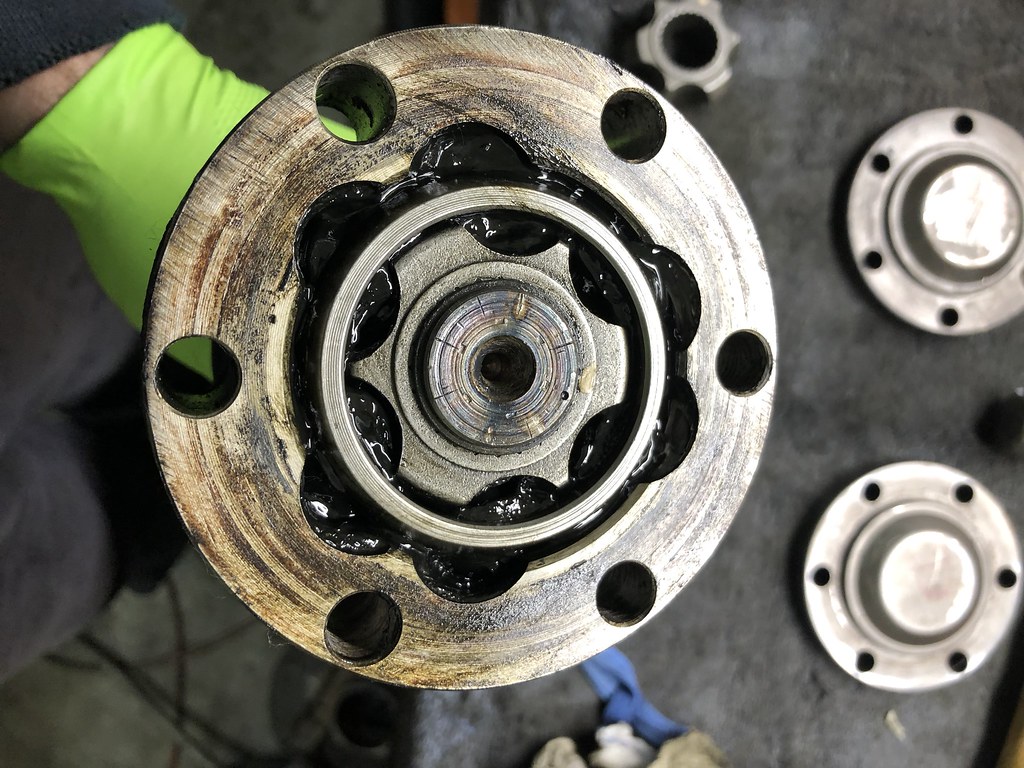
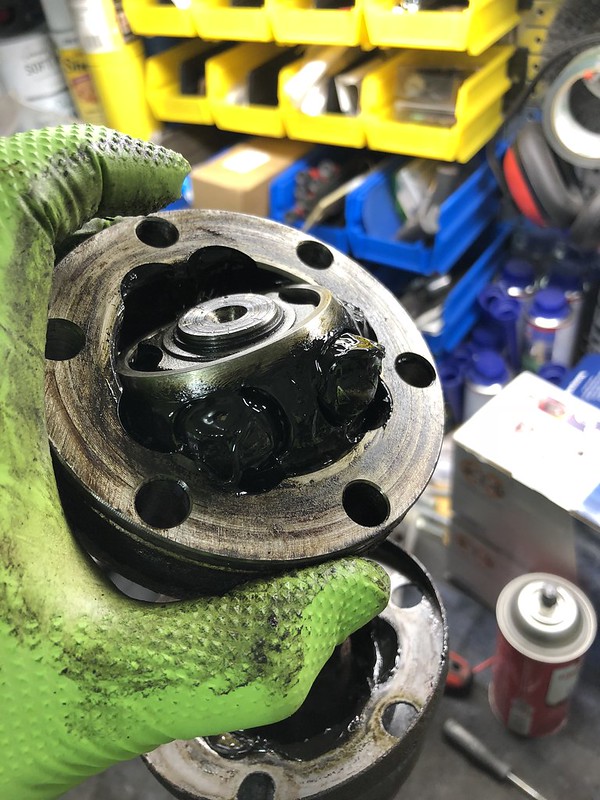
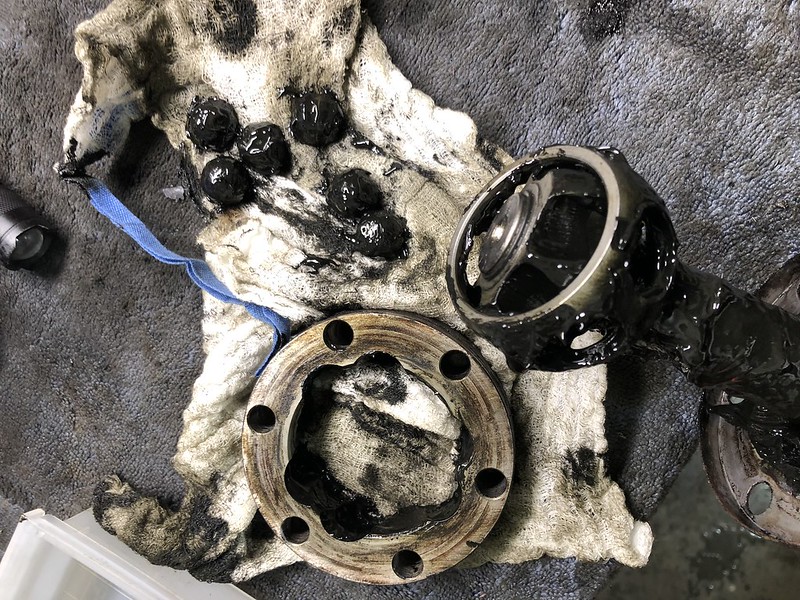
    Not quite Jordan level sparkly, but looks really good. I didn't have a 3.25lsd tag, if anyone has one lemme know.


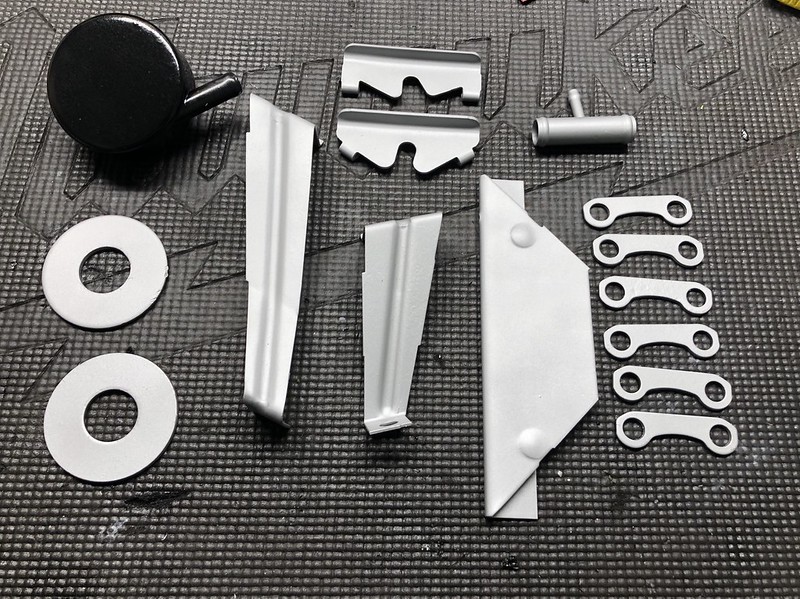
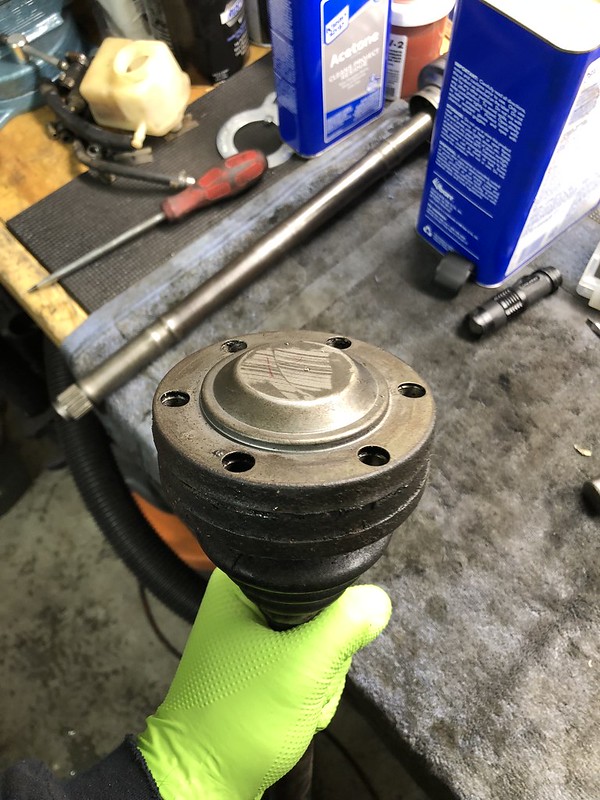
    Also got to work refinishing some random hardware, still have a box full of stuff to get done before reassembly:

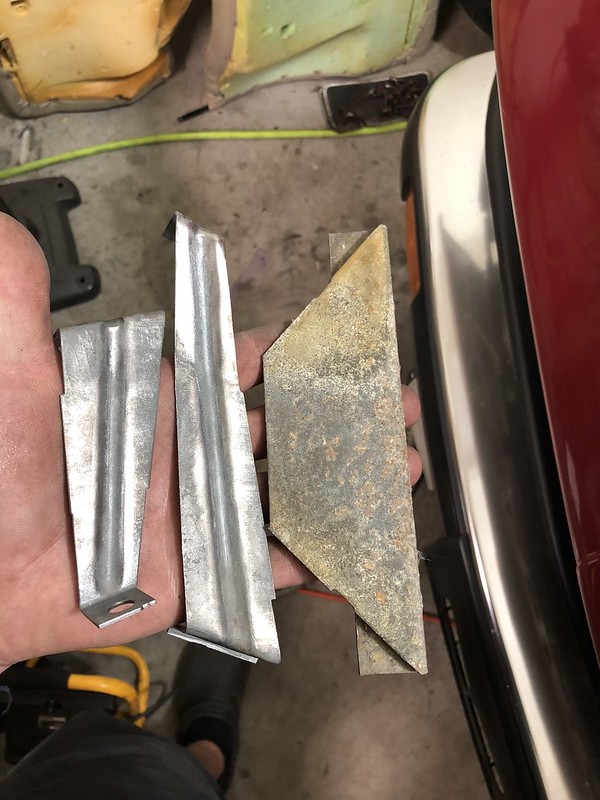
    Fuel tank mounting brackets before and after cleaning:


    And after paint:


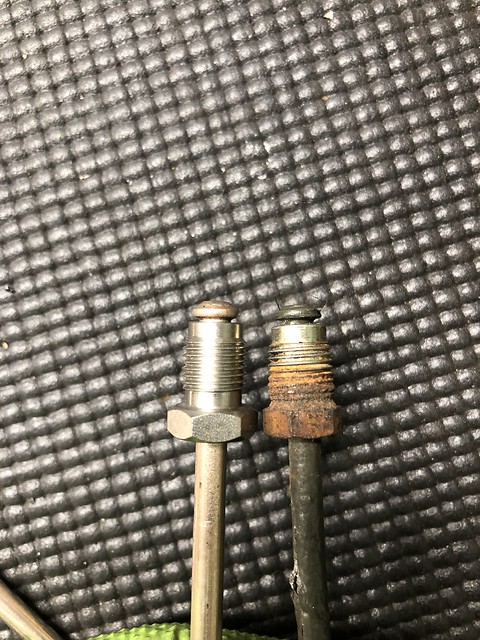
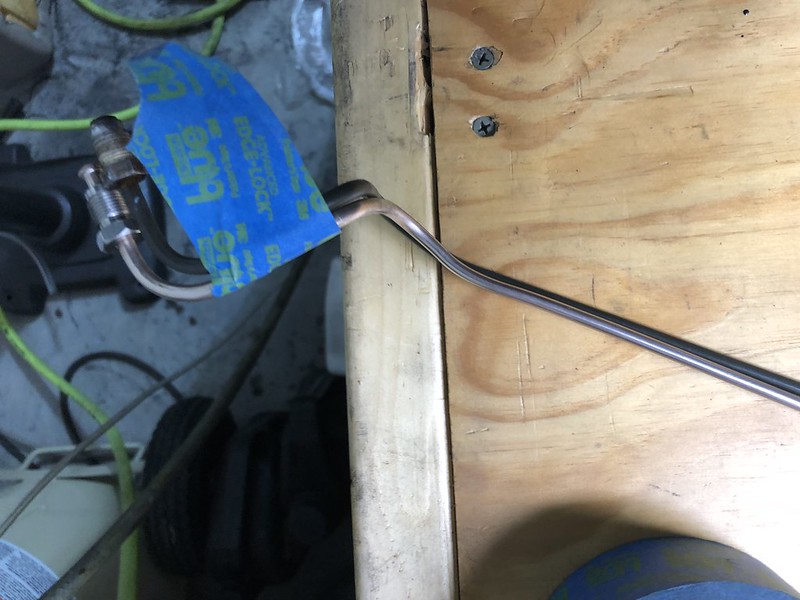
    Also got to work bending my new hard brake lines. I found this article helpful:
    Many people are not aware that there are different types of brake lines, different types of flares (with different unions), different materials that they can be made of, or how to cut, and flare them properly. The most common brake line size for most BMW's and particularly true for E30's is 4.75mm with a M10


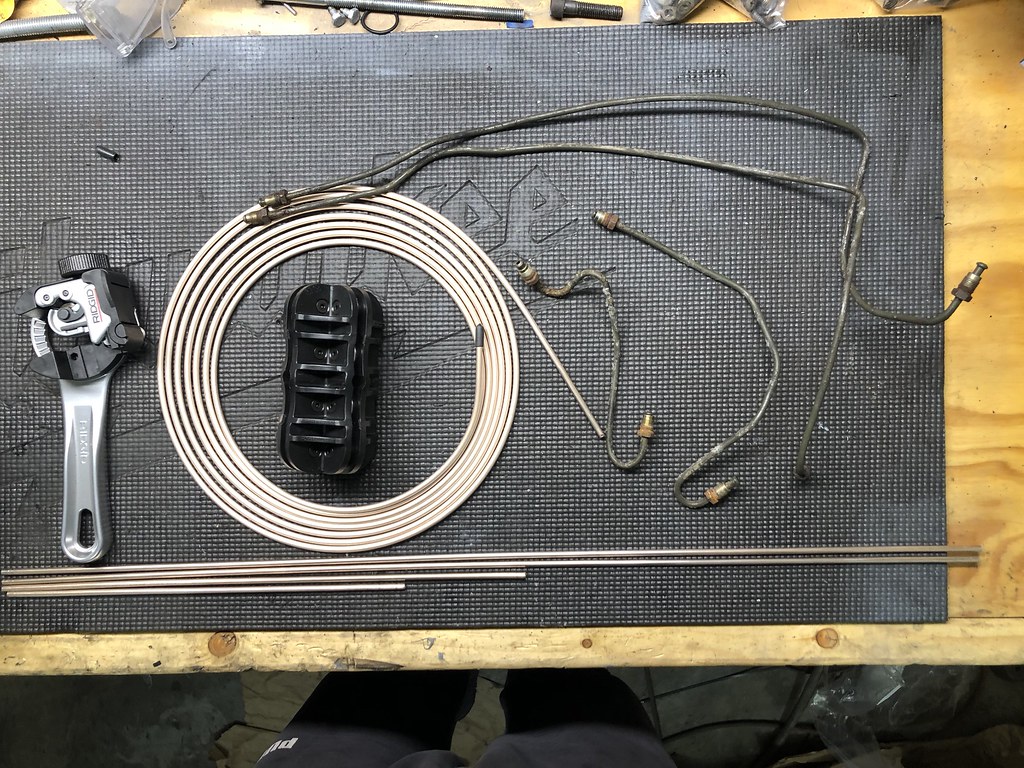
    I ended up using Cu/Ni brake line. It was really easy to work with and made really good bubble flares. It's also supposed the be the most corrosion resistant, which judging by my old lines was the main goal. I bought the Eastwood flare tool as well as the line straightener, they were a little pricey but made life easy. I ended up buying a total of 25 feet of line and still had a few feet left over. You'll also need a total of 10 3/16" 10x1mm bubble flare fittings.


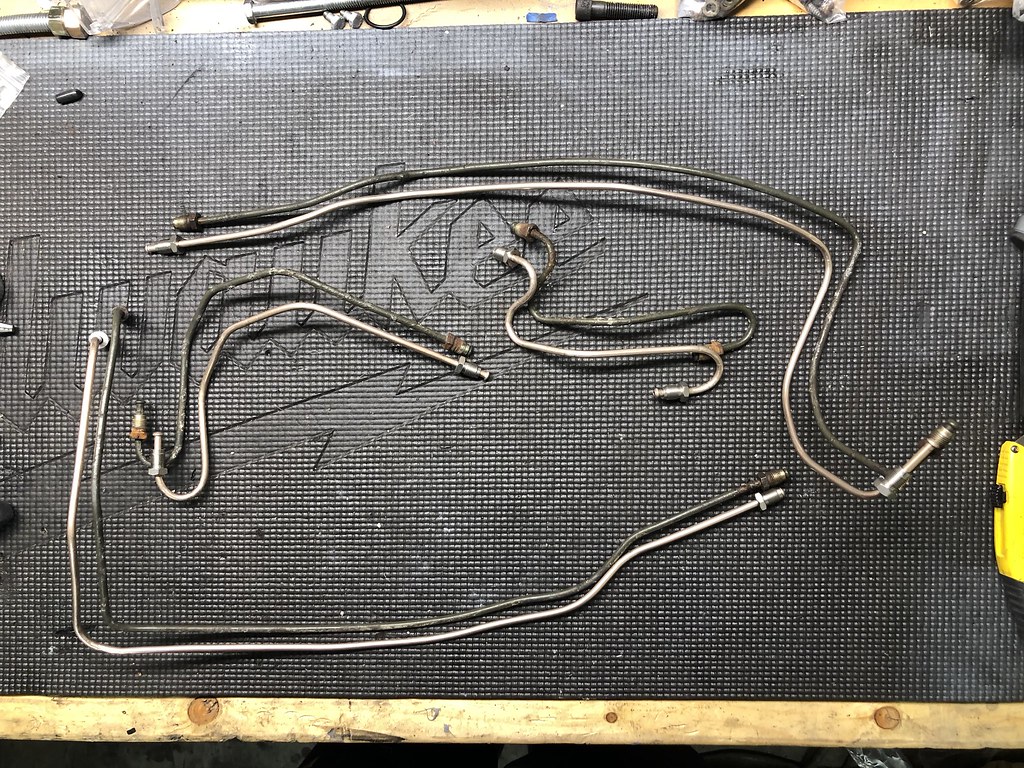
    I was really happy with how they turned out. For the main line that runs the length of the car and connects the front to the rear T-connector, it was a little unwieldy to work with (120 inches of line in a tight rental garage was a stretch) and became hard to make the bends in the correct 3-D orientation. I'd make the correct bend in 2D left-to-right, but then the orientation would be off front to back. If you ever have to do it you'll see what I mean. I ended up taping the old line to the new and used that as a template to keep everything together and it worked well.


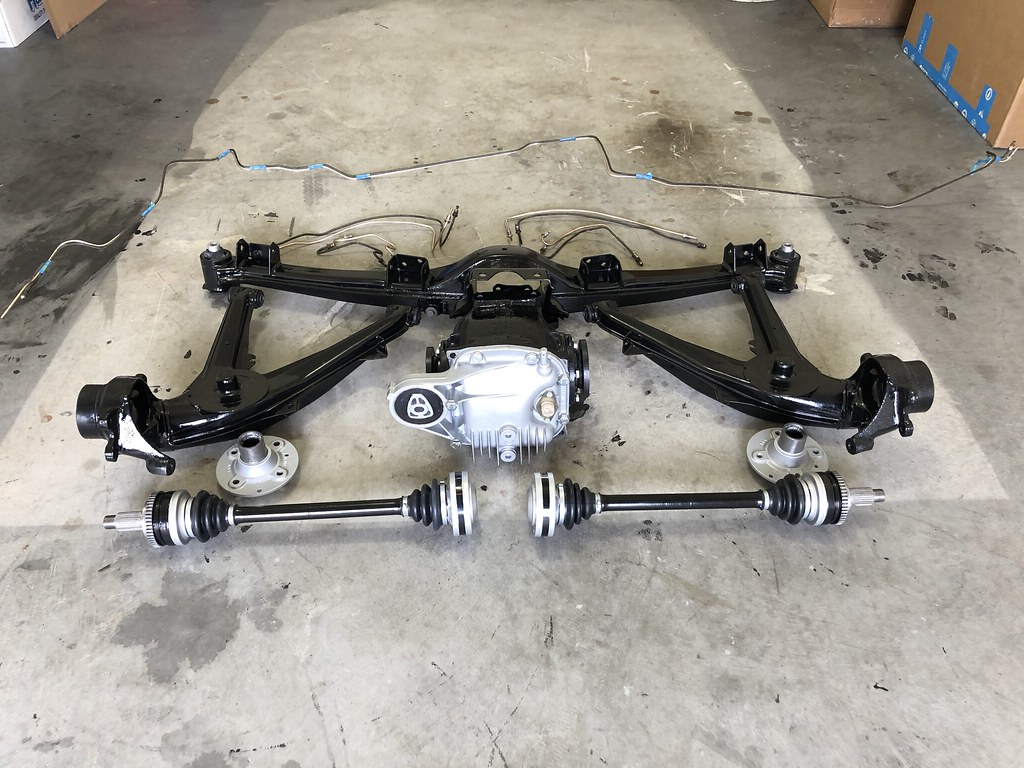
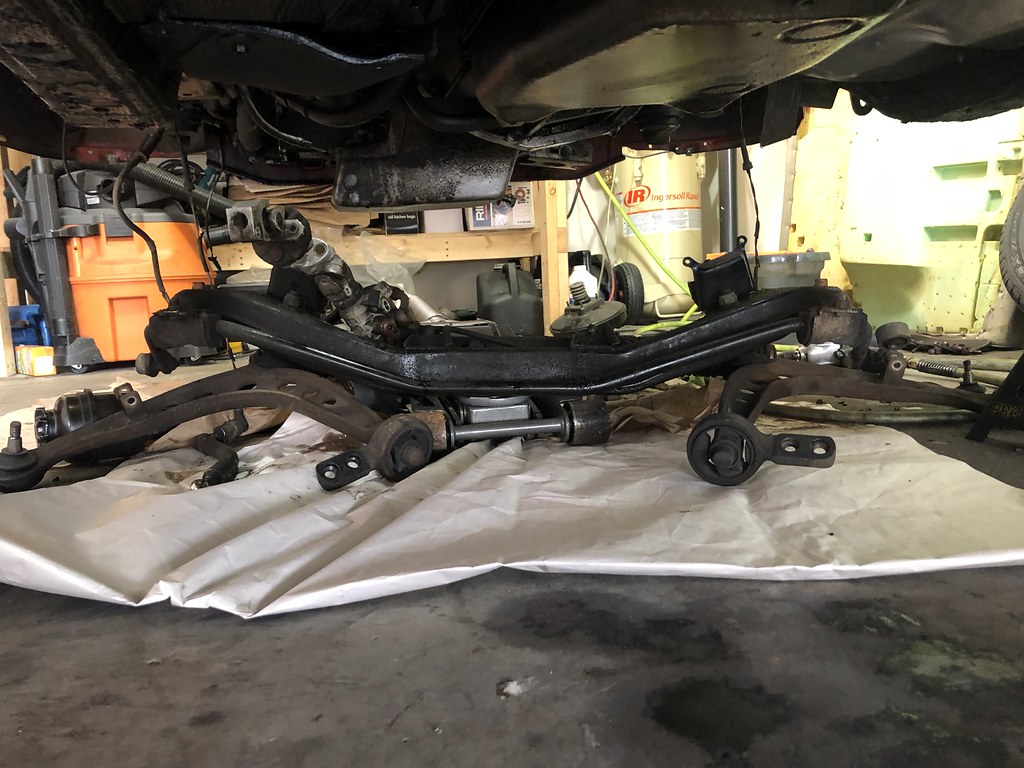
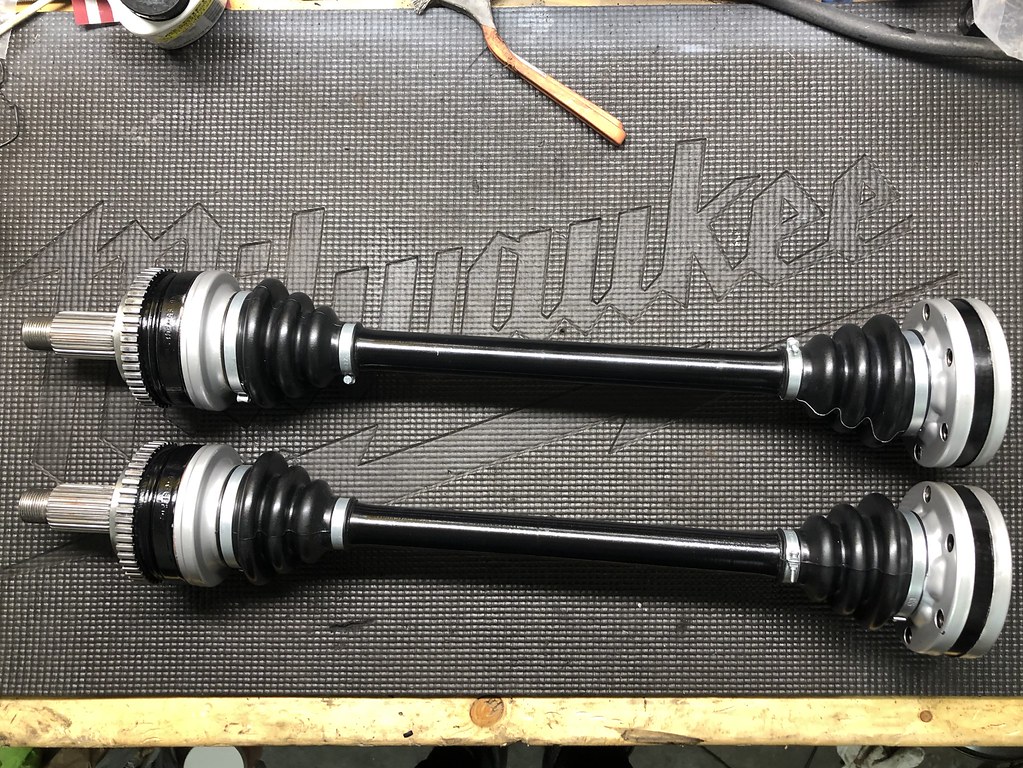
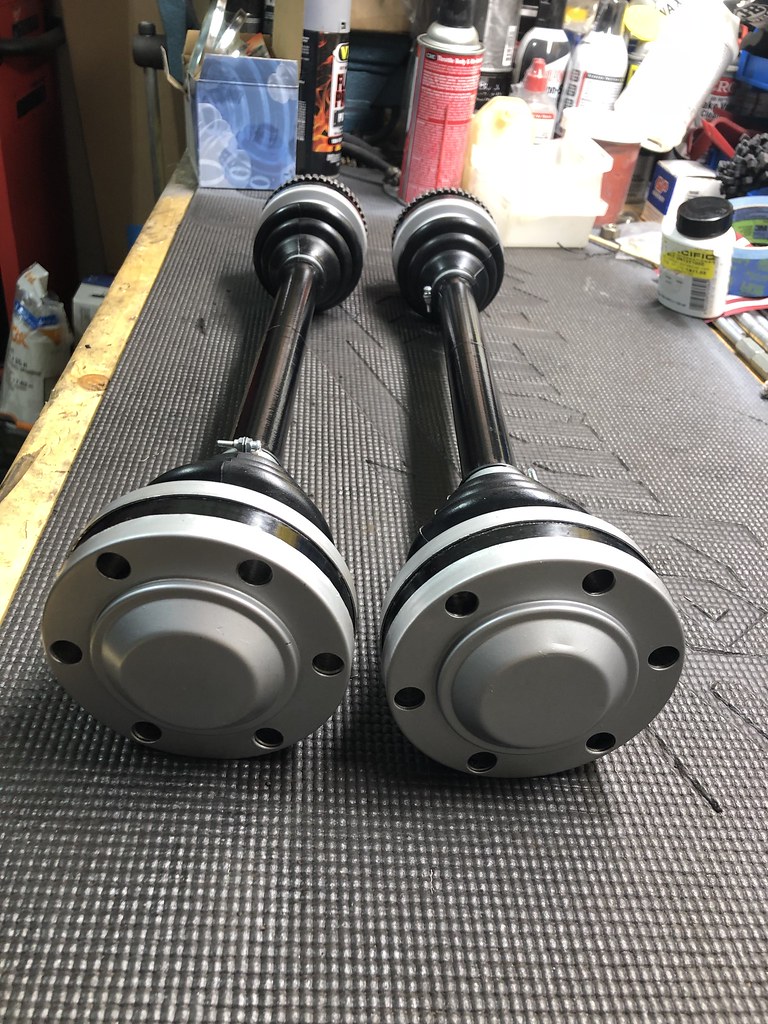
    I also got all my subframe/trailing arm bushings pressed in as well as the rear wheel bearings. All pretty much set to go back in once I get the dust shields painted, waiting on cleaning a few other parts so I can paint a bunch of stuff all in one shot:


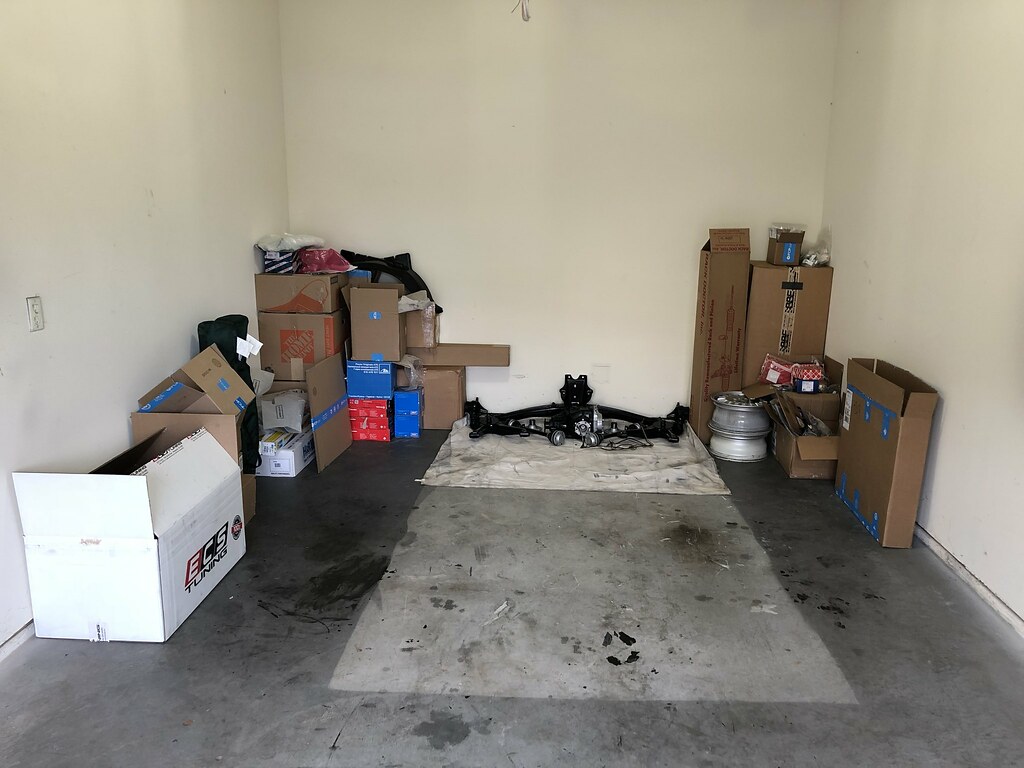
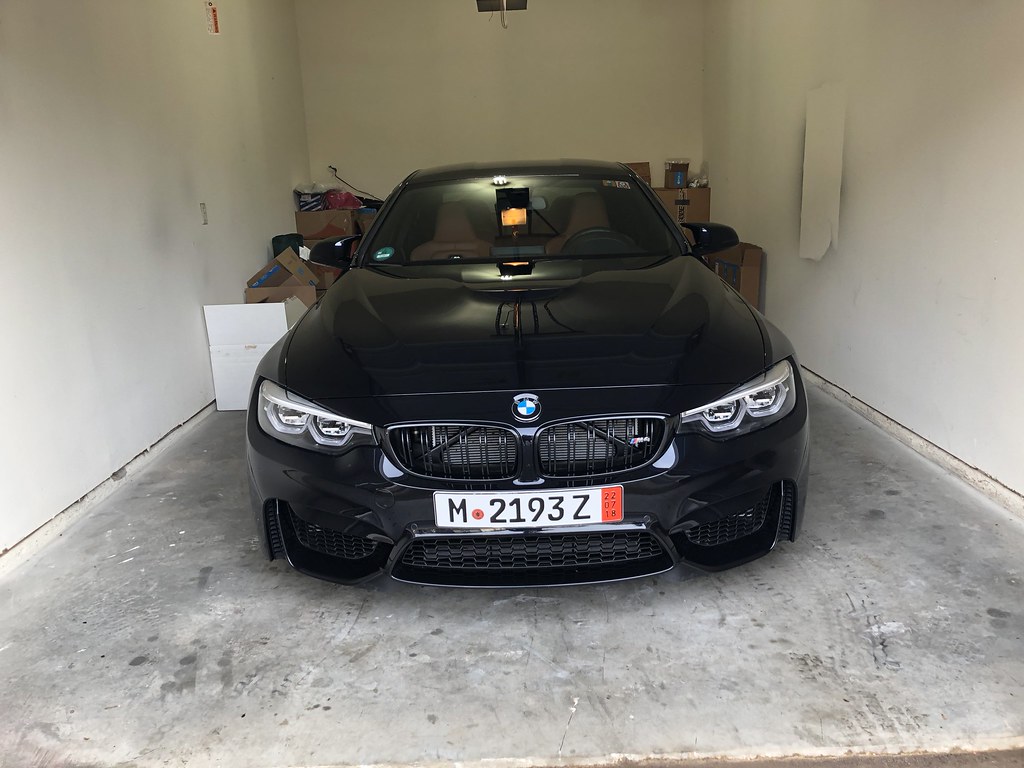
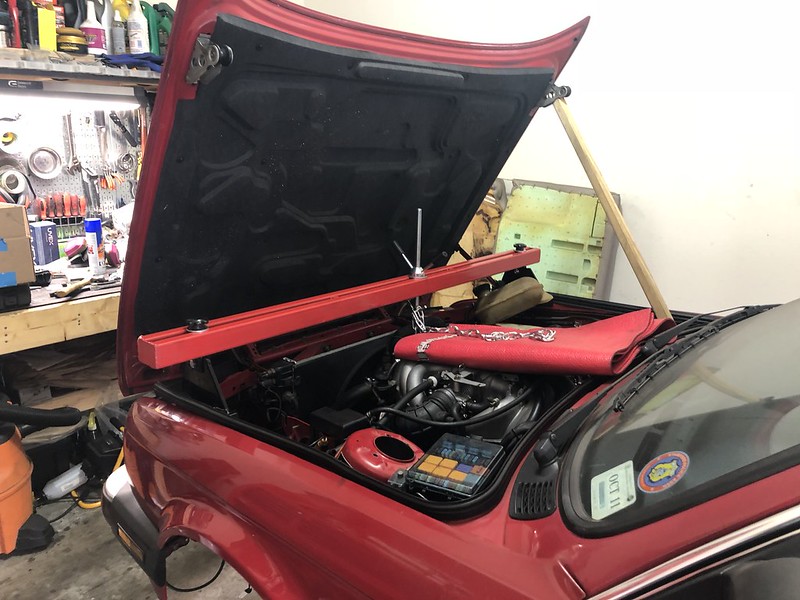
    I need to start reassembling soon, my (other) pride and joy is slowly getting squeezed out of the garage:


    Last, I took out the power steering pump and dropped the front subframe with the intent of also doing the oil pain gasket while it was off:


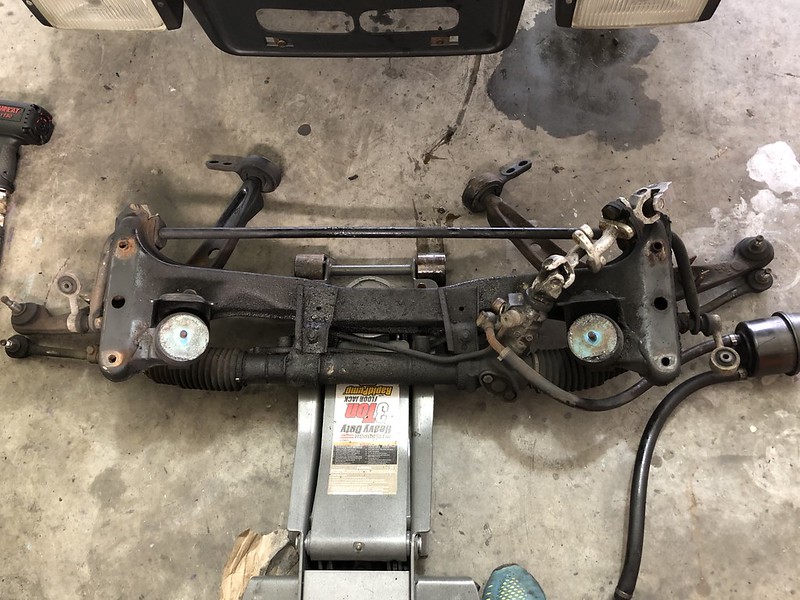
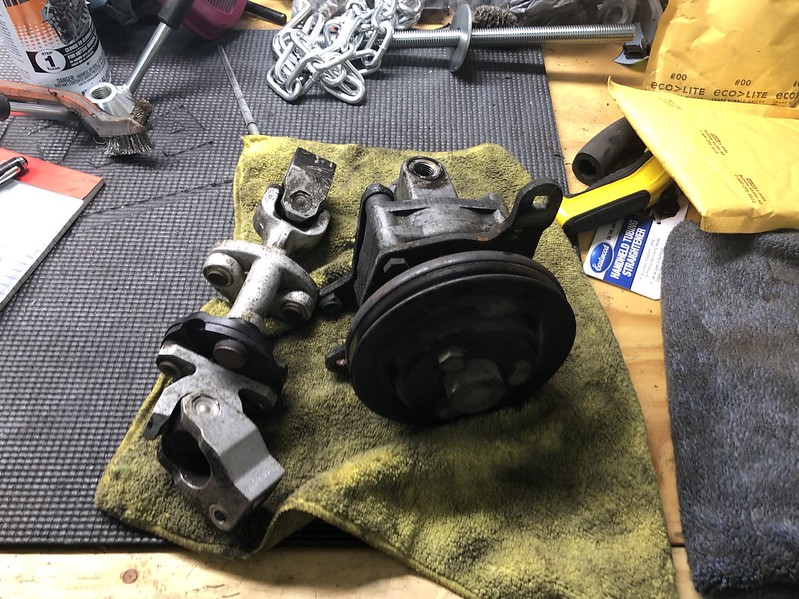
    Got everything disassembled:


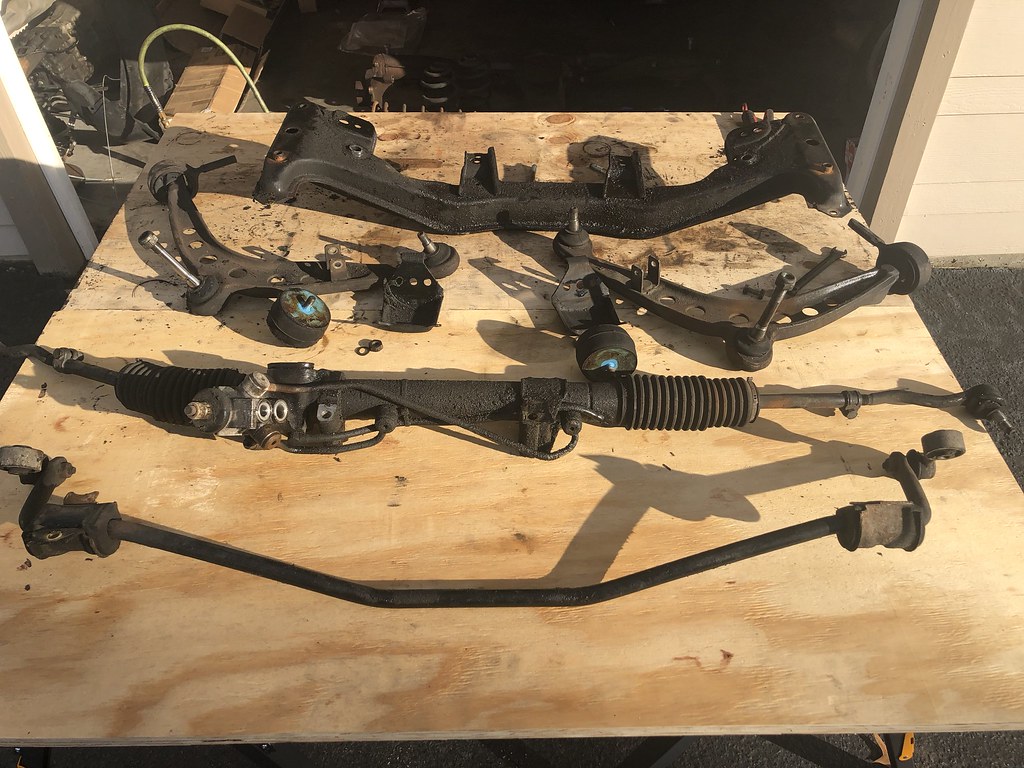
    Then got everything that will be reused degreased and ready for paint.

    Next I went to work on getting the oil pan out and hit a snag:


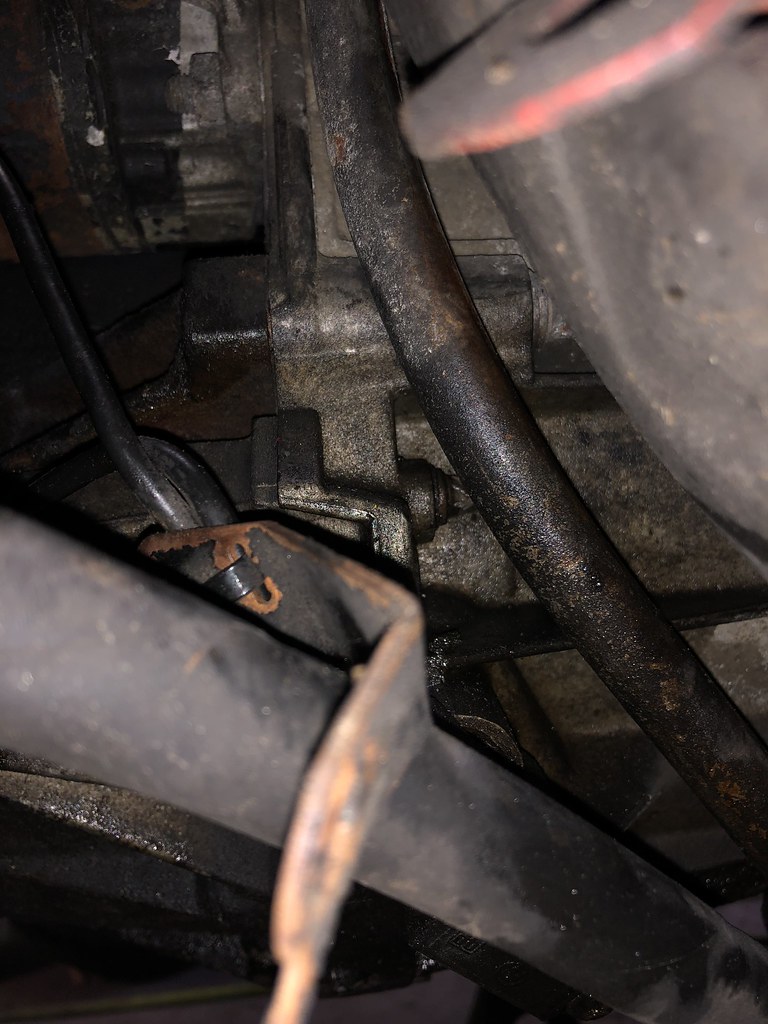
    That little e10 Torx bolt tucked way up behind all the autotragic coolant lines stripped. It was the last of 8 bolts to get the transmission reinforcement bracket off. Couldn't have been one of the other 7 completely accessible bolts, had to be the one tucked way the f*** back up there. I did everything I could to make sure the socket was seated all the way in, but with all the coolant lines in the way I must not have been all the way on. I tried an extractor but I need to tap it on to get it fully seated and just don't have the room to get a hammer in there. UGHHHHHHHH I was and still am PISSED. WTF. I could have had the oil pan out, cleaned, and resealed 10 times over in the time it took me to mess around trying to get that bolt off.

    With the trans lines out of the way and if I remove the mounts and drop the angle of the trans down a bit it wouldn't be tough to get to. I didn't want to have to remove all the lines and thus the transmission fluid, especially with a 5-speed swap planned. I guess I'll just have to wait until I do the swap and take down the front subframe again, which I didn't want to have to do. Removing the subframe actually wasn't all that bad, so oh well. Unless someone has any other suggestions, I'll just hold tight on the oil pan until then, not the biggest deal in the world.


    Happy New Year!

    Leave a comment:


  • Albie325
    replied
    Originally posted by jeenyus
    This is good to know. The IX has either over priced CVs or impossible to find. This will be a great resource for me in the future. Thank you!
    If you don't care about painting them, this can seriously be done in less than an hour. The OEM half shafts seem to be way better quality than any aftermarket options from what I've read, so as long as yours are in good shape it's a no-brainer to just refurb them for the cost of a couple boots and some grease.


    Glad to see the write up is helping. I figured if I haven't been able to find a good comprehensive DIY then I can't be the only one who'd want to see something written up. I also really appreciate when I look through a good build thread and the author puts in how he went about the process rather than just putting a before and after. Makes certain projects that seem untouchable a little more attainable.

    For the rest of this thread, I'll do my best to write up any project that I haven't found a really good DIY for, and if something has already been well-documented I'll attach the link for reference.

    Happy Holidays guys

    Leave a comment:


  • jeenyus
    replied
    Originally posted by Albie325
    To be honest it really wasn't all that bad, the longest part of it was waiting on the paint to dry. All told it probably took about 2-2.5 hours start to finish spread over two days, less if I wasn't taking a million pictures. Not a bad time investment given the results, I was really happy with them. Definitely not something that you'll be able to tell a difference driving, but nice to know that the axles are good to go for the foreseeable future and they look 10x better.
    This is good to know. The IX has either over priced CVs or impossible to find. This will be a great resource for me in the future. Thank you!

    Leave a comment:


  • Melon
    replied
    Nice work man! That's a great go-by for someone else looking to do the job.

    Leave a comment:


  • TheWipprSnappr
    replied
    Originally posted by Albie325

    While good in theory, every time I got the intake close to fitting the wrench would move and the tube would go flying. I gave it about 3 tries and said screw it. The next technique: small zip tie on the tubing spring:


    I just did my head gasket not too long ago and i took the intake off to make it a little more managable. Had a hell of a time getting this thing to stay in, really good idea with the zip tie, kicking myself for not thinking of this!

    Leave a comment:


  • Pootis
    replied
    Your attention to detail is something I strive for. Keep it coming

    Leave a comment:


  • Albie325
    replied
    Originally posted by ArtFoodBMW
    Was all the effort worth it on the axles?
    To be honest it really wasn't all that bad, the longest part of it was waiting on the paint to dry. All told it probably took about 2-2.5 hours start to finish spread over two days, less if I wasn't taking a million pictures. Not a bad time investment given the results, I was really happy with them. Definitely not something that you'll be able to tell a difference driving, but nice to know that the axles are good to go for the foreseeable future and they look 10x better.

    Leave a comment:


  • ArtFoodBMW
    replied
    Was all the effort worth it on the axles? It looks like it was worth it

    Leave a comment:


  • wworm
    replied
    holy moly sweet work. Very very clean

    Leave a comment:


  • paynemw
    replied
    Awesome work!

    Leave a comment:


  • Albie325
    replied
    Originally posted by agent
    This is awesome. The countdown to Vintage 2019 is on!
    Ughhh I was really looking forward to going this year but unfortunately I have a medical conference in Denver that week. I was so upset when I saw the dates were the same. I'll have to be more active with my local meet ups once I have the car on the ground again to make up for it.


    I ended up refurbishing my OEM half shafts rather than opting for replacements, they came out really well.

    I found these two DIY's very helpful, however the first one is from an e36 M3 rather than an e30. The orientation of the inner bearing carrier and a few small things were a little different but the general idea was the same.

    Bimmerforums is the preferred online BMW Forum and community for BMW owners. At Bimmerforums, you will find technical how-to information maintenance specifics audio advice wheel and tire combinations and model specific details not found anywhere else. Our professionals are here to help make sure you find the answers you need to your questions and our community is here to help other brainstorm ideas for the future.


    Where we started: I had already begun cleaning up the one on the right before I remembered to take a "before" pic


    Note the ring on the outer bearing carrier faces up (towards the differential) for the inner CV joint.

    I'm not sure if it was necessary, but I kept all parts labeled as driver/passenger to keep the same components together.


    Note the orientation of the inner bearing carrier to the outer bearing carrier:


    Fat part of the inner carrier aligns with the thinner part of the outer carrier. If you switch this around and align fat-fat, thin-thin the ball bearings will go in but the joint will bind and not be flexible.

    Remove the boot:


    Pop the circlip off:


    Wobble the outer carrier enough and the bearings will fall out, be ready to catch them before they run all over the garage floor and you waste half an hour finding them all:


    To get the inner bearing carrier off, I had to tap it with a hammer. It was on there pretty tight:


    Note the orientation of the ring on the inner carrier:
    The ringed side faced up (towards the dif)


    Flat side faces down (towards the axle):


    Now you can remove the outer CV joint boot (I just cut it off):


    Wipe as much of the grease out as you can with a rag. You can't disassemble the outer joint further to my knowledge. To clean it, I put it in the vice and filled it with paint thinner. I let it sit for a while as I worked on the other components, worked the joint around its range of motion then dumped it out. I refilled it and dumped it a few times, then finished up by spraying some brake clean in there followed by acetone to make sure it was all dry. Once the wash fluid came out mostly clear and I couldn't see any more grease I was happy with it:


    All clean:
    As Jordan mentioned in one of his build threads, it's nice to keep the original West Germany manufactured parts when possible


    Prepped for paint:


    I tried to scribe out the labeling so it didn't get lost in the layers of paint:


    For the grease, I used Redline CV-2. Here's everything you need for each half shaft. Unfortunately the GKN boot kits I bought didn't come with the cover plate for the inner CV joint so I had to be careful not to ruin the old ones. I ended up cleaning them off and painting them along with the boot plate with brake caliper paint. Looks pretty good actually.


    Start with the outer CV joint. Remove the boot plate as it's not needed:


    For the grease, I've read that it is possible to use too much. The Bentley manual recommends 80g which is the amount supplied in the kits. I just eyeballed the grease packet and scooped out a similar looking amount.


    Pack the outer CV cup with roughly 2/3 of the grease, working it down into the bearings and rotating the joint in and out until if feels nice and smooth. Then pack the boot with the rest of the grease. Be sure to keep the inner surface of the boot and the outer rim of the cup clean of grease:


    The Bentley recommends sealing the boot in place. One of the brands it mentions is Curil K2 which I happened to already have on hand in preparation for my oil pan gasket replacement:


    Clamp the boot on and wipe the excess:


    Pull the inner part of the boot down past the little collar and Curil the groove as well. Slide the inner boot back into the collar groove, a dab of Loctite on the boot clamp and tighten down.


    Outer CV joint done!


    For the inner CV, make sure to slide the inner clamp and boot on before you get started.

    The ringed (and white dotted) inner carrier with face up along with the grooved end of the outer carrier:


    Put a thin layer of grease on the bearings, inner carrier, cage, and outer carrier:


    Put the inner carrier into the cage and align the splines of the inner carrier as mentioned earlier with the splines on the outer carrier:


    Now start wobbling the inner carrier around as you put the ball bearings into the grooves of the cage. Once all 6 are in, you're ready to put the whole thing back on the splines of the axle. The Bentley says to put some Loctite (supplied with the kit) on the splines, be sure to clean the inner carrier splines of grease before putting it on the axle.


    Align the splines and tap the whole thing back in place with a hammer, then put your new circlip back on:


    Pack the inner surface of the carrier with grease along with the boot as before, working the grease down into the bearings. I wouldn't grease the outside yet as you'll end up wiping it off while you're working on getting the boot clamped on. Slide the boot up and make sure to align the holes in the boot plate with those on the carrier, it needs to be very close otherwise you can't get the bolts in. It's a pain in the ass to have to pop it back off and realign it. Coat the inner surface of the carrier as well as the edge with Curil. I used a channel lock to press it on:


    Now seal the inner boot to the shaft with Curil as before, a dab of Loctite on the clamp screw and then tighten down. Last, use the remaining grease to pack the outside of the CV joint, Curil on the outer surface as well as the edge of the outer carrier, and press on the outer plate with channel locks:


    Admire your "new" OEM half shafts:


    They felt really nice and smooth once I was done, and they looked awesome. I ended up using exactly one canister of the CV-2 grease.


    Now I just need to clean, prep, and paint the brake dust shields and put it all together when I get back from CT.
    Last edited by Albie325; 12-22-2018, 09:05 AM.

    Leave a comment:


  • Melon
    replied
    Cleaning undercarriage is nasty. It smells like dead fish.

    Car is looking great man! Keep it up.

    Leave a comment:


  • agent
    replied
    This is awesome. The countdown to Vintage 2019 is on!

    Leave a comment:


  • TFJR
    replied
    Absolutely amazing progress on the car! The black rubberized undercoating turned out fantastic.

    I think you'll really enjoy the quicker steering rack in the car. I think it makes a world of difference driving around.

    Leave a comment:


  • Nick_S
    replied
    Damn man, great attention to details. Going to be a great car once you're all done.

    Leave a comment:

Working...