-
I was worried about the same, however I was pleasantly surprised that there was actually NO rust to the actual body, only the hardware. I've pulled up the carpet, and there was no rust to speak of from what I saw but haven't had the carpet totally out. The OEM undercoating was completely intact and ended up doing a great job. I probably could have just left it alone but I thought the black coating looked a lot cleaner. Will definitely still be on the lookout though when I get into the interior. -
Great build. I would look very closely at your floor boards and jack points just based on the condition of the parts you are pulling off I would be shocked if you have no body rust. Hopefully you are correct though!Leave a comment:
-
Hey all. Been working diligently on a few things but ran into the "while I'm in there bug" with a few things that has slowed me down a bit. Have gotten a lot done although it wouldn't appear that way in pictures.
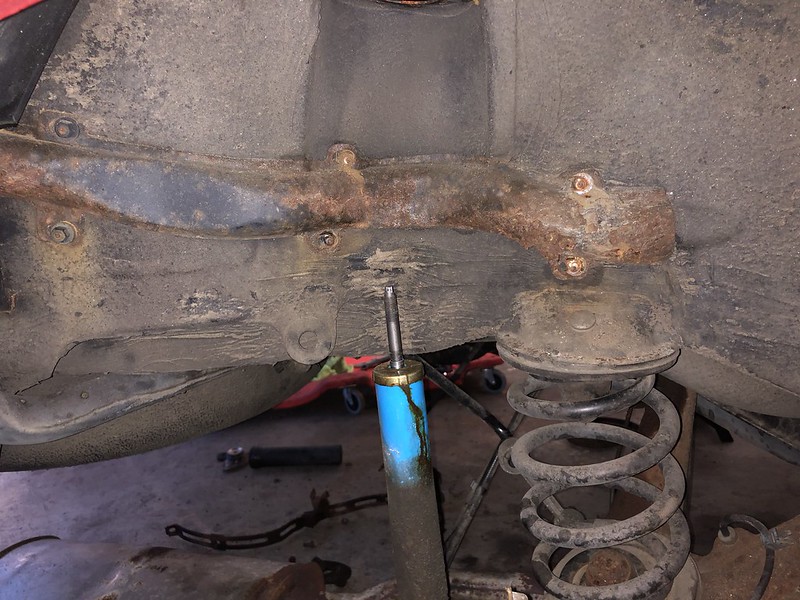
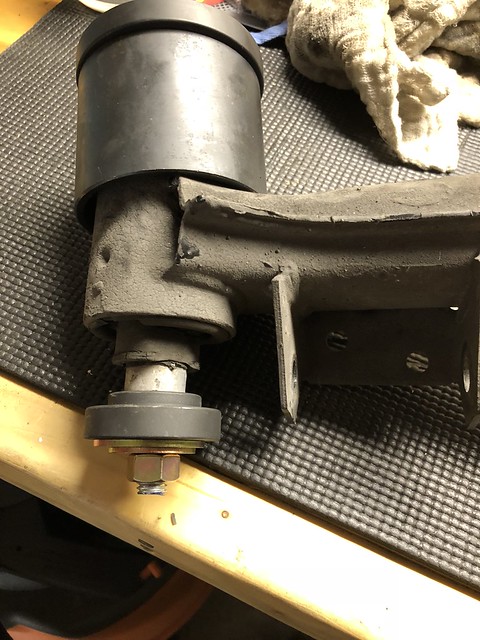
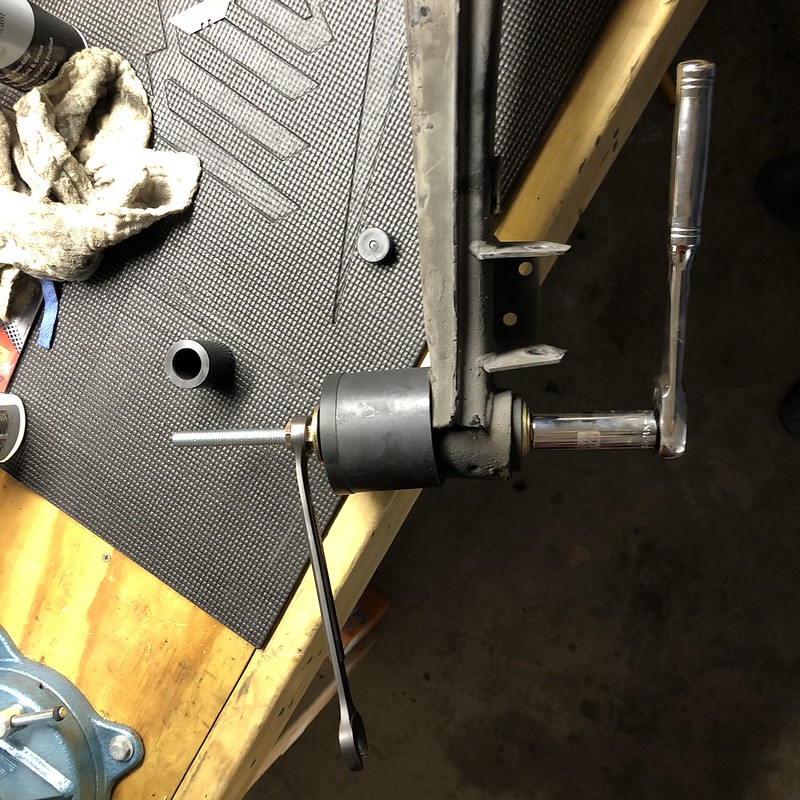
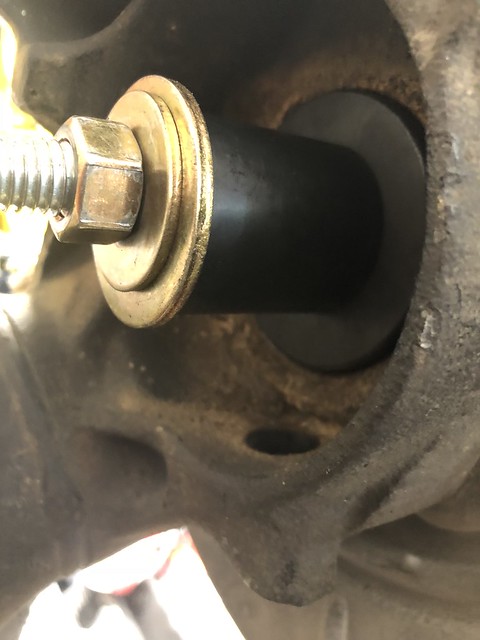
After I got the subframe out, I worked on getting the front struts removed and disassembled:
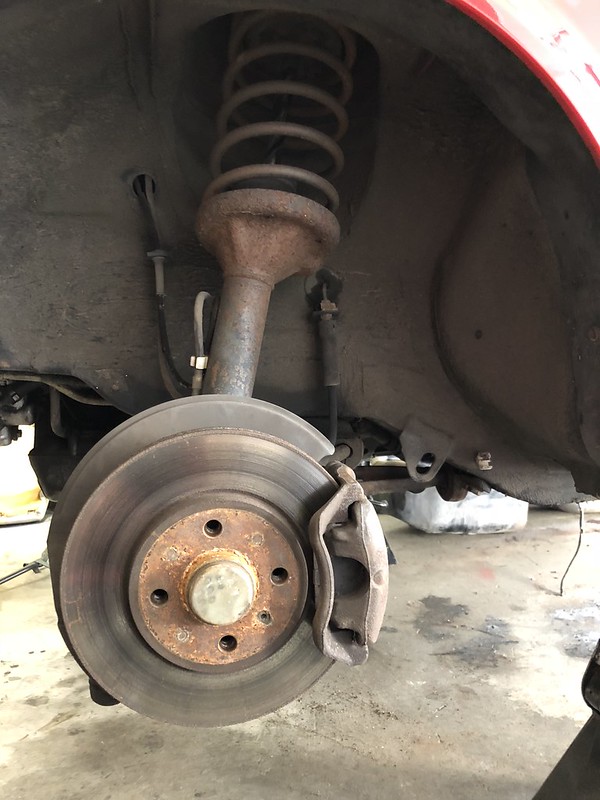
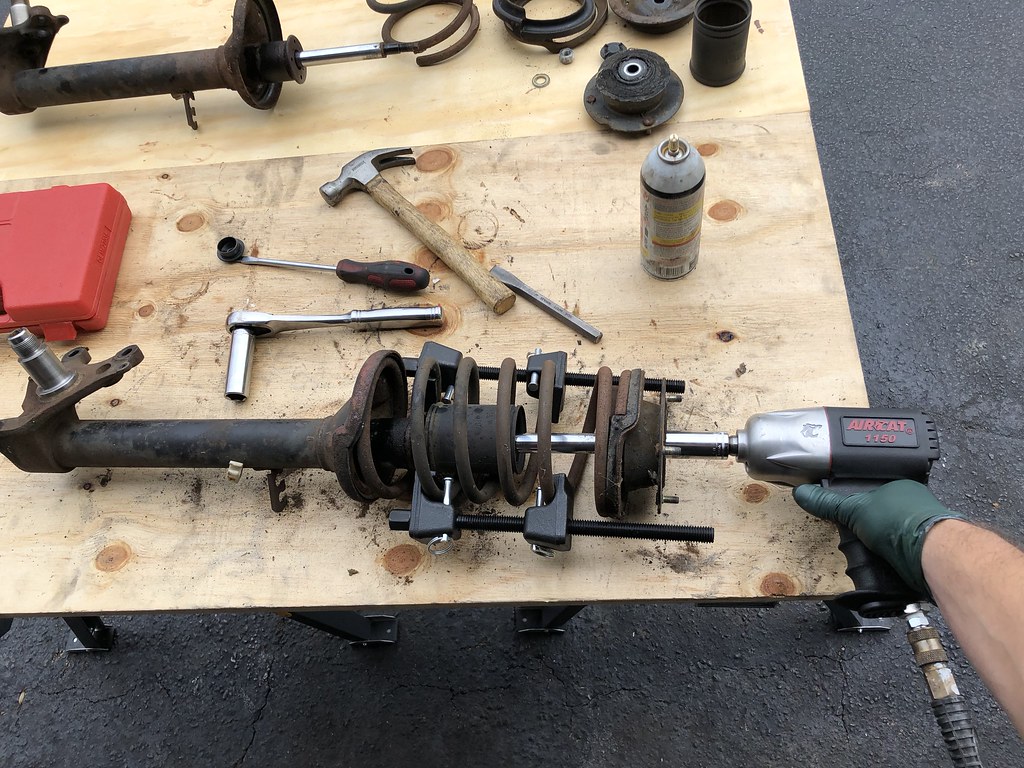
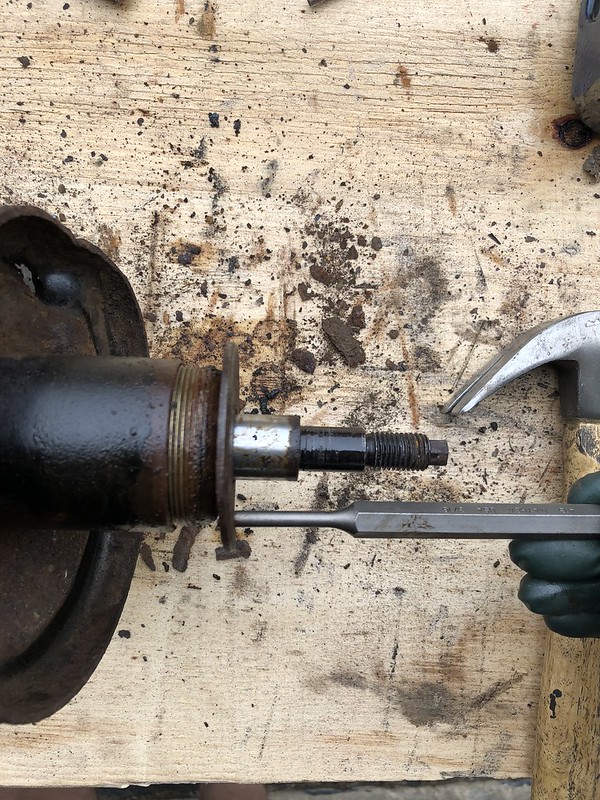
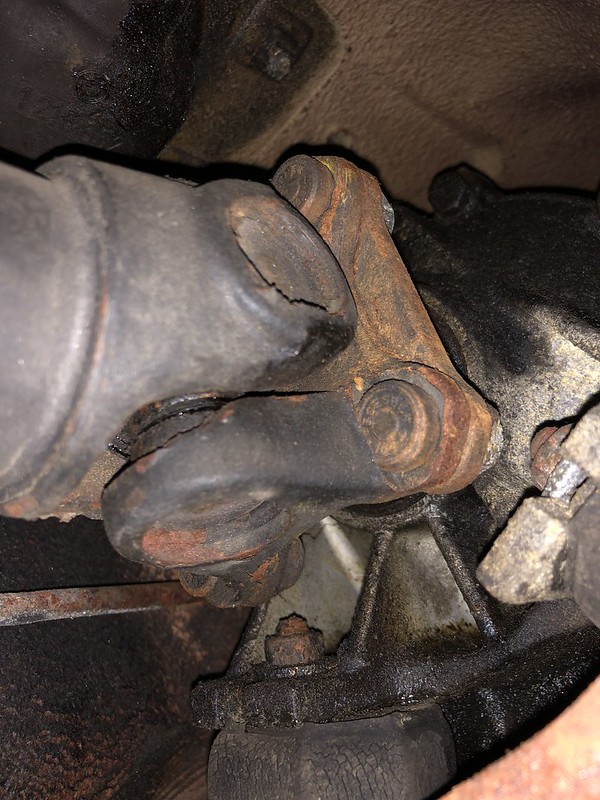
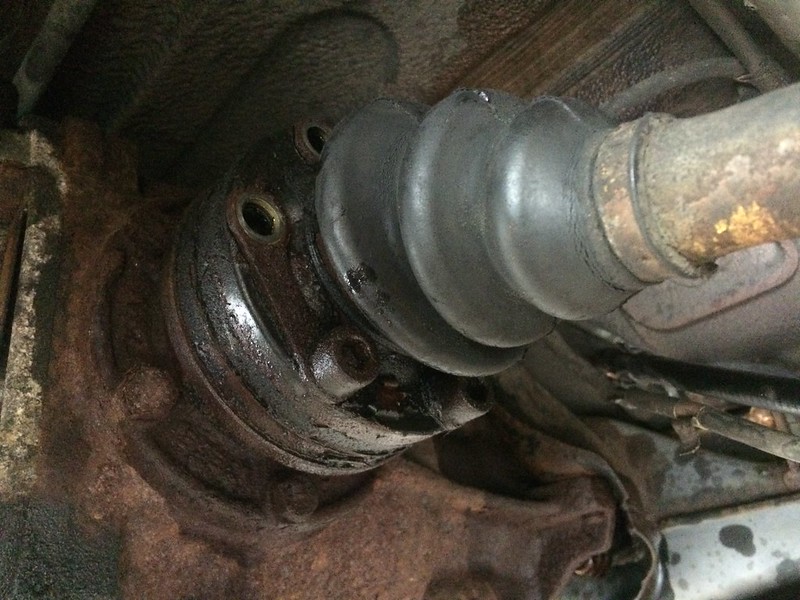
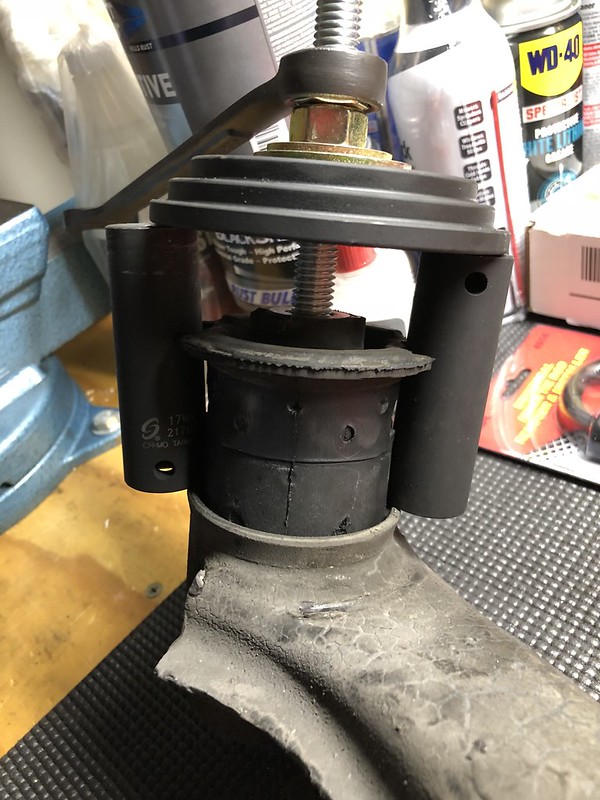
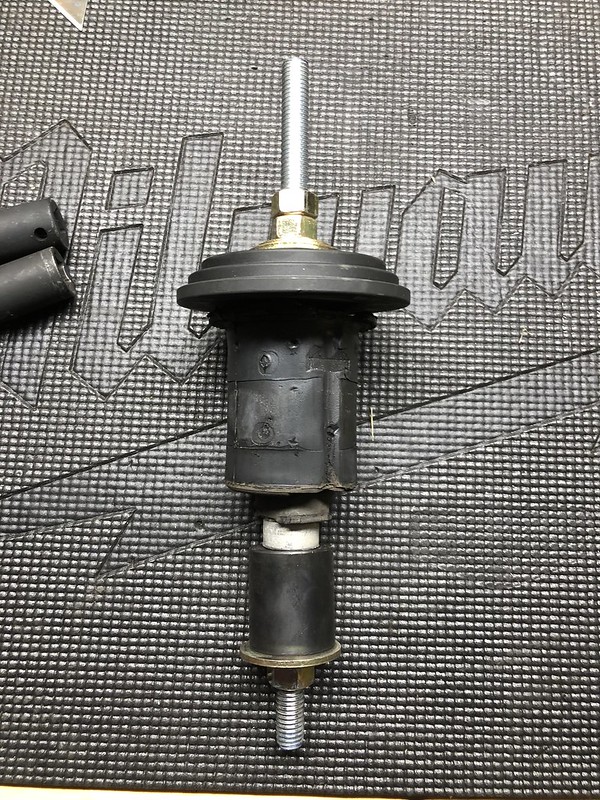
Once I got the strut mounts off I had a hell of a time trying to figure out how to get the strut collar nut off. I finally stuck a punch in one of the collar nut holes and whacked it with a hammer until it loosened up, luckily it worked:
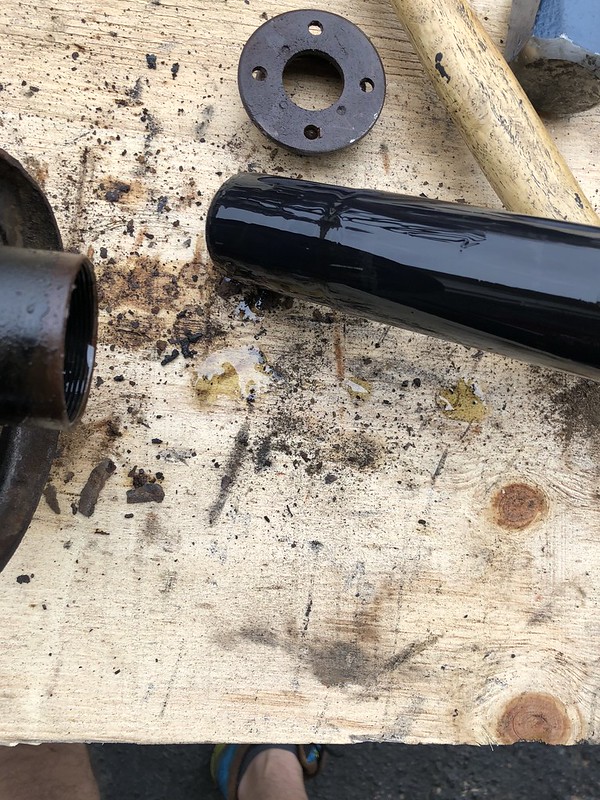
The strut tube was filled with a bunch of oil that I initially assumed was hydraulic fluid from the blown ~30 year old struts. Reading through the Bentley, apparently this is motor oil used to fill the tube intentionally to transfer heat from the hydraulic strut to the strut tube. For all of you replacing your old hydraulic struts with gas-pressure Bilsteins (like myself), filling the strut tube with motor oil is not recommended.
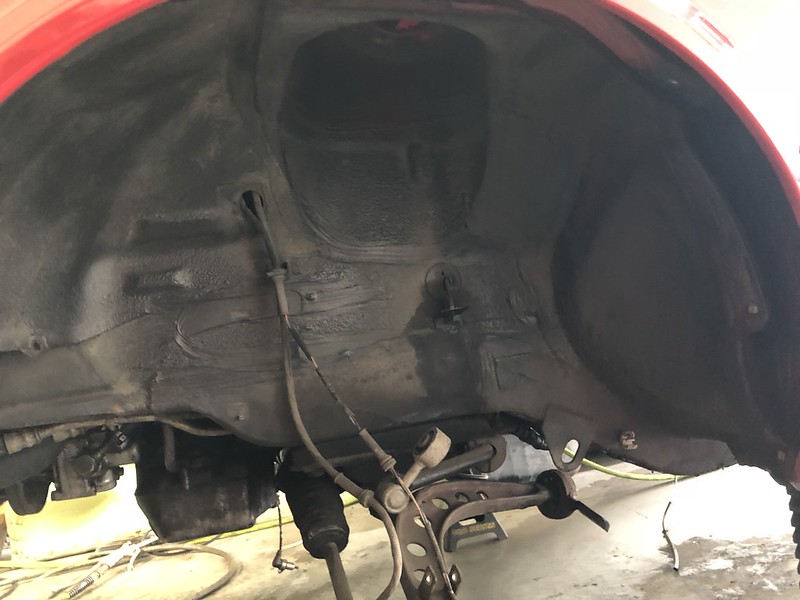
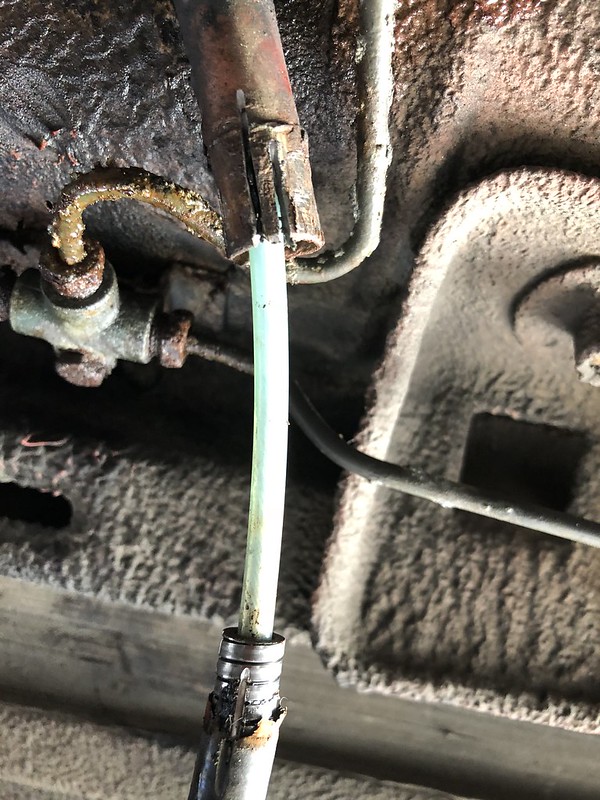
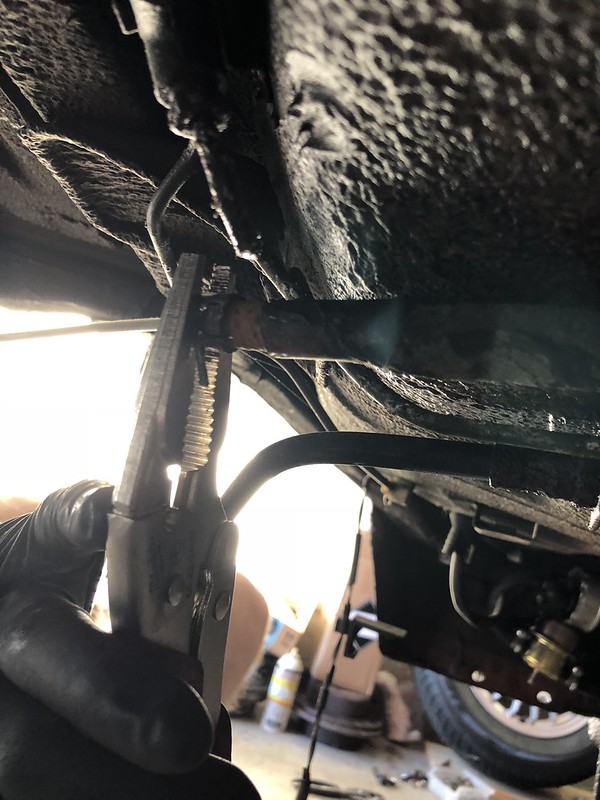
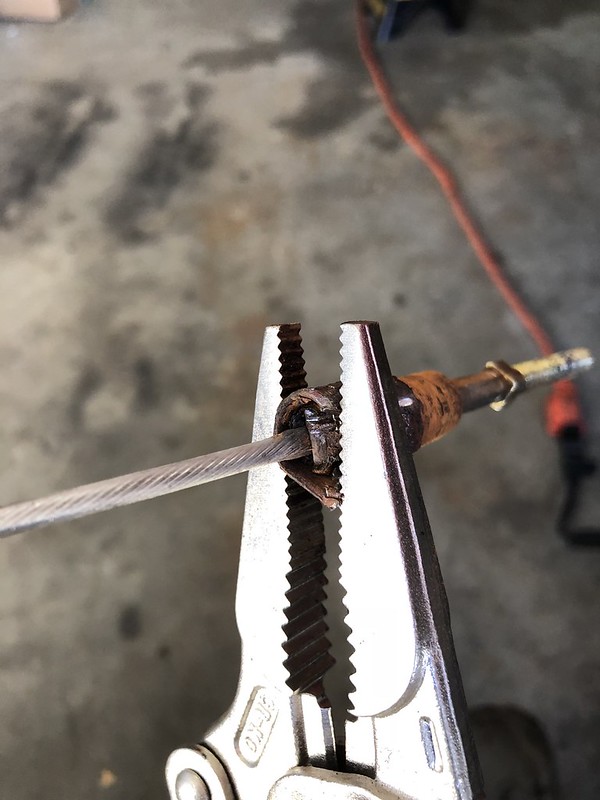
I then decided to poke around under the car and see what else I needed to replace/refresh with everything out of the way. I tackled the dreaded E-brake cables and they were definitely stuck. I started by trying to twist them out with some vice-grips but they just spun on the round cable ferrule no matter how tight I cranked it down.
Combined with some PB blast, I ended up using a Dremel to cut a notch in the ferrule which allowed me to crush it with the vice-grips and give myself a flat edge to twist against (this worked really well and they were out in no time):
Definitely not the first time the Dremel would save the day.
I was already planning on replacing the trans mounts, these were shot:
I was surprised to find that there was no guibo between the driveshaft and trans, there's actually a 4-bolt rather than a 3-bolt pattern. Looks like I'll have a new BMW guibo for sale soon.
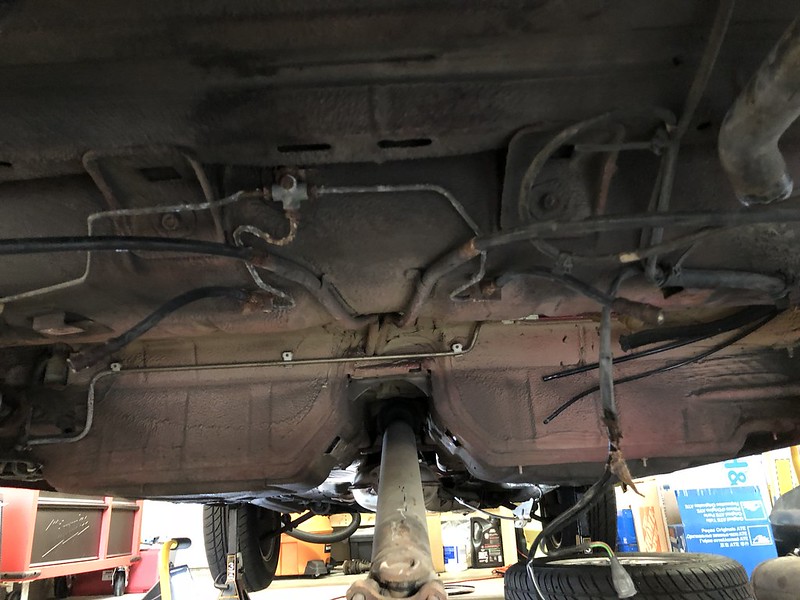
I took all of the hard brake lines out, and while I was at it, decided to remove all of the hard fuel lines too.
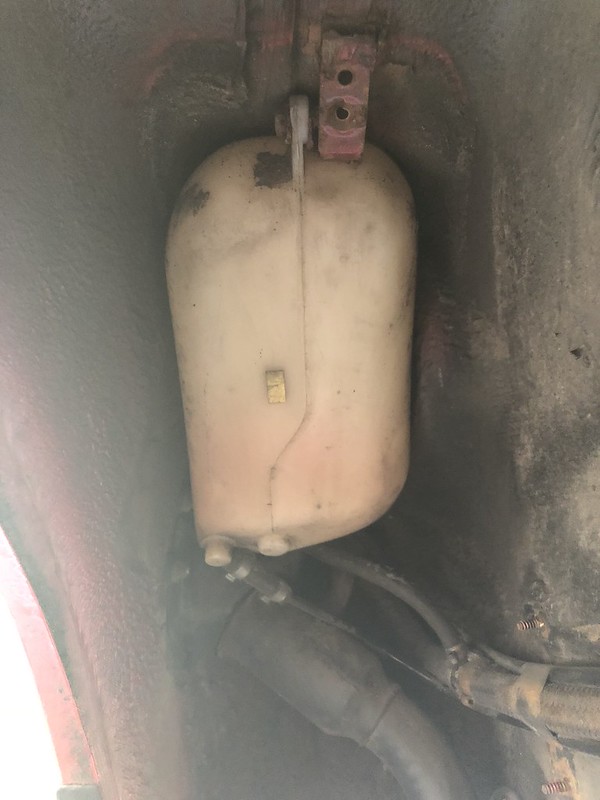
The overflow fuel tank vent hose cover essentially disintegrated in my hands. Not sure how the engineer responsible for routing fuel hose through the wheel well rather than inside the car was allowed to have a job:
Took the overflow tank out (along with about 10lbs of dirt)
Got the gas tank door and the rubber grommet to the gas tube out which was torn. That took care of basically everything to the rear of the car.
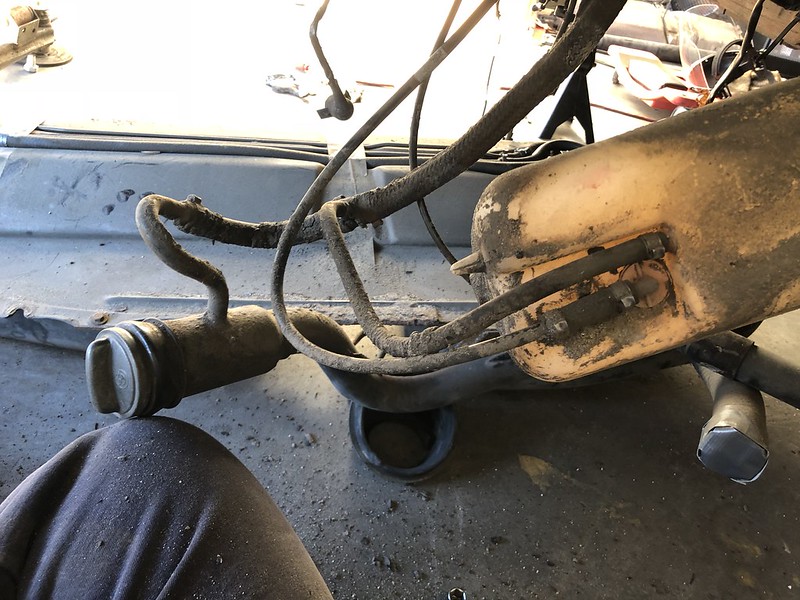
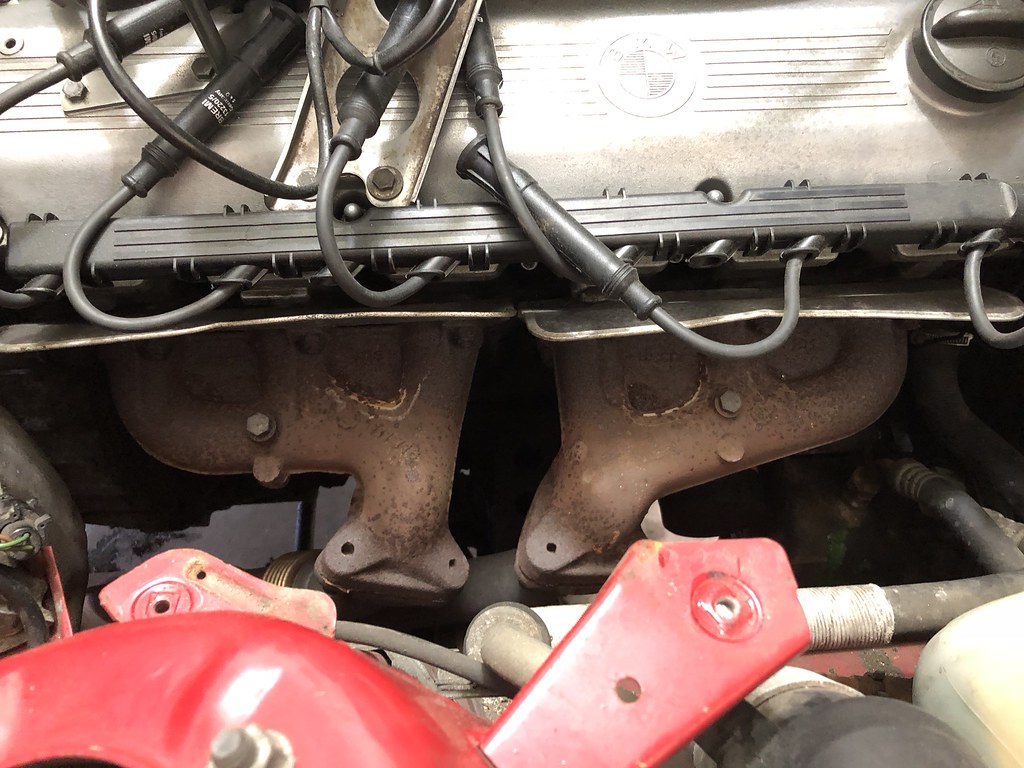
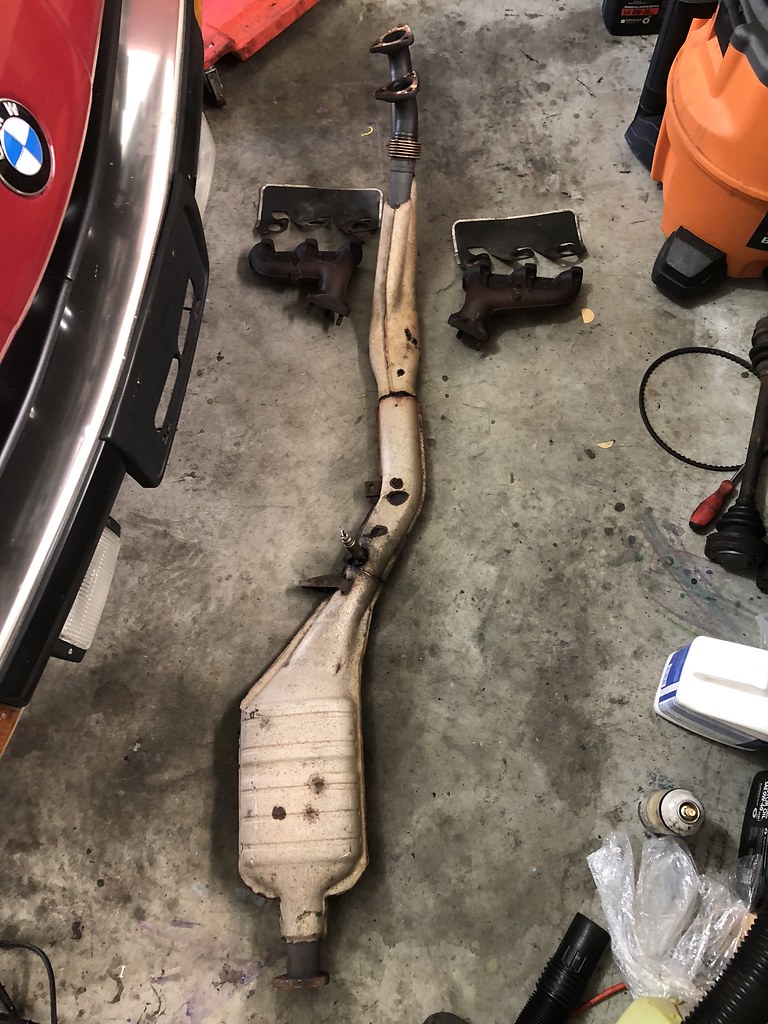
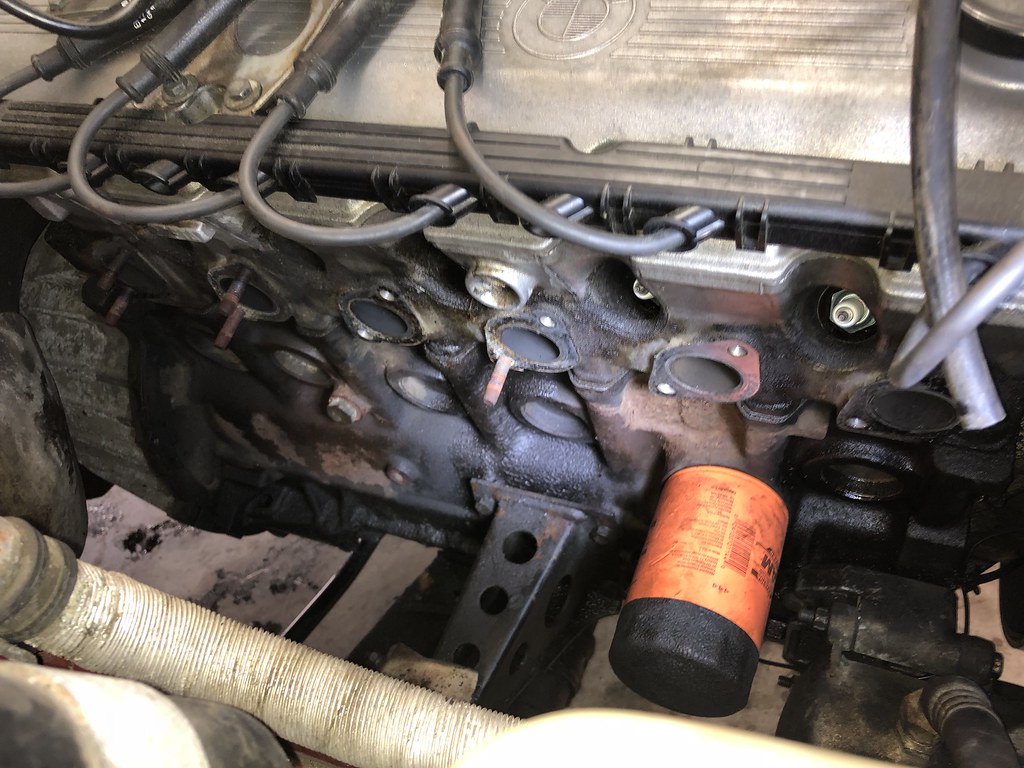
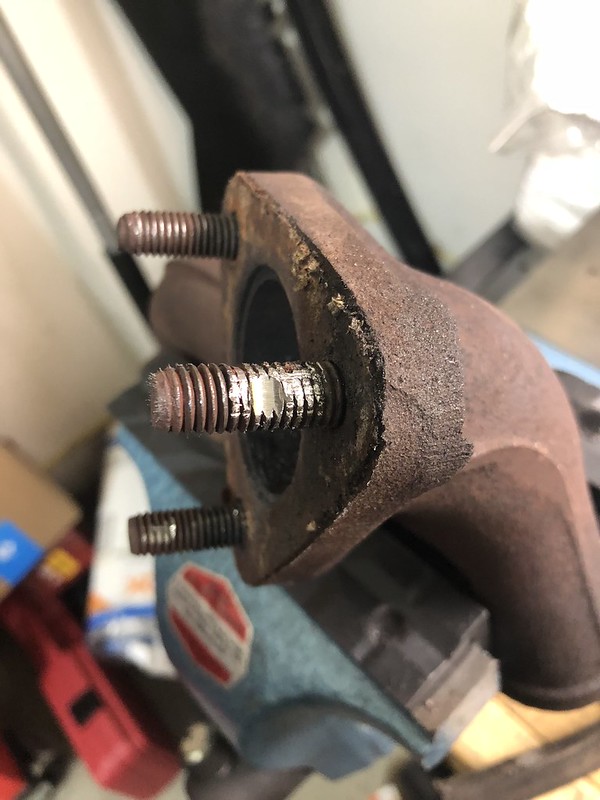
Up front I needed to remove the catalytic converter and exhaust manifolds:
Loads of PB Blast, a lot of ratchet extensions and wobbles, and some contorting later:
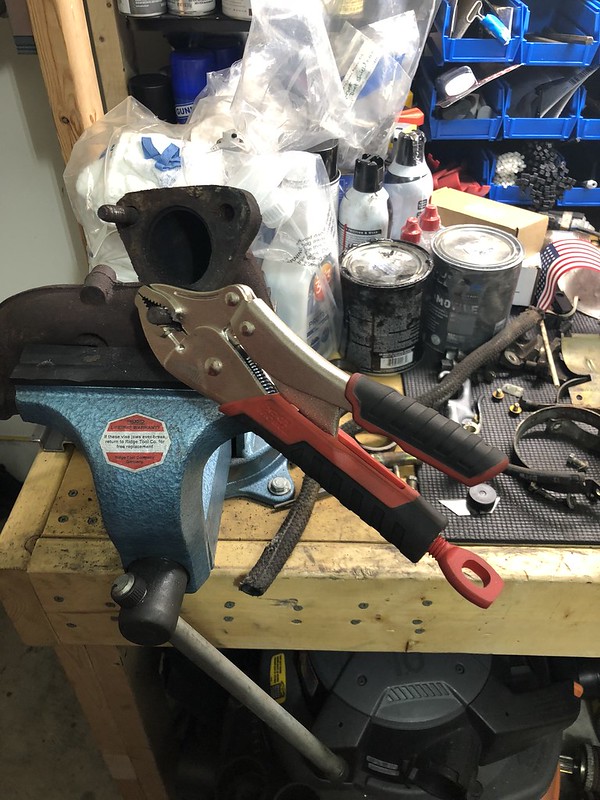
Most of the exhaust manifold studs came out together with the nut as I loosened them up, and the ones that didn't came out pretty painlessly using the two nut method.
The manifold to cat studs were a lot more stubborn. I needed the Dremel (again) to flatten out the studs to allow the vice-grips something to grab onto. Eventually I got them all out without stripping any (thank god, and thank you Dremel)
The last thing I needed to take off up front (or so I thought) was the master cylinder and brake booster:

The master cylinder was very easy, and I got the booster loose without much trouble. Unfortunately, it didn't want to sneak out past the intake manifold as the brake pedal rod kept getting hung up on the firewall. I was NOT about to pull the manifold again so I just cut the pedal rod off. Thanks Dremel.
So here's where the project takes a longer than anticipated turn:
Buried in there was the rear ABS pressure regulator which, once the booster was back in, would never be seen again. Took about a week to get the part. While waiting, I kept seeing the steering knuckle staring me in the face. I was eventually planning on refreshing the steering rack, replacing the seals in the power steering pump (mine was whining when cold) as well as the PS reservoir and lines. I was already planning to replace the oil pan gasket as well as the motor mounts and front control arms and was going to just drop the whole front subframe to do it. Rather than have to do it twice, I figured there would be no better time to replace the rack and get to the steering knuckle than with the booster out of the way. Also, I decided to grow a pair and upgrade to the e46 ZHP rack instead of trying to reseal the slower e30 stock rack myself. Go big or go home I guess.
So I ordered a ZHP rack from Rack Doctor which I got in less than a week, although they only offered me $35 for my e30 core. I'll end up resealing it and holding onto it in case I don't like the faster lock-to-lock for whatever reason.
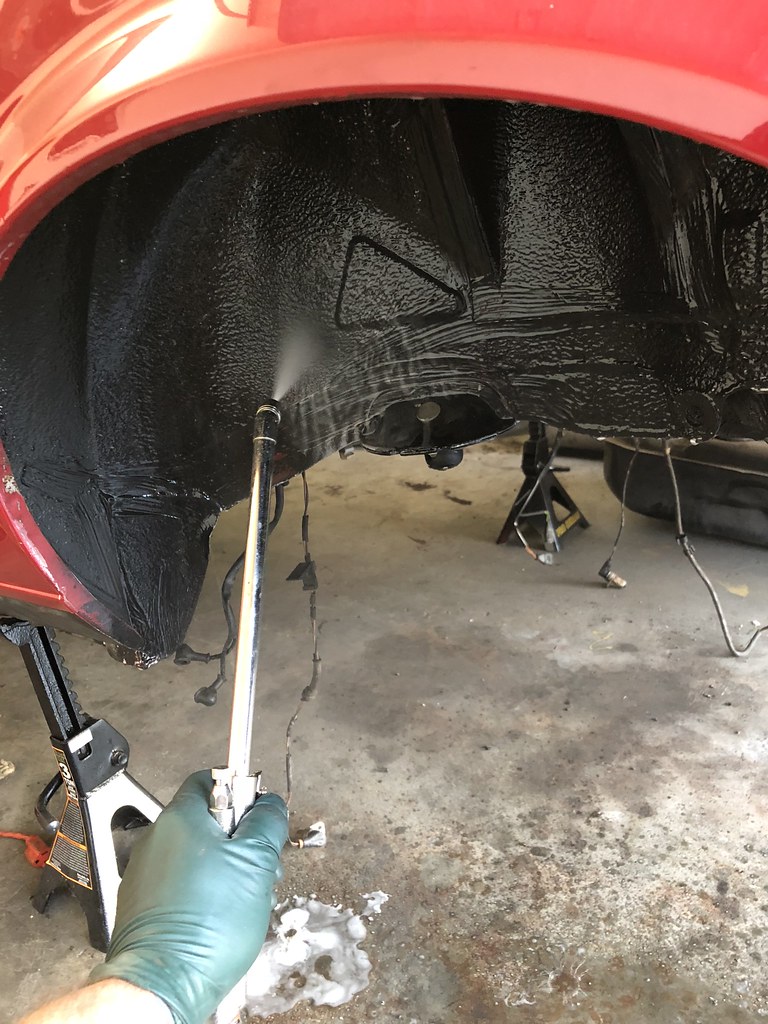
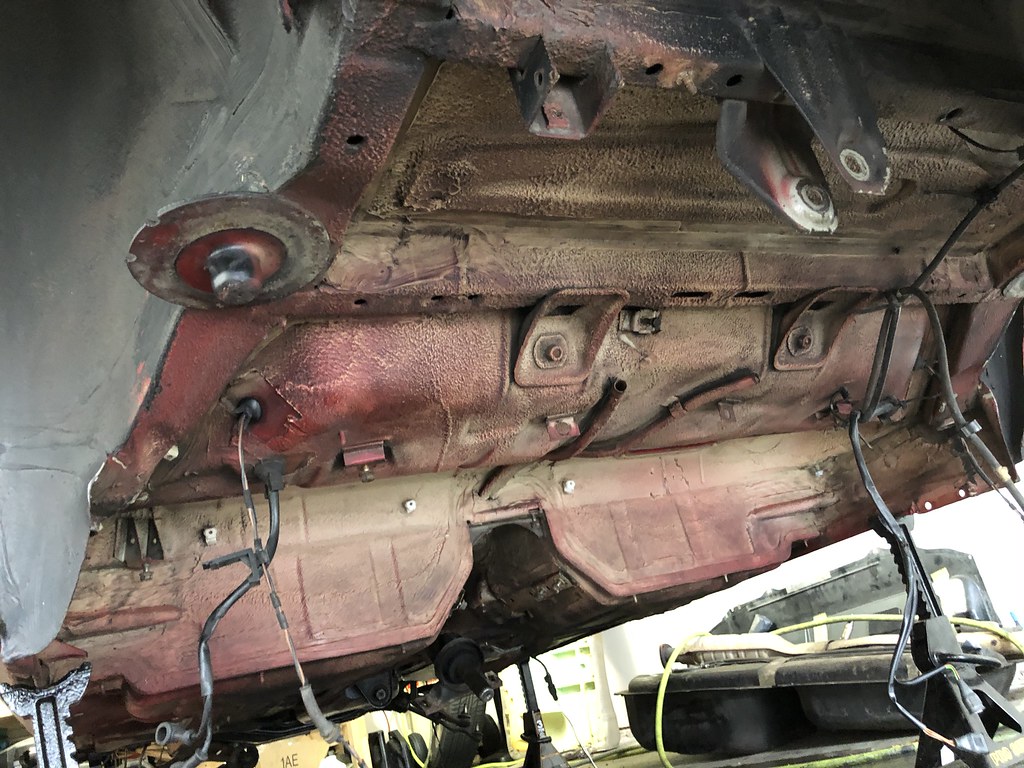
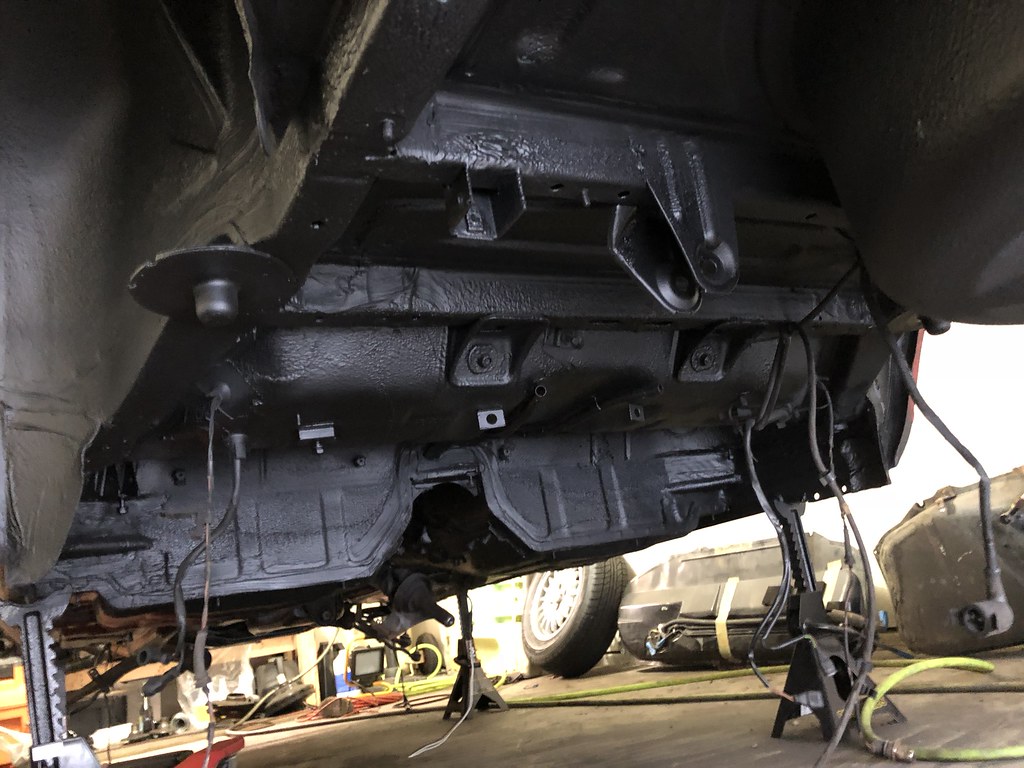
In the meantime, I pressure washed and scrubbed the whole undercarriage:
Dirty:

All clean:
Lemme just say, scrubbing the undercarriage on your back SUCKS. Start to finish, it took me a few days in between a few other projects, I couldn't tolerate doing it all in one shot. I probably cleaned more than I needed to but was worried that the new coating wouldn't stick. To ensure I'd never have to do it again, I decided to reseal the whole underside using black rubberized undercoating. It was a toss up between the 3M professional grade and Rustoleum professional grade coating, but I got a better deal on the Rustoleum and was very happy with the results:

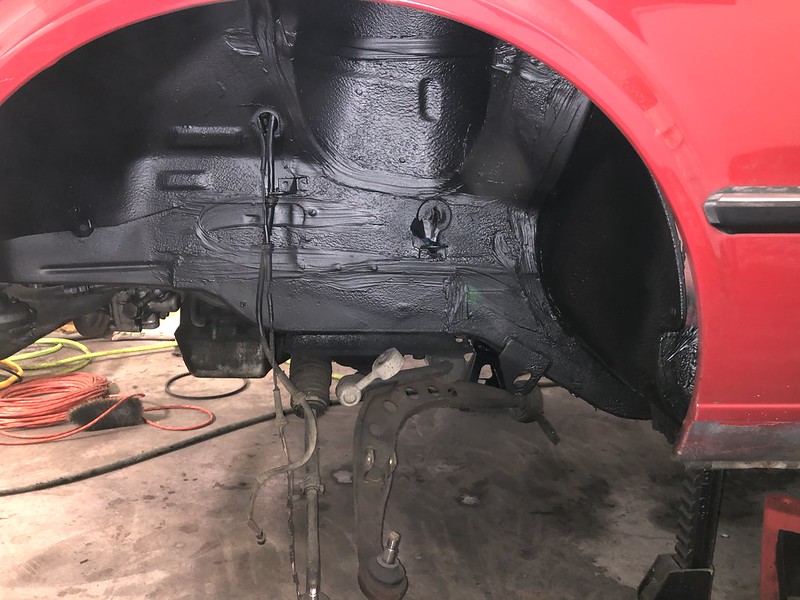
If you end up doing this, definitely buy more cans than you think you need. I initially bought 6 cans and this was barely enough for one coat for all four wheel wells and the complete undercarriage, front to back. I ended up buying 8 more for 2 full coats which left me with about a can and a half for touch ups.
Currently working on prepping and painting various hardware as well as rebuilding and repainting the half shafts which I hope to post soon. Once the half shafts are done, all I need to do is prep and paint the brake dust shields and then I can get the rear subframe back together. I'm heading back home to CT for a week so will be out of the garage for a bit.Leave a comment:
-
Thanks guys, the pup definitely isn't so little anymore. Glad people are enjoying it, sounds even better coming from a COTM winner. That type of OEM+ quality is exactly what I'm shooting for.
Melon, was actually planning on reaching out to you about your paint extravaganza. I'm a LONG ways away from that but would love your input. Expect a PM from me at some point, love your build as well.
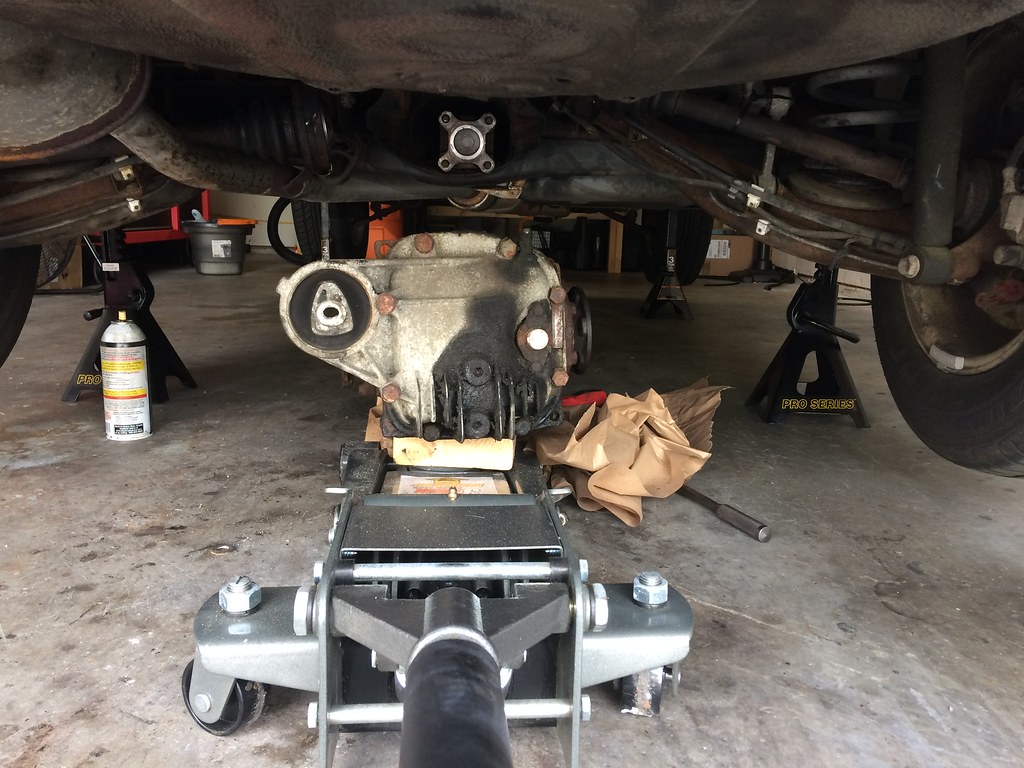
So this weekend I finally got around to dropping the rear subframe and gas tank. A few hangups (literally) as you'll see, but not too bad.
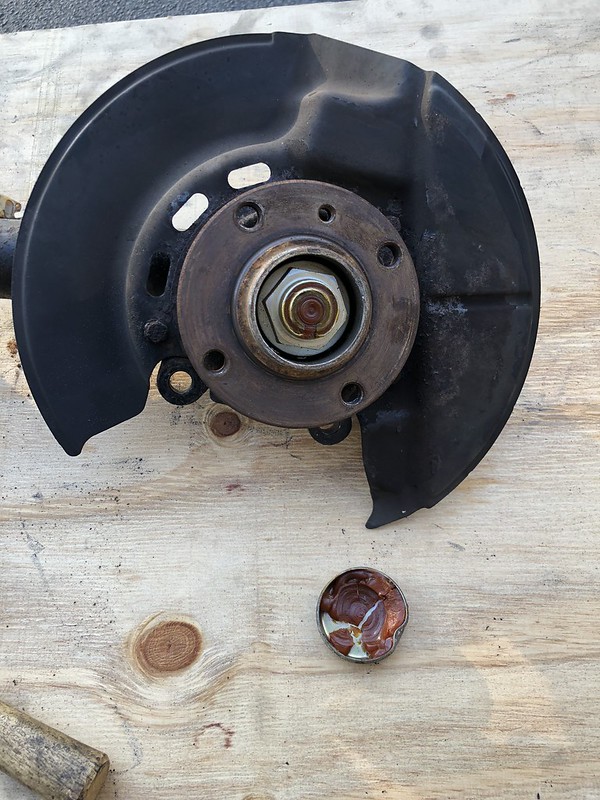
Not sure when the last time these were changed, but after taking off the caliper without much trouble and using an impact gun to spin off the rear collar nut, the rotors did NOT want to budge.
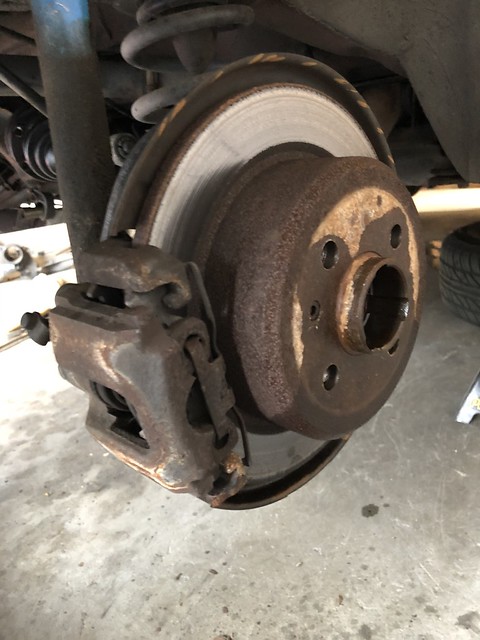
After a little gentle "convincing":
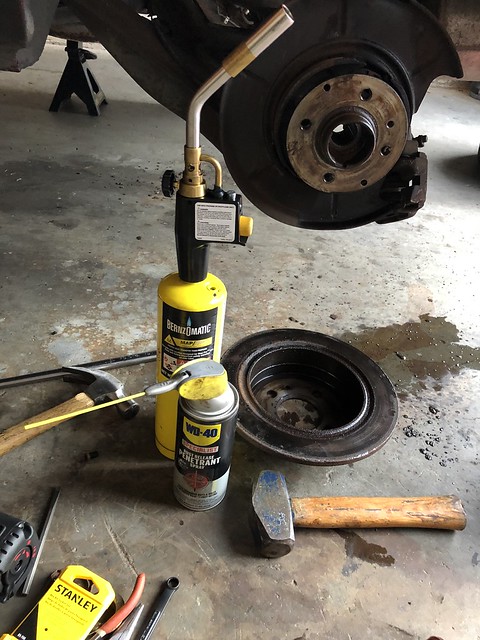
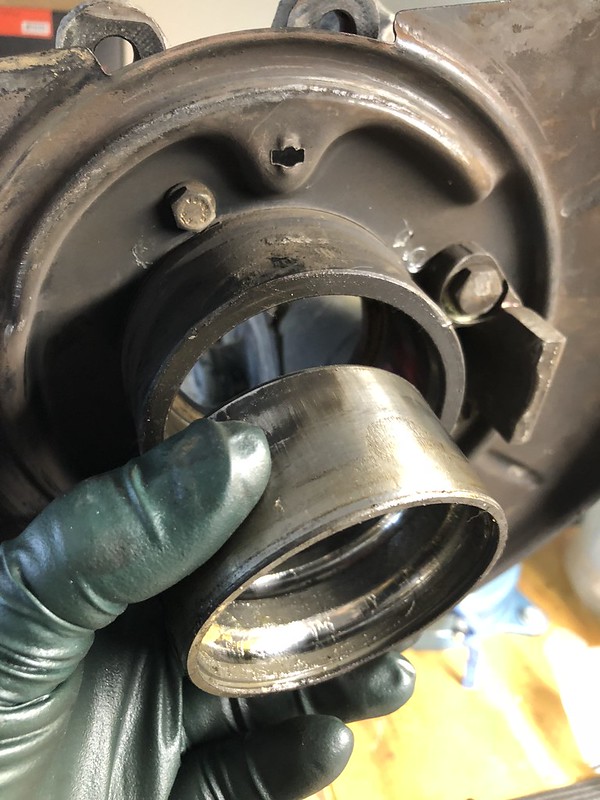
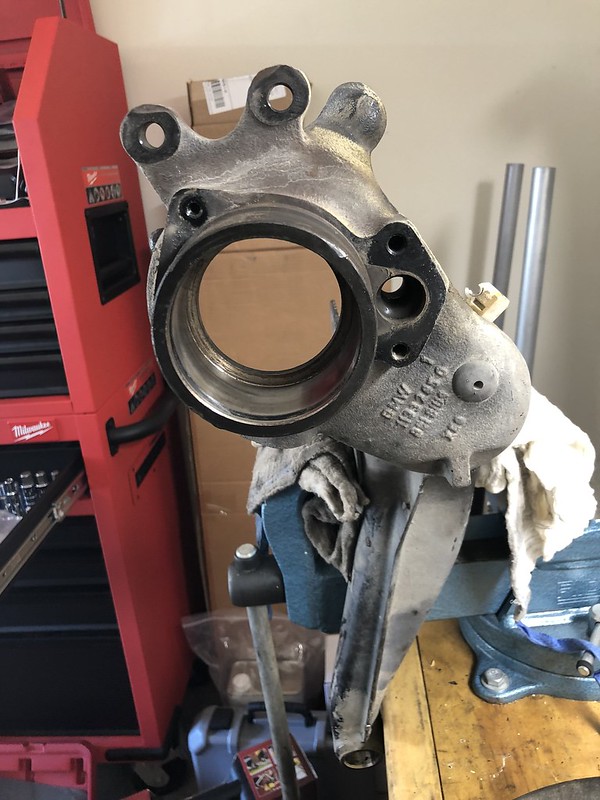
Used the same trick to get the hubs out:

I know I could have dropped everything without taking it all apart, but I found it actually a little easier to remove while still on the car. I also wanted to use my hubs rather than the hubs from my donor subframe as mine were actually in a little better shape.
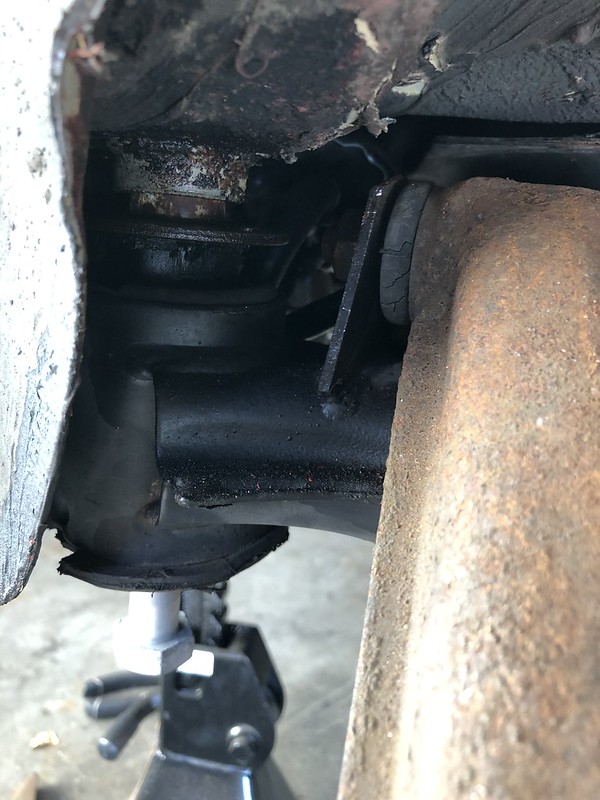
The rear ABS sensors gave me a bit of trouble as they weren't too keen on leaving their home of the last 30+ years. They finally relented and I removed the two main subframe nuts, knocked the carrier bolts back up through the rear seat, and removed the two supports fully expecting the subframe to drop once I lowered the jack. Well, the jack dropped, and the subframe didn't.
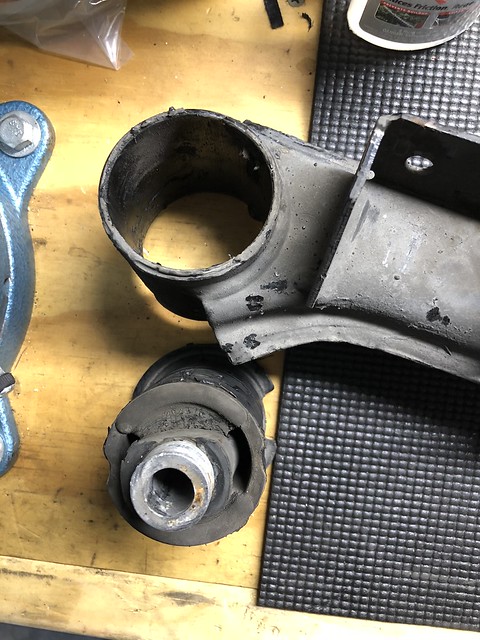
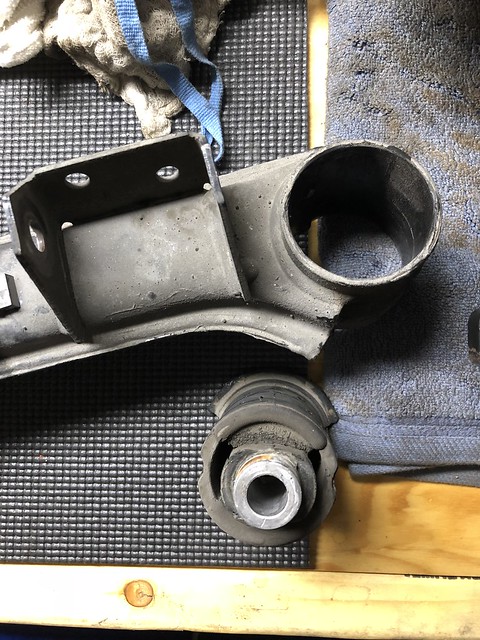
The top bushing caps were rusted on and didn't want to move:
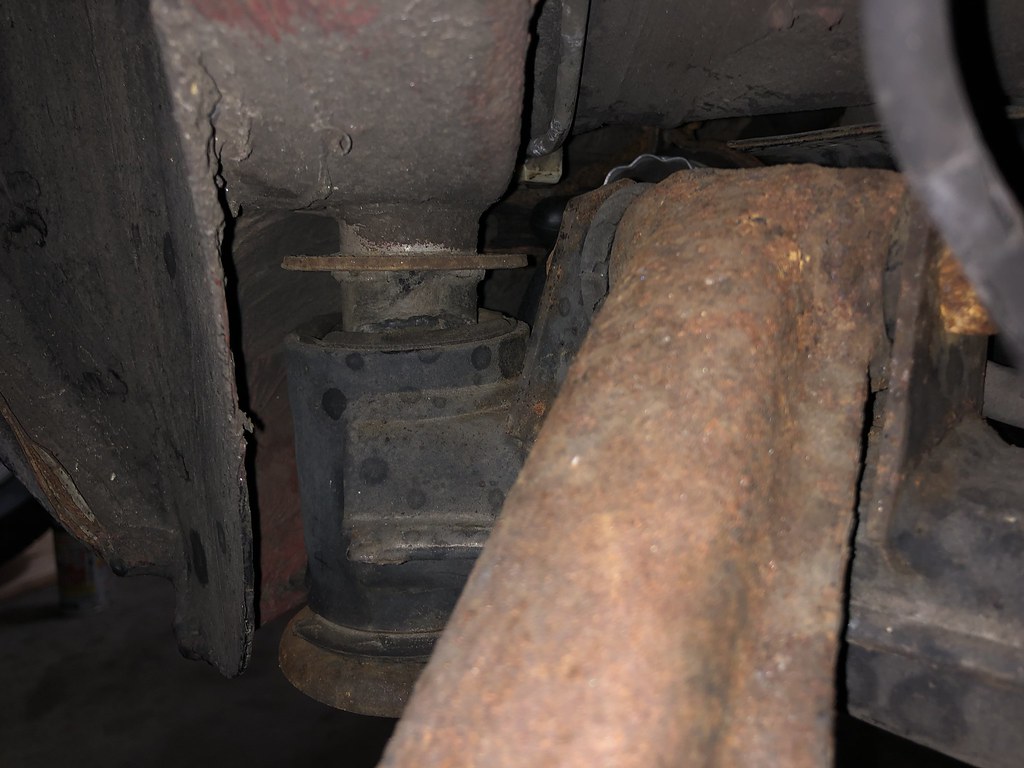
The better part of my Saturday with some PB blast, various hammers, and a 3ft pry bar couldn't even convince them as there really wasn't anything to pry against, there just wasn't any room. Flustered, I referred to Dr. Google and came up with this from a few old threads:

A 5/8'' x 3" carrier bolt from Home Depot. I cranked it in there until I felt it was pretty secure, then from inside:
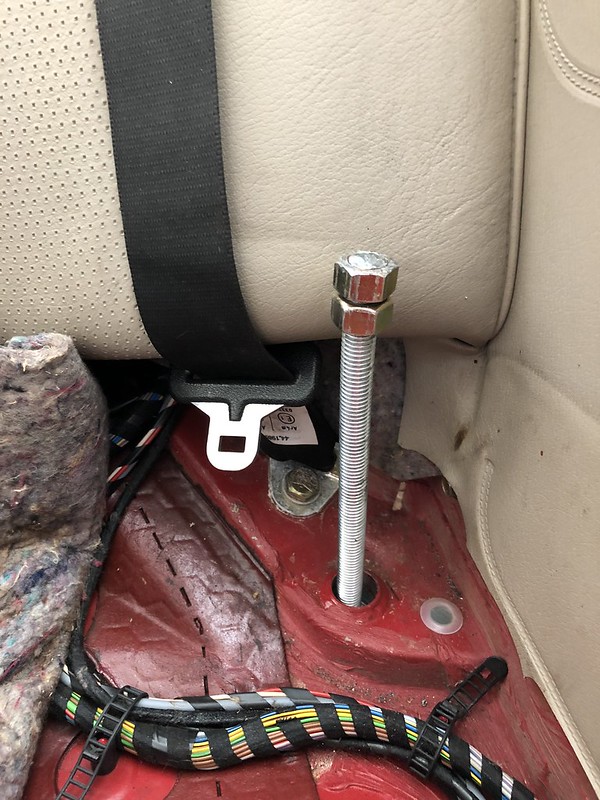
I stuck my 1/2" threaded rod in there and beat on it with a 3lb sledge. My neighbors must hate me, it was loud as hell and I was hammering for a while (on a Sunday no less). After what seemed like forever I almost gave up when, a little "pop":
Proceeded to the other side, and FINALLY:
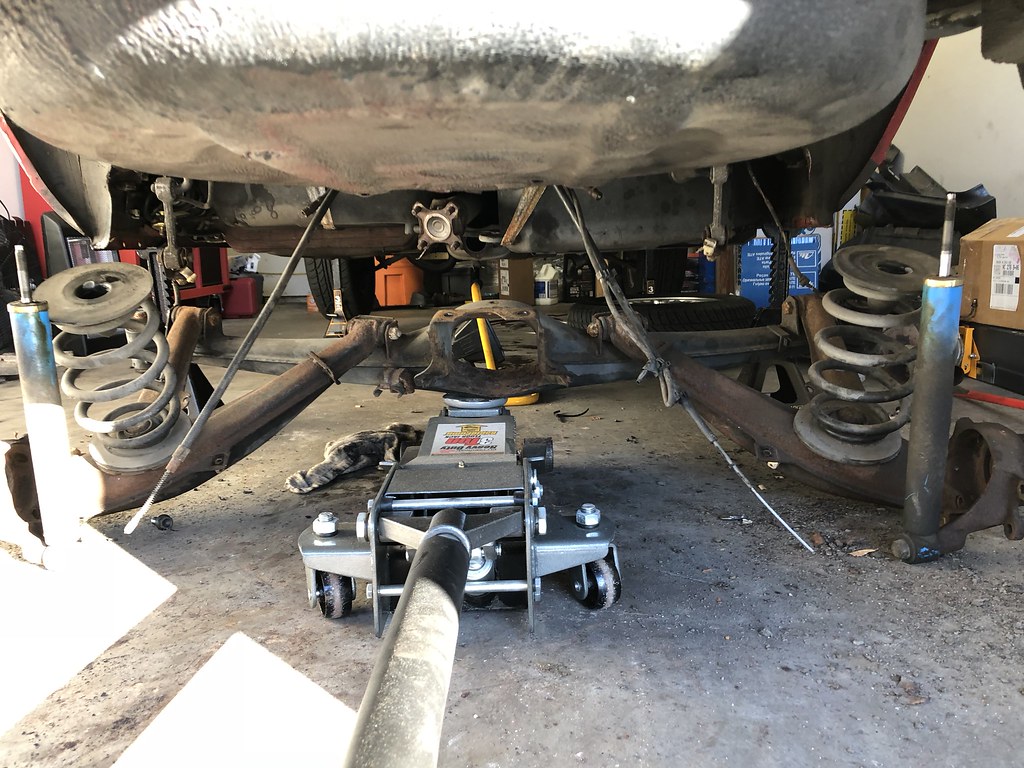

Luckily, the gas tank put up much less of a struggle:
HELLOOOOO HELLOOOOO HELLOOOOO:
Seemed so empty back there.
Although there was some surface rust on the subrfame and brake lines, I have still yet to find any body rust on the car. The undercoating seems to have done a great job.
So that's where I currently sit. It's been a crappy rainy week so far and I haven't gotten out of work early enough to warrant any real project time. I'm also waiting on a few more parts to come in that I realized I needed along the way.
This coming weekend, I hope to remove the catalytic converter and exhaust manifolds, driveshaft, clean and respray the underbody with rubberized undercoating, bend all the hard brake lines, refinish all the heat shields, and hopefully press in all the new subframe/trailing arm bushings and get the new subframe ready to lift in place. A bit lofty, but shoot for the stars and land on a cloud (or some hippie sh*t like that).Last edited by Albie325; 11-13-2018, 06:18 PM.Leave a comment:
-
Dude, this is coming along really well.

I'll look into that Astro set you got, doing my rear end is next on the list.
You seem to have a much better gun set-up than I did, just get all your paints from a local supply store, and do more research than I did. I wasted a lot of time and money just jumping into this blindly.Leave a comment:
-
Awesome job. I really enjoy reading through this and seeing the photos taken along the way. Certainly an inspiration!Leave a comment:
-
Nice progress! That Rust Bullet seems like good thick stuff. Congrats on the puppy!!Leave a comment:
-
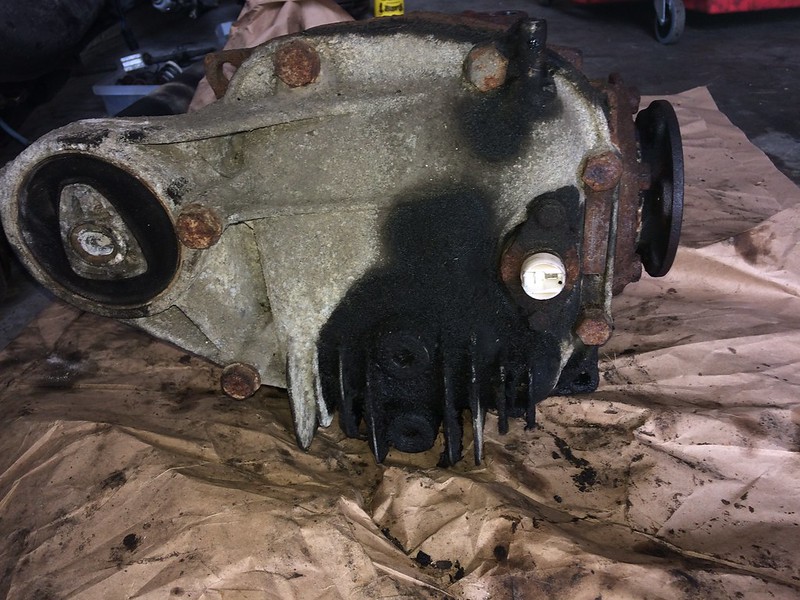
Around the time I was doing this, I reached out to Agent about a rebuilt 3.25lsd, his ad should still be up in the Parts For Sale section. I ended up driving out to Virginia to meet his BMW tech, Mark, for pickup and to drop off my core. I couldn't have been more pleased with the transaction and the product. All top-notch work and great communication.
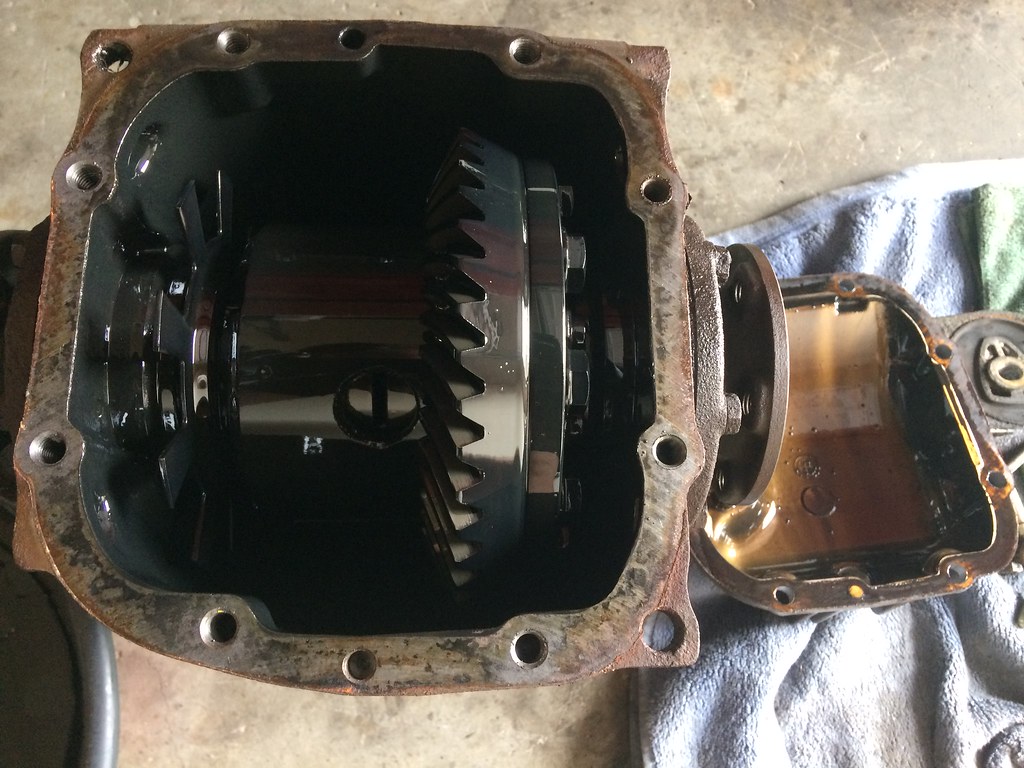
When removing my old dif, i saw the dreaded hex head style bolts for the half shafts. I soaked those puppies in PB blast and prayed to god I didn't strip any. Came close once or twice, but all came off without an issue:
Dif out, that sum' bitch was heavy:
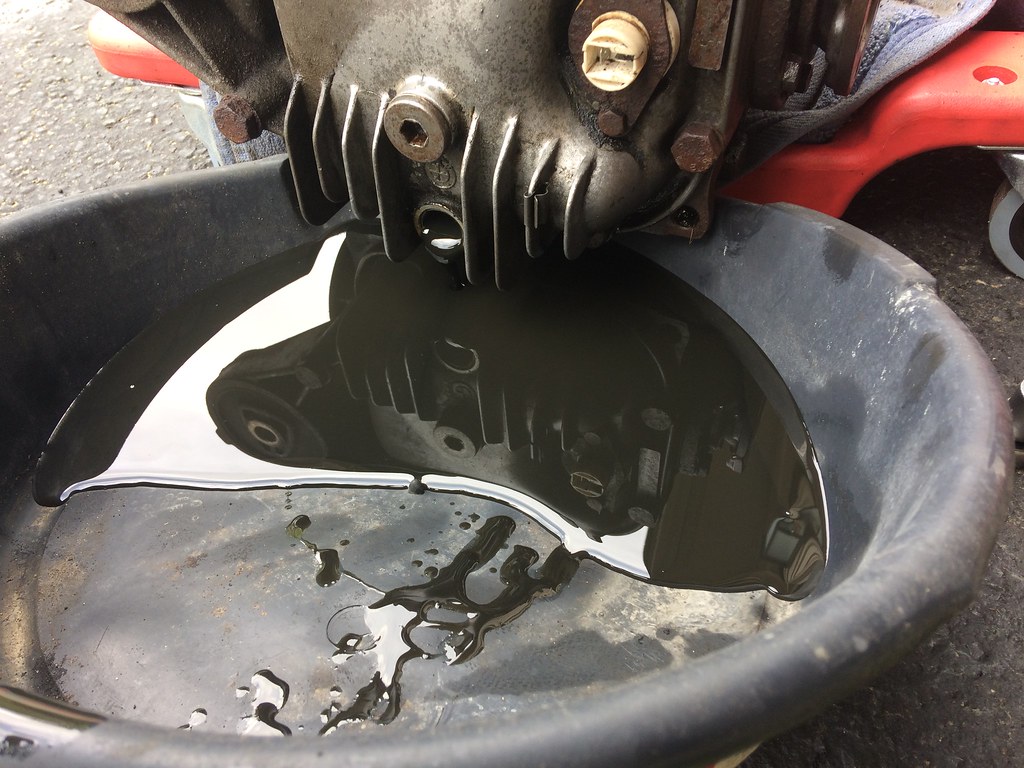
The dif fluid and gears were surprisingly clean despite how corroded the exterior looked:
Here's the new 3.25, thanks guys!:
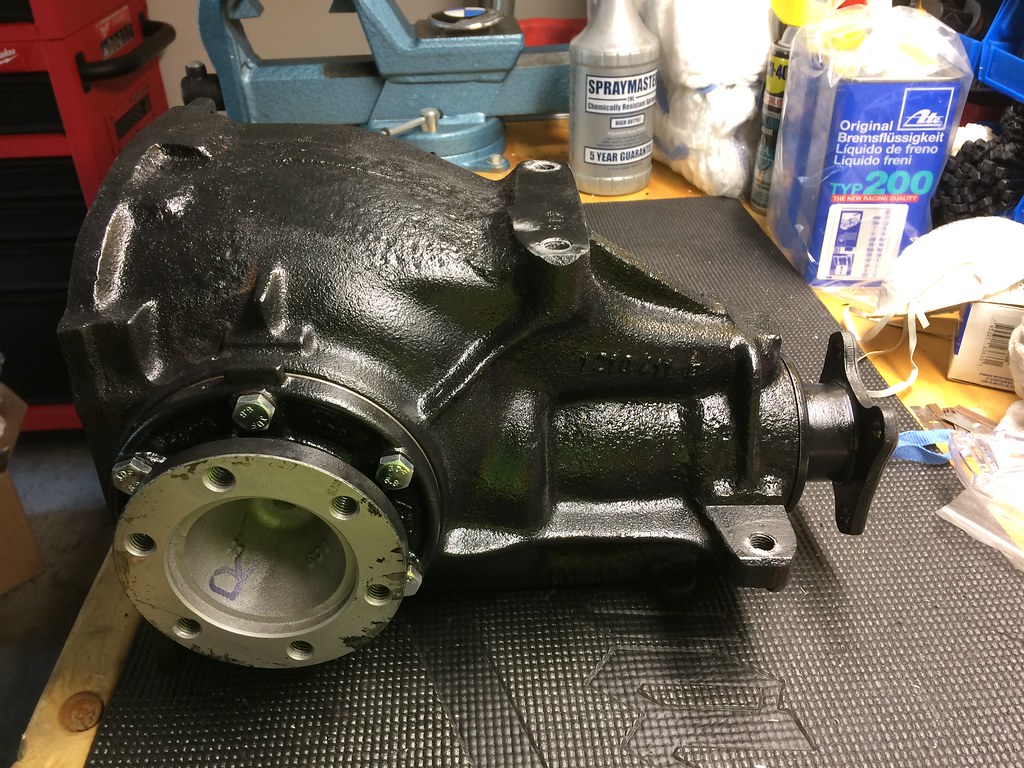
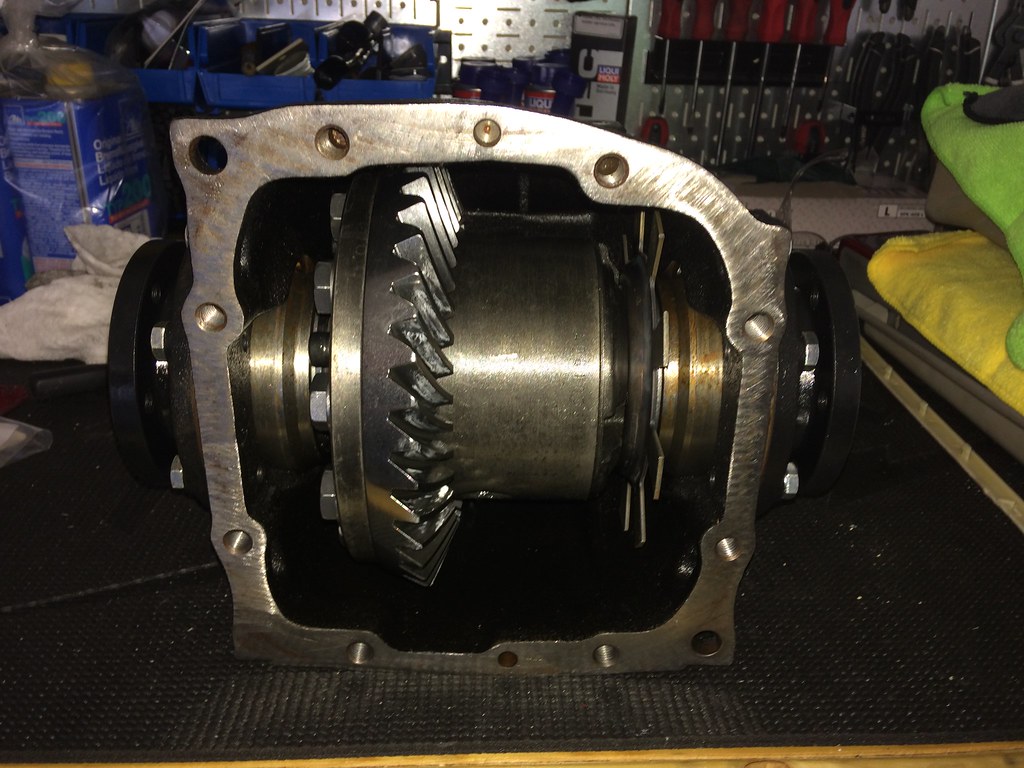
Mark even included all new dif cover bolts and tube of permatex to seal the cover.
After an hour or so with a Dremmel:
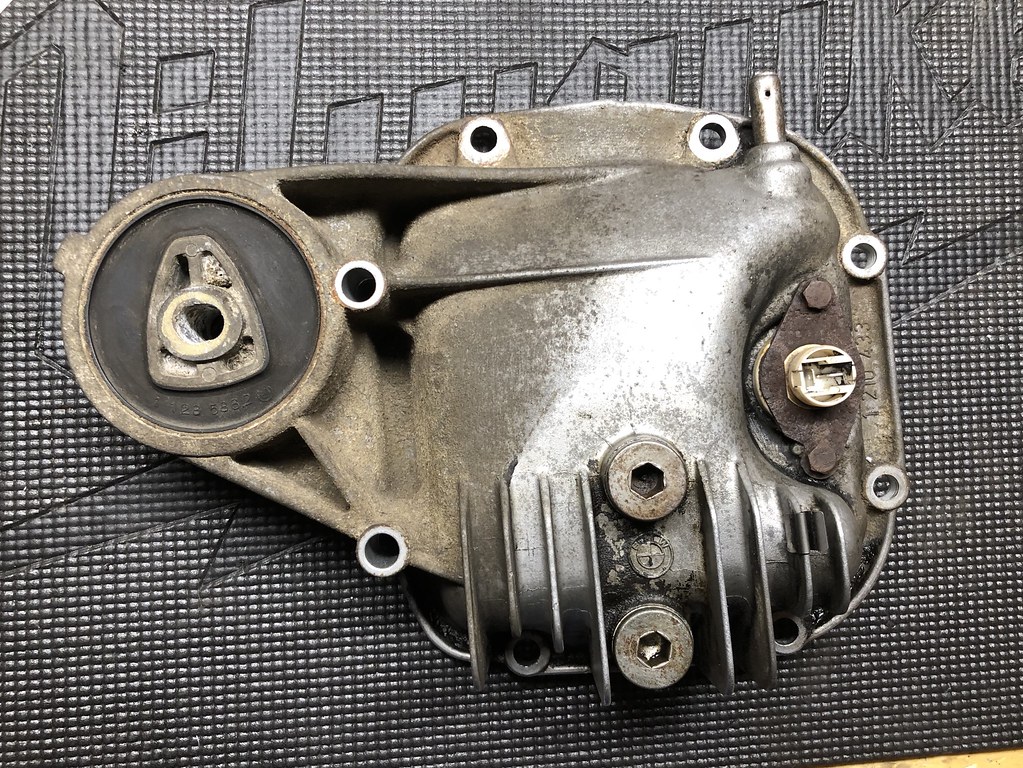
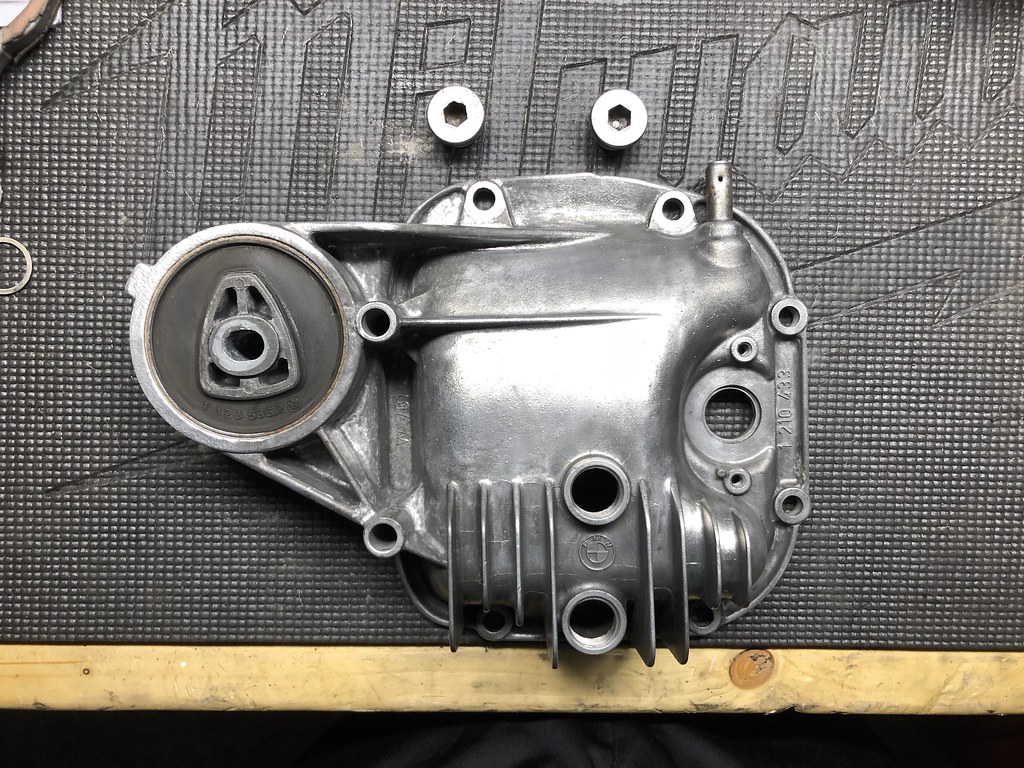
I purchased a new dif cover bushing (the one with the spaces in the rubber) but seeing how the original was a solid rubber bushing a la the z4 bushing and still in good shape, I left it alone.
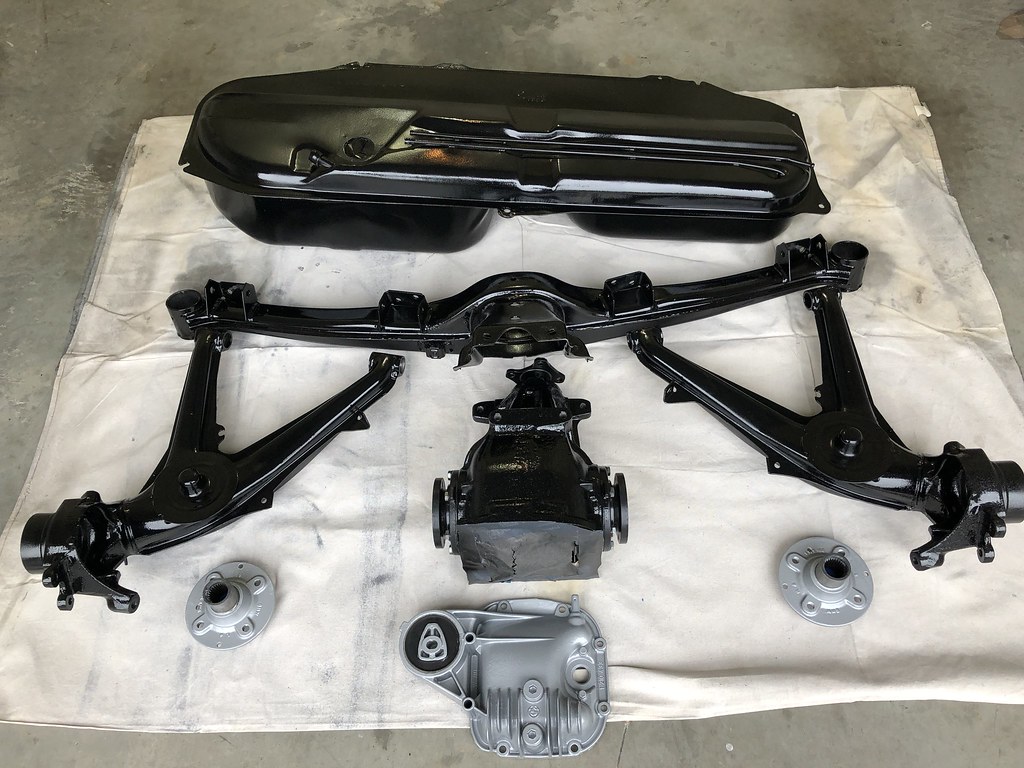
Time to strip the subframe:
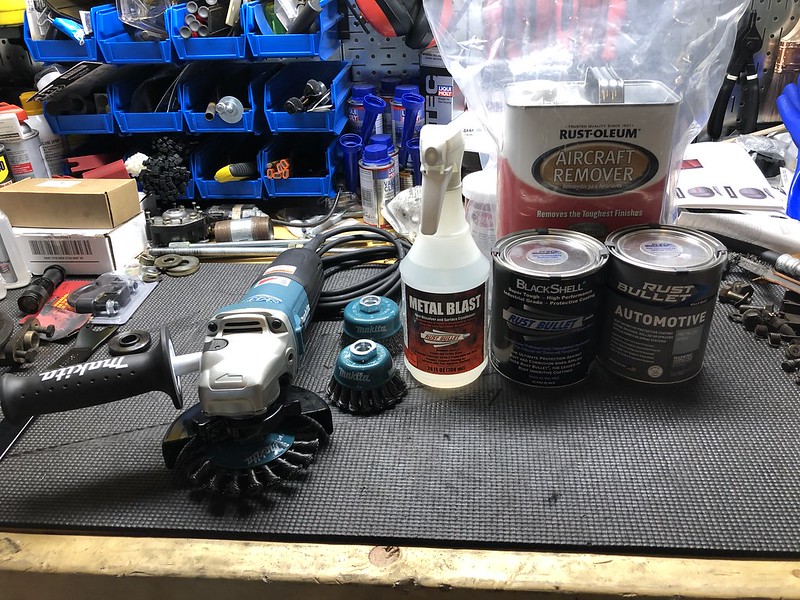
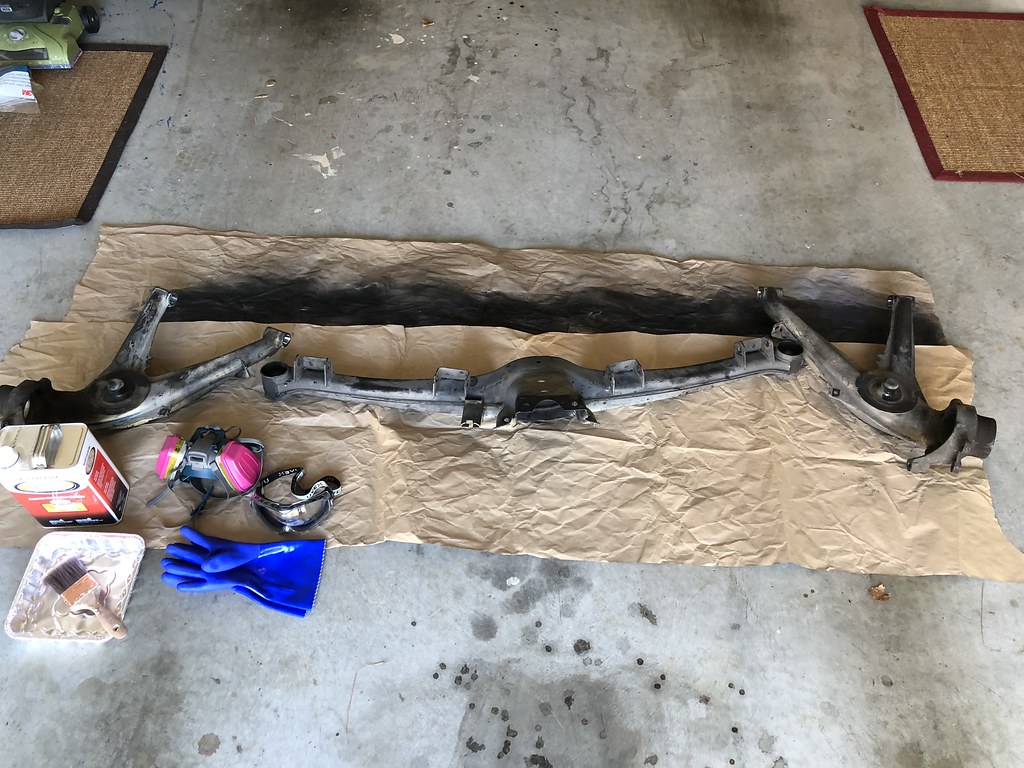
Definitely wear a respirator, eye protection, and some heavy-duty gloves. That aircraft stripper is nasty stuff. Even a little fleck of it on my skin burned instantly.
After a first coat:
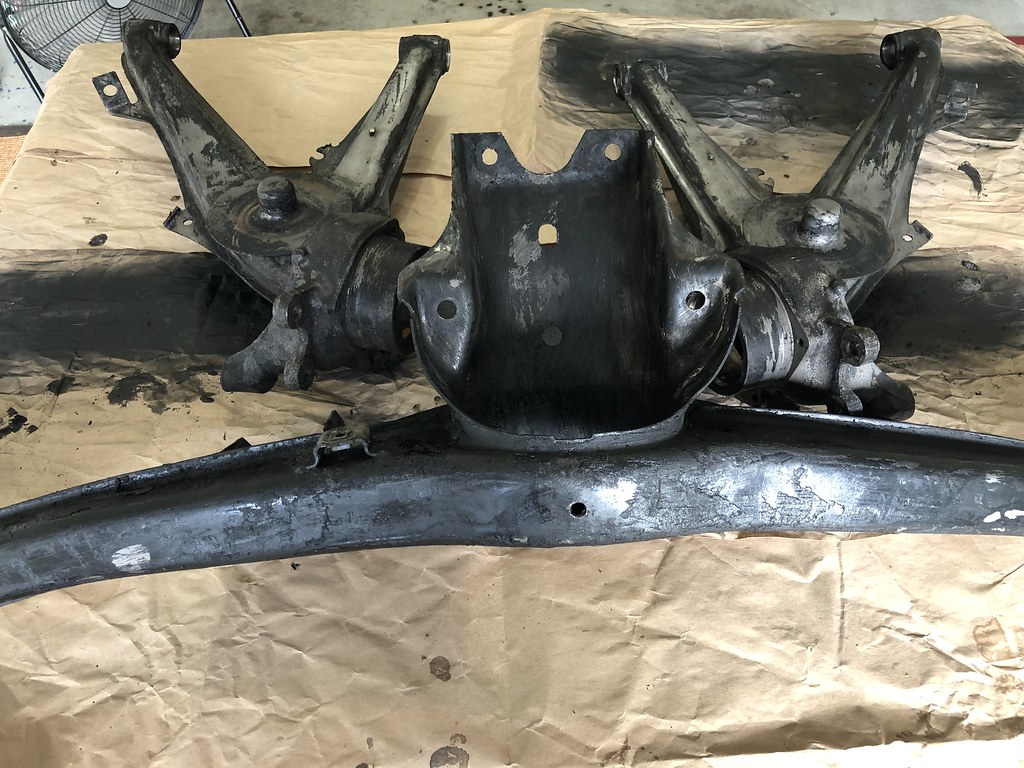
The paint peeled right off with a plastic razor for the most part but there were a few spots that didn't wanna budge despite 3 total coats of the stripper. The heavy wire angle grinder took care of the rest, I recommend doing this part outside as it made quite a mess of the garage. Down to bare metal:

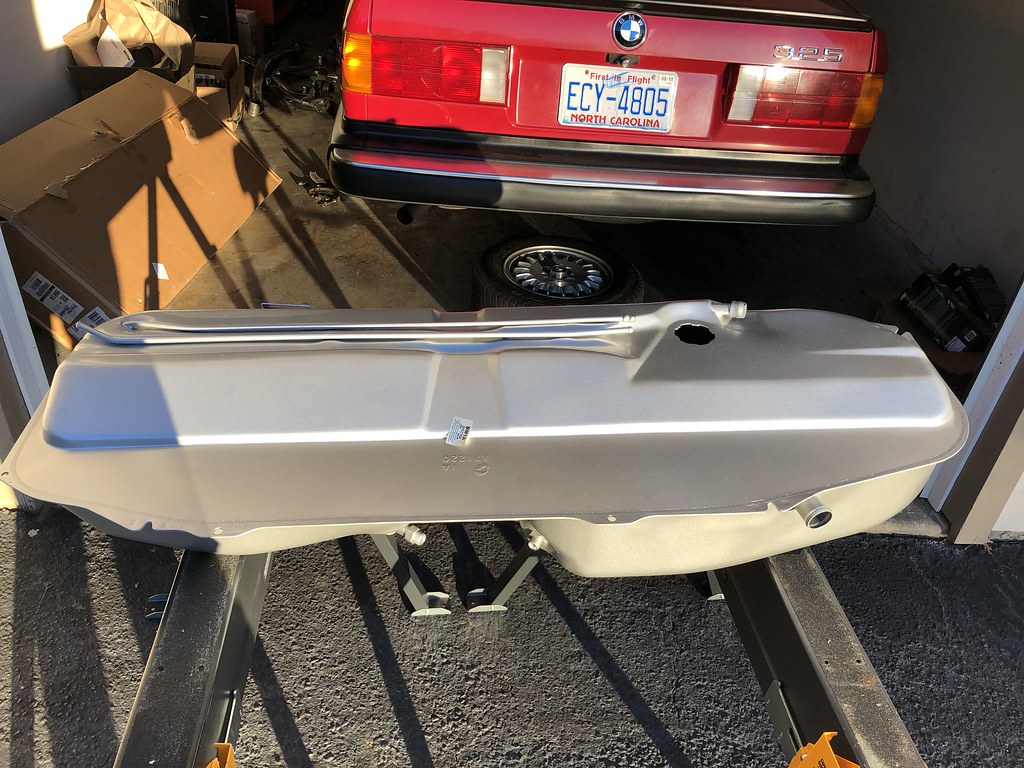
Scuffed the Spectra Premium gas tank and prepped everything with Metal Blast:
Made a makeshift paint booth which actually worked pretty well:
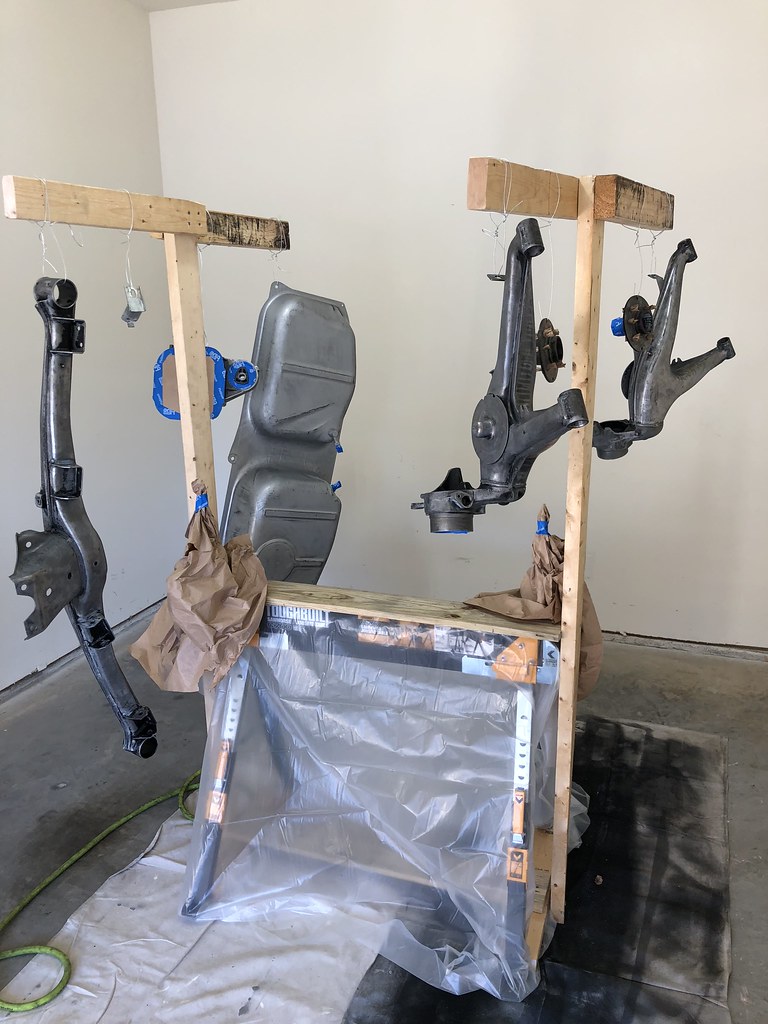
After two coats of Rust Bullet:
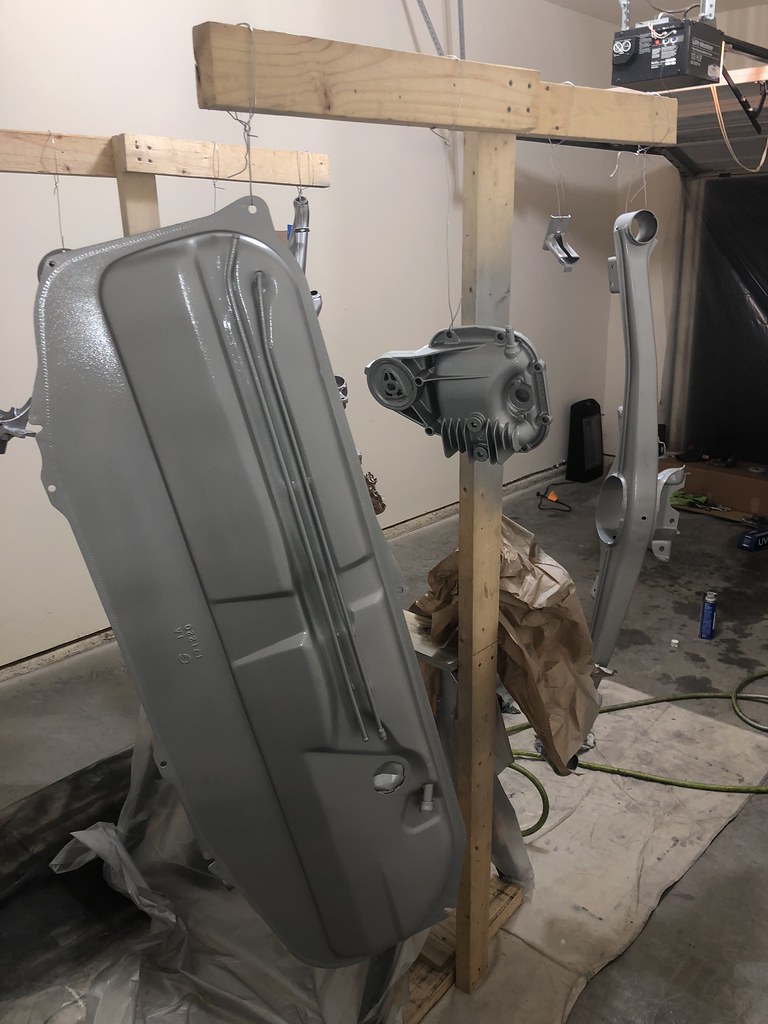
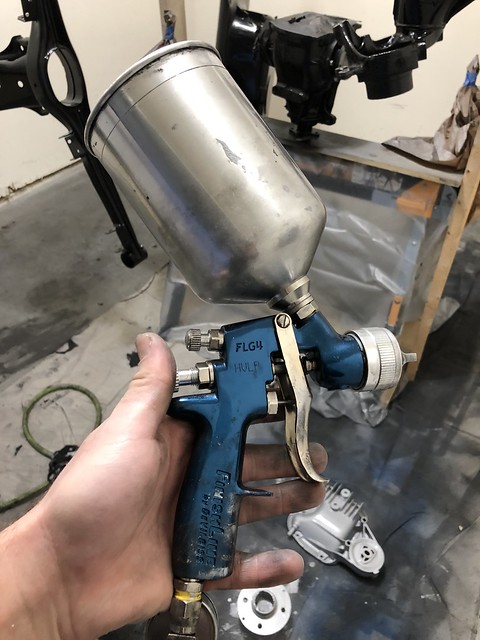
You can see some orange peel, it was my first time using a spray gun and I tried a couple different settings and spray tips to get the spray pattern right. I was using a 30 gallon compressor so had plenty of air supply and a Devilbiss Finish Line gun. The Rust Bullet is pretty thick stuff. The spray gun recommended a PSI of 23-26, while the paint recommended a PSI of 40-60. I went with the setting the gun recommended, probably should have gone with the higher PSI. Still ended up coming out pretty good for a first try and definitely accomplished the goal of rust proofing everything. At least they're parts that are under the car that I won't be looking at too much. The Black Shell top coat was much thinner and easier to work with:
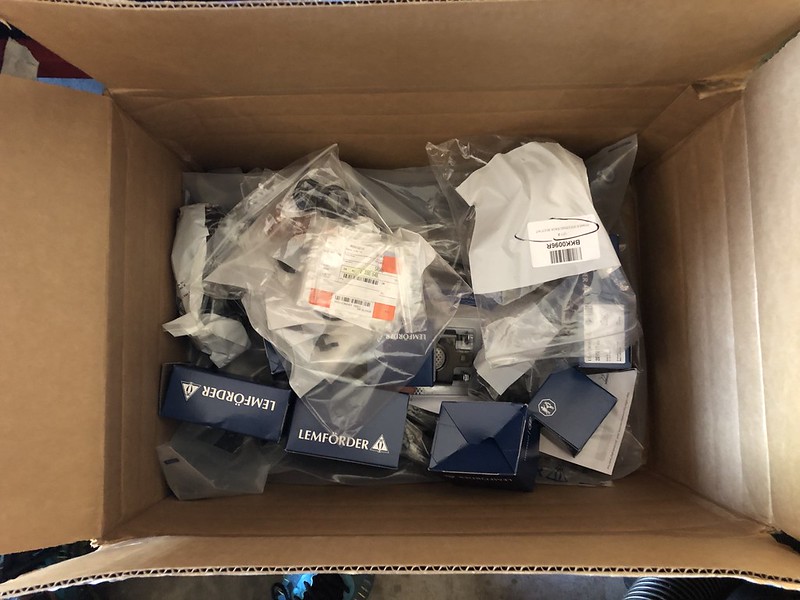
In the meantime, the Parts Fairy came:
Still need to press the new bushings into the subframe, seal, fill, and mount the dif, and put it all together. Wanted the paint to cure a bit first.
In the meantime, I went to work dropping the old subframe and gas tank (last weekend's project). I'll hopefully get around to posting that tomorrow.Leave a comment:
-
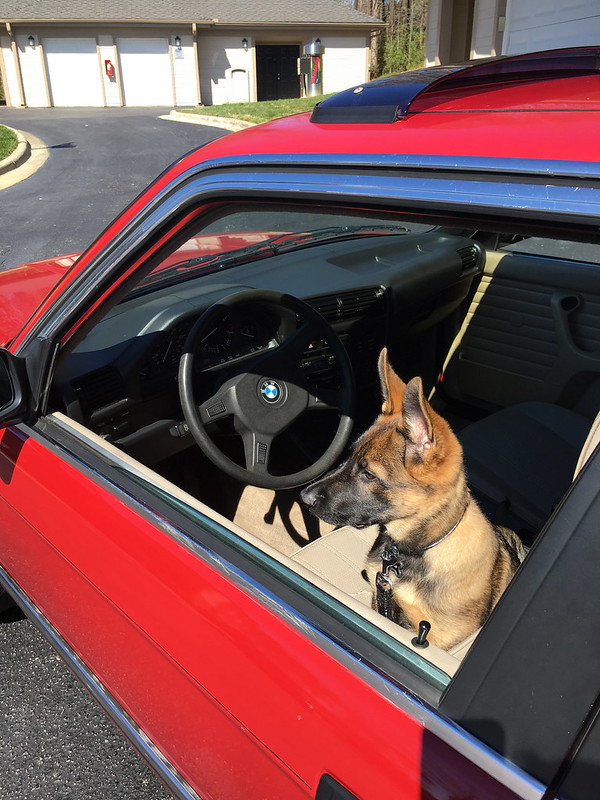
Ok so I've finally had some time off to knock out a couple nice hurdles of the project. After fixing up the engine bay, I ended up getting a German Shepherd puppy in the spring which took up a lot of time (and money) and not a lot of progress was made while I stockpiled parts for the build:

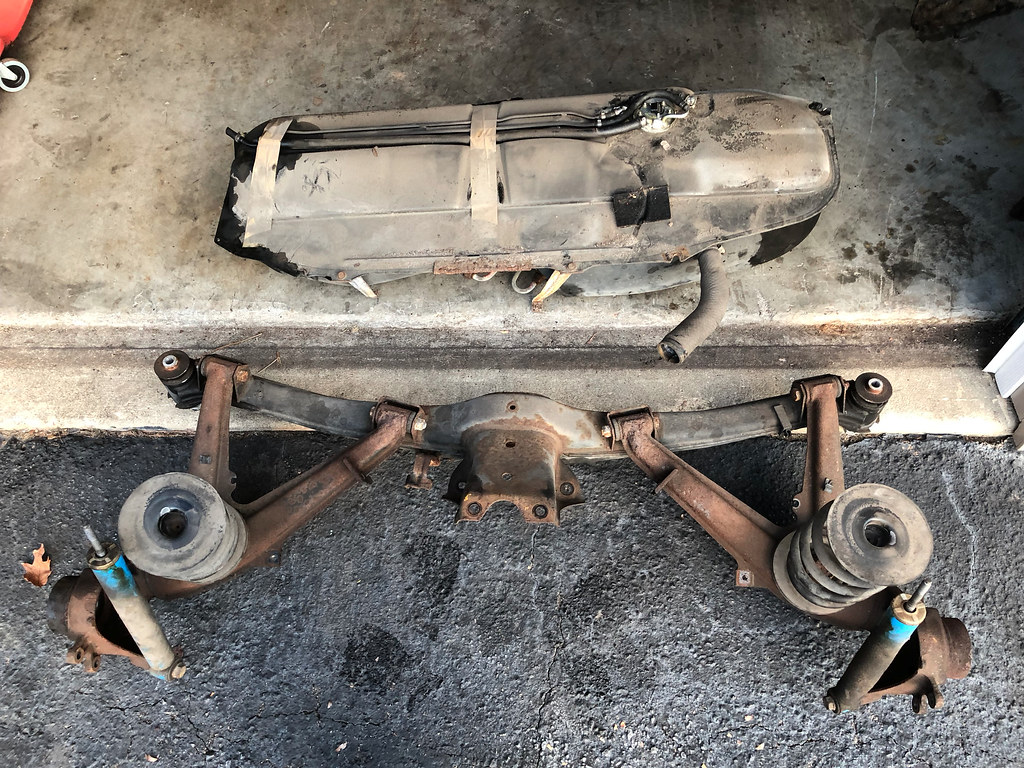
Around that time, I acquired a nice rust-free subframe and trailing arm setup from San Diego for a nice price. Not that anything was wrong with mine, I just felt like it would be easier to have a nice new setup prepped and ready to go, drop the old one out, and pop the new one in with a short turnaround. A little dusty, but all intact:
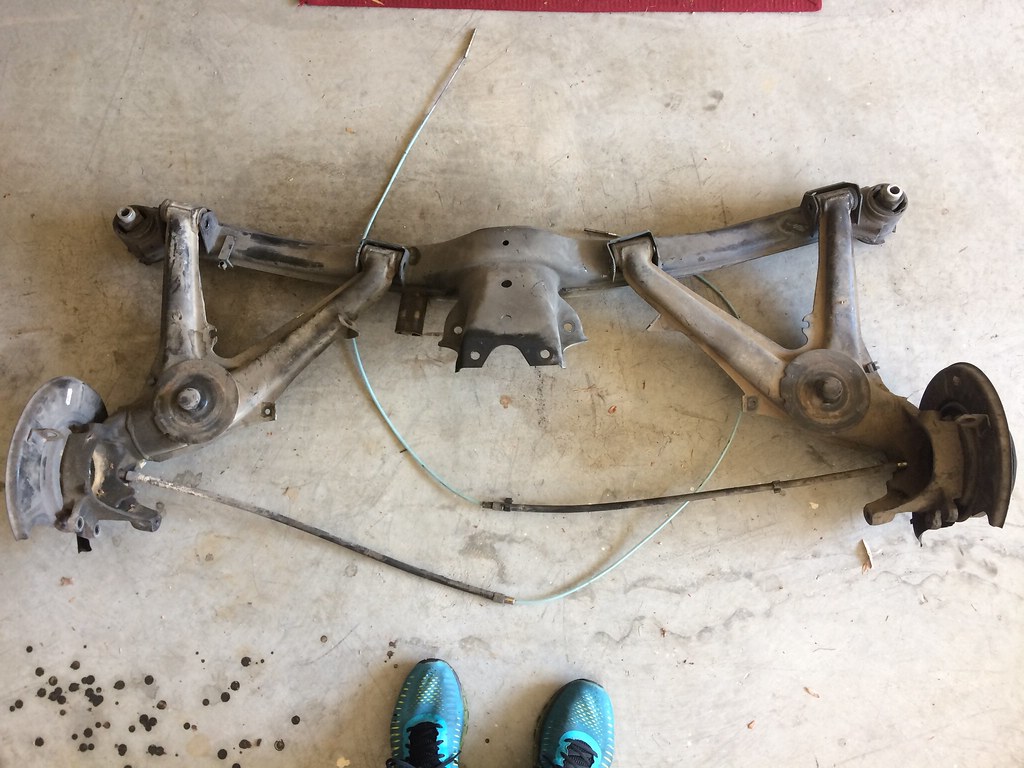
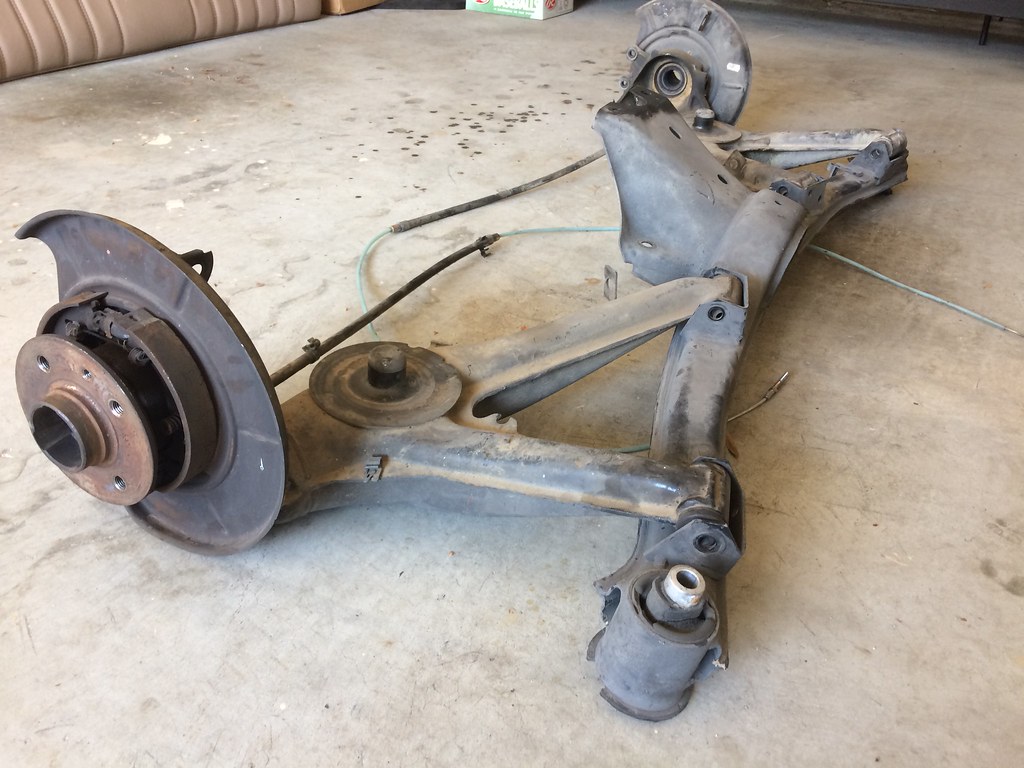
All the bushings were still in place so I went about getting those out. Not an easy project, but overall not nearly as bad as I was expecting.
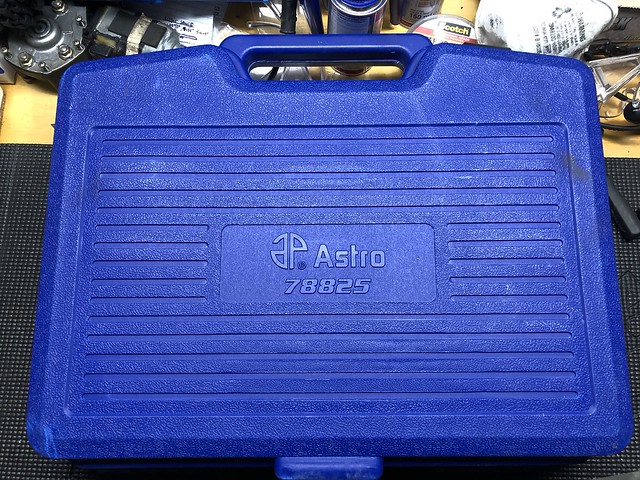
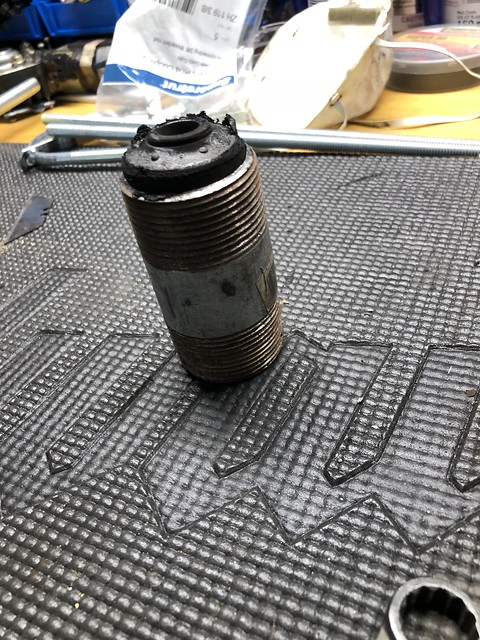
First, i picked up this kit on Amazon for about $85. It was invaluable for this project:
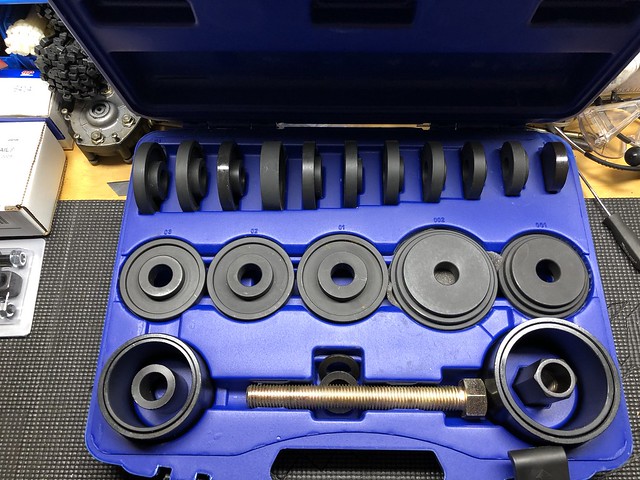
I also picked up some 1/2" threaded rod, a few grade 8 nuts and various washers. For the subframe bushings, here's what I used:
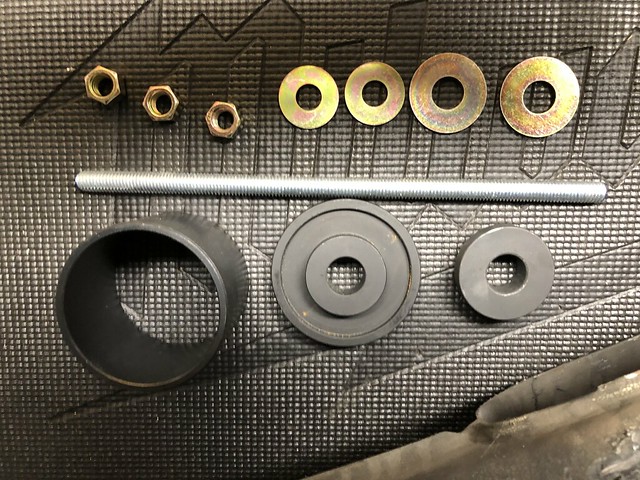
Be sure to put two nuts together on the top and tighten together to prevent the threaded rod from spinning as you press the bushing out:
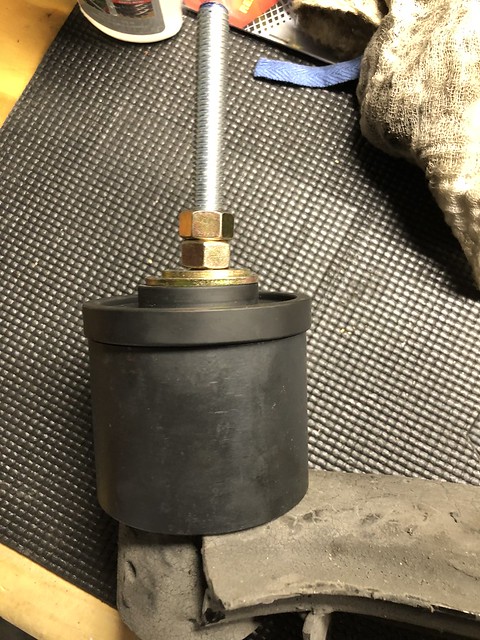
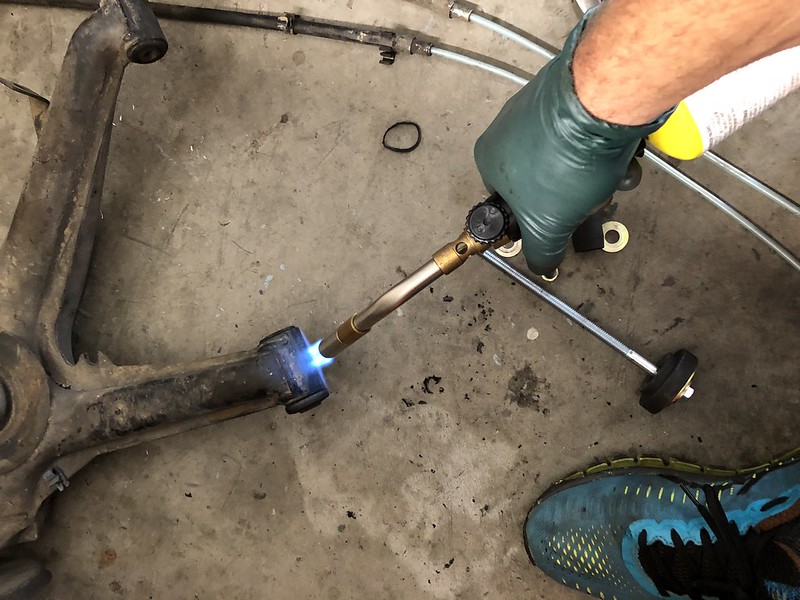
Place a wrench on the top nut as you tighten with the ratchet: (I also heated the bushing with a torch to soften the rubber and make it slide out easier)
As I got towards the end, my cup was a little short and the bushing was hitting the end so I had to improvise with some impact sockets for the last little bit:
Voila:
I used a spacer on the bottom towards the end as the threaded rod got to be too long and was through my socket and hitting the ratchet. In hindsight, I would have just started with the spacer from the beginning.
Wash, rinse, repeat for the other side.
For the trailing arm bushings, I used a similar setup, however used 3/8" threaded rod and I had to use a 3" pipe coupler as a cup since none of the ones in my kit were even close to being small enough. It worked perfectly:

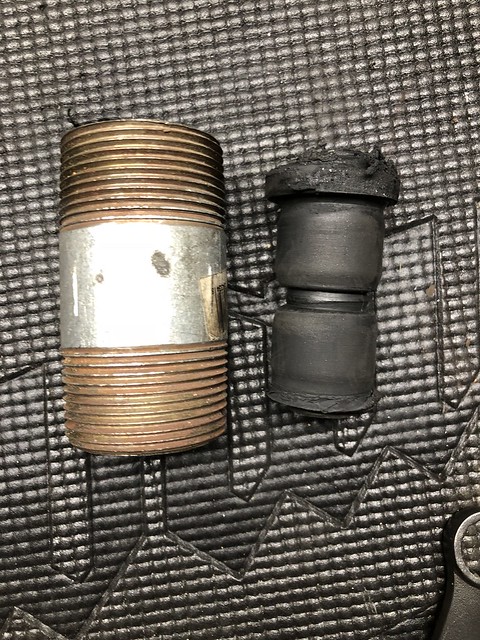

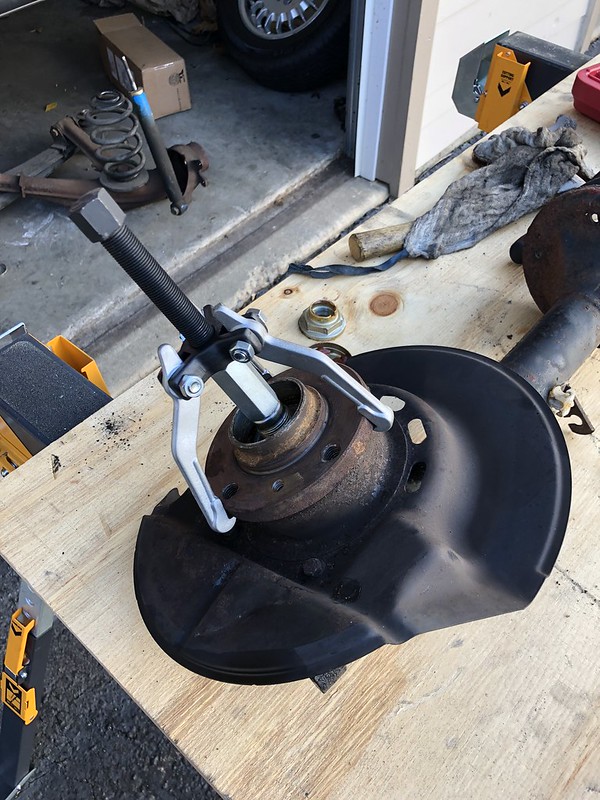
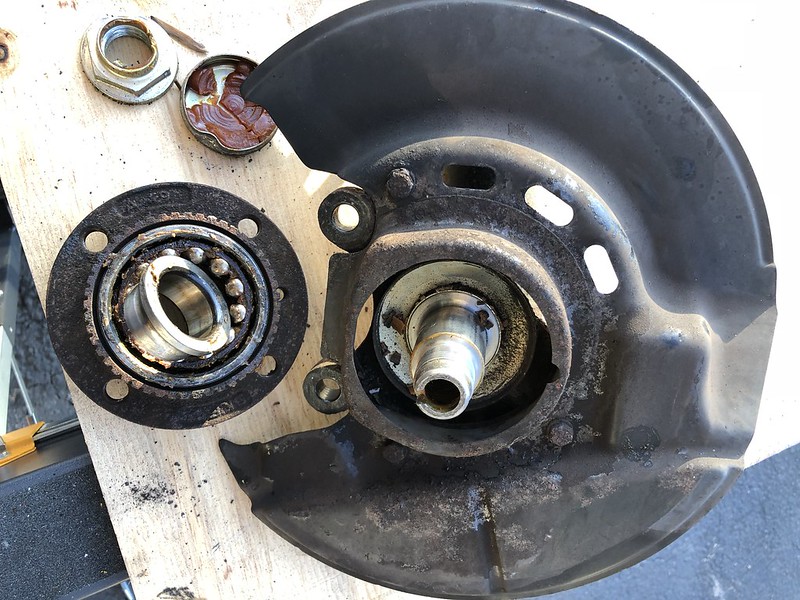
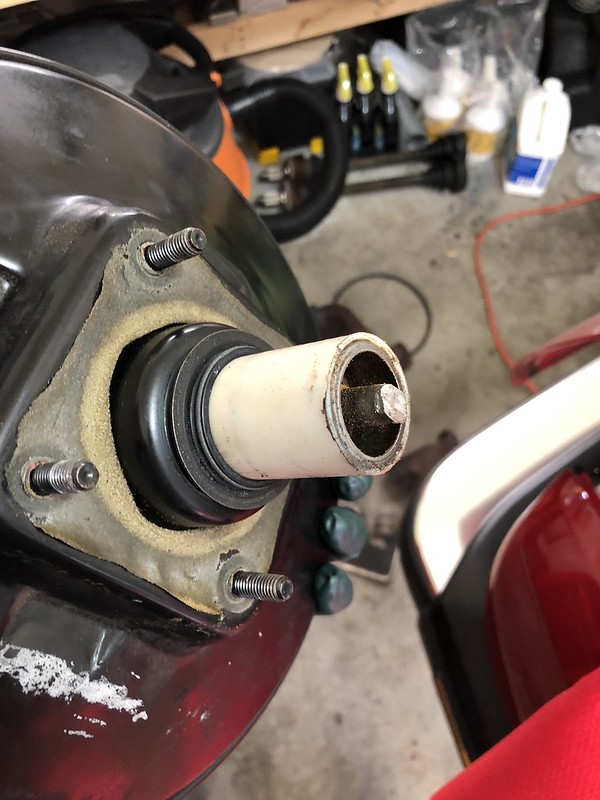
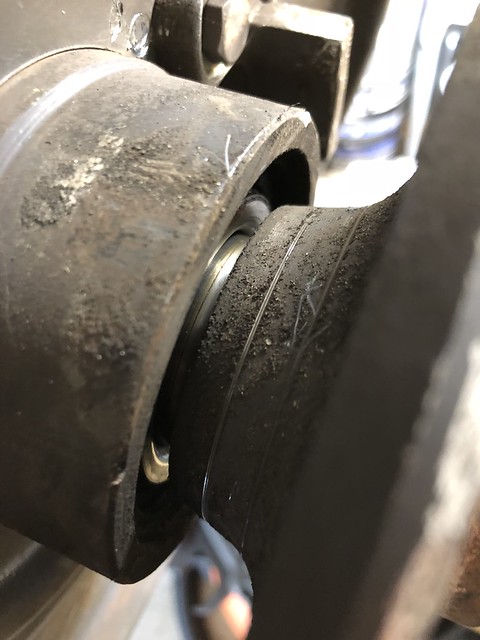
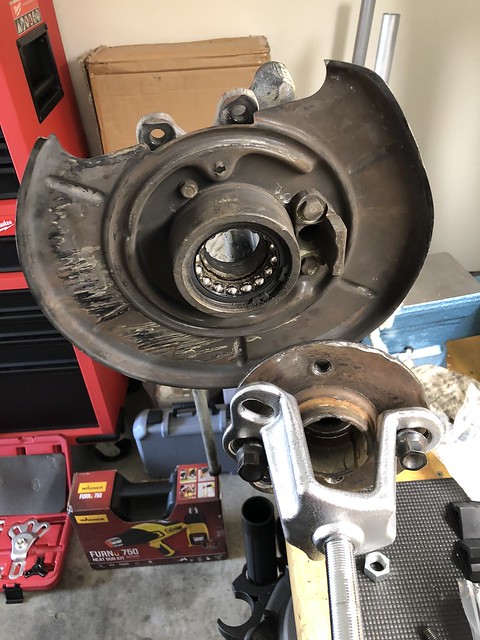
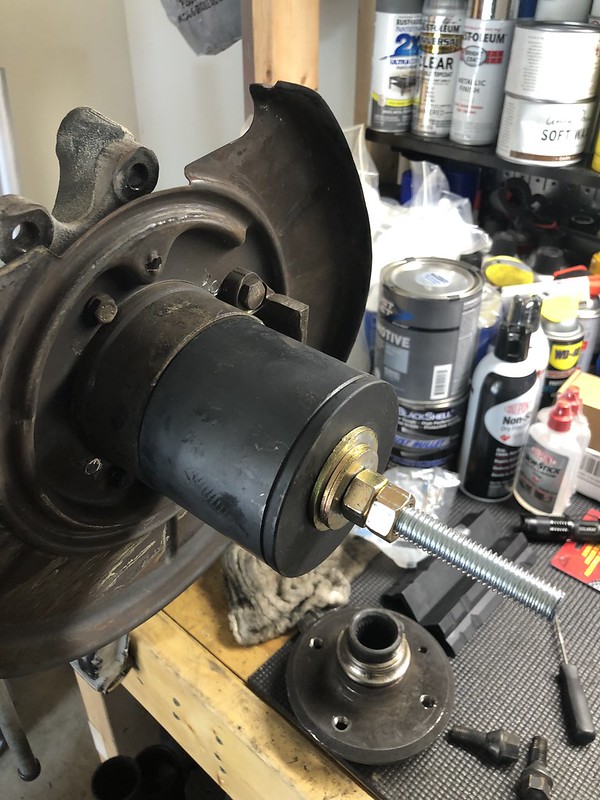
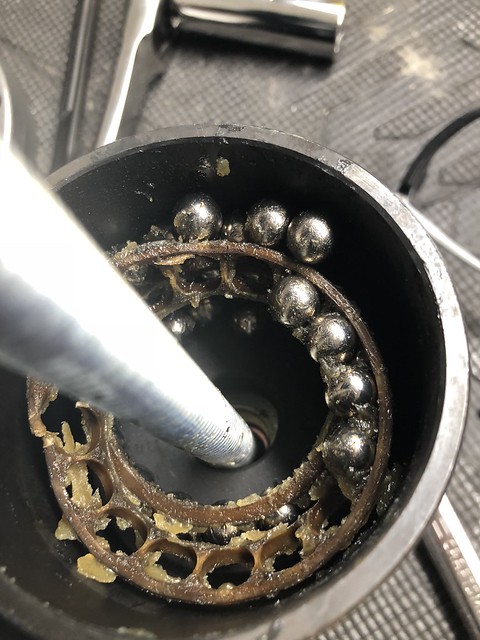
For the wheel bearings, I rented a large bearing separator from Autozone and used two lug nuts to press the hub out. First remove the parking brakes then place the separator between the trailing arm and the hub. Make sure you either use old crappy lug nuts or get some new ones to replace the old ones with as you'll likely ruin the threads on the ends:
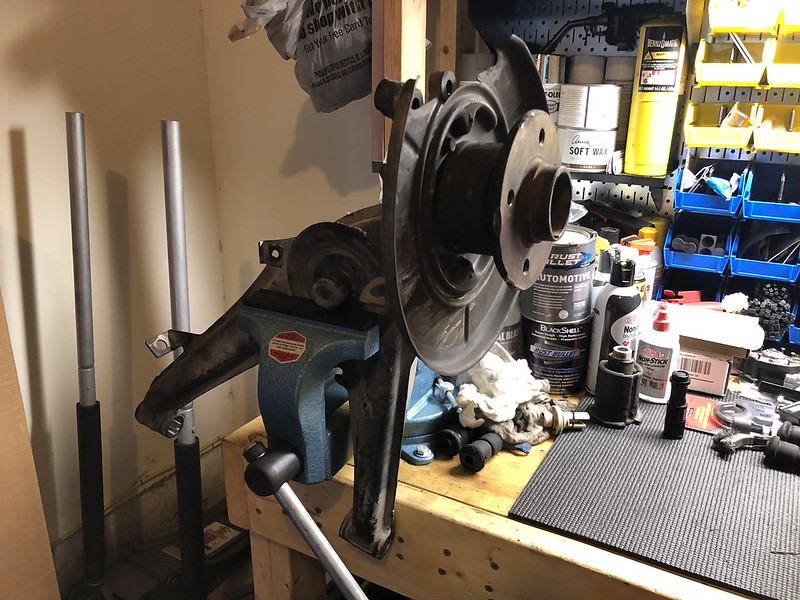
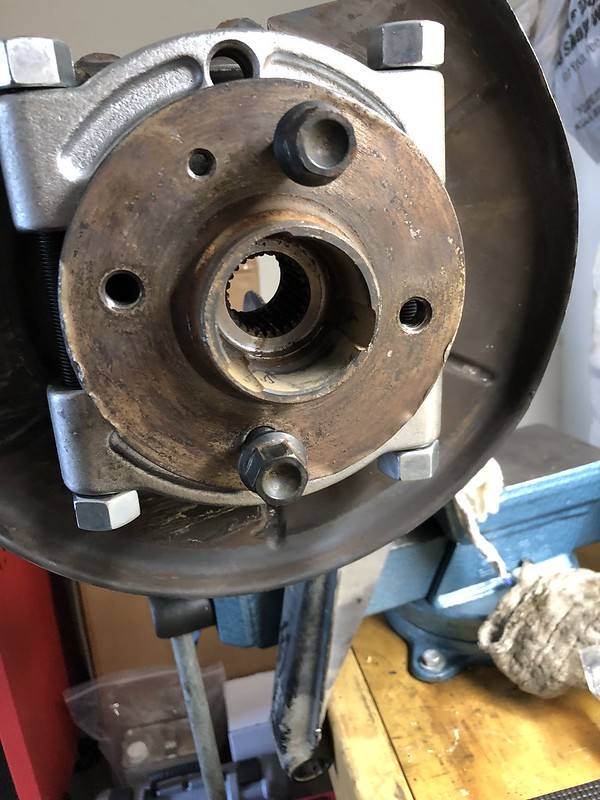
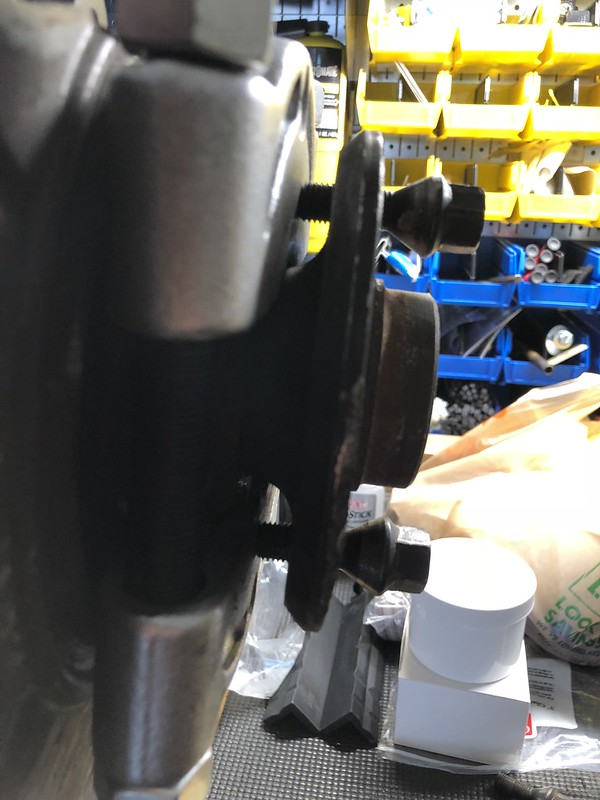
Tighten each side little by little until the hub is pressed off. I got it about 80% of the way there and used a slide hammer for the rest:
Remove your circlip:
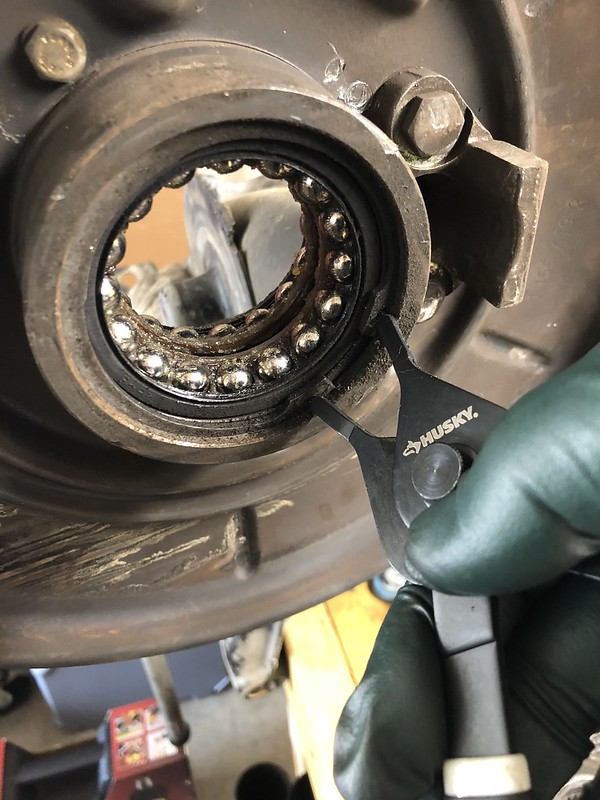
Then use a similar cup/plate/washer/nut setup to press out the wheel bearing:
Bonus: The cup caught all the ball bearings before they ran all over the floor:
All in all, this took a few hours over the course of a weekend to complete with a couple runs to Home Depot and Autozone in between. With the trial and error out of the way, this could likely be done in an hour or two tops.
More coming soonLeave a comment:
-
Originally posted by LateFan
The stock early model (pre-9/1986) Eta sway bars are 18.5mm in the front and 12mm in the rear. Stock 325ic cars have a 21mm front sway bar (but only 12mm rear), and the M3 as well as 325ix cars have a 14.5mm rear (but only 19mm and 17mm fronts, respectively). So basically using a stock "upgrade" for beefier sways.
I looked into the aftermarket options, but based on what I've read they are typically so stiff that you need to also reinforce your mounting brackets for fear that they'll rip off under high stress. I didn't want to have to weld/fab up something just for sway bars on an Eta, so next best thing was a beefier stock upgrade.
Stock:
318i(m10): Front: 18mm Rear: none
318is(m42): Front: 20mm Rear: 12mm
318ic(m42): Front: 21mm Rear: 12mm
325e(pre 9/86): Front: 18.5mm Rear: 12mm
325e(9/86): Front: 20mm Rear: 12mm
325i(m20): Front: 20mm Rear: 12mm
325is(m20): Front: 20mm Rear: 12mm
325ic(m20): Front: 21mm Rear: 12mm
325ix(M20): Front: 17mm Rear: 14.5mm
325ix Touring(M20): Front: 18mm Rear: 14.5mm
M3(s14): Front: 19mm Rear: 14.5mm
The above list borrowed from this thread: https://www.r3vlimited.com/board/showthread.php?t=47362Leave a comment:
-
Great read. Funny, my son's car is so so similar to yours - '86es, Zinno, auto. We've done a lot of the stuff on your list, including H&R Sports etc. We have an early 5-speed and a new single mass flywheel on the garage floor waiting. We swapped a rack doctor E36 steering rack, and what a difference. We went backwards from you - sold the ES cow catcher and fogs, bought a euro lip. Found a set of replica 15" Alpina wheels in Germany.
Question - why that choice of f&r sway bars? I'd like to know more.
Thanks!Leave a comment:
-
Fo' sho. Super easy, found the recommendation haphazardly on a thread. I haven't really found a good DIY on the intake manifold removal/replacement subject. Isn't too complicated, but the little things like this help a ton.Originally posted by jeenyus
Originally posted by Melon
Yeah man lifesaver, was shocked how how well it worked. I've been following your build, really enjoy what you've been doing. Strong work, was thinking of finding a local paint shop once all the mechanicals were sorted out but given how well yours came out with a pretty simple paint setup, I'm considering painting it myself. Crazy, yes, but up for the challenge.
I can't wait to have this car as a manual, it's fun enough as an auto. My other cars are both manual and I love driving them, especially considering it's a dying breed among new cars. Was thinking of keeping this one an auto just so my fiancee could drive it in a pinch, but then i figured I'd just man up and teach her the correct way to drive so I could enjoy the car a bit more.Originally posted by TFJRLeave a comment:
-
The zip tie method, my god that's brilliant.
I had to hold mine down, and hang the IM with the other hand.
I was not impressed.

Leave a comment:
-
Great thread and really nice progress so far! 20 years in the family is amazing. I'm sure you're making Big Al quite happy. I think you'll really enjoy the car even more once you're able to row your own gears! Great call on the 5 speed swap.
The bumper trim looks incredible.
Cheers.Leave a comment:


Leave a comment: