-
Ahhh gotcha. Yah will have to be careful not to get too close with the gun, will definitely swap the current plastic out for fresh stuff after finish sandingLeave a comment:
-
-
You mean the plastic mirrors? Mine were just the unpainted black plastic ones, no paint on them. I should just need to scuff, prime, and paint. I'll make sure to hit them with some adhesion promoter to make sure the paint stays just in caseOriginally posted by MelonLeave a comment:
-
Careful with the plastic, the previous coats can flake off really easy.Leave a comment:
-
Oh boy, don't scare the kiddos...Originally posted by Melon haha. Moving along though, getting there little by little!
So over the last couple weeks I knocked out a couple small projects, made some big progress, and made an oops.
First, the small projects:
I unwrapped that spare harness I mentioned a few posts ago to inspect the wires and to get rid of all the old loose tape:


And rewrapped in new Tessa tape:

Waiting on the associated parts to come in, then will work on and write up the install...
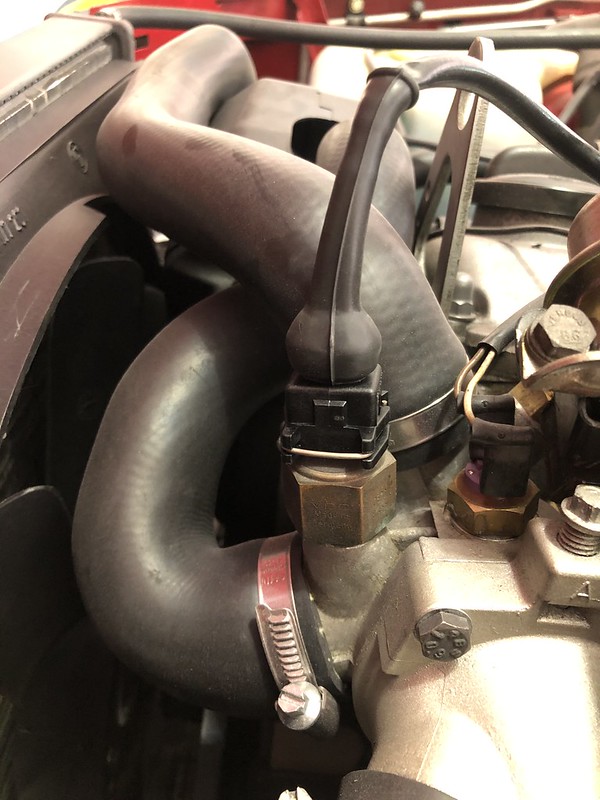
Also, one of my coolant temp connectors has been broken since I've had the car. The metal clip broke off and it was always just held on by friction, always bothered me that it could come off while driving:

You can buy a replacement 2-pin connector (which I had), but I misplaced the part. While trying to get the garage organized I found it in one of my parts boxes and decided to just knock it out before I lost it again.
The label was kindof interesting:
Regular hooman: NO. Hooman with hat and big wrench: YES.

I consider myself more of a hat/wrench kinda guy anyway


Mo betta:
Next I removed the windshield wiper linkage and motor, otherwise the little nubs that the wiper blades attach to would have been in the way for paint/prep. I also wanted to replace some of the rubber grommets on the linkage that were starting to crumble. Reading through the few writeups I found, some people say it slides out no problem, others say that it won't fit through the HVAC panel in the engine bay with the IHKA still in the car. Mine fell into the latter category:

No matter how much I squeezed, pushed, wiggled, there just isn't enough room to get the whole thing out intact without breaking something, or bending the metal cowl under the windshield. I was not about to pull the dash and remove the IHKS again (EVER). I ended up removing the wiper motor from the linkage while still in the cowl, which allowed me the room needed to get the whole thing out. I'm going to take the motor and linkage apart and replace all the wear components, when I do that I'll included the removal, refurb, and re-install just to keep everything in the same place.
Then I went about getting the unibody of the car sanded and primered. It's one thing to prep a panel here and a panel there, it was another to tackle essentially the majority of the car at once. Plus I knew I'd have to remove all the glass...
Started by just masking the interior and blocking the car flat with the glass still installed to keep as much dust out of the interior as possible:


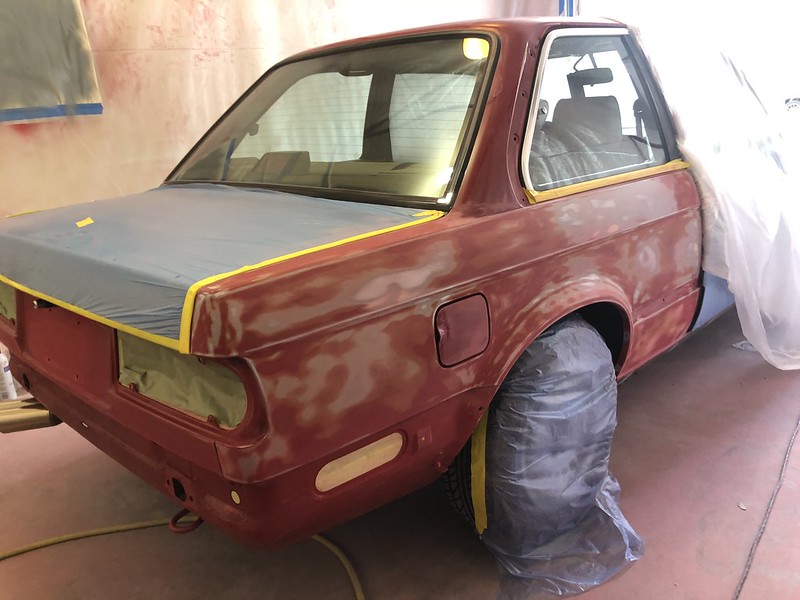

As big a surface area as I was dealing with, this actually went pretty quickly as there wasn't really any body work I needed to do. The above only took me roughly 2-3 hours.
Then I got to work removing the glass so that I could finish sanding the edges and inspect the metal under the windshield seals. I feel an oops coming on...
I was pushing with my palms from the inside and trying the help the gasket off of the glass with a non-marring pry tool from the outside just to get the seal broken. I just about had it when...
POP:

I knew that was gonna happen dammit. Oh well, the glass was the original glass and full of rock chips and I was really not looking forward to buffing it all out with cerium oxide. Safelight has me quoted at about $280 for new glass installed with a coupon code.
Luckily I got the hang of it and the rear glass came out no problem:

And best of all, there was no rust hiding under the seals:

Original butyl tape still intact:

Masked everything off to keep the dust out:

Got the doors off, this was actually surprisingly easy. Took about 5 mins per door:

After sanding all the edges that had been covered by the rubber seals and scuffing the jambs, I decided to remove all the rocker panel chip guard:

I was going to leave it, but due to its texture it was really difficult to sand and I worried that I'd have some paint adhesion issues if it wasn't sanded well enough. At least I can see how the car looks painted with smooth rockers, and I can always add chip guard after paint, then paint it black the way it came from the factory later if I don't like it. Doesn't really matter as the MTech skirts cover it anyway.
The next day I did a more proper masking job and got to work on primer. I wanted to keep primer out of all the jambs as the paint was in excellent shape and I didn't need to be wasting time sanding primer out of there. I'll be sealing the jambs along with the rest of the car anyway so that the basecoat will look consistent throughout.
The masking alone took me a few hours, not looking forward to having to do it again for base/clear:


The primer went on rather quickly once that was done:
Epoxy over exposed metal/filler:

Then filler/primer:

Was so excited to have such a big part of the car done that I ripped all the masking off to admire my work before I sprayed guide coat on, oh well:


Very happy to have that part done, it was a daunting task that I had been nervous about for whatever reason. Now I feel like getting the unibody in sealer/base/clear is a little more attainable.
The last few bits I'll need to get sanded and in primer are the metal euro valance, the side mirrors, and the trim pieces that go behind the vent windows. Should be able to knock those out in a day, then will be getting ready to get this baby looking ravishing in red!
Leave a comment:
-
Stop, I can only get so erect.
Solid work man! Really looking forward to seeing this thing done.Leave a comment:
-
Thanks brother!Originally posted by mike.bmw
Originally posted by MelonI believe it, I was impressed. Nothing wrong with making do in the name of progress, I ain't mad at it Melon!Originally posted by paynemw
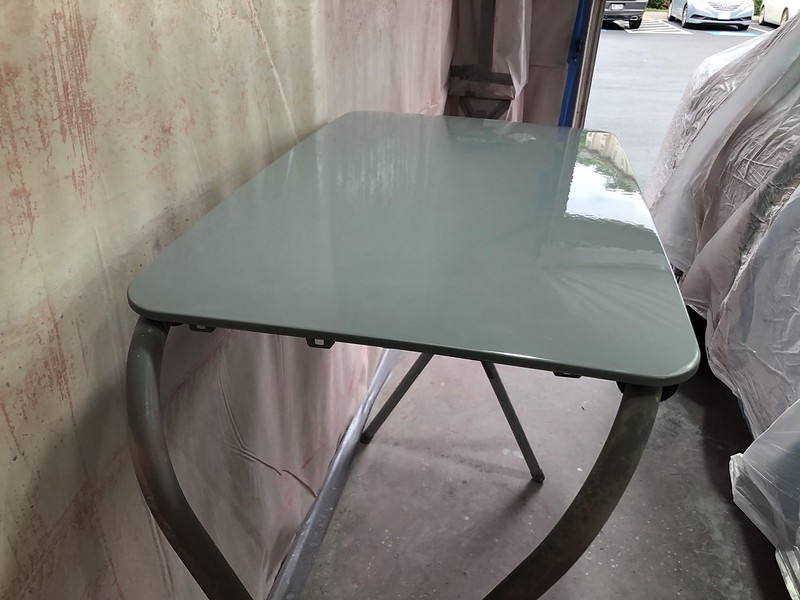
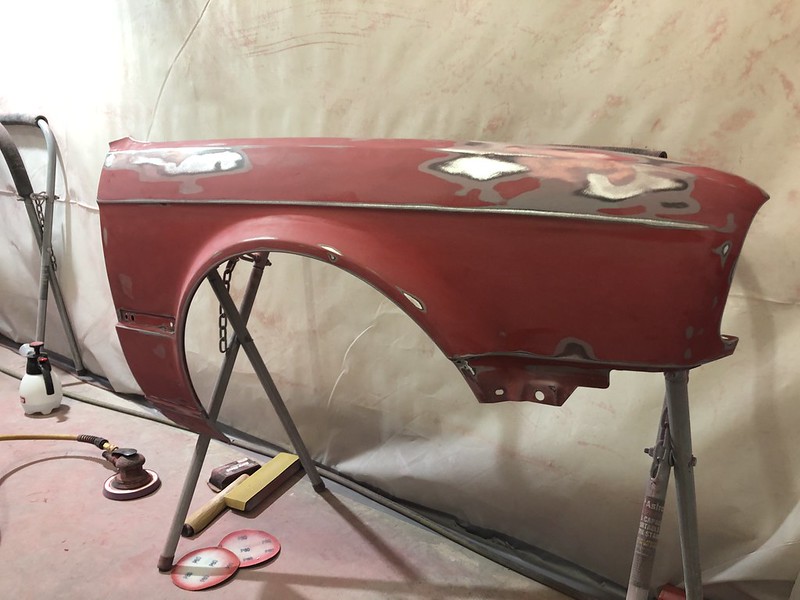
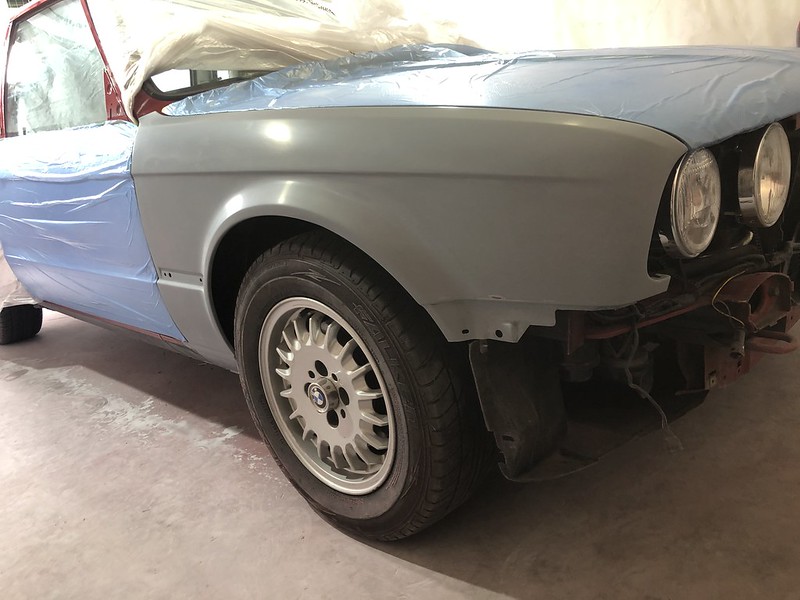
So after getting the panel bond cured, I got the fender smoothed out with some filler, sanded, primed, and wet-sanded:
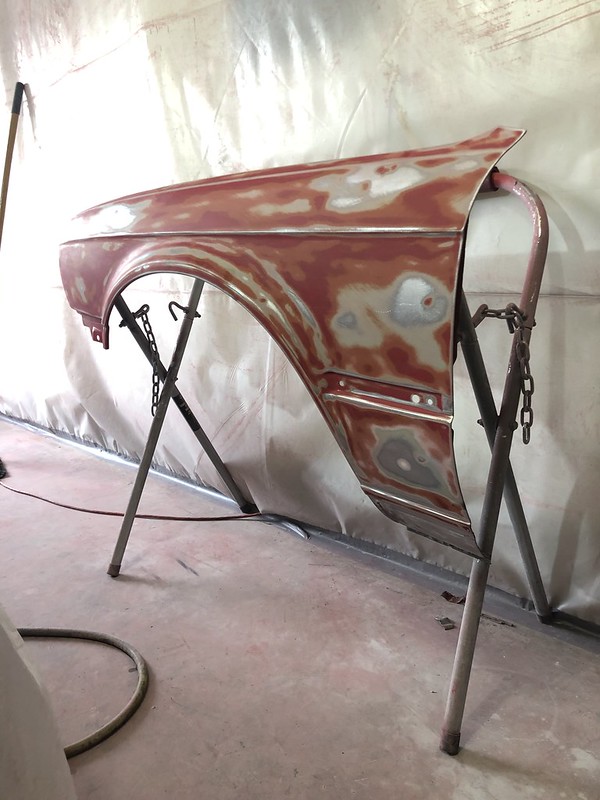

Also coated the back with some rust bullet:
Then got it mounted up to see how everything lined up. Not too shabby:
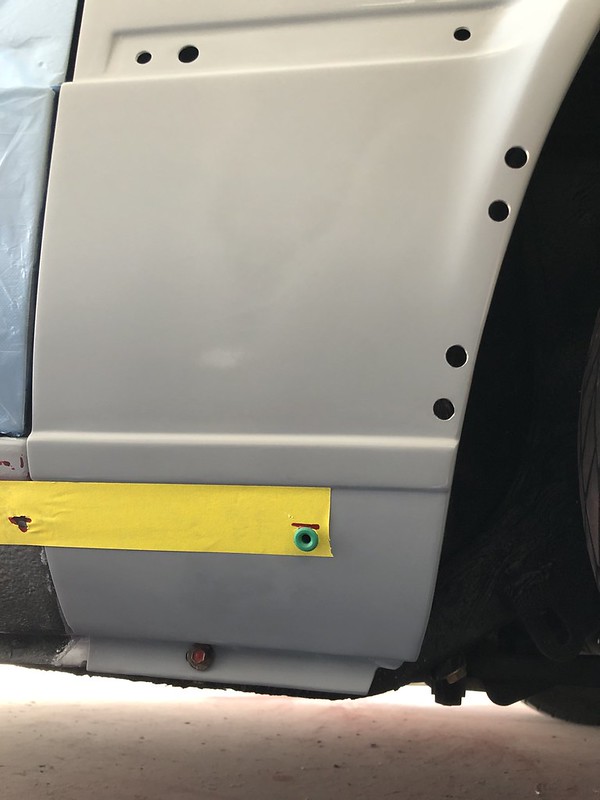
Since I was going to have to spray some epoxy primer on the exposed metal on the fender anyway, I figured there'd be no better time to drill the holes for the sideskirts so I could coat the drill holes in epoxy as well. I didn't have a drilling template, so I ended up using pieces of tape on the skirts, marked the holes, and then transposed the tape onto the car as my makeshift template:


The MTech 1 install manual states the front mounting bracket holes as well as the holes along the rocker panel should be initially drilled using a 3mm bit, then gradually expanded to a final diameter of 8mm.
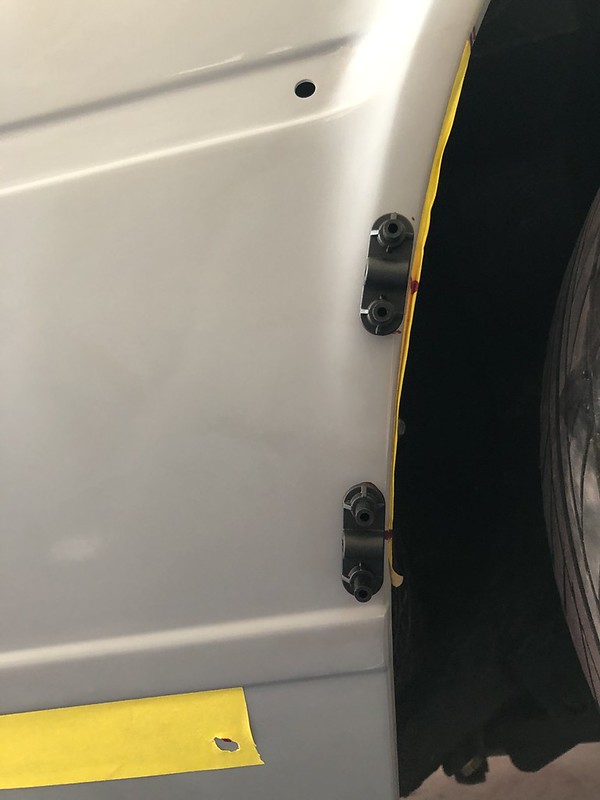
Getting the front 2 mounting brackets lined up. The brackets in front are required since the thinness of the front fender lip won't allow you to drill directly into it, instead the front sheet metal screws end up catching the hole in the bracket:

Not the most scientific method but it worked:

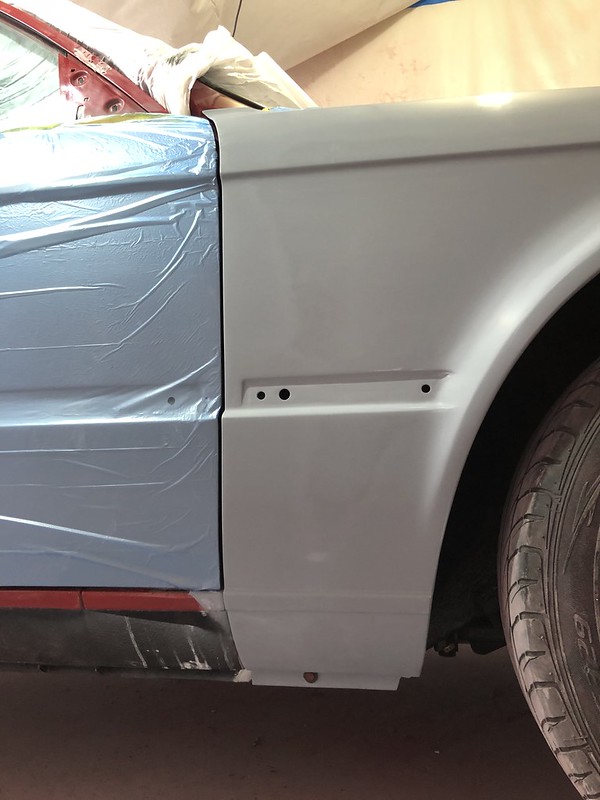
The rear fender has a thicker lip, so you can drill directly into it and fasten in place with plastic pop rivets. These holes end up with a final diameter of 5mm per the instructions:


Same process on the other side, then coated the metal in epoxy to prevent any rust:
Then I got the fender in high-build:
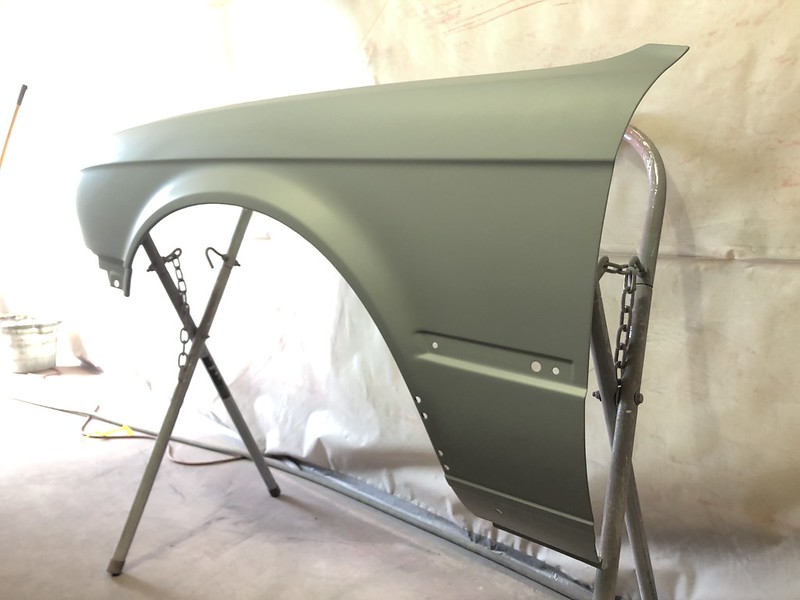
Followed by blocking/wet-sanding:

What repair???


Very happy with the end result!
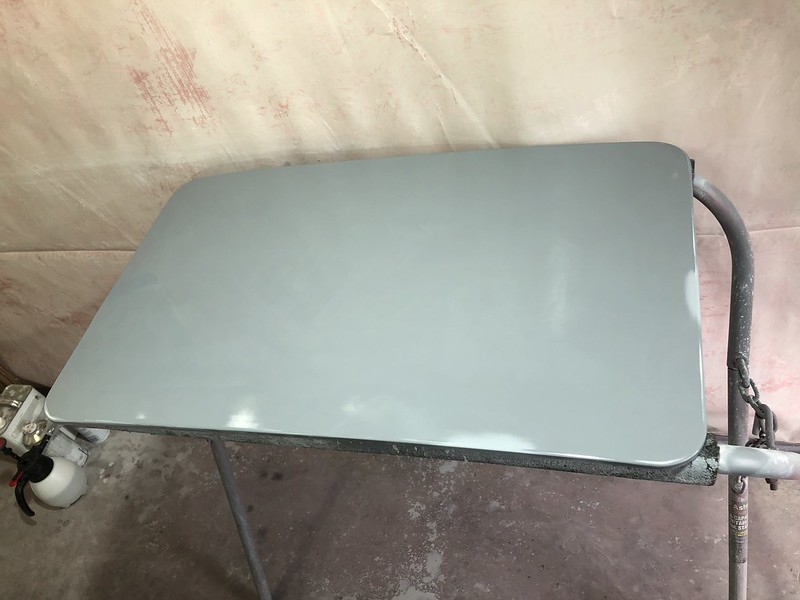
I also got a replacement sunroof panel that I prepped, primed, and sanded. Basically only needed a scuffing, no filler or metal work at all:

Zero rust:
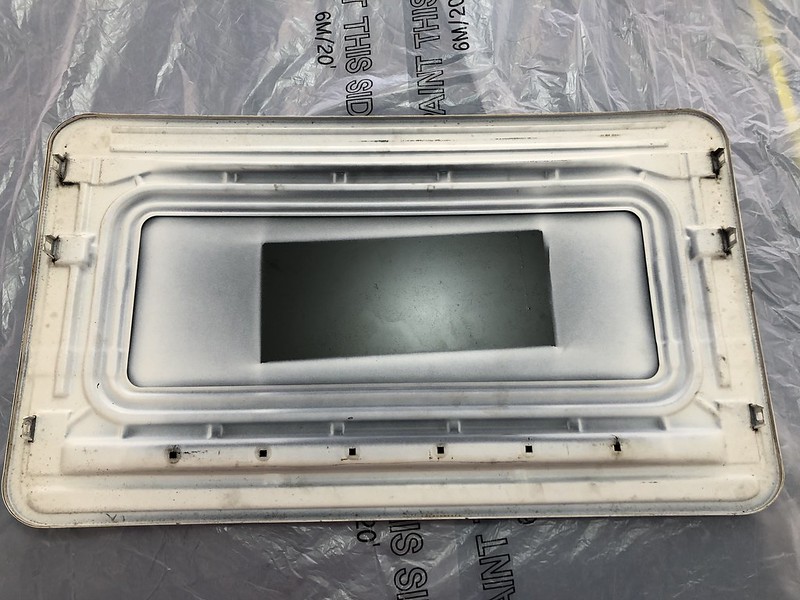
Took only about 5 minutes to block sand straight:

Epoxy:

And after final wet sand:
And more stuff is ready for paint!
Got this all done about two weeks ago, started a new job so garage time has been scarce the last week or so. Have done a few other small odds and ends that I'll post up later this week, plan to start sanding the roof/rear of the car this weekend
Leave a comment:
-
From my understanding 3M revolutionized the body adhesive process to the point that these adhesives are stronger than welding in some cases.Leave a comment:
-
Nice work on the fender (and everywhere else too, obviously)! I've heard good things about Lord Fusor body adhesives as well.Leave a comment:
-
If you don't plan on painting the jambs, I'd just leave the rain gutter trim on and mask them off. It wasn't hard to remove them per se, but you need to be VERY careful and go slowly. A thin non-marring pry tool or a small flathead and a towel helps. Start from the front where the side mirrors are and work your way up lifting up while you gently twist/rotate the metal off the gutter, you'll need to slide the little chrome cover between the pop-out window and chrome trim forward first also. See Jordan's writeup on removing the trim: https://www.r3vlimited.com/tech/wind...windowtrim.htm .Originally posted by Pootis
Also, plan on pooping your pants at least a couple times as you remove them as every time a section of the chrome releases from the rain gutter you'll think you've bent it.
Other than the top rain gutter trim, the rest was pretty easy.
Nothing wrong at all, I just hope you'll be able to tell the difference otherwise this is a whole lotta work for nothin' haOriginally posted by 2mAn
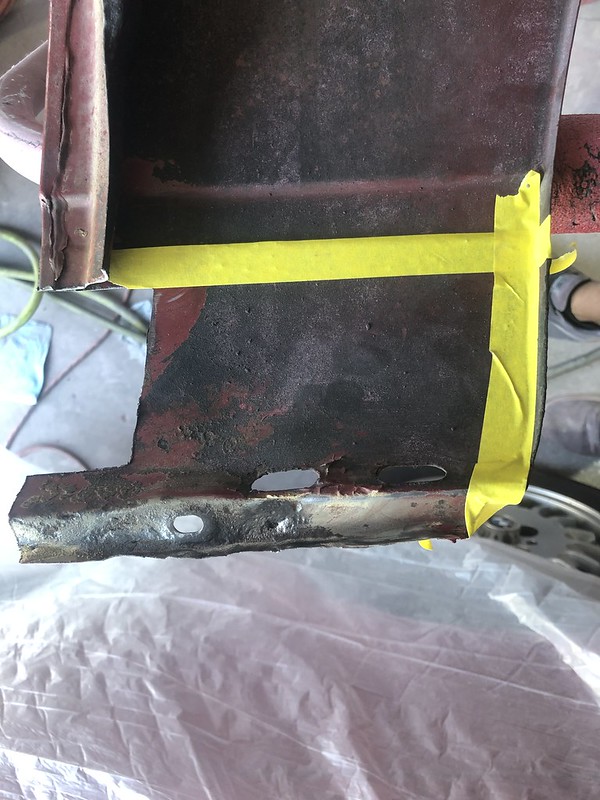
So as you've read, my driver's fender had a small rust hole in it that I intended to weld in a patch for. Then I toyed with the idea of just replacing the fender after asking some others' advice. Well no one seems to have a nice rust free fender available at the moment and I don't want to waste a bunch of time waiting around on one. AWDBOB reached out to me the other day and said he had a nice fender bottom that he was willing to cut off and ship to me, so rather than having to mock up my own section from scratch I figured it'd be a lot easier. Then I was on the phone with Big Al (my dad) about finding someone he knew with a welder, and he asked me why I didn't just panel bond the new piece in place instead? For non-structural components it's supposed to be stronger than most welds and also seals out any corrosion, unlike welding. I checked into it and decided to give it a shot yesterday.
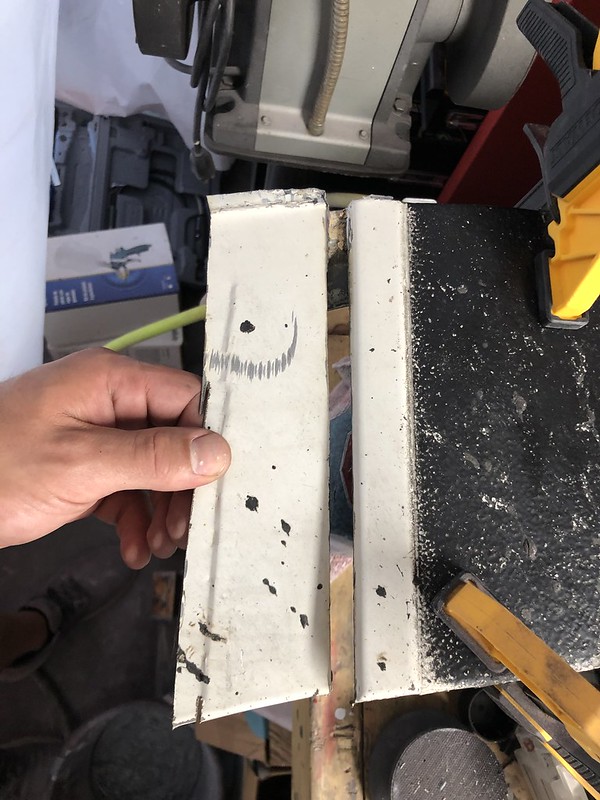
Started by cutting out the rusty spot to see how far it extended before hitting good metal:


I initially was just going to cut a piece to fit in the small rectangle, but when I went to go hammer and dolly the bottom section straight I found that the metal had a bunch of pinholes that I could see through and figured it'd be better to patch in a larger section.

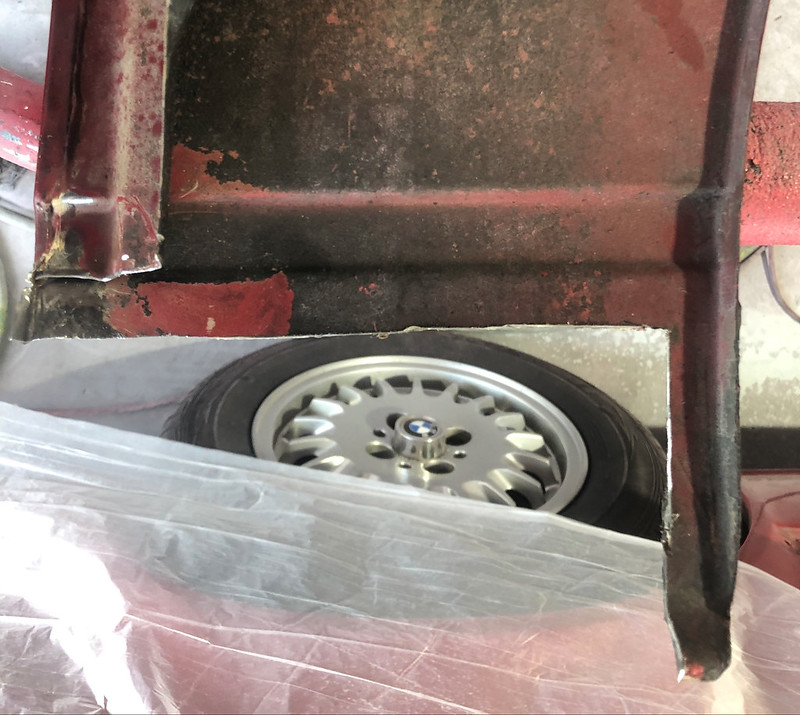
I wanted to keep all repairs below the trim line where the red paint meets the black textured rock chip guard as that area is covered by the MTech sideskirts anyway. I also wanted to keep some of the landmarks and body lines intact to make sure the patch panel aligned correctly and to give it some added strength, attaching at more than just one edge. I ended up with this:

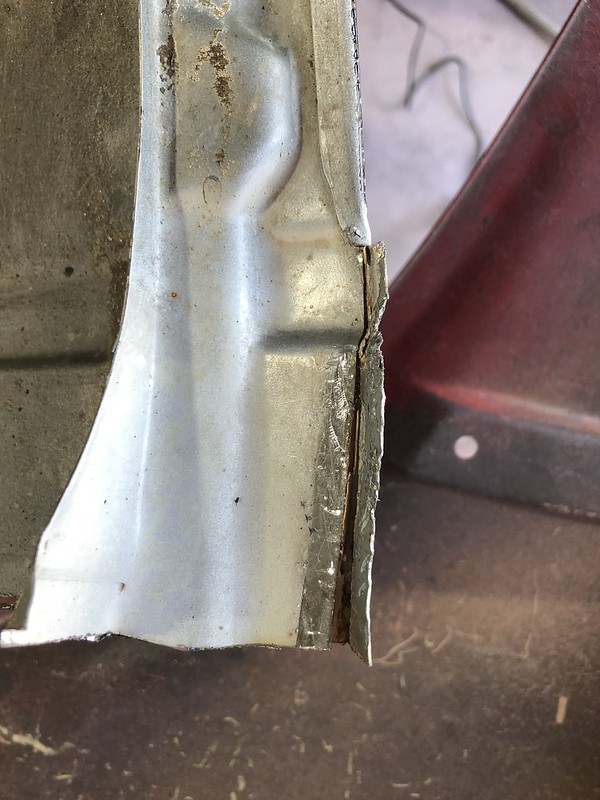
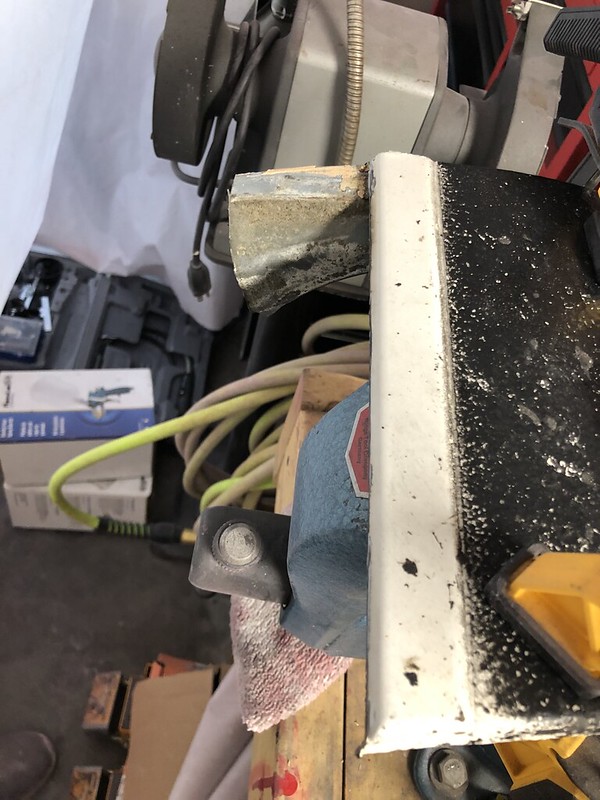
On the inside of the fender near where it meets the door there is a perpendicular strip of metal that acts as a mounting and reinforcement strip. The edge of the fender is rolled over it and it is sealed in place with seam sealer. I cut a section of the old reinforcement strip out and bent the rolled edge of the fender back so that I could fit the new panel section in there and have it be more cosmetically seamless:


I cleaned up any rust as best as I could. I then cut the patch panel to fit leaving a section of extra reinforcement strip intact. This will overlap with the one on the original fender for more strength, effectively giving me three edges of attachment instead of just one.
Here's the replacement section, thanks Bob!

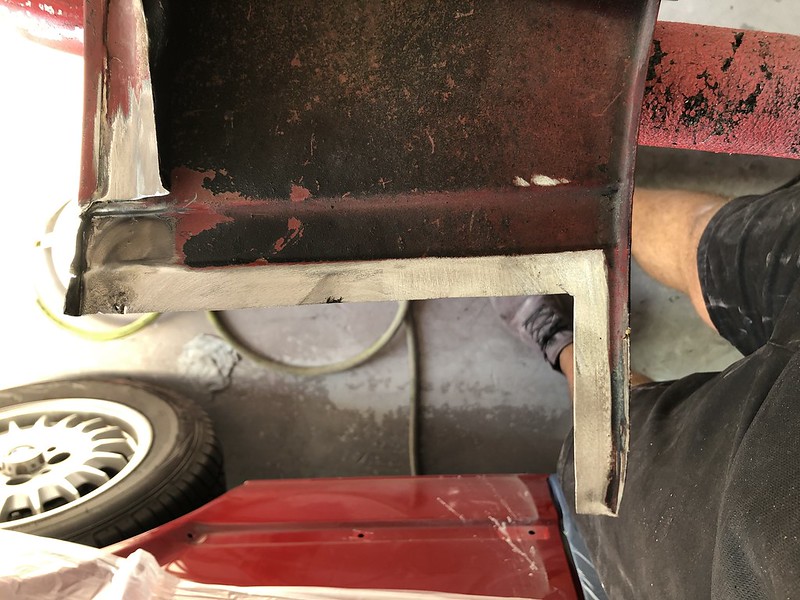
And here's how I cut it. I rolled the fender edge off the reinforcement strip so that I could cut the fender metal while leaving the reinforcement strip intact:

At first I tried keeping the body line intact thinking I could just lay the new patch panel into the "gutter" of the original fender. I didn't like how it fit and so ended up cutting it right where the black rock chip guard meets the white paint:
Test fitting it in place:


In order to correct that overlap and to avoid using a ton of body filler, I bought a flange tool in order to bend the edges and allow the panel to sit flush with the rest of the fender. Also pictured is the 3M 08115 panel bonding adhesive:

I did a final trim and taped off the edge where I needed to make the flange to line up correctly:

Hard to tell in the pic, but it's now sitting nice and flush:

I cleaned up all edges with a 50-grit metal sanding disc:
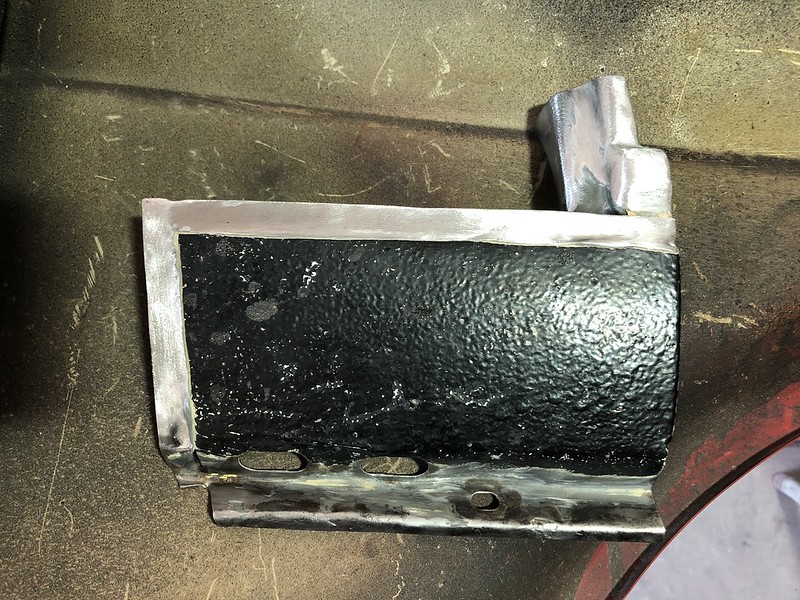

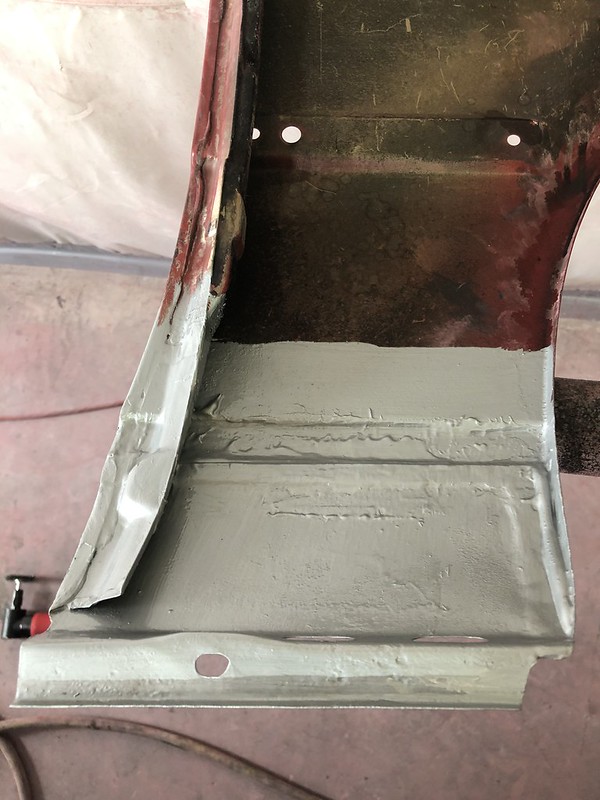
Then cleaned the surfaces with wax and grease remover. The 08155 has a 90 min work time, 4 hour clamp time, and 24 hour cure time. You're supposed to coat all the bare metal on both mating surfaces first to seal out any corrosion:
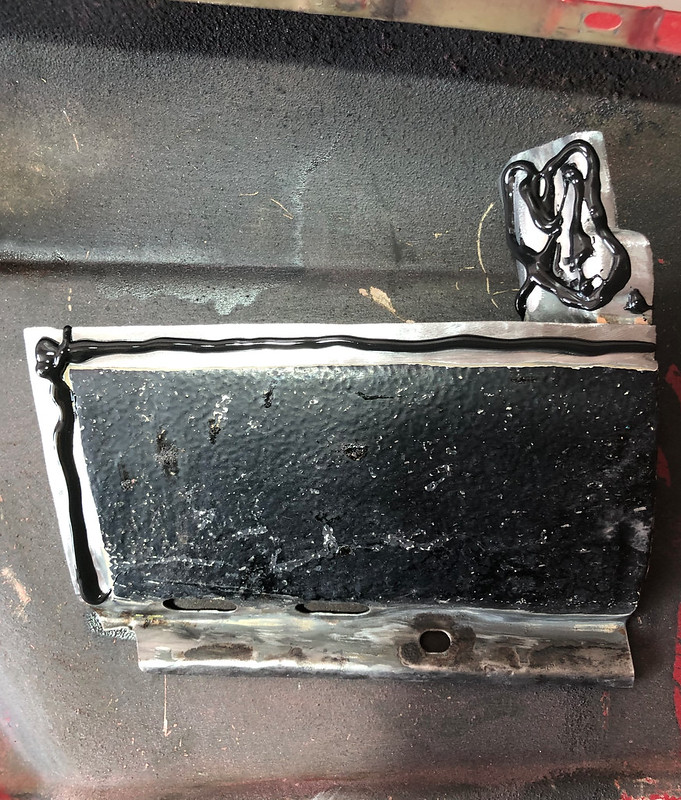

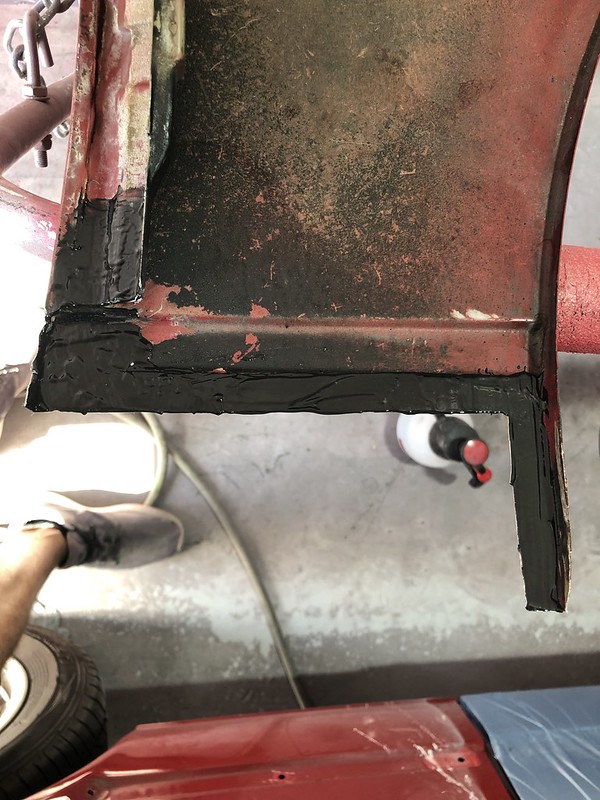
Then you put an additional bead along all edges and clamp in place, squeezing out a nice bead of excess adhesive around all the metal. Once all clamped in place, you use a spreader to smooth out all the excess to almost act as a filler:

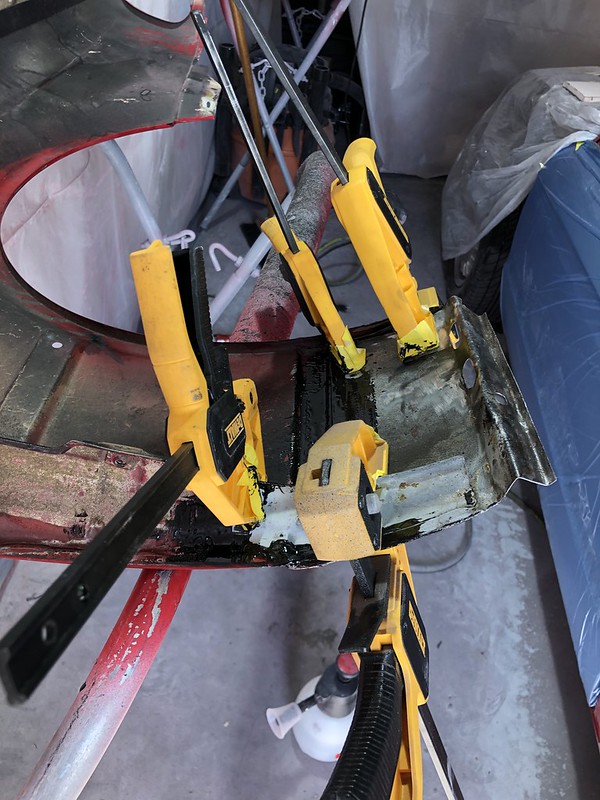
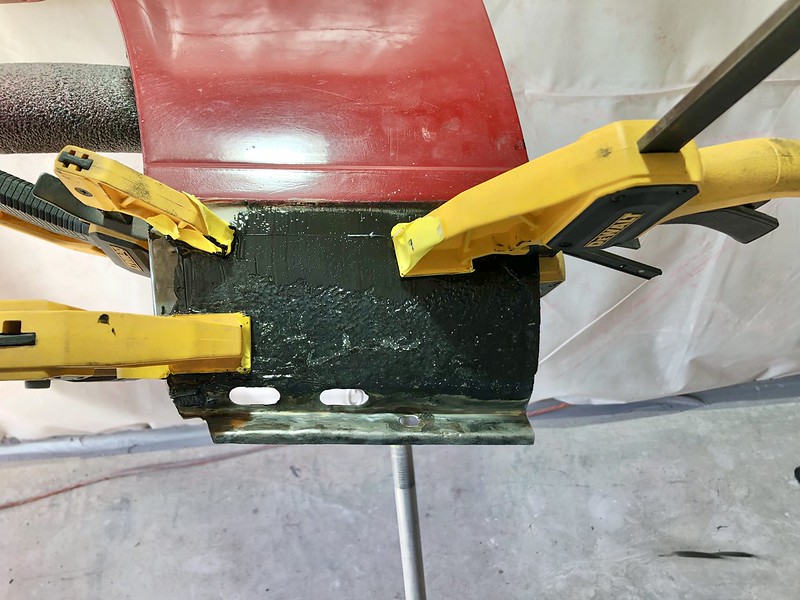
After 4 hours I removed the clamps. I covered the ends of the clamps with tape so they wouldn't stick in the adhesive which is the yellow squares you see here, once I sand it down they'll come out. Once you start clamping the halves together you aren't supposed to move them or you'll create air pockets compromising the strength of the panel bond. I couldn't show it in the pics above for this reason but I fit the new patch panel into the edge of the fender I had lifted up earlier, then rolled the little lip of metal back over to create a nice seamless repair.


The 24 hour cure time had elapsed by the time I got home from work today, and lemme say that stuff is STRONG. I was bending the fender itself rather than the bonded edge when I tried flexing it, and it ain't goin NOWHERE. I'll need to sand down and probably add a little bit of body filler to achieve as perfect a cosmetic result as possible, but honestly I am pumped with how well it came out as-is. I may even be able to just re-apply the rock chip guard and call it a day, we'll see. Big ups to Big Al for making the panel bond recommendation, and to AWDBOB for the patch panel, I can keep the progress rolling now!
Leave a comment:
-
I love it. One guy is spray painting his car and you're going the completely other direction. and theres nothing wrong with either of them!Leave a comment:
-
How hard was the door trim removal mainly the top rain guard I am just about to pull the trim on mine to get it ready for paint but I am very nervous about damaging itLeave a comment:
-
Alright, some more progress!
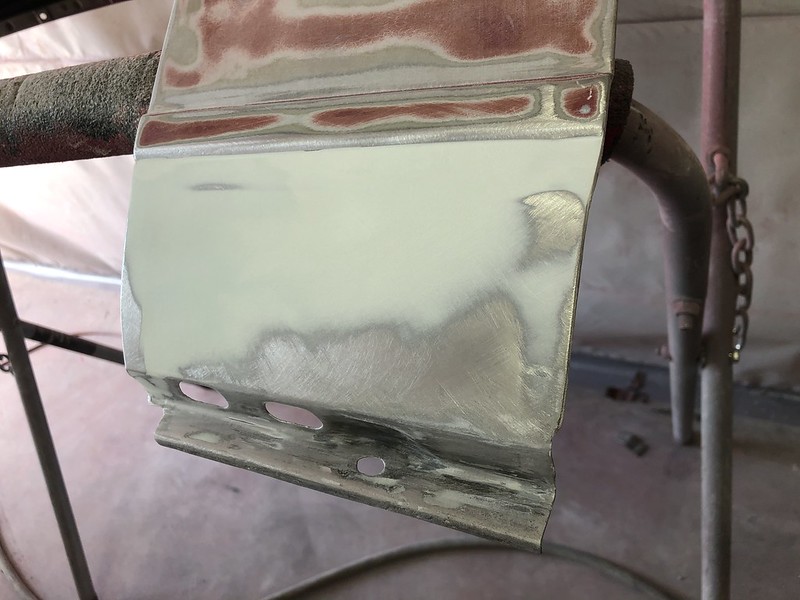
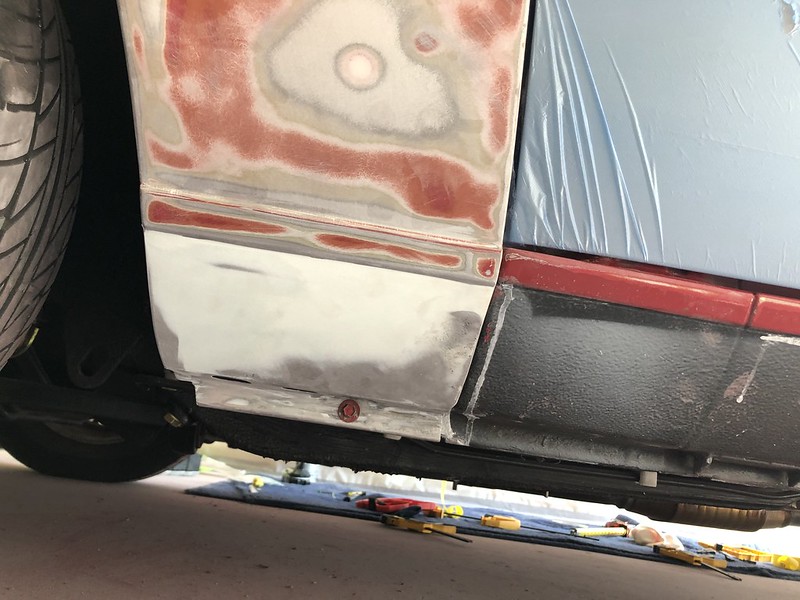
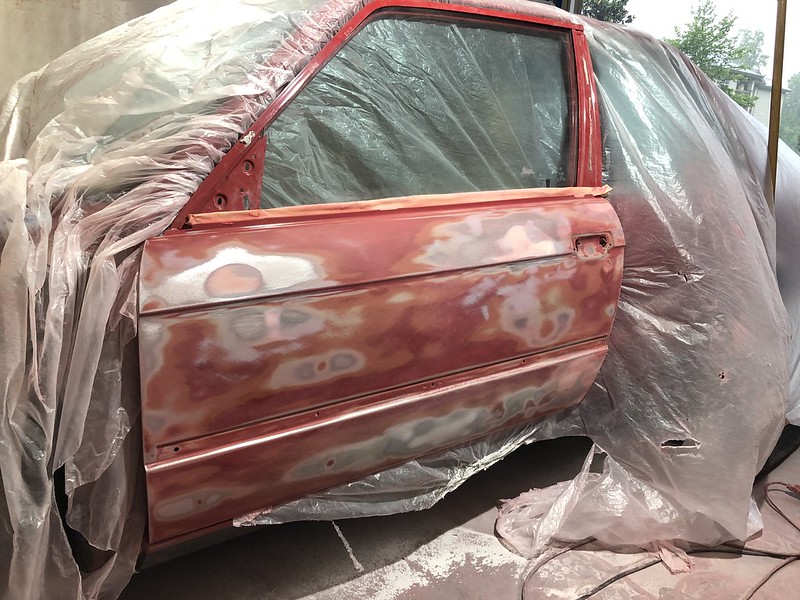
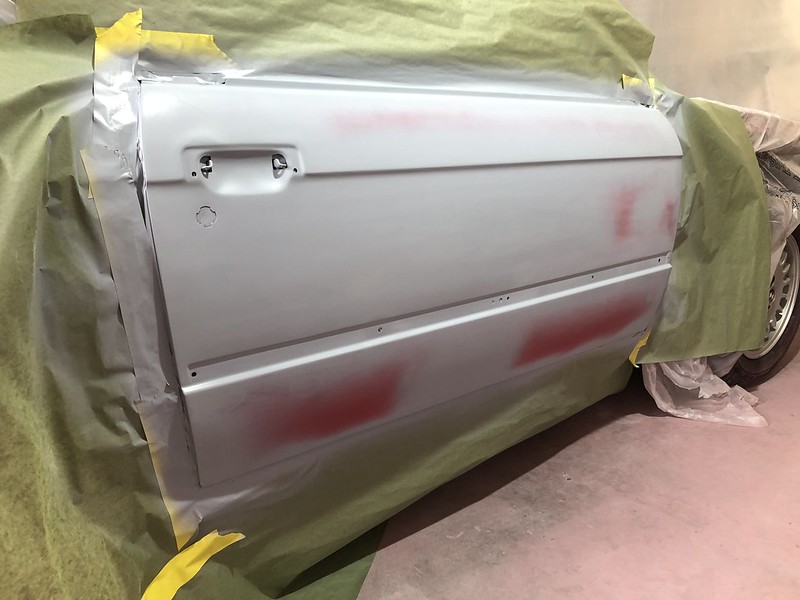
Got to work sanding down the passenger fender and both doors:

Masked everything off in plastic to keep the dust out of the interior:


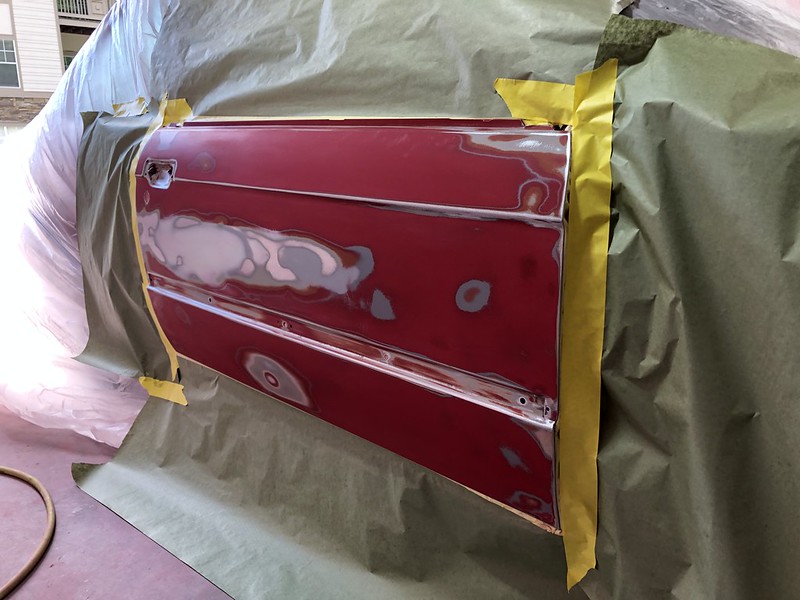
A nice pic showing the progression of sanding, down to original base on the top panel, starting to sand through the clear on the middle panel, and unsanded on the bottom:
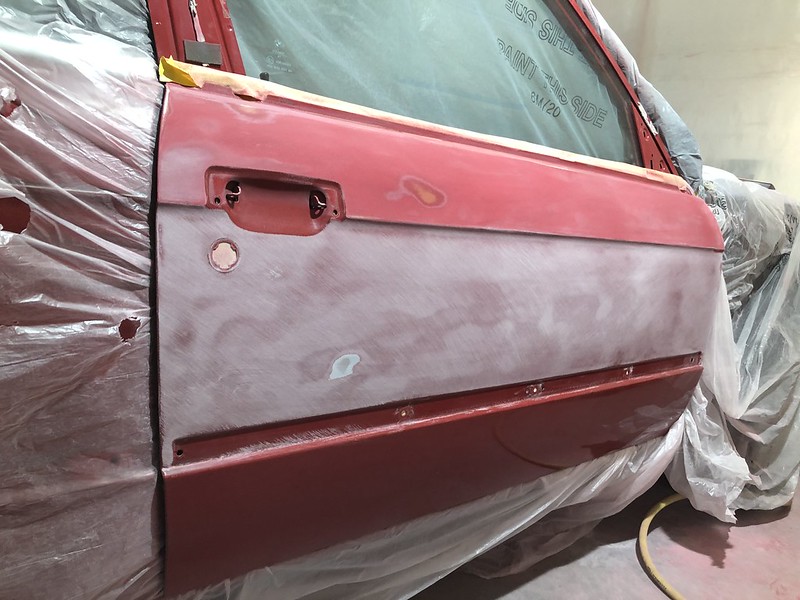
All ready:
Needed a small amount of filler for a large dent that I got about 90% flat with hammer and dolly, needed a tiny amount of filler for some small door dings here and there too. Now masked off for epoxy primer:
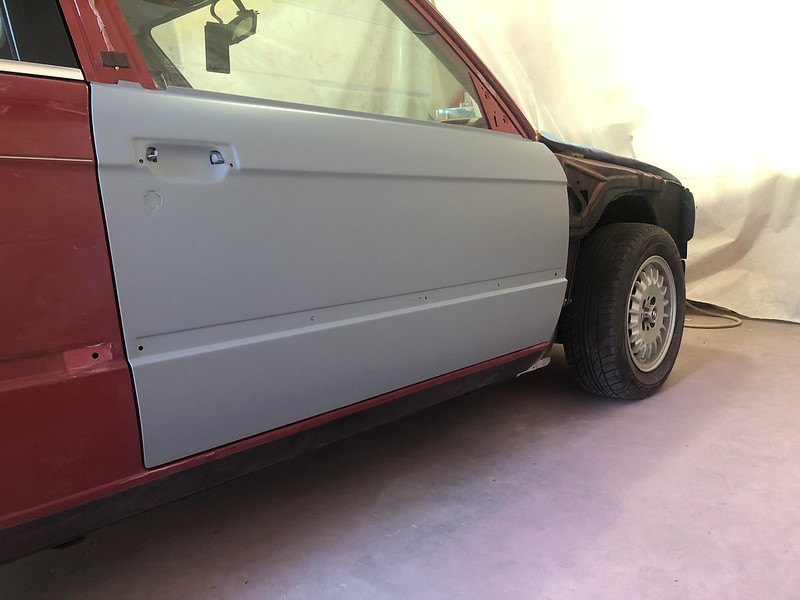
Epoxy primer done:


Followed by high-build urethane:


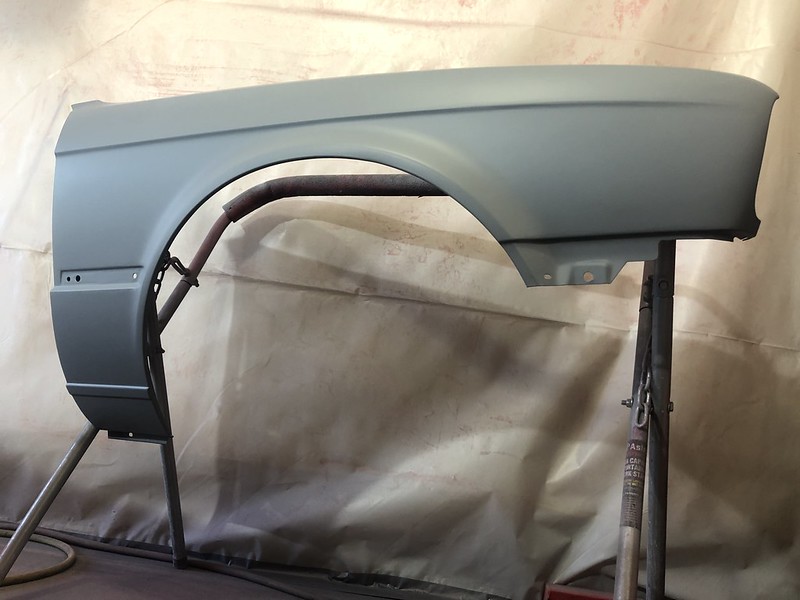
After some blocking in 320 grit followed by wet sanding in 600:


Had a few small cut-through's that I reprimed and blended in prior to the finished pics, they came out looking great when all was said and done.
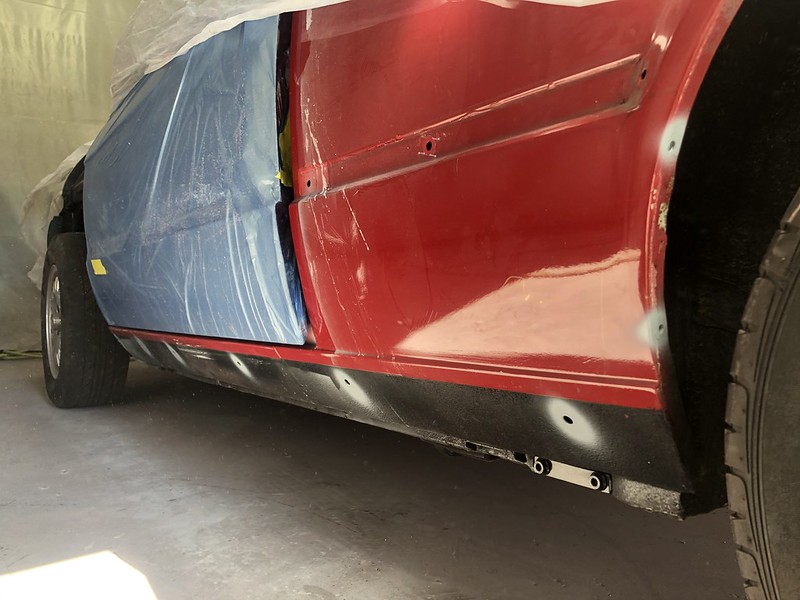
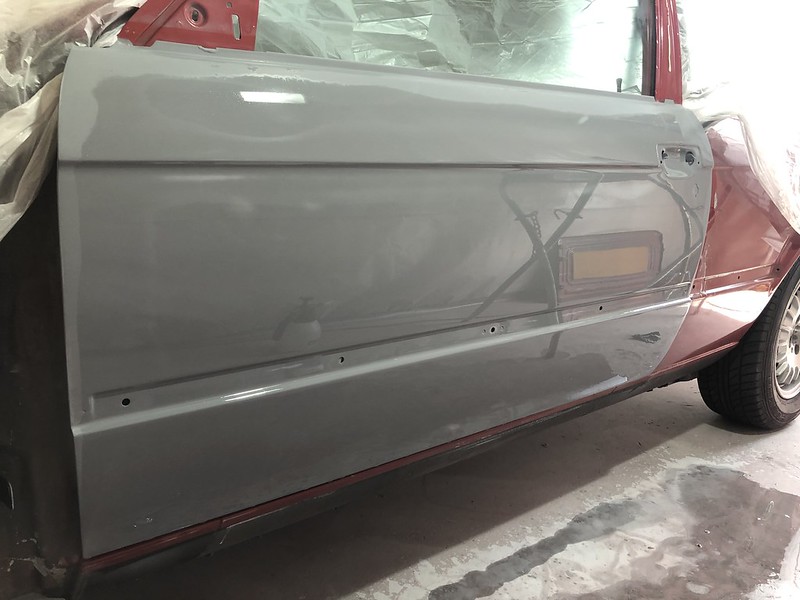
I got the fender remounted on the car just to make sure things lined up well and also to get it out of the way:
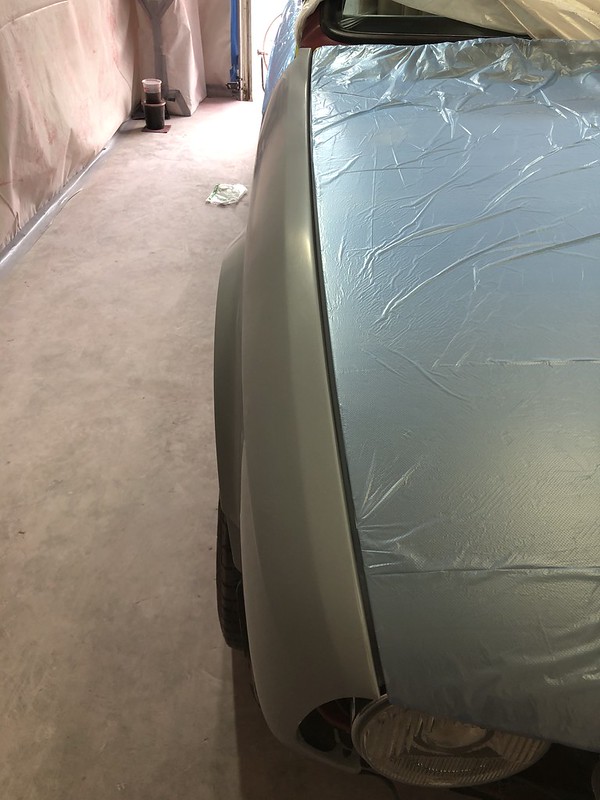
Then got everything covered in plastic to protect it from any contaminants as I continue working on the rest of the car:

I effectively have about 2/3 of the car primed, sanded, and ready for base/clear. I got a really nice project done today but I'll save that for tomorrow's post
Leave a comment:


Leave a comment: