
Great job so far, the wheels look tight.
-
Nunzio
Creative Director & Professor
Twitter
2010 Vespa GTS300 | 2000 323iT Euro | 1991 RRC Hunter | 1987 325is (guten build) | 1983 Jaguar XJ6 Vanden Plas -
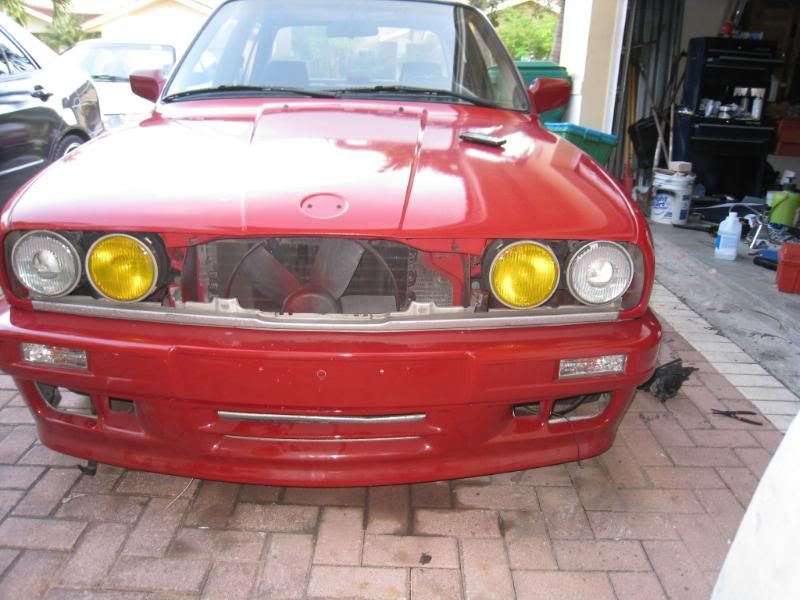
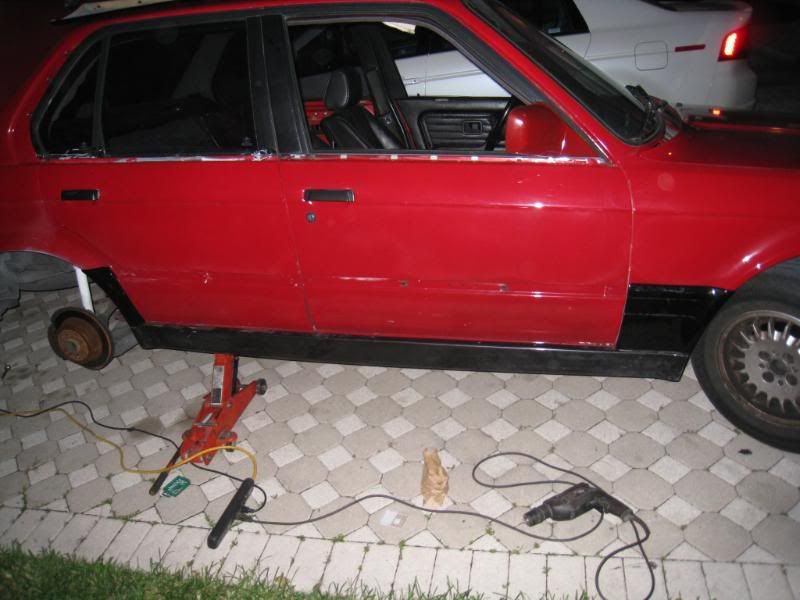
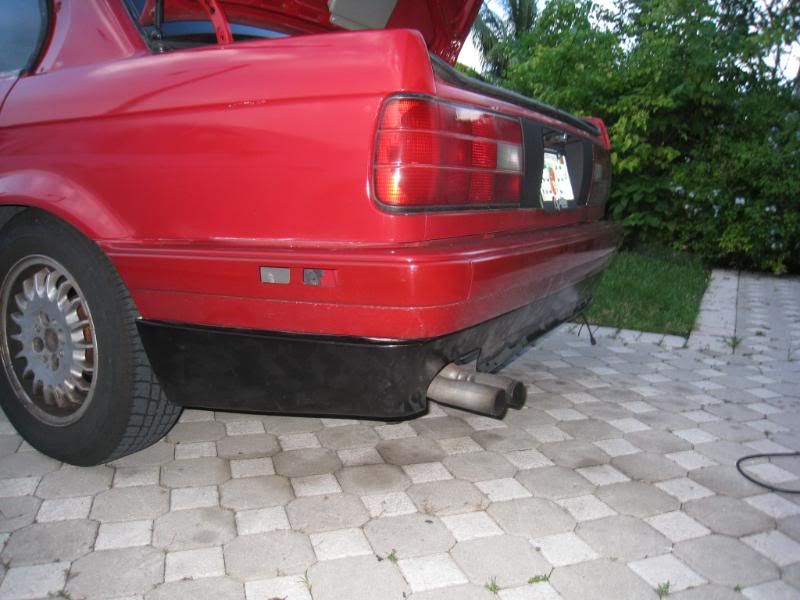
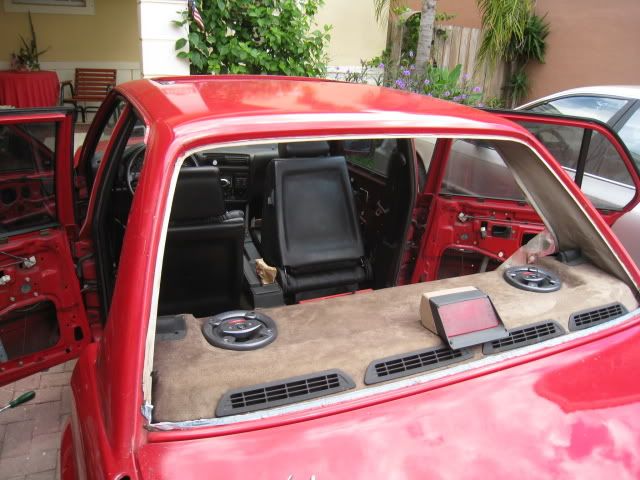
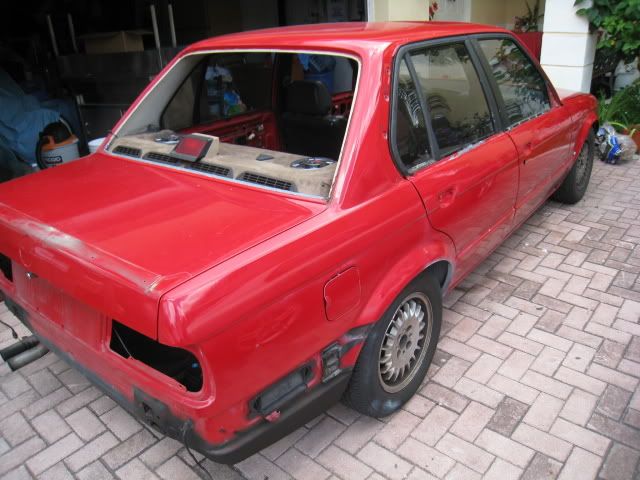
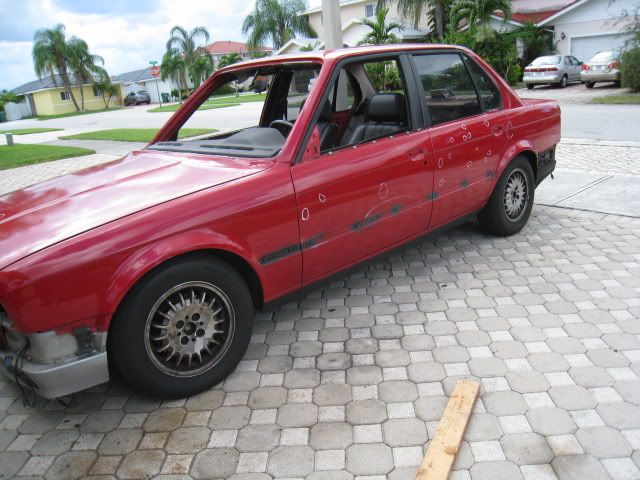
So here is one of many updates to come as of soon
I started to mock fit the mtech kit.
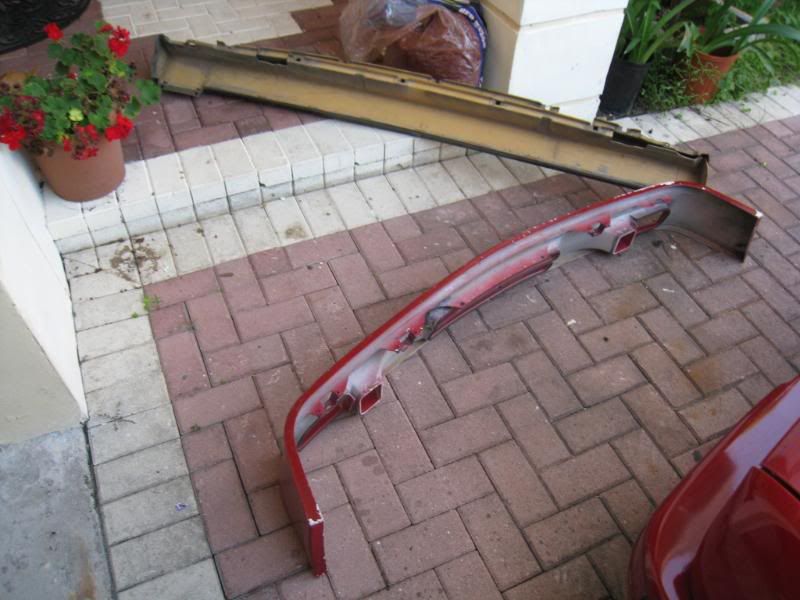
It lines up pretty well, but I adjusted the bumper and it fit better
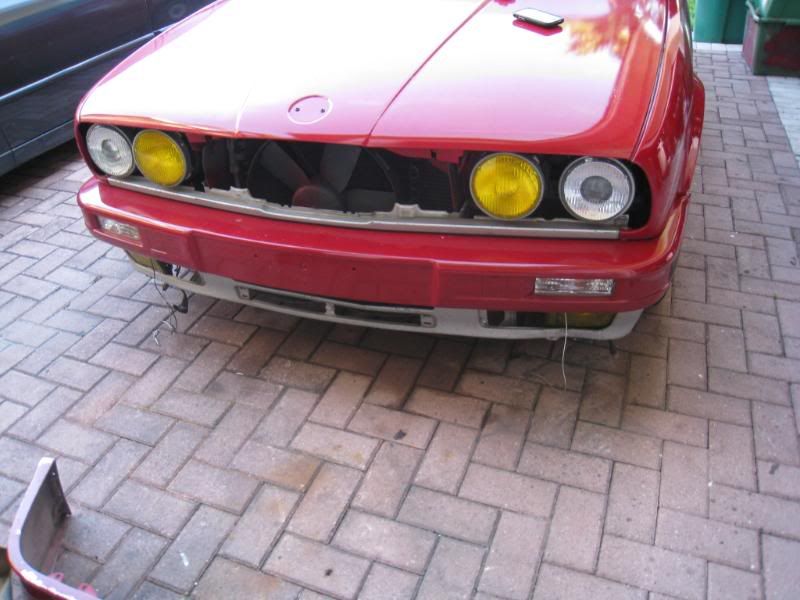
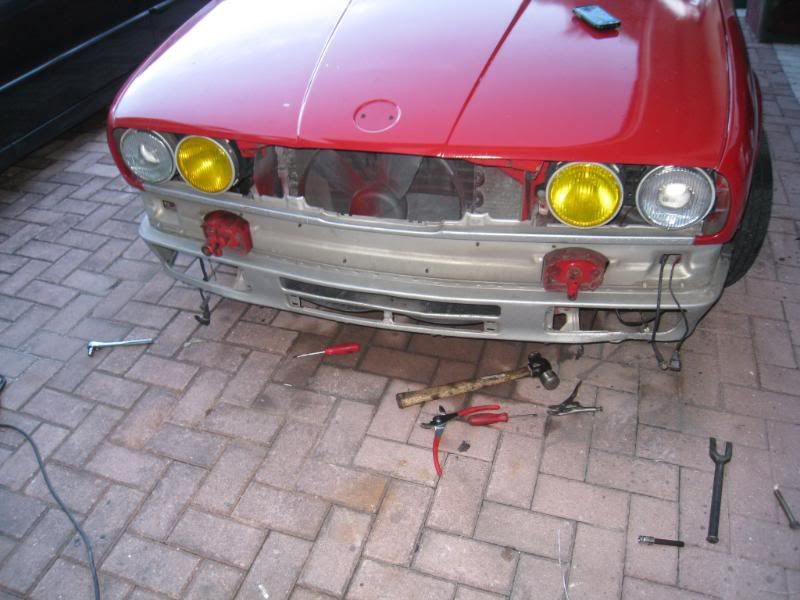
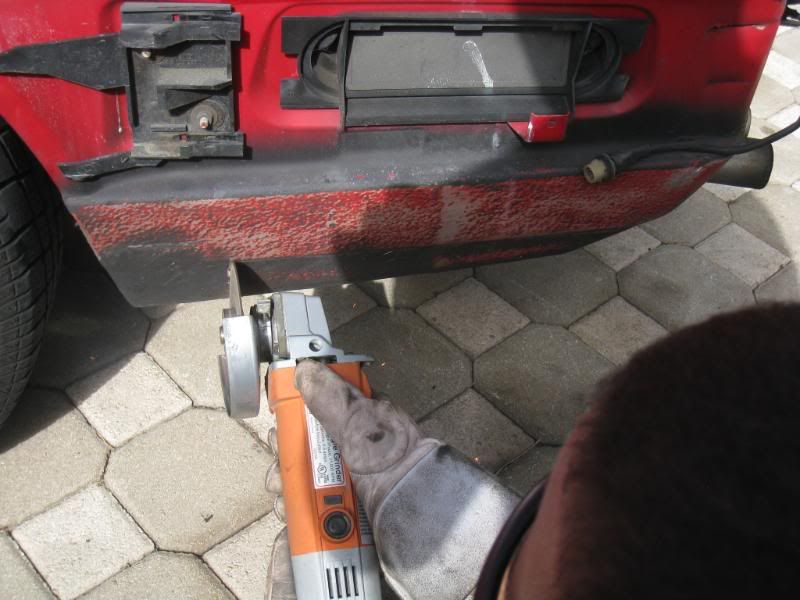
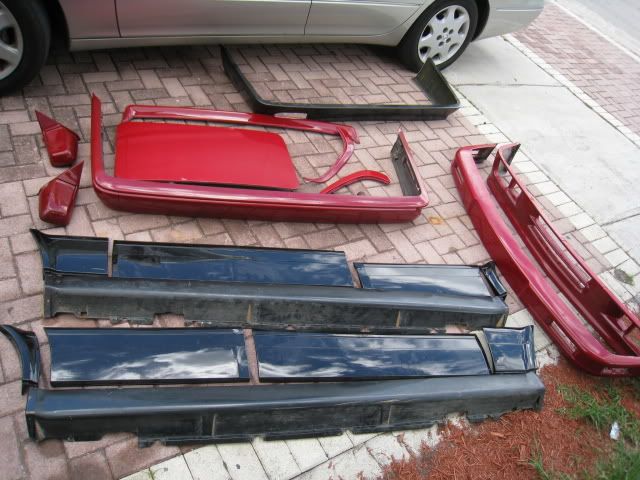
Remove front bumper and get it ready for paint
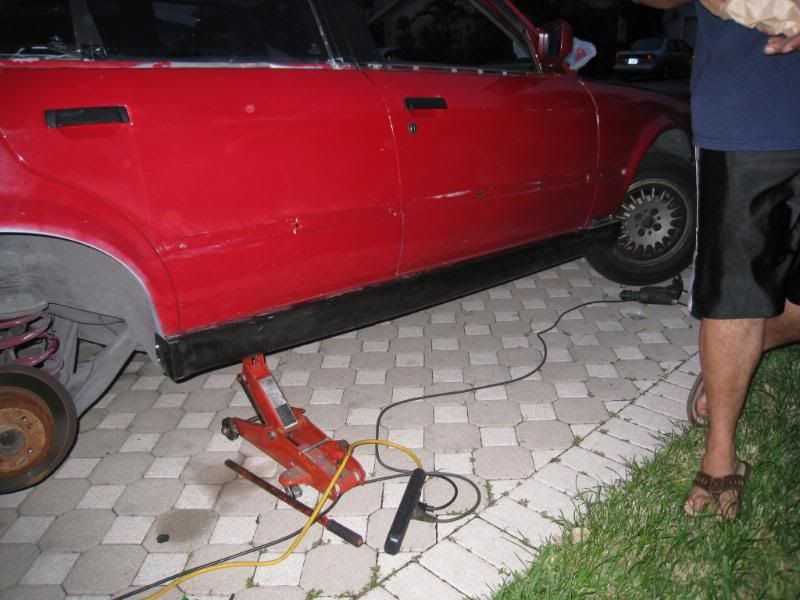
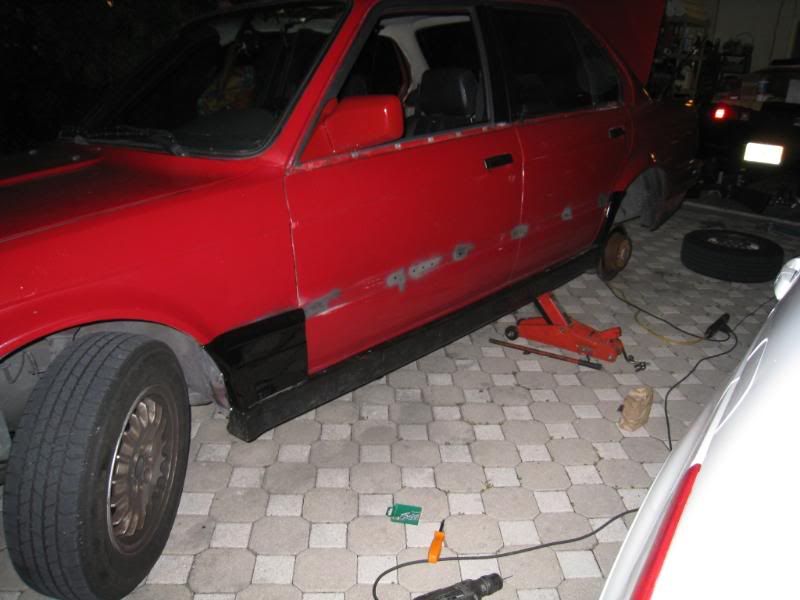
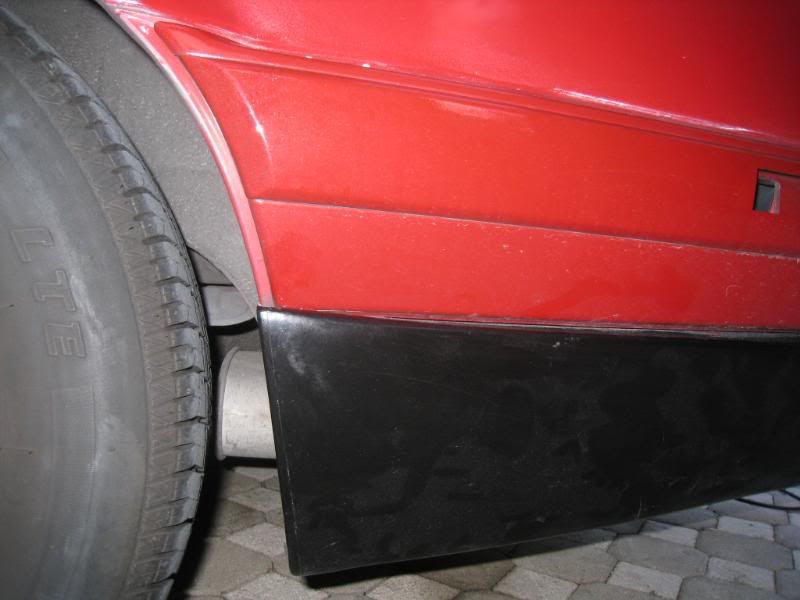
Time to mount the side skirts
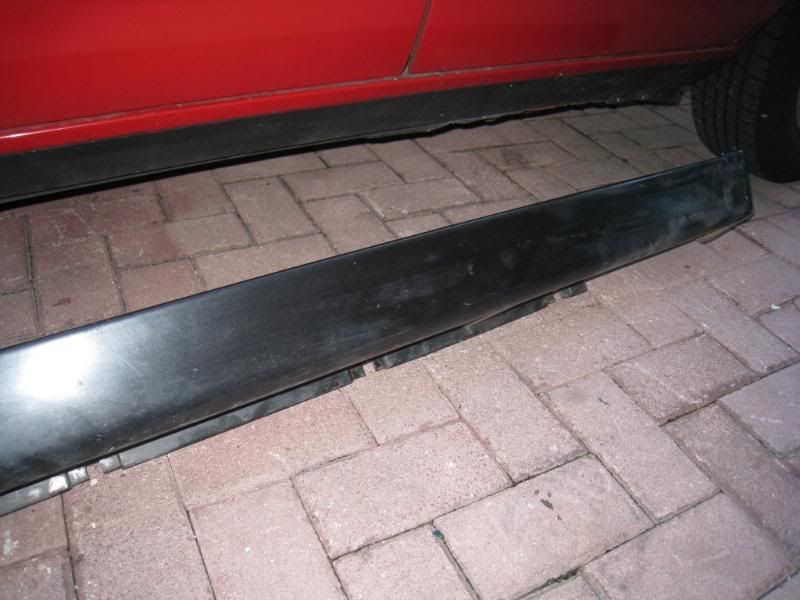
Skirts mounted
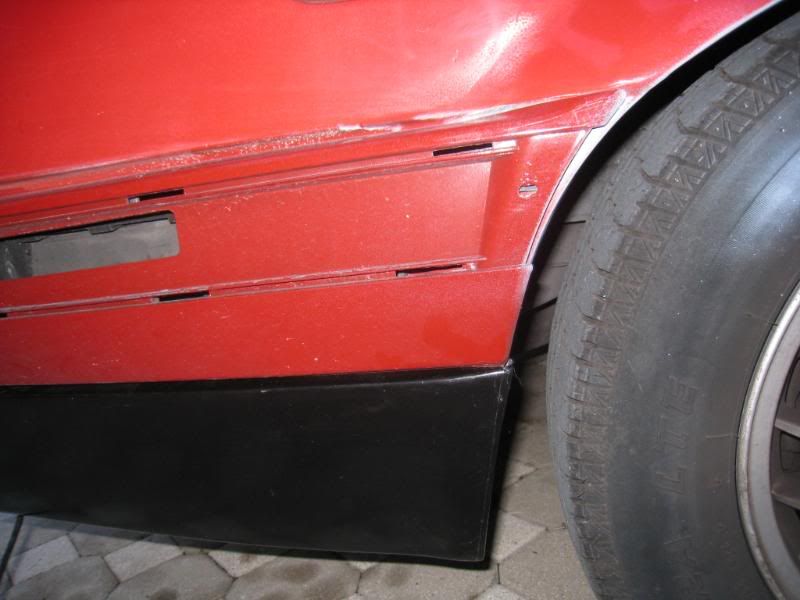
M Tech pods mounted and holes drilled.
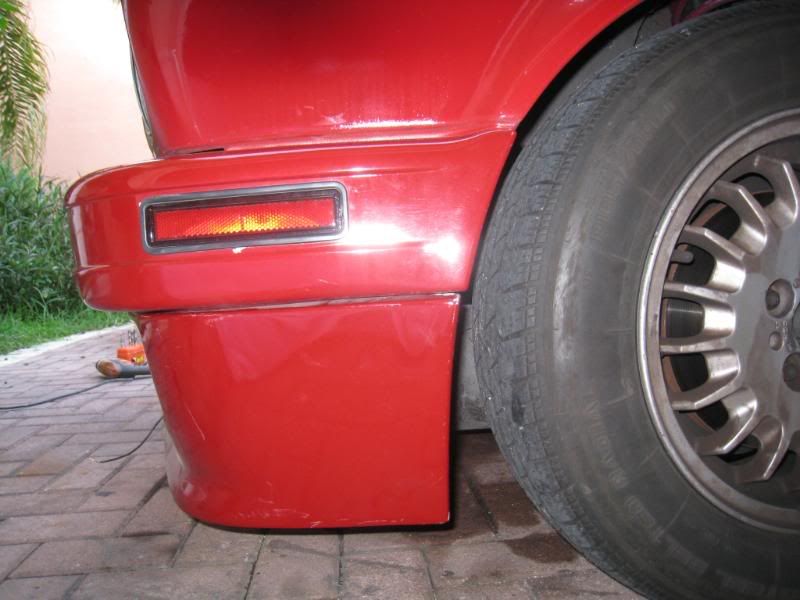
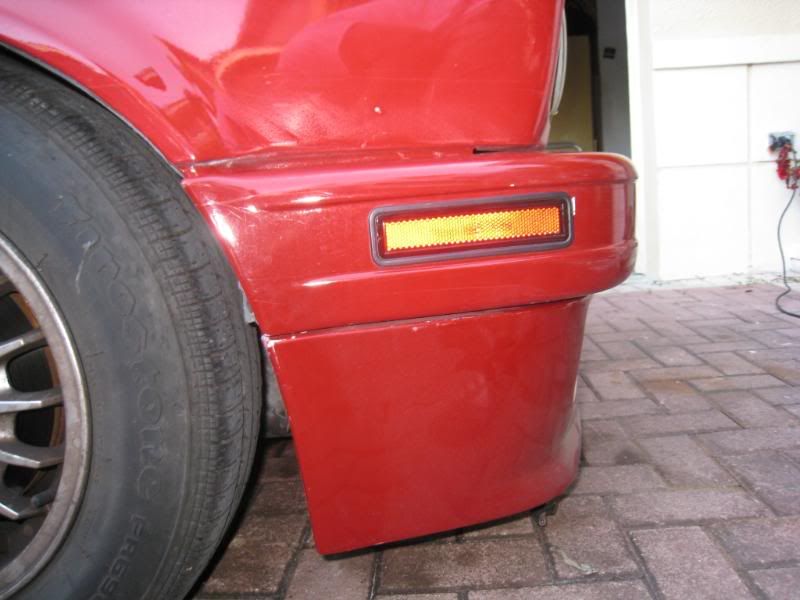
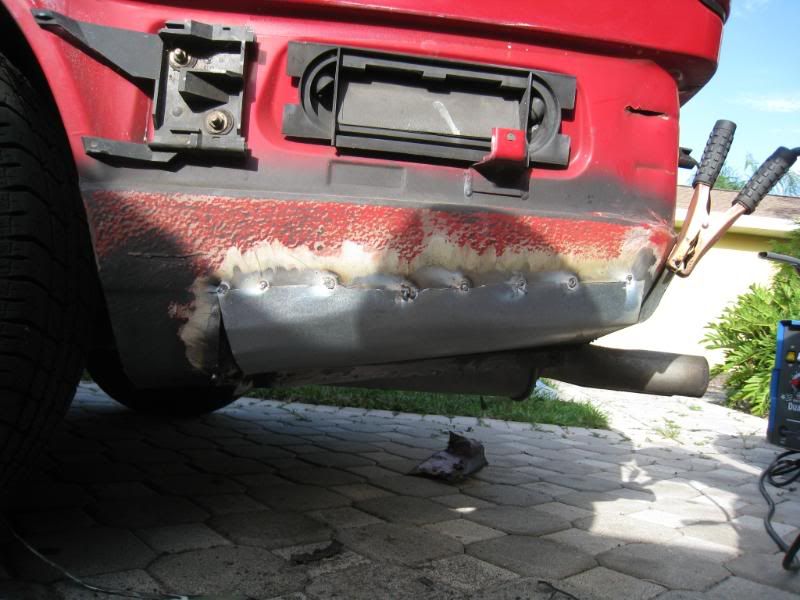
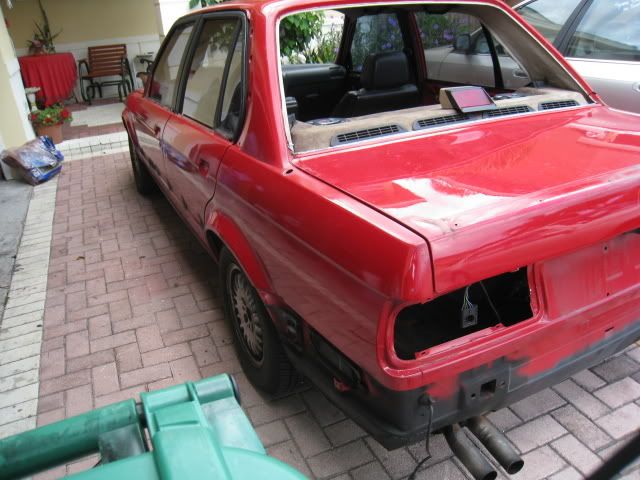
Now mounting the rep rear valence
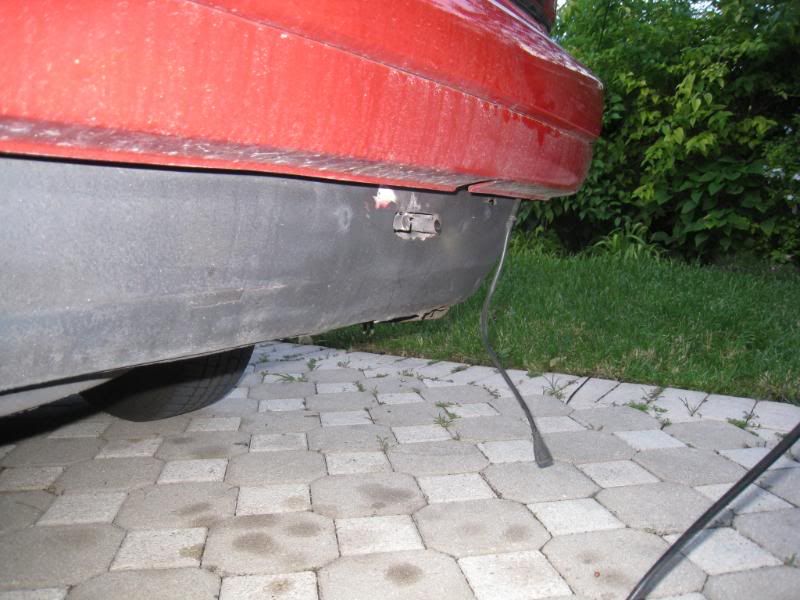
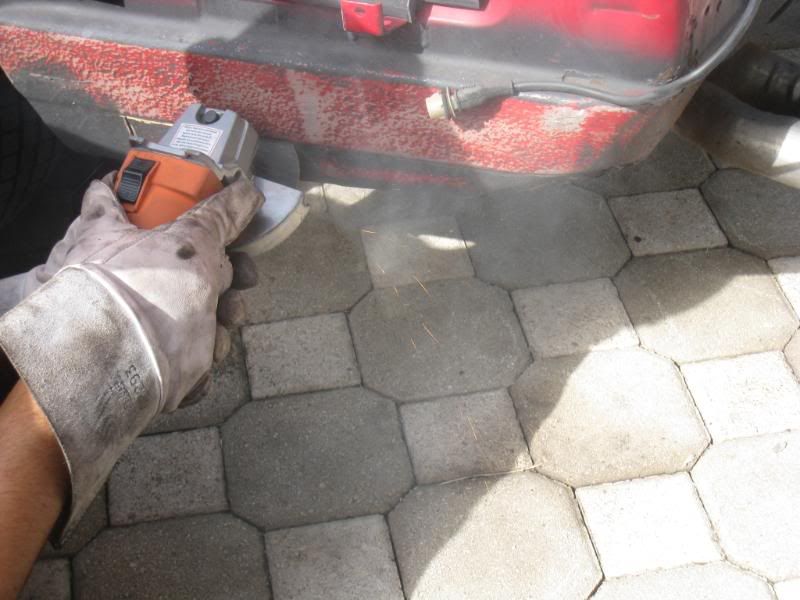
The damn tow hook kept getting in the way
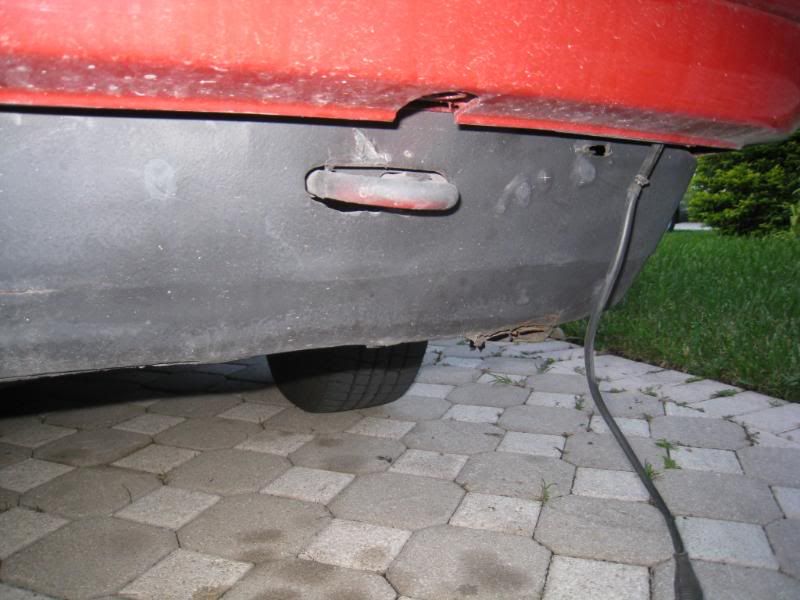
Off with it
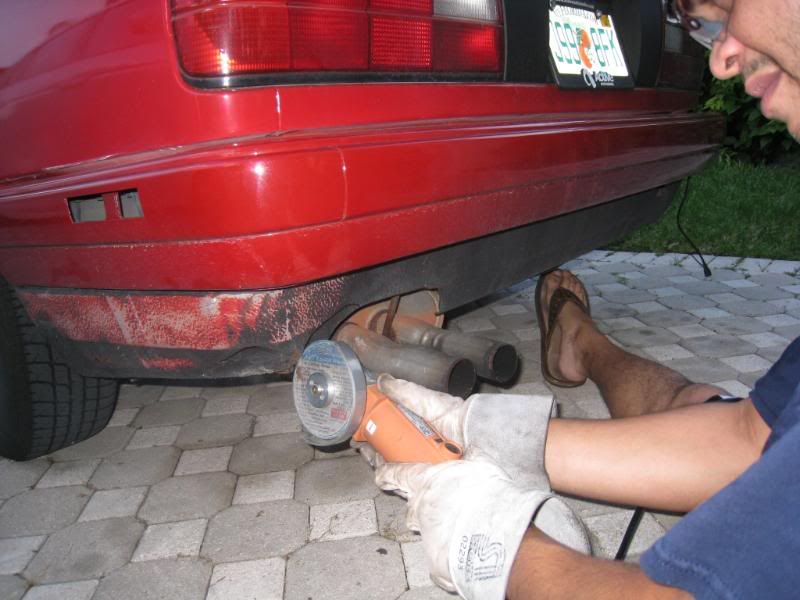
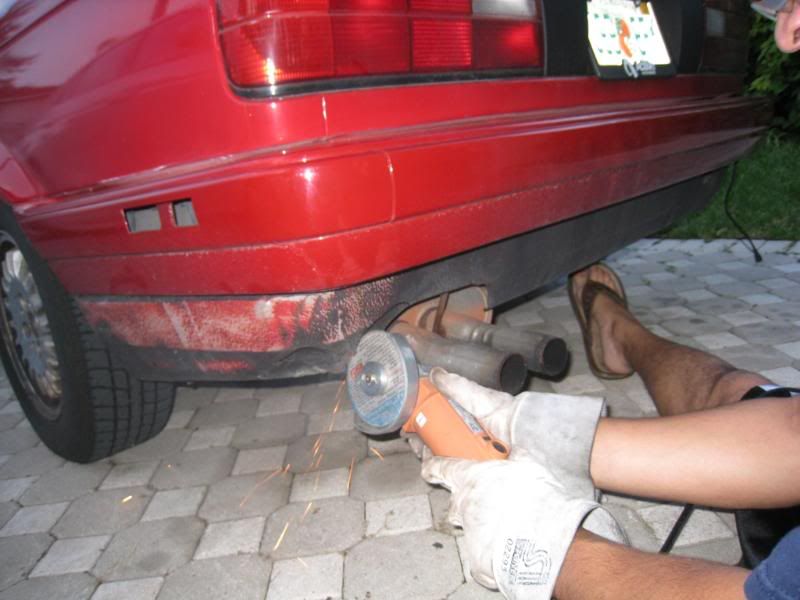
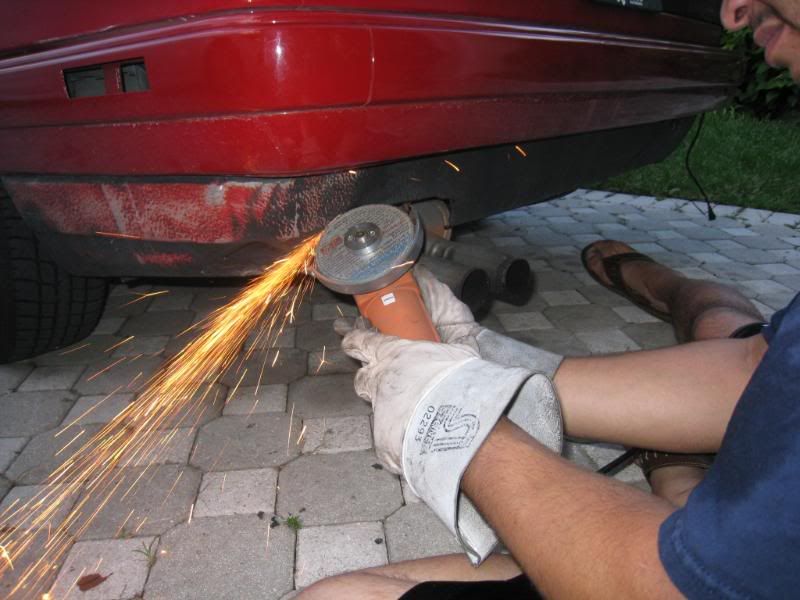
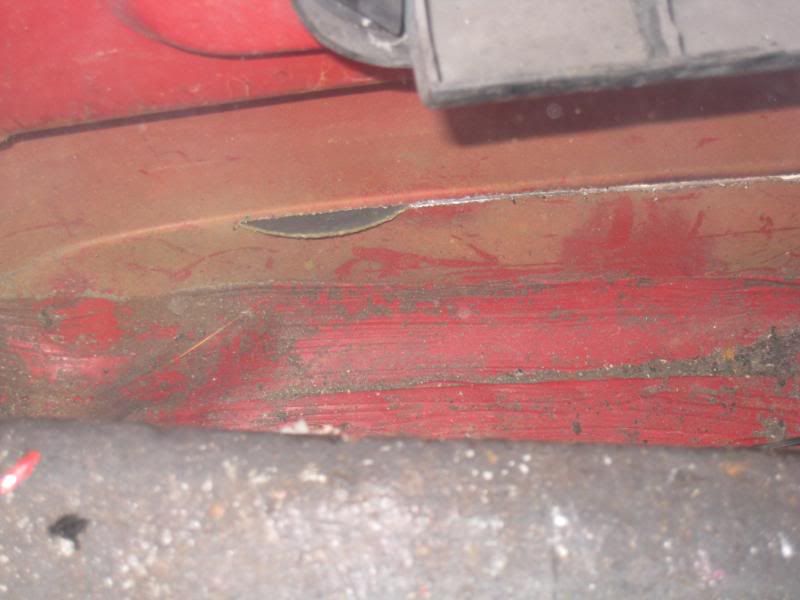
Also something that annoys me a lot is when you put the rear valence on, part of the factory valence shows. So I cut that out also
Crappy pics but it fits well
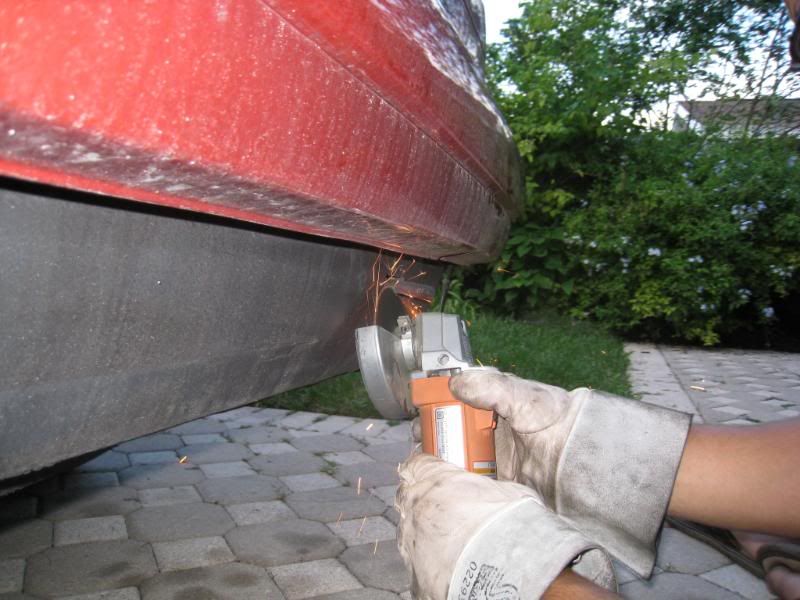
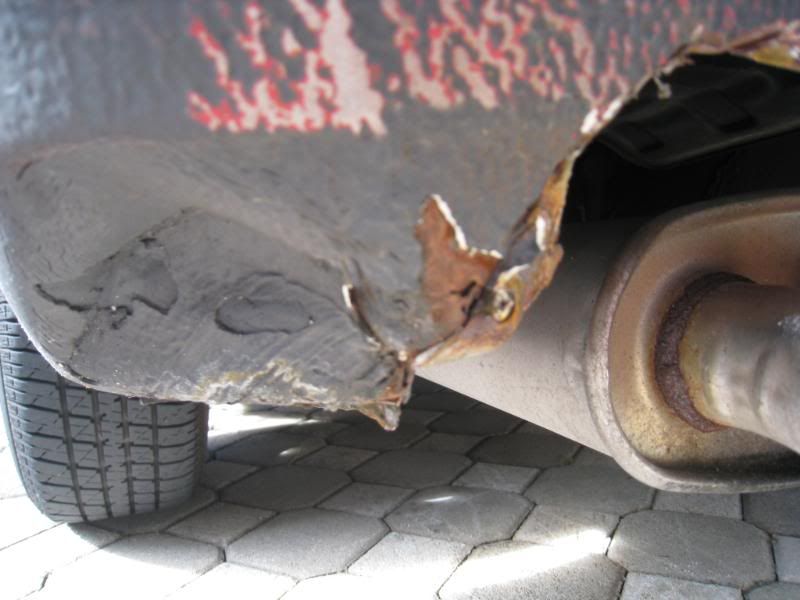
Now to the really long and hard part.
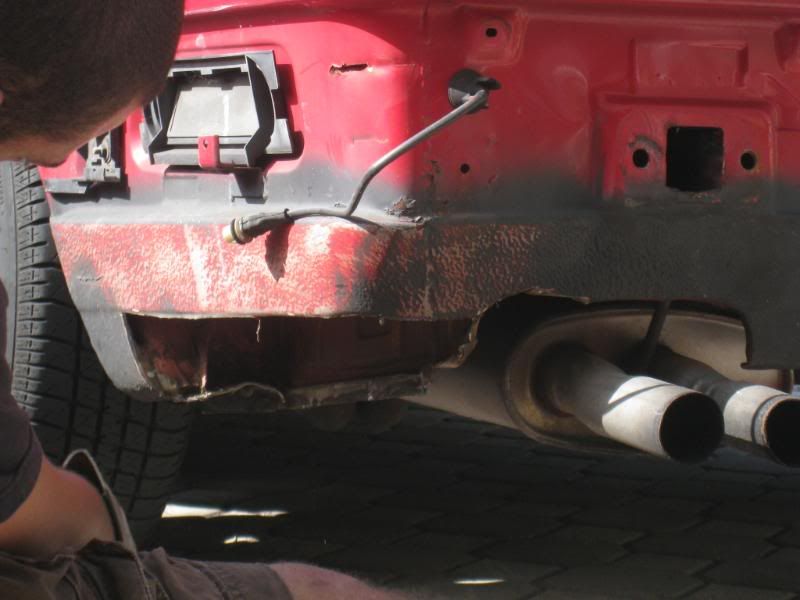
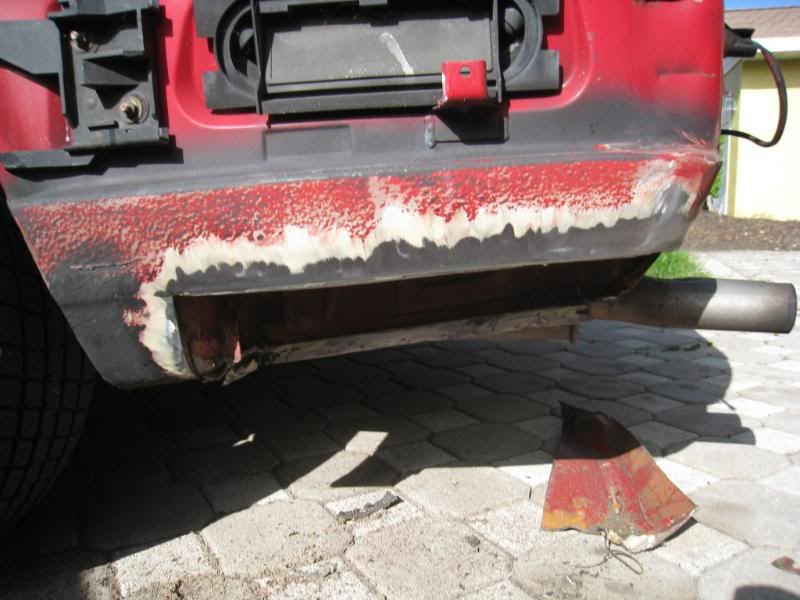
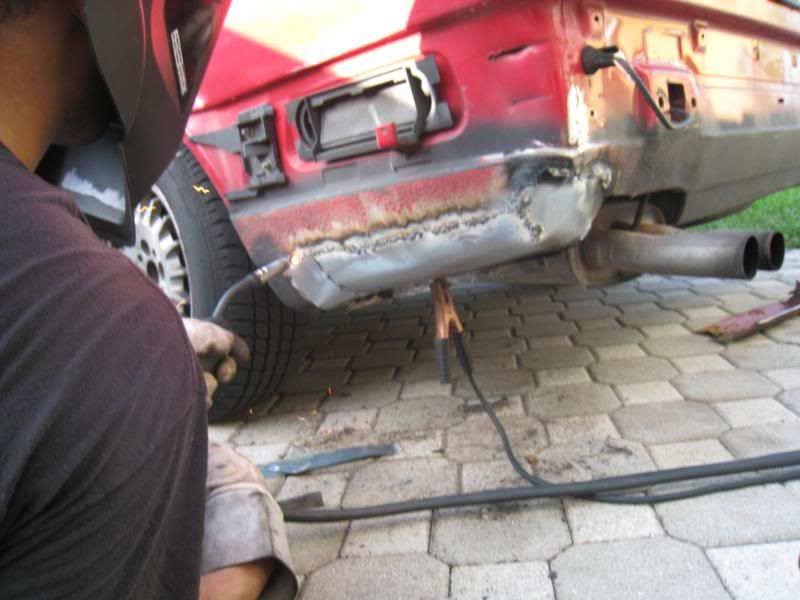
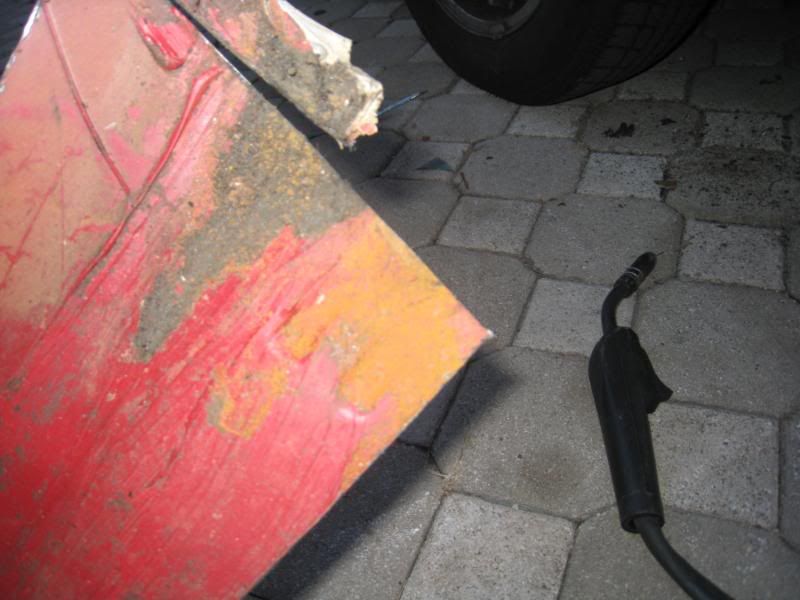
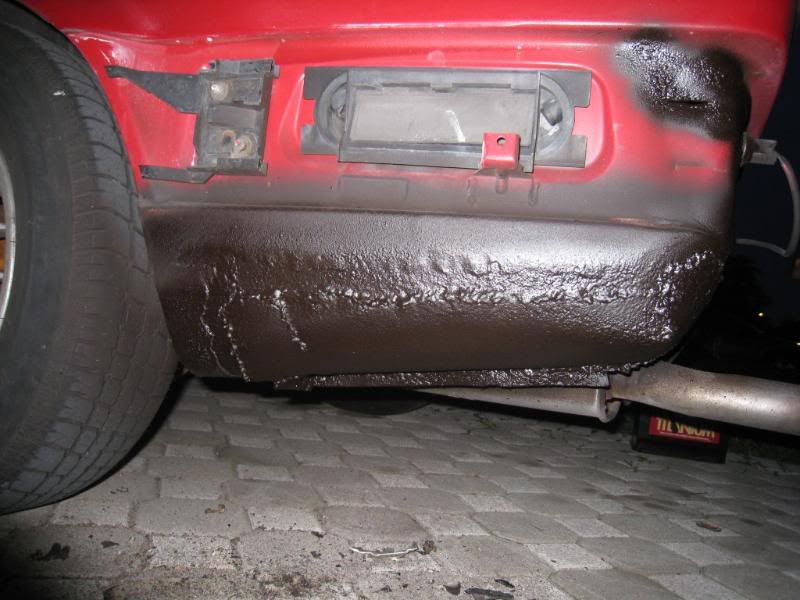
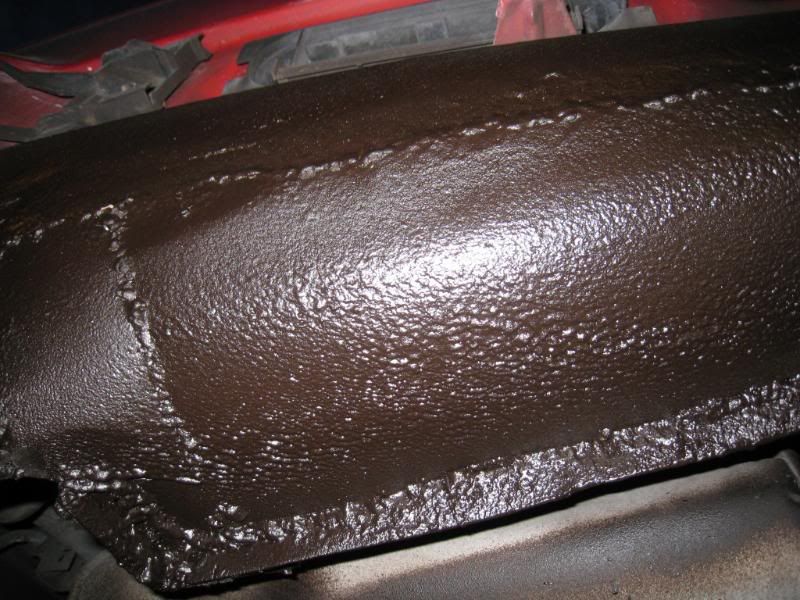
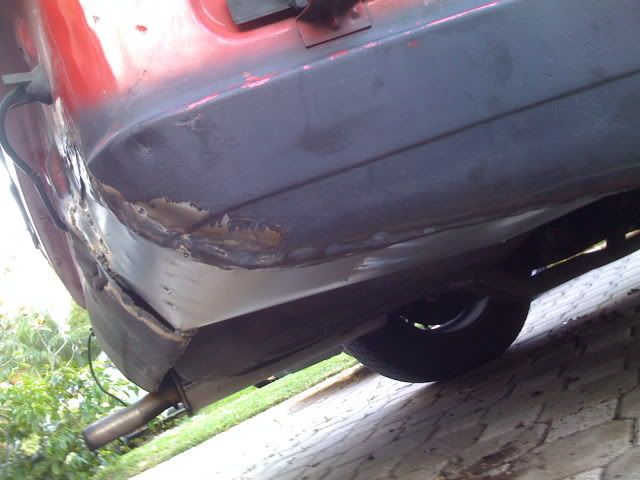
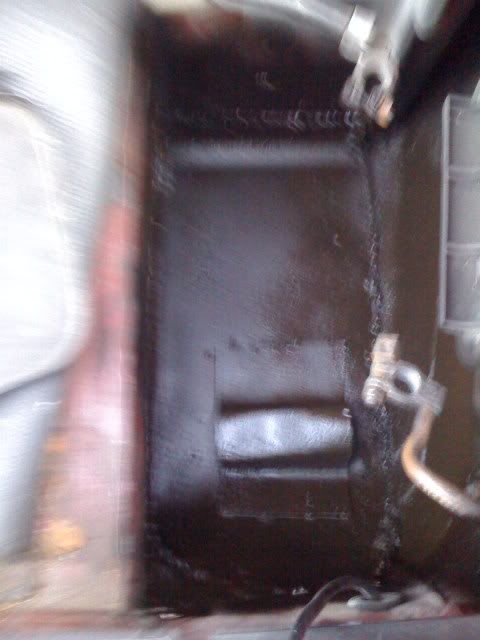
I had some rust on both sides of my rear quarter panels. Since it is areas that you don’t see, I decided to fix them my self. Well my friend did all the work, he knows how to weld better than I do and he has the welder.
Over all we only got once side done, but I think it came out well for the first time ever doing anything like that, and only the welding material he had already and a $12.00 sheet of steel at Home Depot. They are areas covered by the rear lip, so we were not too interested in making it so pretty, just to fix the rust.
The driver side is the only side today. I have a test on Thursday, but I am not studing on weds, that should be the worse side, the passenger side.
Mark and cut
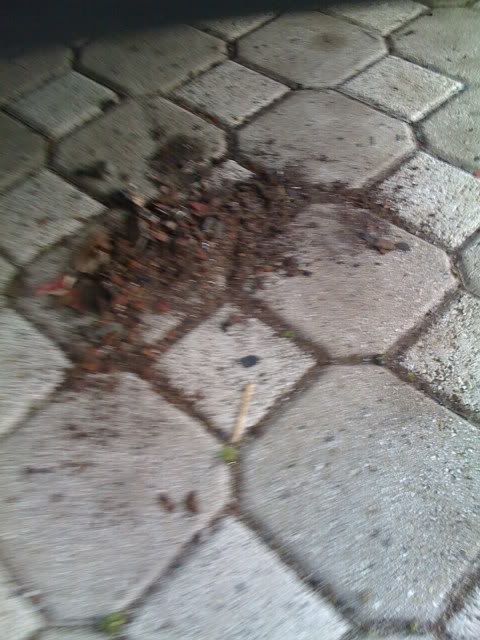
It had water trapped in little crevices. We have not hat rain for over a week
Cut out
Sanded the area with the glue stuff
Started welding, but first we got a measured piece.
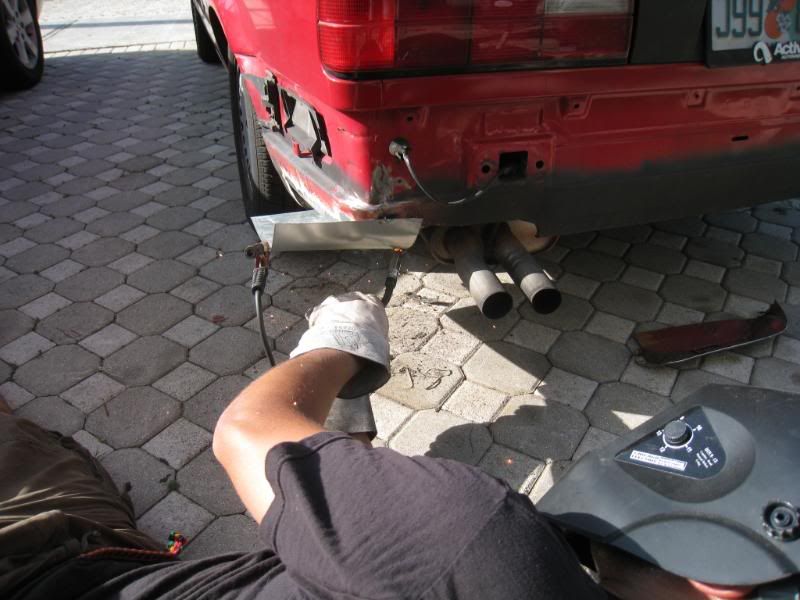
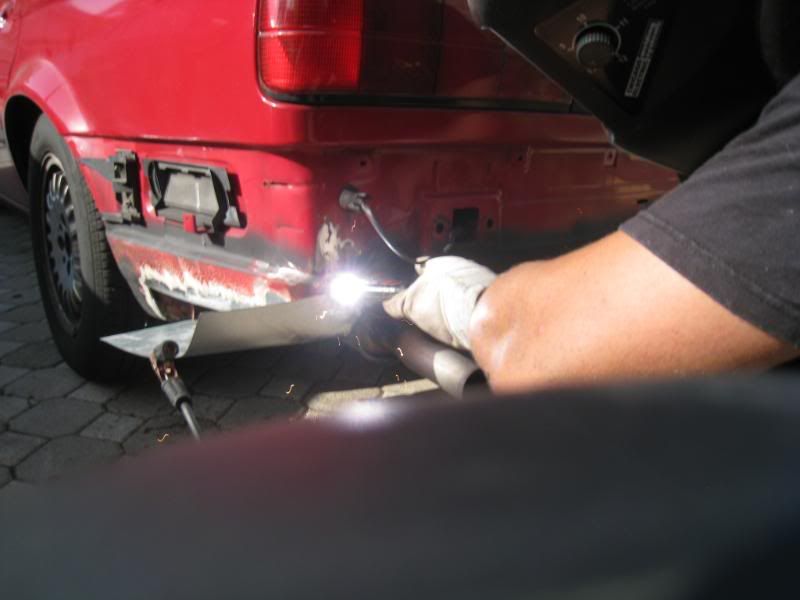
Spot welded in place
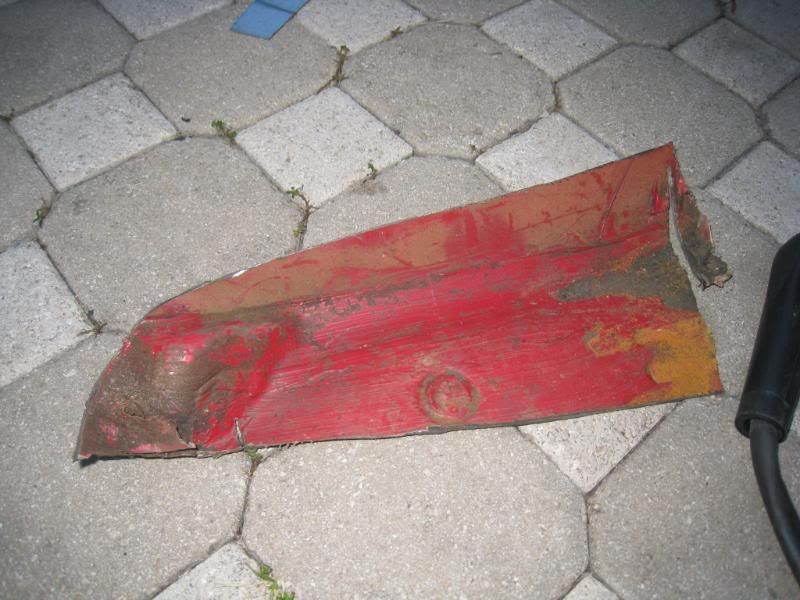
The piece we removed
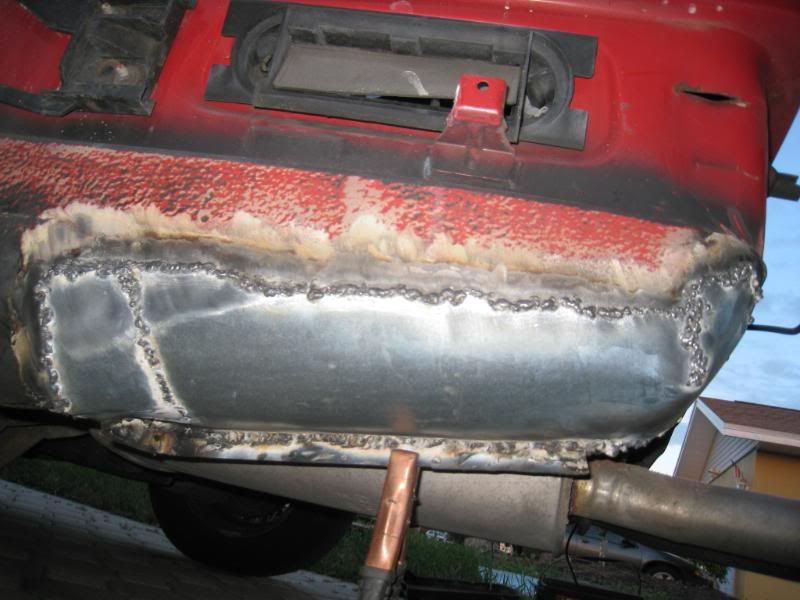
All welded up
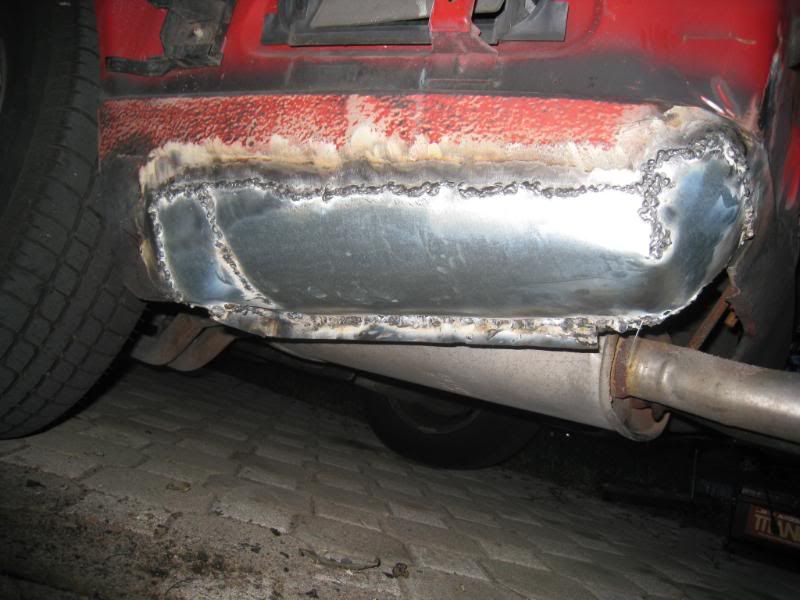
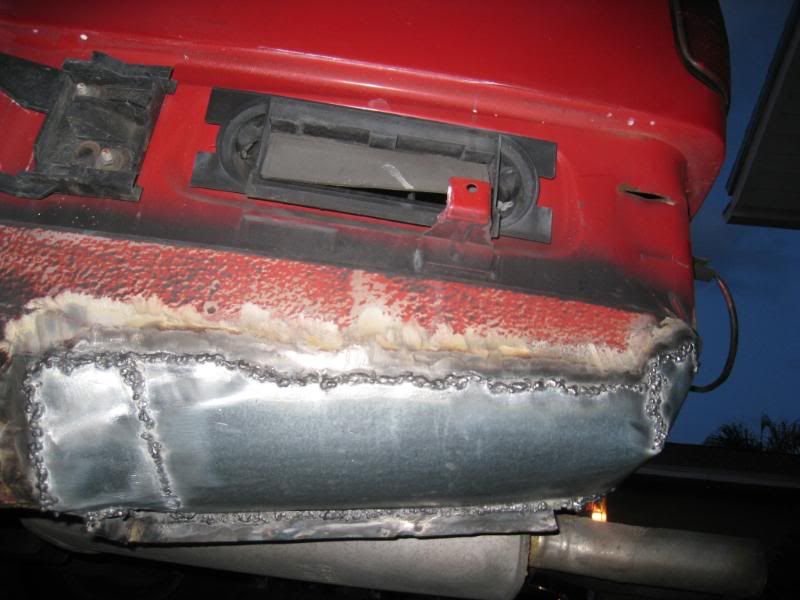
I sprayed rubberized undercoating on them to hwlp prevent rust in the future
The passenger side
Comment
-
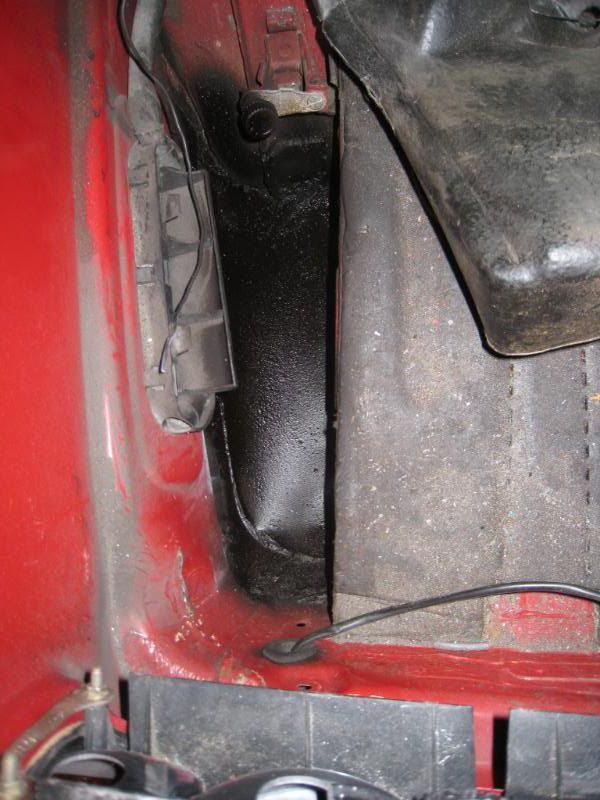
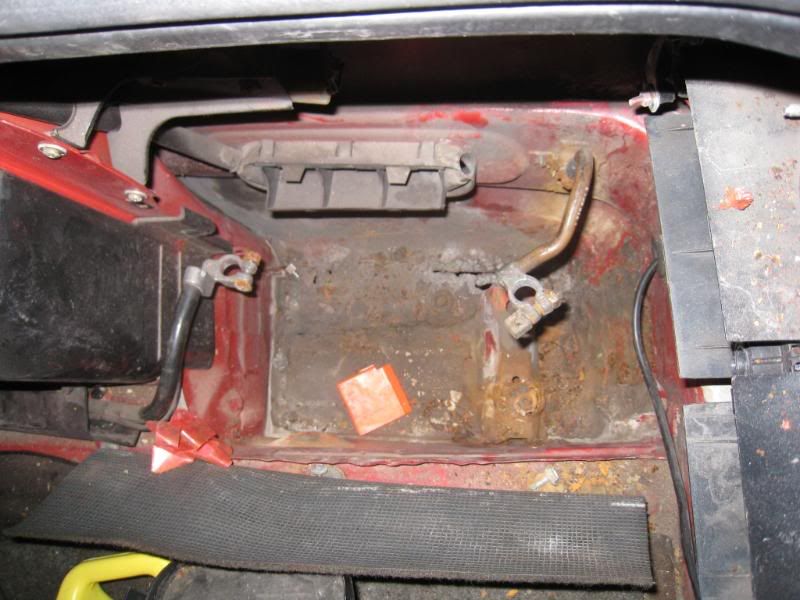
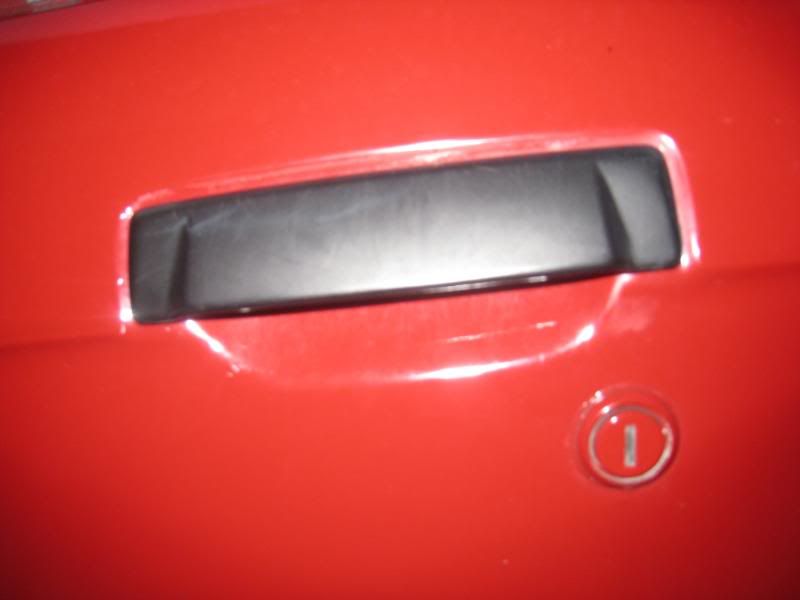
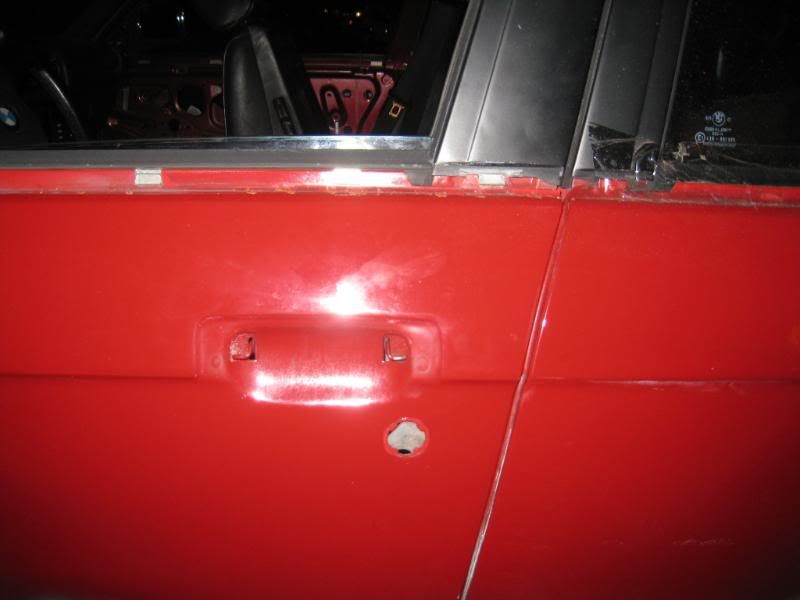
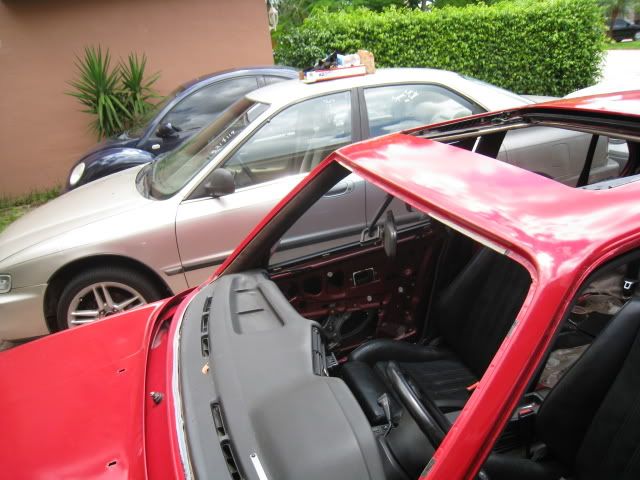
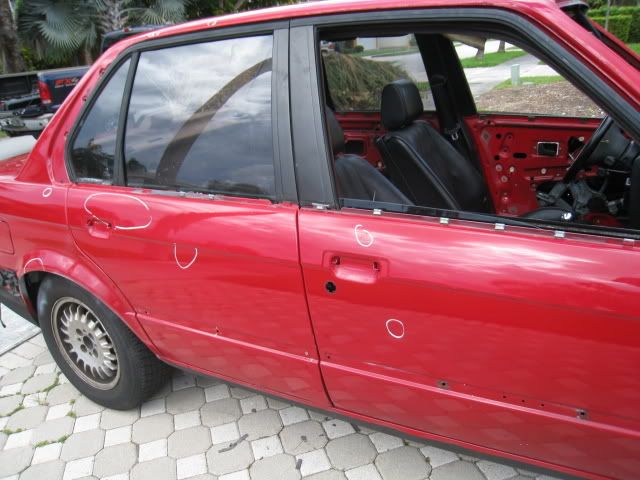
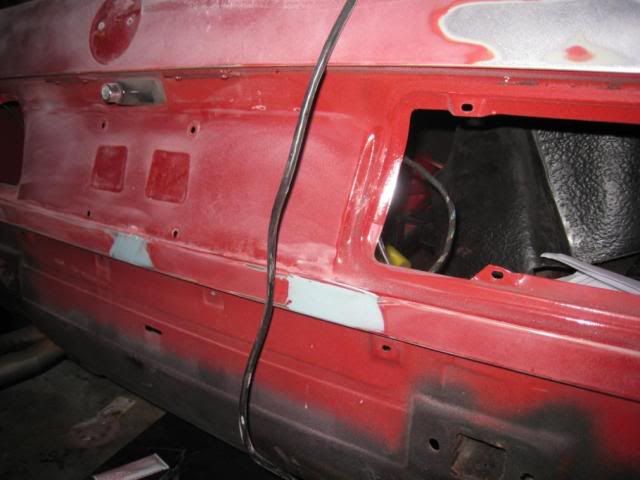
I also removed the door locks and door handles
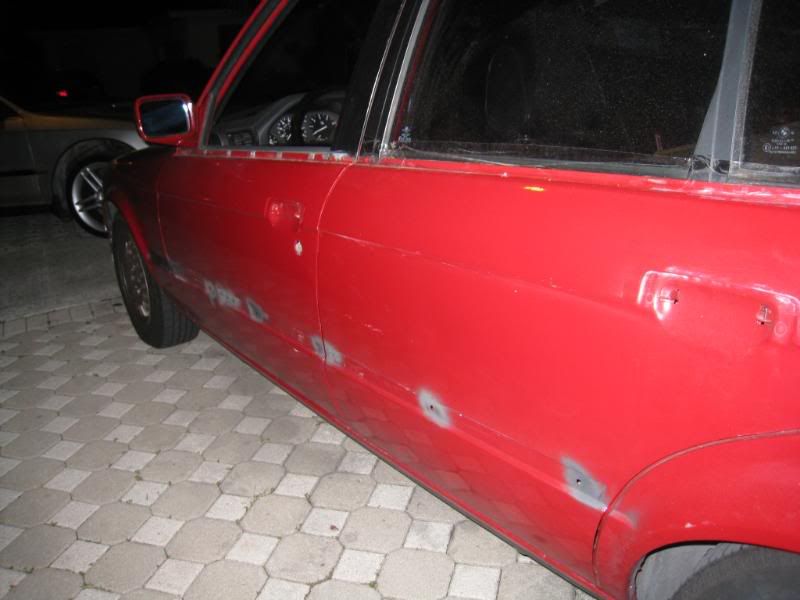
I also stripped the pass front door, because this was a diff color, and will get painted with the car.
Comment
-
Nice work. Seems like you are making timely progress.
Comment
-
You're painting it again? Crazy stuff, I'm excited to see the finished product, those wheels looked great on that New Yorker's car whose name I forget.
Keep it up.Reminiscing...Comment
-
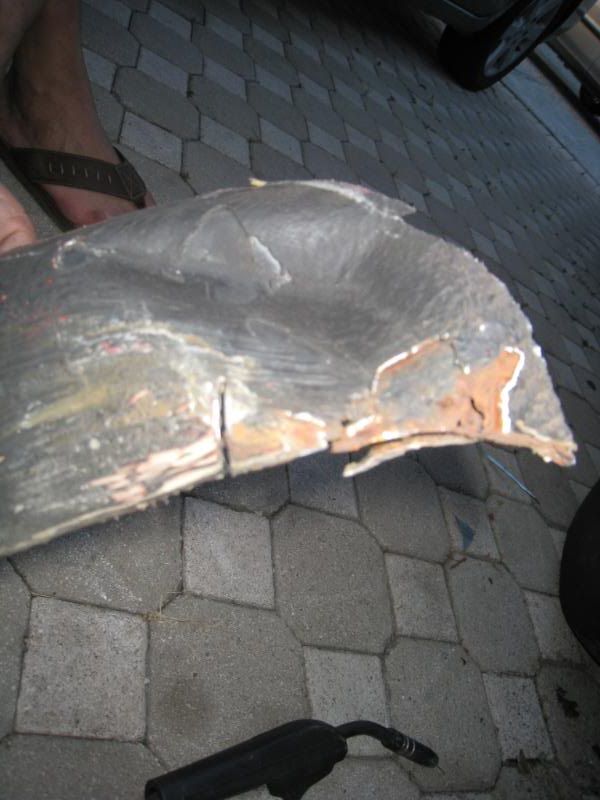
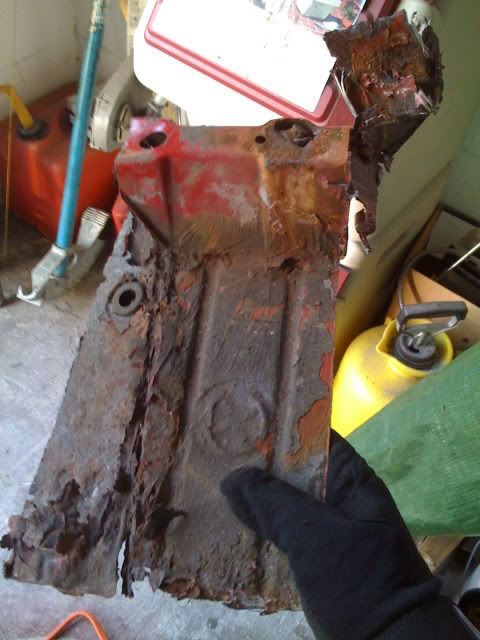
Well today I fixed the other side. This side was really bad, It had completly rusted through, and took up a good amount of the rear corner.
I didnt get many pics because my camera went missing, and I didnt want to mess up my phone while working on the car. Here are a few pics.
I also rolled the fenders, but did not have pics of this either.
The chunk of the car we replaced
The rust that fell down as we hit the area and cut it
One of the rusted peices we cut off

Welded in
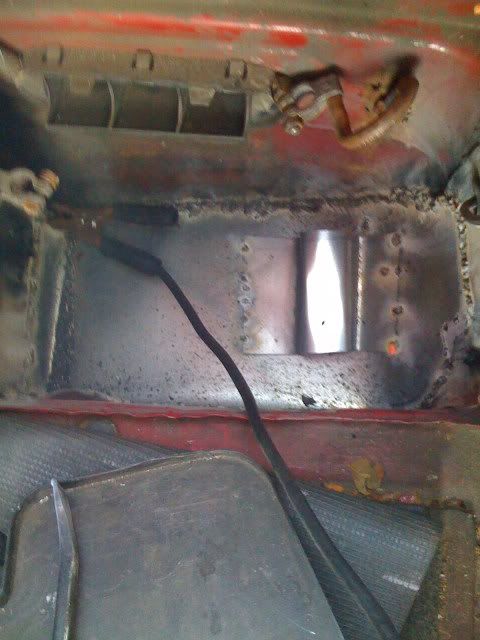
Painted and finished
Once again sorry for the lack of pics, and the low quality.Comment
-
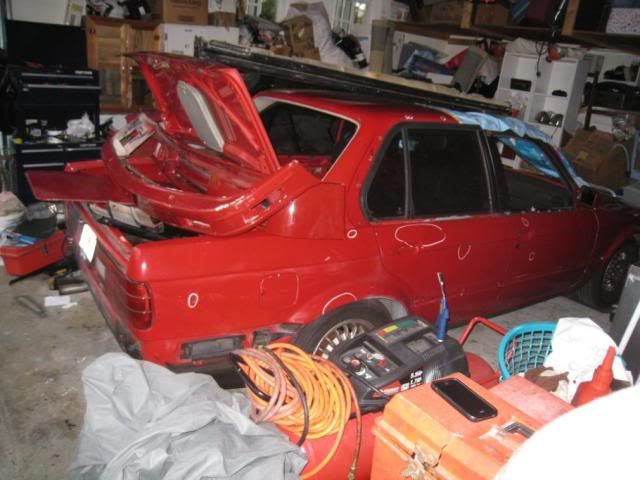
So today was quite an eventful day. I took the car to paint, thats a good thing.
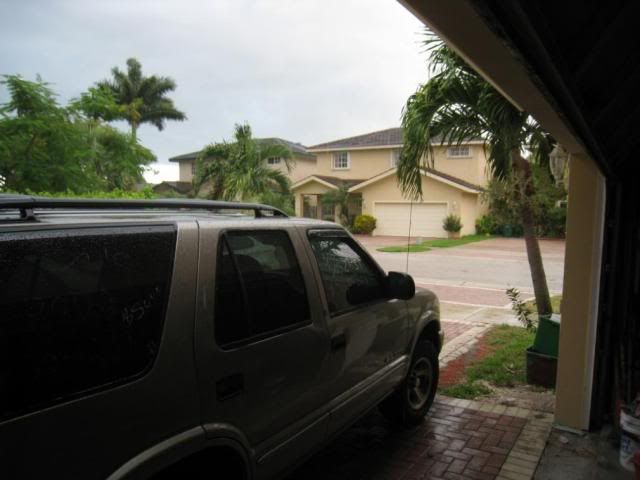
I was supposed to wake up early and have the car fully stripped by 10am. I did not wake up until nearly 12 noon. At that point I rushed and got the car almost fully stripped in just under an hour. I mean the windshield and rear window, take off the spoiler, the tail lights, the antenna, the sunroof, and maybe a few others, in 91 degree humid weather. After that I went to my friends house to pick up the tow vehicle, a king ranch f250, then to his shop to get a tow device. I get home at around 3 pm to get the car to the shop far from me by 4:45 pm. I still had to circle all the dents and fix a noisy door. Got all that fixed and made it to the shop on time.
The body guy said it should take a couple of weeks, but I told him take his time and do a good job. Just as before I am pianting it Imola Red And he is fixing all the body work. I hope it comes out good this time.
Now on to the pics,
Hood Gasket off
Wipers off
Sprayers off
Tails off
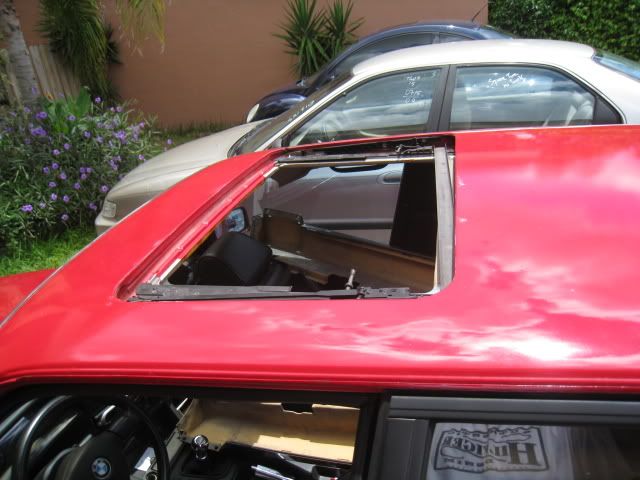
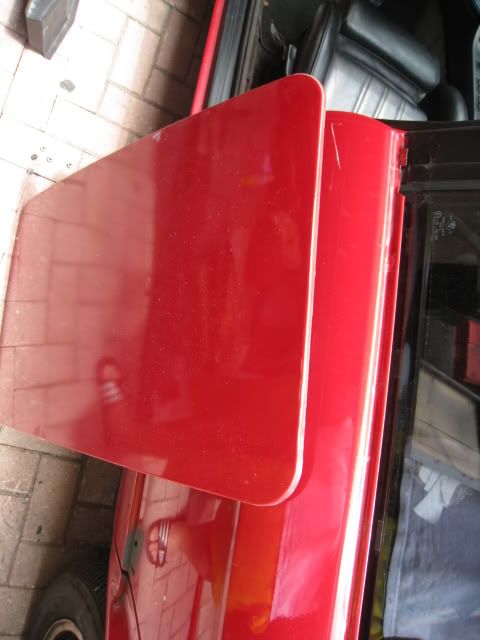
Sun roof off
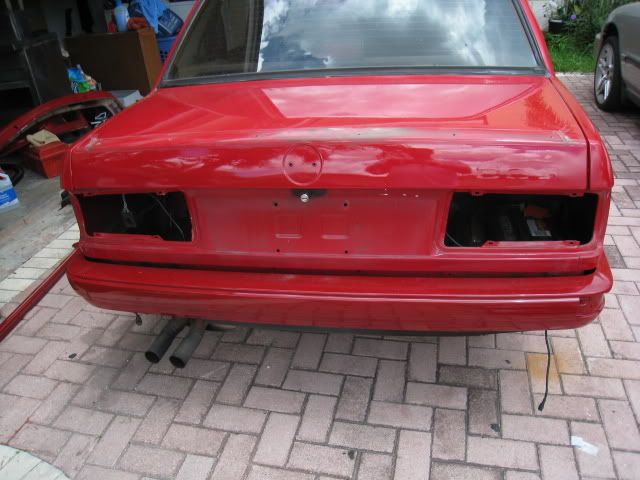
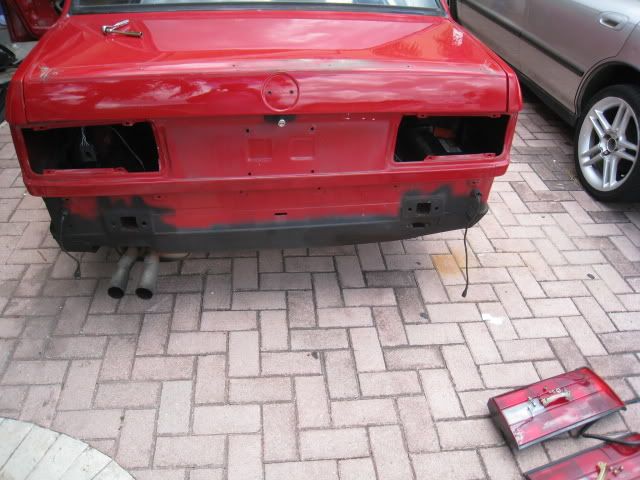
Back bumper off
Windows out
This was the hour mark
All the pieces i took to the shop

Shots of the car
After picking up the truck.
Dings circled
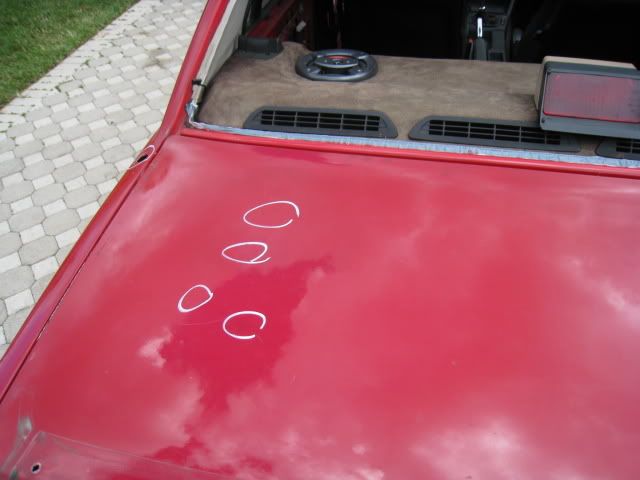

After this we took the car to the shop. SO hopefully the next time you see it, it will be very nice.
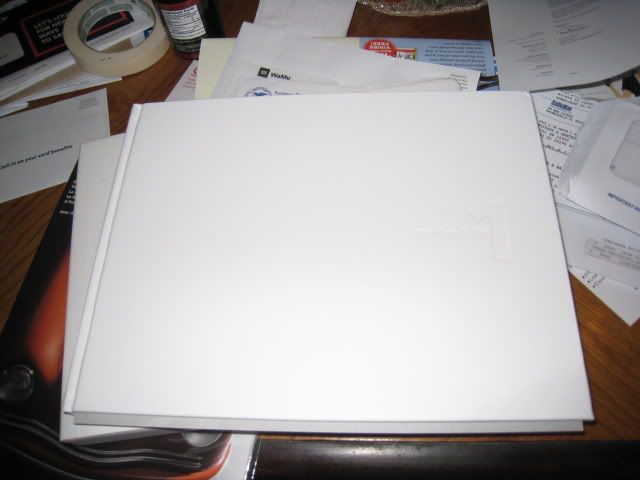
Also, When I got home, I had my 1 series commerative book. Its nice, white leatherm has my vin imprinted, and my cars info. :excited:
Comment
-
Great progress. I can't wait to see this thing with the wheels. Any mods getting done to the 1 series?sigpic
Comment
-
When do you expect it back? I think you will have the same problem I do trying to decide which car to drive. The e30 wins over 90% percent of the time over the e46. Not sure if it would over the 1 series if I owned one. I'd probably still drive the e30 because I put so much work into it.sigpic
Comment
-
Wow, so I just got some bad news today. The guy who was painting it said he can no longer do the job, so now I need to find a new shop to do it, and pick up the car.
I have no idea at this point, lol. I have the problem now and the e30 was in peices. I low driving the 1, but sometime I like the e30s rawness. The e30 will probally get driven to meets, and on the weekends.Comment
-
SO I think I am painting it myself...Comment
-
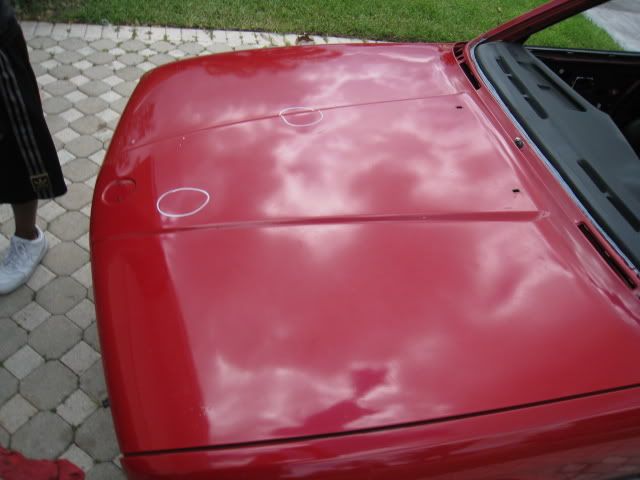
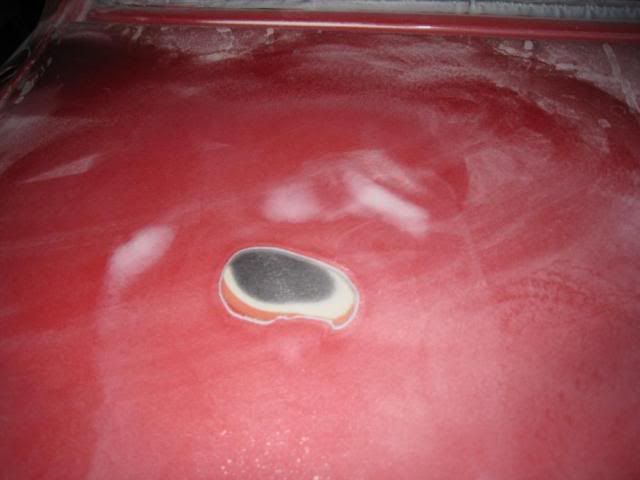
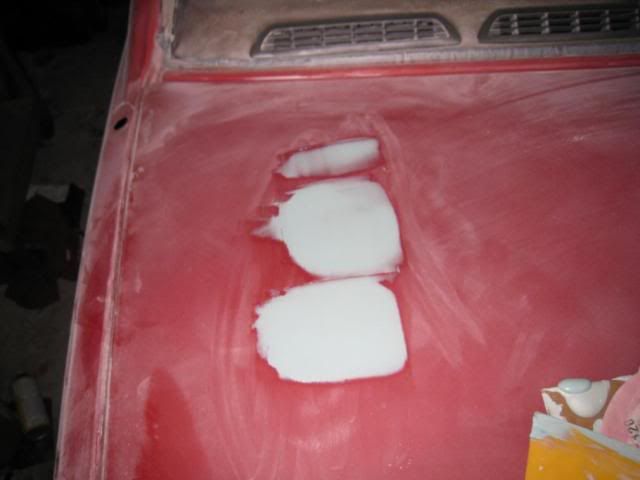
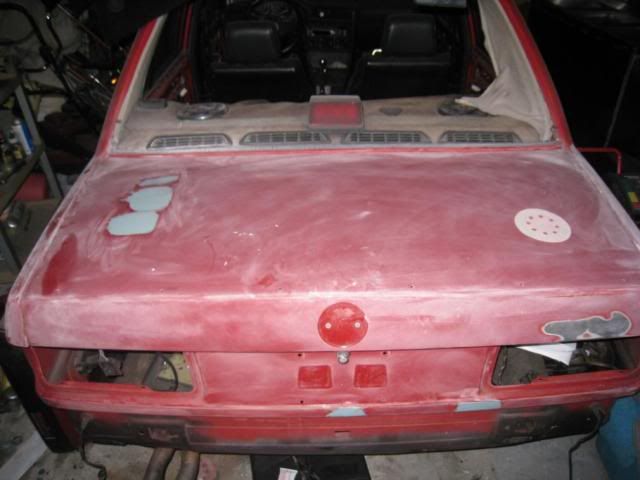
Well I did a little bit today. I focused on the trunk and rear panel. I didnt, have my air orbital sander only my electric one, and I was running out of sheets.
I got the car in my garage.
Because of Fabulous Miami weather
Sanding down the "325" emblem
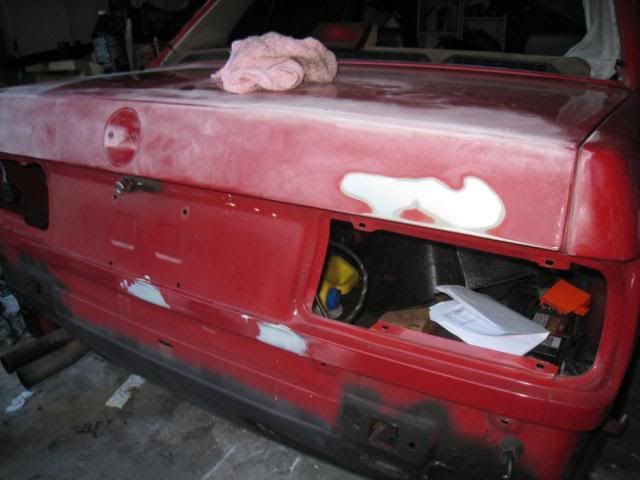
Putting Filler on the small dings on the trunk
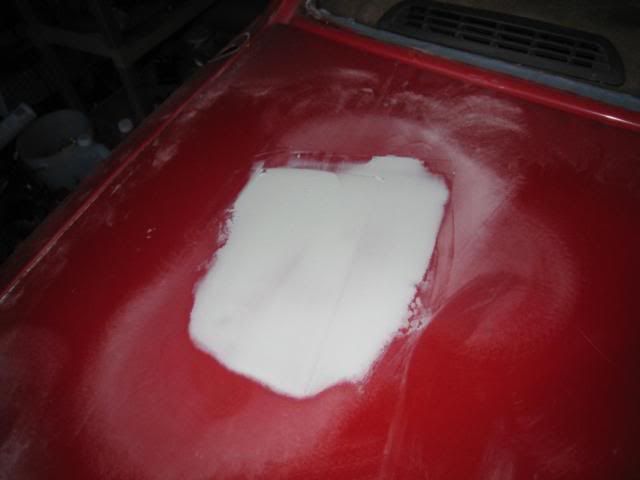
The dings sorted out for the most part
Dings on the rear panel
More filler on the upper dings, I still felt a little difference in texture
The rest of trunk pretty much sanded down, a little more smoothing out and it will be ready for primer.
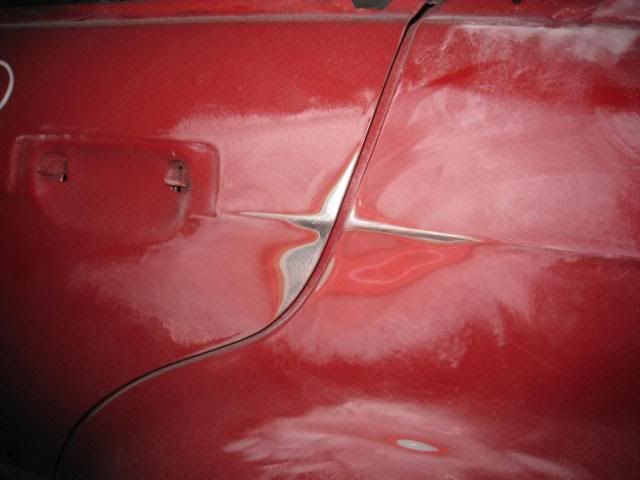
A portion near the back door which had bubbles, so I sanded it down to the metal.
Comment

Comment