Announcement

Collapse
No announcement yet.

The MR E30 Project Thread - E36 M3 Edition

Collapse
X
 
  • Filter
  • Time
  • Show
Clear All
new posts

    #61
    September 19th, 2020 Round 2

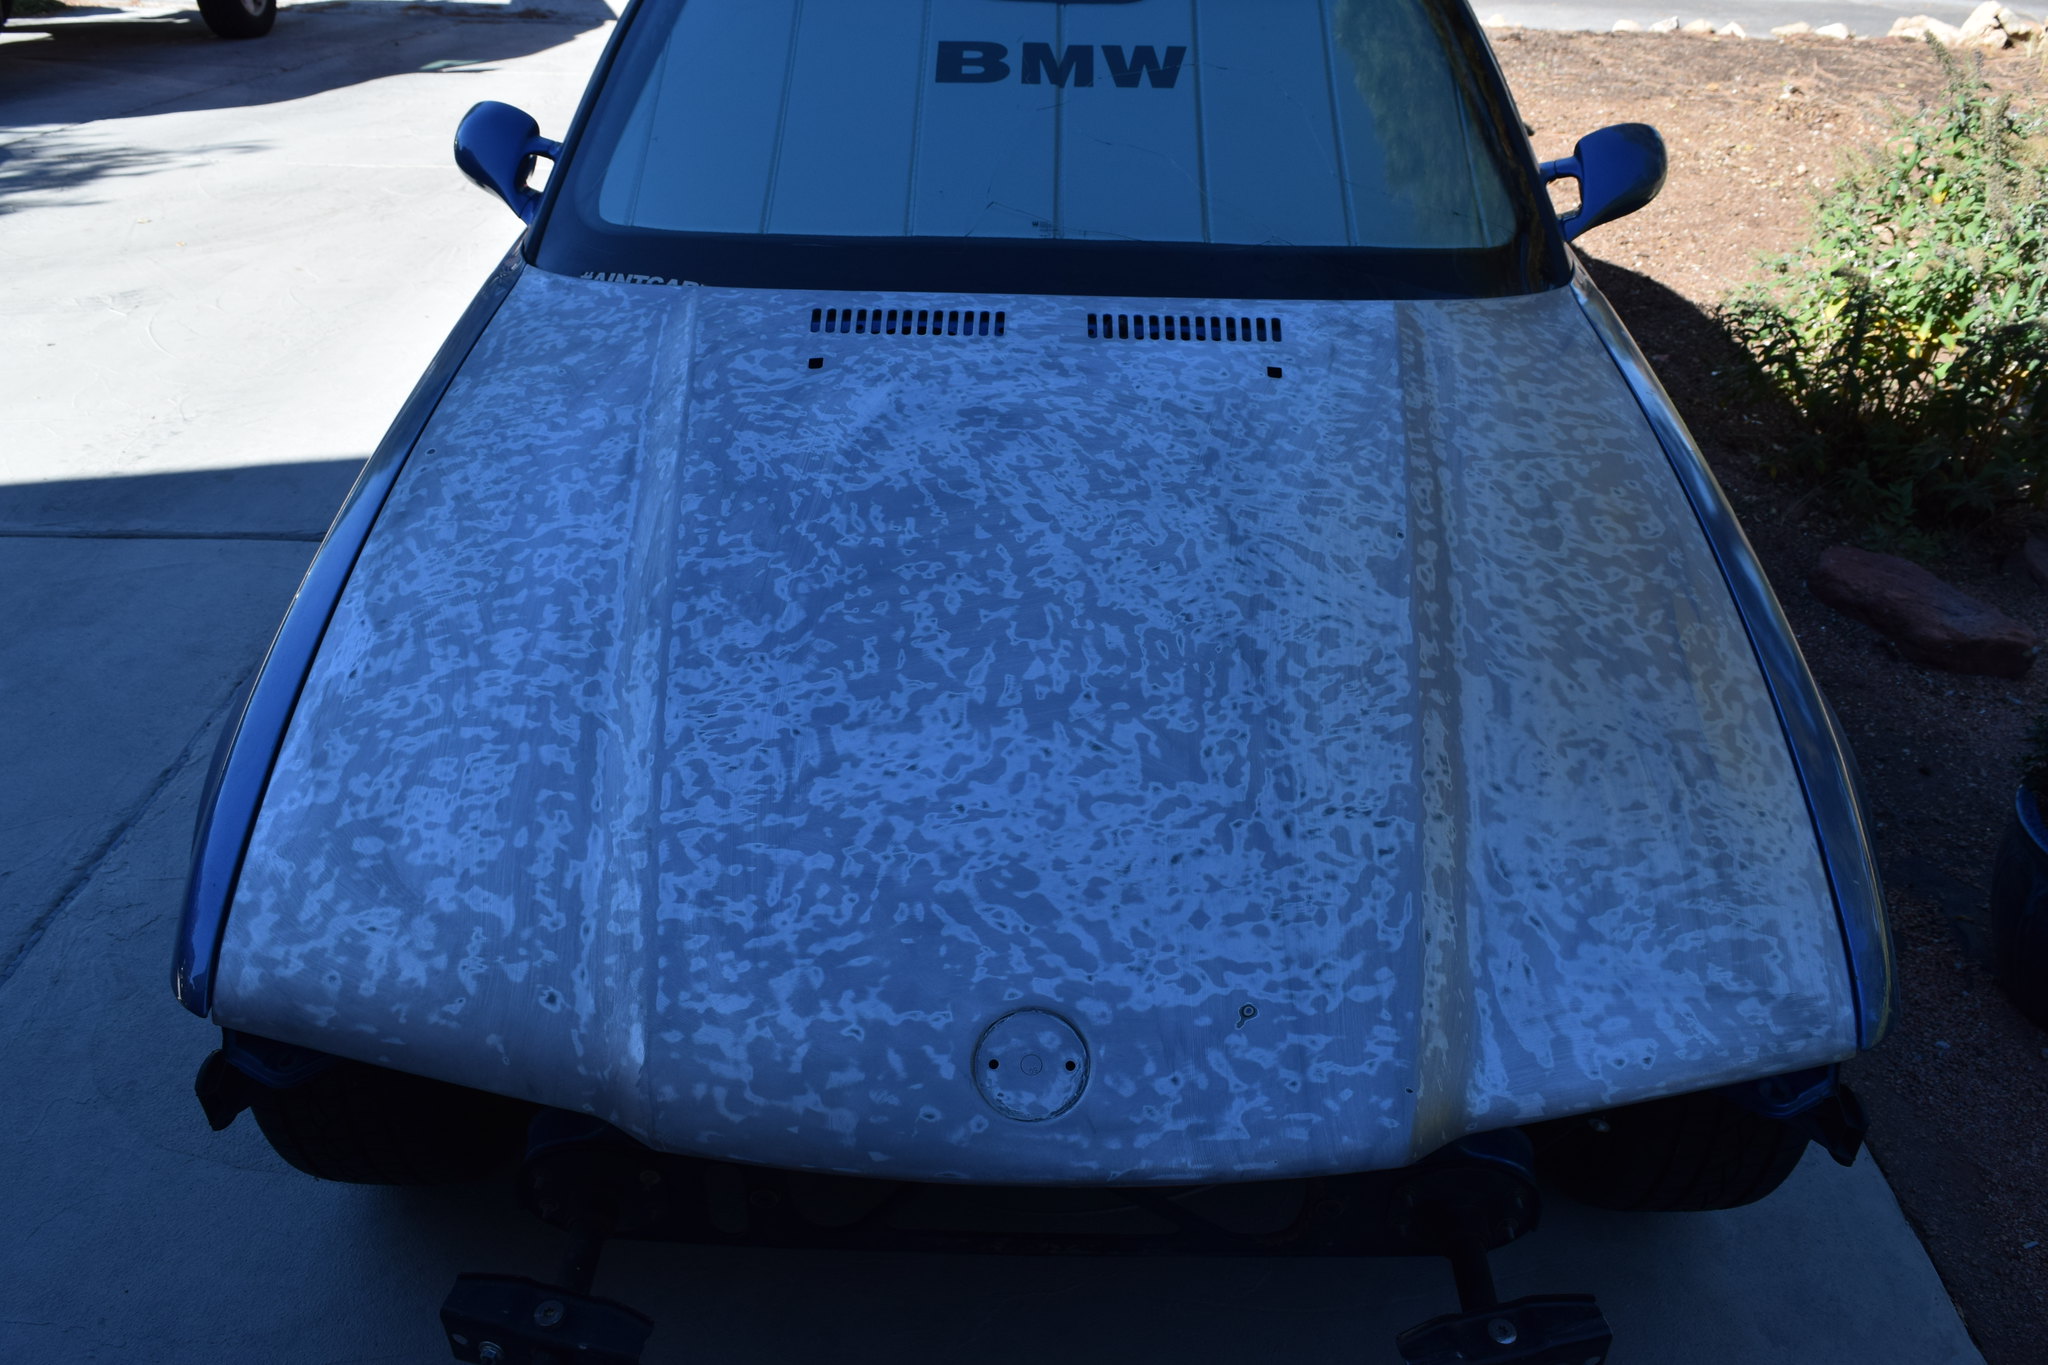
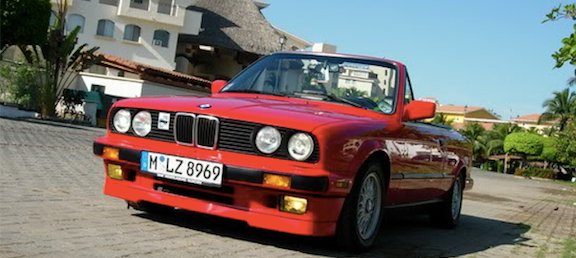
    I was able to get a small task off of my list while I was resurfacing my driveway today.

    01 - M3 and Driveway by Michael Rickerd, on Flickr

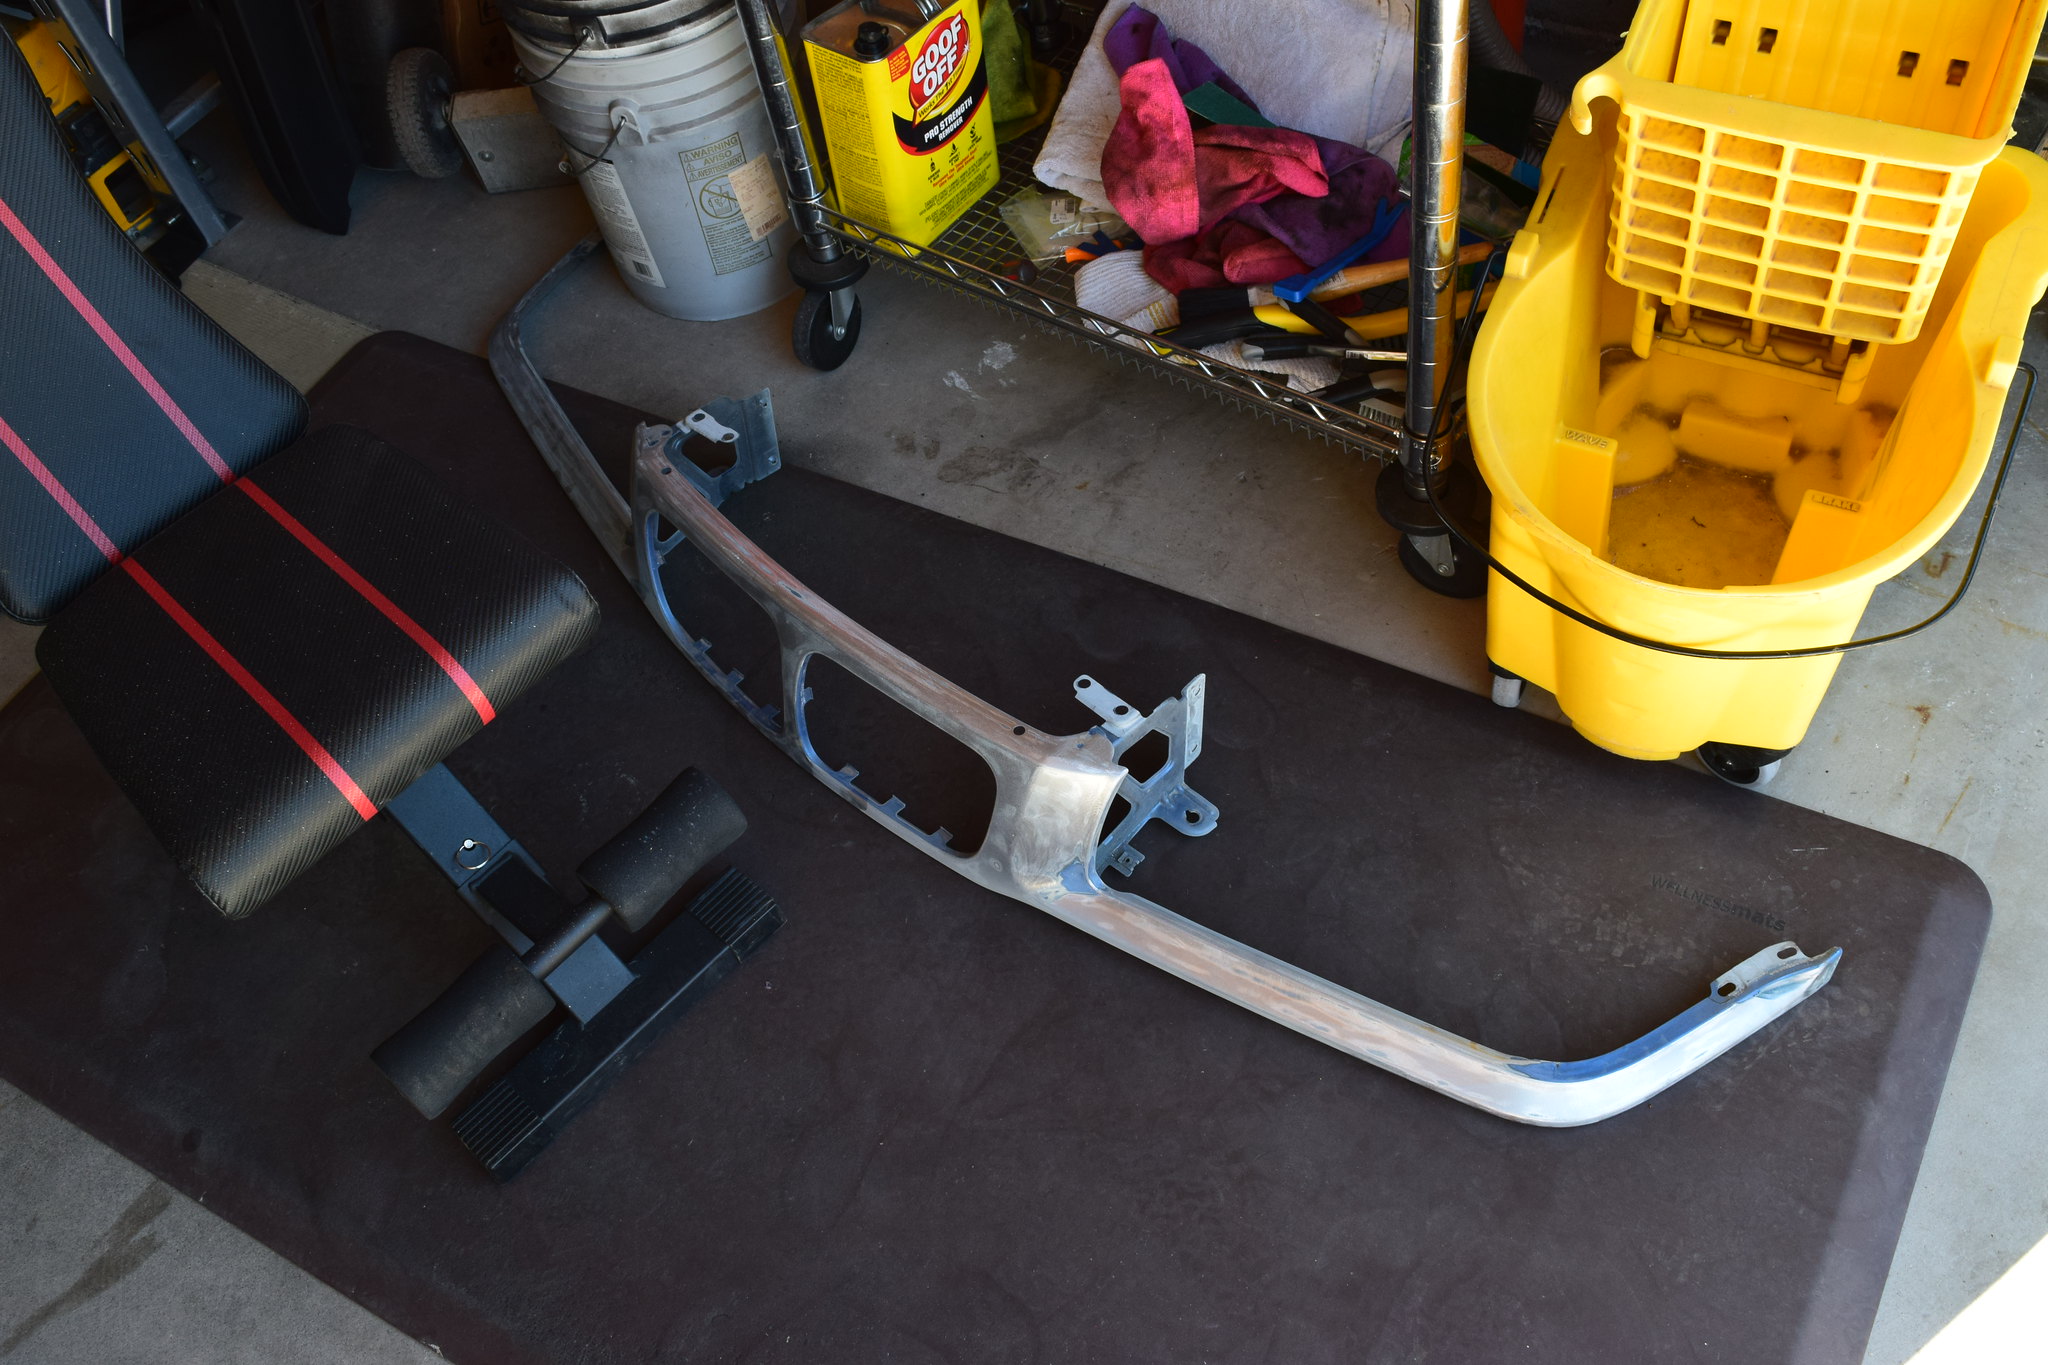
    I pulled all of the bumper trim, inspected it, cleaned it, and then painted it with SEM Trim Black paint to bring it back to life. I mainly wanted to normalize the color and make sure none of the clips were broken or strained. Thankfully none of them were, except for the tow hook cover which had a hole in it, so I was able make them nice and set them aside for the appropriate time. This car will be driven quite a lot when it is done, so I won't be as picky about exterior bits, especially front exterior bits, as I was on the inside of the car although I still want to do a detailed job in the rejuvenation process.

    02 - Spruced Up Bumper Trim by Michael Rickerd, on Flickr

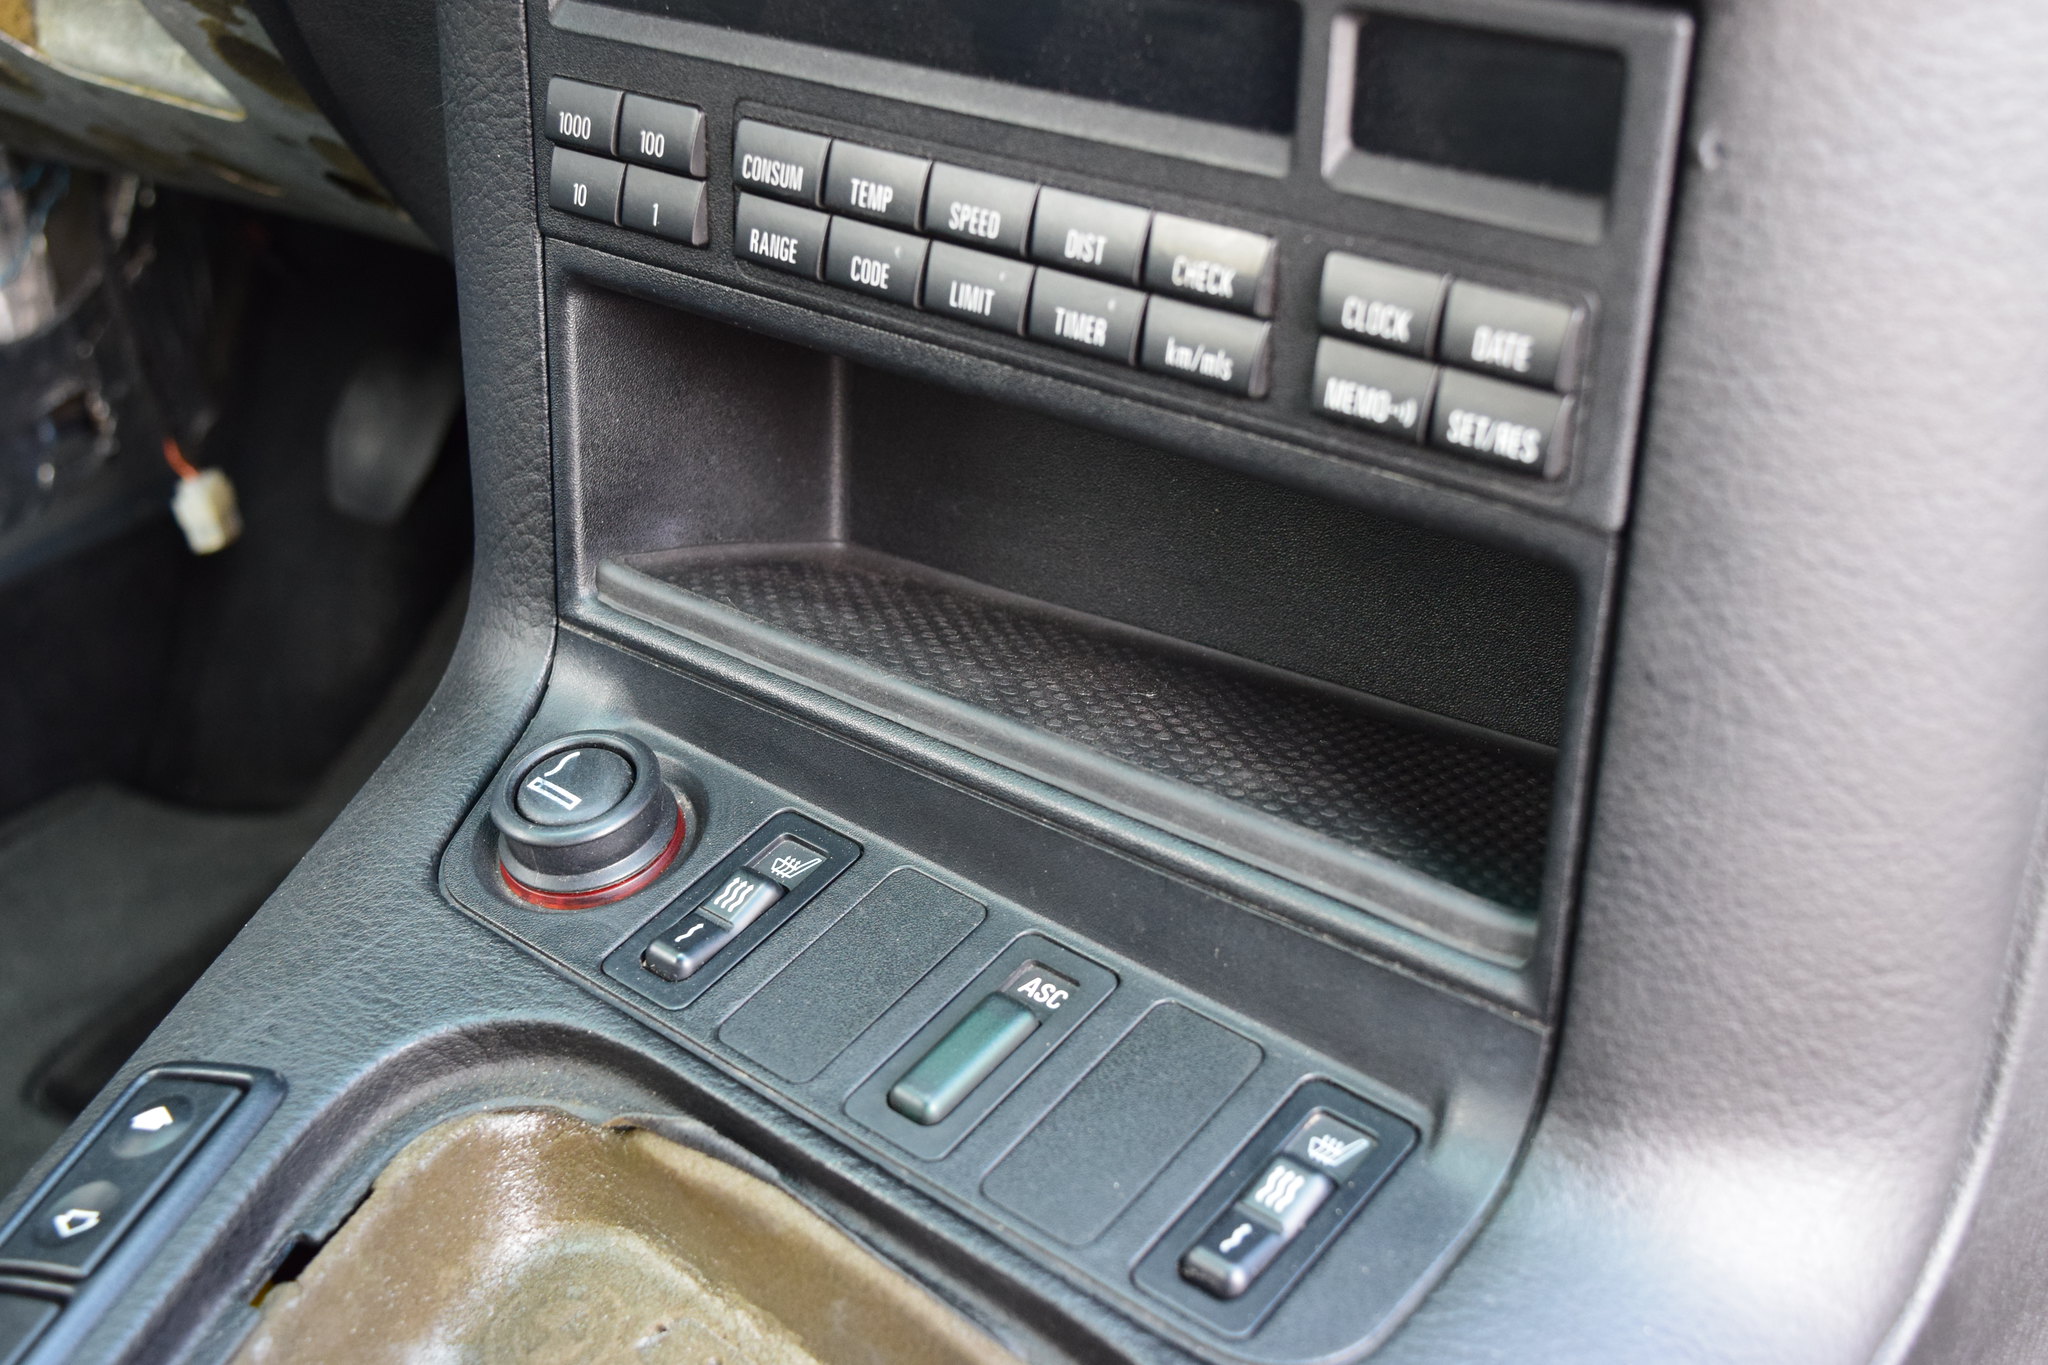
    Other than that I spent a chunk of change on various parts from various supply houses. Interior trim bits, OEM sunshade, etc. I still have one final list from RMEuropean to purchase but then I will cool my jets for a week or two before buying more parts.

    Approximate Hours Invested in Project Since Purchase: 142
    My previous build (currently E30-less)
    http://www.r3vlimited.com/board/showthread.php?t=170390

    A 2016 Toyota Tacoma TRD 4x4 Offroad in Inferno is my newest obsession

    Comment


      #62
      September 24th, 2020

      It has been an eventful past few days for the M3.

      It started out with a trip to the local JY to snag a glove box and wiring pigtails.

      I found a clean center cubby mat that I realized I was missing. It cleaned up and installed well.

      27 - Installed Center Cubby Mat by Michael Rickerd, on Flickr

      My trunk latch reinforcement plate arrived from BRaymond. Well packaged and delivered timely. Very satisfied.

      I snagged another trunk latch from a JY car as well, cleaned and lubricated it and then installed it with the correct hardware, removing the poor attempt of one of the PO's to rectify the trunk metal cracks.

      28 - Installed Trunk Latch Reinforcement by Michael Rickerd, on Flickr

      A few of the interior pieces I ordered arrived in the mail and I got to sprucing them up for install. It is not complete at this moment so I have no pictures yet, but the whole passenger side of the dash will be completed. All I have left to track down for the front of the cabin in a coupe knee bolster and a steering wheel.

      Now, onto the main excitement, as a cubby mat is not all that fascinating.

      While I was at the JY I scoured the Chevy portion of the lot for the heart of the beast.

      I came across (2) suitable candidates. I took down the VIN's of each chassis to do a Carfax and manufacturer check.

      Once the research was completed I knew which one of the two was the one.

      Knowing that, a buddy and I spent 2 hours and 3 minutes pulling the 5.3 Liter LM7 Iron V8 from the weak grasp of a 2002 Chevrolet Tahoe with 218980 miles (as recorded when dropped off at the JY).

      01 - Removal of the Heart by Michael Rickerd, on Flickr

      Removal was very simple as most of the front end of the truck was already cut away. The exhaust was already cut behind the O2 sensors as well. And the driveshaft was already gone.

      So we went to town and used the JY's engine hoist to free the engine and tranny, separating the transmission and leaving it behind when it was easy to access the connecting bolts. My buddy with the Vette kart lent me a chain and hoisting bolts after showing me where they connect on the heads.

      All in all a piece of cake. Very hassle free.

      Paid the JY a couple hundred bucks and loaded it into the back of the truck.

      01 - Removal of the Heart by Michael Rickerd, on Flickr

      My friend who owns the garage I was going to drop it off at may have contacted someone with Covid, so we are giving him some down time to quarantine before I go over and put it on an engine stand. So for now I'll pull a bunch of the parts that I do not need off of it and get it torn down to be dropped off at a local machine shop for cleaning. I've scrubbed an S52 by hand before (Winter of 2012) and I'll pass on that tedious and incredibly messy job this time around.

      Now that I am operating on two fronts, engine and interior, I'll hopefully have the time I need to make steady progress on both fronts.

      'Til next time.

      Approximate Hours Invested in Project Since Purchase: 151
      My previous build (currently E30-less)
      http://www.r3vlimited.com/board/showthread.php?t=170390

      A 2016 Toyota Tacoma TRD 4x4 Offroad in Inferno is my newest obsession

      Comment


        #63
        September 26th, 2020

        The engine was dropped off at the M3's winter home yesterday. Dan insisted that it was unloaded with flair, using his Bobcat to get the job done.

        02 - Engine Hoist 2.0 by Michael Rickerd, on Flickr

        We threw it on a stand and tucked it into the corner of his massive garage. I'll get back to this dirty thing later.

        For now I wanted to continue to focus on the chassis. Parts had been arriving for the past few days so I went about getting those installed.

        The passenger side dash area is completely finished. Glovebox sag was addressed and fixed, with it closing now correctly. I even found the lower piece of cardboard material that covers the wiring down below.

        33 - Finished Passenger Side Front by Michael Rickerd, on Flickr

        I am excited and satisfied with how this portion of the car turned out. Everything is clean and properly fit.

        The cluster that came with the car must have been removed numerous times, without care, as the clear covering was scratched and the two mounting tabs were broken. I didn't like this, so I sourced another cluster with functioning tabs from the JY. I swapped covers, using a polishing compound to really bring the clear plastic to life, and swapped all of the M3 internals over. I used the backup cluster and attempted to do BRaymonds dark spot fix, but I was not comfortable with removing the needles. I decided to throw it in the car for now, see if it has any dark spots, and if it does I will rethink how to best address it.

        Here are the two clusters reassembled after swapping the covers. I'll store the backup cluster in my shed for whatever reason I may need it in the future.

        29 - Completed Cluster Swap by Michael Rickerd, on Flickr

        Install was quick and painless. Happy that this is now in the car.

        32 - Cluster Installed by Michael Rickerd, on Flickr

        The drivers side dash still needs the knee protector piece, though I have sourced a new OEM unit that is on my to purchase list. I received the speaker cover and dead pedal, cleaned it up, and installed it after removing the hood release cabling as mine was not performing well.

        I'll be going with hood pins of some sort as I will need to modify the metal support that the hood latches mount to. I want the engine bay as clean and item free as possible so I have as many options as possible for getting the V8 and turbo and all associated bits installed in there.

        After that was done I pulled the drivers side door handle and found the reason why I couldn't open the door from the outside. The metal piece connected to the handle had sheared off. A quick search on RealOEM shows that all E36's came with the same door handle mechanism, so I added that to my JY list to pull next time I am out there.

        With that removed I went about cleaning the interior of the doors. This is the drivers side before:

        31 - Drivers Door Before Cleaning by Michael Rickerd, on Flickr

        All the black gunk was removed with goof off and then I cleaned each and every little piece. Wiring was also degreased and then wrapped with the Tesa fabric tape I used on the rest of the interior. I need to determine what grease to put on the window mechanism to ensure proper functionality, but I will address this when the car has a battery in it so I can raise and lower the windows.

        I have new OEM door sill covers on the way and I need to figure out how to best install those with the clips that attach to the chassis. Don't want to damage new parts.

        Other than that I need to figure out what to do next, as the interior is fully cleaned, and now simply needs to be filled with stuff!

        Approximate Hours Invested in Project Since Purchase: 160
        My previous build (currently E30-less)
        http://www.r3vlimited.com/board/showthread.php?t=170390

        A 2016 Toyota Tacoma TRD 4x4 Offroad in Inferno is my newest obsession

        Comment


          #64
          September 29th, 2020

          Spent a bit of time with the M3 throughout yesterday afternoon and most of today, on and off.

          After realizing that the interior has no more significant tear down or dissection, I began to focus my attention elsewhere. The place where my engine is stored and where the car will soon be stored in only 9 minutes from my house, but I didn't want to head over there due to some miscellaneous appointments throughout the day. So, I decided to start pulling apart and finessing the exterior of the car.

          This led me to pull the front bumper and begin its complete disassembly.

          I was excited to find the OEM VIN tag, ending in EY74149, the last 7 of the cars VIN, on the inside of the front bumper, completely covered in dirt. The original front bumper. Still here after 23 years, with a handful of those years being in a lowered state. Impressive.

          However, I did find numerous unsavory methods that were used to keep the front bumper together, mainly the lack of desire to source the correct part or connector for the job. All will be rectified come assembly time.

          And then there was the obvious signs of a very poorly done respray.

          03 - Oversprayed Bumper Support by Michael Rickerd, on Flickr

          With the bumper fully torn down, individual parts tossed in the ultrasonic and then brushed down to remove surface tarnish, I had a pretty good feel of what I would need to replace.

          So I went ahead and stripped the overspray off of the bumper support with a flap disc on a grinder, and then painted it in a flat black for no reason whatsoever other than the fact that I could. It was fine in its polished metal finish, but I couldn't help myself.

          With that done I turned my attention to the front lip, deeply scratched near the front corners, but in one piece with no cracks or bends. In an effort tp use as many of the original pieces as I can I am working on a solution to refining the piece before reattaching it. I'll most likely try my hand at sanding the scratches out and giving it a nice coat of gloss black paint to bring it back to life.

          There's only one more piece of the front bumper left. The shell itself. This original piece had two coats of Estoril on it, as it was not fully stripped prior to the respray.

          But that isn't my style. So out came the palm sander with 100 grit discs, and then smaller and smaller flap discs on a drill to get to the tighter spaces.

          04 - Partially Stripped Front Bumper by Michael Rickerd, on Flickr

          This part was tedious, as you need to keep attention on switching up where you are working, to avoid putting too much heat into the material and causing it to deform and fling apart when touched by the sander. It was ~45 degrees when I started this morning, so I had a cool piece to start with. Keeping it in the shade throughout the day helped avoid any damage.

          Several hours later it was free of any old paint or primer, stripped to its black colored nature, ready to be carefully checked over, touched up as required, and then resprayed in glorious Estoril once again.

          The last M3 I owned, a 98 M3/4/5 also had a terrible front bumper that I was able to bring back to life thanks to time and an HVLP paint system, along with a makeshift garage paint booth. Still proud of that job.

          DSC_0050 by Michael Rickerd, on Flickr

          I will put the bumper shell aside after looking it over real good tomorrow. Then I will use the larger flap discs I have to remove all of the paint off of the hood. I quickly dug into it just before coming inside with a small drill mounted flap disc and found two coats of paint as well. Very thick stuff. I'll get a picture tomorrow, but my grinder is in for a workout. Thankfully my neighbors mostly live elsewhere, and I have the excellent tales of The Gray Man to keep me company in this time consuming and rather boring endeavor. But it must be done. And I shall be the one to do it.

          Until next time.

          Approximate Hours Invested in Project Since Purchase: 170
          My previous build (currently E30-less)
          http://www.r3vlimited.com/board/showthread.php?t=170390

          A 2016 Toyota Tacoma TRD 4x4 Offroad in Inferno is my newest obsession

          Comment


            #65
            October 1st, 2020

            Engine progress! Went over to the Garage Mahal and spent some time with the LM7 after poking around an old 50's Power Wagon in need of a serious restoration and investigating a poorly performing Snap On Welder.

            Pardon the photos, only had my iPotato with me this go around due to how messy the engine is.

            Started with this, as it was dropped off after being pulled from the JY.

            Engine Teardown - First Day by Michael Rickerd, on Flickr

            Pulled the entire wiring harness first, an easy task as the engine does not have many sensors. I will most likely use a clean aftermarket harness for my swap but I don't like storing dirty parts so I will still clean this one up and then label all of the connectors just in case.

            Engine Teardown - First Day by Michael Rickerd, on Flickr

            Before long the main crank bolt was removed along with most all the rest of the exterior bits of engine. Most bolts were either 10 or 15mm, and electric powered tools made the removal quick and painless.

            Engine Teardown - First Day by Michael Rickerd, on Flickr

            Took a look under the valley pan and rotated the engine by hand to check out the cam lobes that I was able to see. All were clean, pit free, and smooth. An initial good sign.

            Engine Teardown - First Day by Michael Rickerd, on Flickr

            I cleaned up, and headed home for lunch with a truck bed full of stuff to process. I won't need most of these things, but I still don't like to store dirty parts, so I'll clean them up and store them just in case.

            Approximate Hours Invested in Project Since Purchase: 174
            My previous build (currently E30-less)
            http://www.r3vlimited.com/board/showthread.php?t=170390

            A 2016 Toyota Tacoma TRD 4x4 Offroad in Inferno is my newest obsession

            Comment


              #66
              October 3rd, 2020

              Brief update, no photos.

              Made some boring progress cleaning a bunch of the engine accessories prior to storing them away. There really isn't much I will use since I am upgrading the water pump and accessory drive to the more compact C4 Corvette setup to maintain extra space in the engine bay. Though I did keep a few things that I know I will need.

              Started with the pressure washer, then scraping off goop with various hand tools, and finally finished them up with a wire brush, Simple Green, and rags.

              The batch I pulled from the engine a few days ago is almost fully processed through now, just one set of coil pack and mounting bracket to go. So I suppose it's time to disassemble the engine a bit more.

              Other than that I ordered some more parts from BMW and purchased a 99 M3 steering wheel from eBay. I remember something about a clock spring/wiring to install the newer steering wheel in my 97, so I will research that.

              Approximate Hours Invested in Project Since Purchase: 180
              My previous build (currently E30-less)
              http://www.r3vlimited.com/board/showthread.php?t=170390

              A 2016 Toyota Tacoma TRD 4x4 Offroad in Inferno is my newest obsession

              Comment


                #67
                October 5th, 2020

                Yesterday I finished cleaning all of the parts and hardware that I pulled off of the LM7. It's all organized, stored, and I am ready to do more engine disassembly.

                With a satisfactory amount of parts on their way to me, I spent the day focused on automotive tasks that weren't M3 related.

                Started out the morning by washing, claying, correcting, perfecting, sealing, and then waxing the truck bed portion of my Tacoma.

                I scratched the crap out of it on a 5 day trip earlier this year, and finally got around to addressing it.

                Photo is hard to see, but the bed portion is shiny and smooth after the 6 step detailing process I have become skilled at over the past few years.

                The main scratch down the entire side is visible under the rear window. It used to continue all the way to the taillight. Got that one going through the "Devil's Chasm" near Lake Roosevelt.

                Tacoma Bed Detailed by Michael Rickerd, on Flickr

                Tacoma Bed Detailed by Michael Rickerd, on Flickr

                After lunch a buddy came over and we installed a lift kit on his Raptor. Now it is even more large and aggressive. Which it does not need.

                Lifting Raptor by Michael Rickerd, on Flickr

                55 mile mountain bike ride "Around The Peaks" here in town tomorrow morning, so no car stuff for the next couple of days probably. Will need serious time to recover.

                Approximate Hours Invested in Project Since Purchase: 184
                My previous build (currently E30-less)
                http://www.r3vlimited.com/board/showthread.php?t=170390

                A 2016 Toyota Tacoma TRD 4x4 Offroad in Inferno is my newest obsession

                Comment


                  #68
                  October 12th, 2020

                  Progress has been a bit slow with the M3 the past few days, mainly due to some more Tacoma polishing, and the impending engineering exam I have to further boost my career.

                  Though progress was still made.

                  I pulled my grey door sills in anticipation of receiving my used, but 'mint', black replacements from a guy on the east coast. Unfortunately, despite referring to them as 'mint' on two separate occasions, it is obvious once I received them that our definitions of mint are not the same. Paid good money too. And it was a guy from Jersey, which doesn't help my subconscious opinion of folks from that area. Oh well. I'll see how they look after a thorough cleaning and install.

                  05 - Removed Door Sill Passenger by Michael Rickerd, on Flickr

                  It was messy under there, and all the clips broke, but I have new ones on order. I did a quick clean up of the door jamb area but didn't go too crazy as I am sure this area will get repainted when that time comes.

                  I used my need to strip the paint off of my front nose panel to buy a few more tools and used them to get this piece stripped all the way down. Went all the way down to bare metal since the nose panel had so many large marks/chips in it that went down to the metal anyway. This was the only way to make sure the final product is smooth enough to pass inspection. The photo doesn't show it fully stripped, but I finished it a bit later.

                  06 - Stripped Nose Panel by Michael Rickerd, on Flickr

                  This was set aside on a shelf with the bumper for the future.

                  I then started the messy process of stripping the hood. Grinder mounted flap discs and paint stripping discs make quick work. Throw on the headphones and the noise cancelling ear phones and go at it. Took about 25 minutes to get this much stripped off. Called it a day after getting this far to do some more housework (boring I know), but I will be back at it tomorrow morning. The hood will get fully stripped as well, I'll have a PDR guy come out and smooth out the two dings as well as possible before I finalize them with Bondo to get them nice and smooth.

                  Then the carbon fiber vinyl will be applied. Kinda racecar, but I am certain I will like the way it looks once the car is completed.

                  07 - Partially Stripped Hood by Michael Rickerd, on Flickr

                  Note the OEM BMW Sunshade. Yeah, yeah, the car doesn't have seats, or a steering wheel (yet), or an engine even, but by golly does it have a sunshade! Haha.

                  The project kind of took a turn for me mentality the last time I was working on it.

                  I think I am going to shift focus towards getting all the things done that need to be done so that it can be driven. So that means I will divert more finances and time towards getting the engine in, the suspension refreshed, and a drivers seat in the car.

                  I have a full blown living room switched to a kitchen remodel going on in a couple of weeks that will cost more than 3 or 4 of these projects, so project car money will be scarce for a little bit. But it will be worth it. Big time.

                  This doesn't mean that I will decrease the attention to detail paid to any work I do, nor does that mean I will skip things that are a necessary step towards drivability, but I will put the acquisition of interior components on the backburner. I still have interior parts on there way to me, but I won't get lost in trying to finish the interior 100% before moving on.

                  Once my steering wheel arrives the car will be trailered to the Garage Mahal for the winter. I will begin by tossing it on stands and refreshing the underside of the car to my liking. New suspension components and a thorough checking over are on the list. That should be this week, though my exam is in 11 days so I may be distracted by that until it is over.

                  On a final note, finally finished the 12 hour process of detailing my Tacoma. Glad it's done with for now (until the next trip that involves making my way through Arizona bushes and trees where it will get scratched again!). I have to sand and then recoat my sliders to bring them back up to snuff as they have taken a beating over the past year as well. Though that shouldn't take as long.

                  Serious scratch before:

                  DSC_2194 by Michael Rickerd, on Flickr

                  And after, completely gone:

                  DSC_2196 by Michael Rickerd, on Flickr

                  Approximate Hours Invested in Project Since Purchase: 187
                  My previous build (currently E30-less)
                  http://www.r3vlimited.com/board/showthread.php?t=170390

                  A 2016 Toyota Tacoma TRD 4x4 Offroad in Inferno is my newest obsession

                  Comment


                    #69
                    October 17th, 2020

                    Spent some time with the M3 today.

                    I had been spending 20-30 minutes each morning for a few mornings using my grinder with flap disc to strip the paint off of the hood.

                    I finished that yesterday and today I used a palm sander with 100 grit pads to finish removing any remaining primer/basecoat. I followed that up with a 220 grit pad to smooth the surface a bit more.

                    Here you can see the right half of the hood hasn't had the palm sander yet, while the left side is much more uniform, though not perfect.

                    08 - Hood in Progress by Michael Rickerd, on Flickr

                    After the 220 grit. Smooth enough for me and the vinyl I ordered yesterday. I went with a cheaper brand than 3M for my first time, as I am not sure how good I will be at this, so I opted to risk $40 instead of $200 for this first go around.

                    09 - Hood Strip Complete by Michael Rickerd, on Flickr

                    After that was finished I moved on to installing the steering knuckle so that I can steer the car onto the trailer in the next couple of days. I also pulled the hot boy gold tape and started investigating the hacked up wiring, pulling tie-ins and poor wrap jobs off as I went.

                    04 - More Stripped Engine Bay by Michael Rickerd, on Flickr

                    I had more availability in the afternoon so I opted to pull the driveshaft so it couldn't get caught up on the trailer. I also don't need this, as Vorschlag makes a slip yoke driveshaft that I will purchase from them specifically for an E36 M3 with a T56. So I'll clean this one up and put it up for sale. Removal was easy, thankfully.

                    01 - Removed S52 Driveshaft by Michael Rickerd, on Flickr

                    While I was down in that area I decided to pull the rear bumper as well, just so I have a few projects I can work on in my garage while the M3 is away. It has numerous scratches, so it needs the attention anyways. I also need to see what the car looks like behind it for 'research purposes'.

                    10 - Removed Rear Bumper by Michael Rickerd, on Flickr

                    This will get fully sanded like all of the other parts thus far. Then I'll tuck it away for the time when I set up the paint booth to repaint all of these parts.

                    I have never seen the rear end of an E36 without a bumper, so this is new to me.

                    11 - Naked Butt by Michael Rickerd, on Flickr

                    I need to schedule a time to get this over to the Garage Mahal. I head down to Phoenix this Thursday, so I want it put away before then.

                    That's it for now. All parts I had ordered have arrived, though few have been installed. The others will have to wait for the right time in the process. I will be shifting focus to the engine tear down next.

                    Approximate Hours Invested in Project Since Purchase: 195
                    My previous build (currently E30-less)
                    http://www.r3vlimited.com/board/showthread.php?t=170390

                    A 2016 Toyota Tacoma TRD 4x4 Offroad in Inferno is my newest obsession

                    Comment


                      #70
                      October 20th, 2020

                      Yesterday I had some time to continue pulling apart the LM7 at the Garage Mahal. I helped Dan troubleshoot one of his Camaros, as the gas gauge doesn't go anywhere apart from the 3 o'clock position where it sits.

                      Pulled the timing cover after removing the main pulley. Also removed the valve covers and was happy to see that the rockers look great and all match (condition wise).

                      Engine Teardown Continued by Michael Rickerd, on Flickr

                      Pulled the heads after freeing the (10) head bolts (per side) and (5) additional smaller bolts near the valley pan (per side).

                      Engine Teardown Continued by Michael Rickerd, on Flickr

                      The head gaskets all looked old, but in good shape. No blown out sections or damage of any kind. Also reassuring.

                      Will need to get the engine off of the stand to remove the oil pan as it all ties in at the bellhousing area on the back of the engine.

                      After loading the truck up with parts to clean and go over very closely, it was time to do the major deed. Transferring the M3 to the Garage Mahal.

                      Hooked up the trailer and headed home. The trailer came with a battery and an electric winch, so loading it up was a breeze.

                      M3 Reloaded by Michael Rickerd, on Flickr

                      Dropped it off at Dan's after throwing it on a set of rollers. It felt weird to see a car moving sideways, but it is an incredibly convenient way to push this thing around.

                      It looks right at home around all of the old school Chevy muscle. Ok. Maybe not. But still exciting.

                      Rehomed for the Winter by Michael Rickerd, on Flickr

                      I am busy the next few days but plan to get to more engine tear down and the front end suspension refresh next week. The garage has in-floor heating so sitting on my butt while it is cold outside will actually be comfortable.

                      Approximate Hours Invested in Project Since Purchase: 201 (cracked 200 hours!)
                      My previous build (currently E30-less)
                      http://www.r3vlimited.com/board/showthread.php?t=170390

                      A 2016 Toyota Tacoma TRD 4x4 Offroad in Inferno is my newest obsession

                      Comment


                        #71
                        Amazing progress. I really like the E36 chassis with LS. Extremely easy around town and cruising.
                        OBD1 S52 E36 Compact
                        84 318i M10 Zender

                        Comment


                          #72
                          Originally posted by ZEKTI View Post
                          Amazing progress. I really like the E36 chassis with LS. Extremely easy around town and cruising.
                          Thanks Zekti!

                          Progress has been a bit slow lately due to professional obligations, kitchen remodel, and the formation of a new business.

                          Though I did spend a couple hours two days ago cleaning various engine parts I removed. Dropping off the cylinder heads and engine covers to a local machine shop to have them looked over and cleaned up.
                          My previous build (currently E30-less)
                          http://www.r3vlimited.com/board/showthread.php?t=170390

                          A 2016 Toyota Tacoma TRD 4x4 Offroad in Inferno is my newest obsession

                          Comment


                            #73
                            Originally posted by MR E30 325is View Post

                            After lunch a buddy came over and we installed a lift kit on his Raptor. Now it is even more large and aggressive. Which it does not need.

                            Lifting Raptor by Michael Rickerd, on Flickr
                            because Texas?
                            Simon
                            Current Cars:
                            -1999 996.1 911 4/98 3.8L 6-Speed, 21st Century Beetle

                            Make R3V Great Again -2020

                            Comment


                              #74
                              Originally posted by 2mAn View Post

                              because Texas?
                              Nah, maybe, but he just moved back to AZ when we did this.
                              My previous build (currently E30-less)
                              http://www.r3vlimited.com/board/showthread.php?t=170390

                              A 2016 Toyota Tacoma TRD 4x4 Offroad in Inferno is my newest obsession

                              Comment


                                #75
                                WOW! Sorry about your Dad, mine is on the downward leg of fighting cancer.

                                Amazing attention to detail & thanks for sharing.

                                [IMG]https://cimg4.ibsrv.net/gimg/my350z.com-vbulletin/550x225/80-parkerbsig_5096690e71d912ec1addc4a84e99c374685fc03 8.jpg[/IMG

                                Comment

                                Working...
                                X