

Here is my little wood project. Sorry for the blurry pics. I like most everything about my iphone over my old thunderbolt, except the camera. It always comes out blurry. Anyway...
When I went to college I took my step-dad's corn hole boards with me and always said I would build him another set. Well 5 years later I have decided to follow through on that and make him some for christmas.
My goals for these boards were to make them better than the ones I took and 90% of the other boards out there. I wanted them to be sturdy and light weight. I wanted them to be able to latch together so they would be easy to haul. I wanted as little hardware to show as possible as not to take away from the beauty of the wood grain.
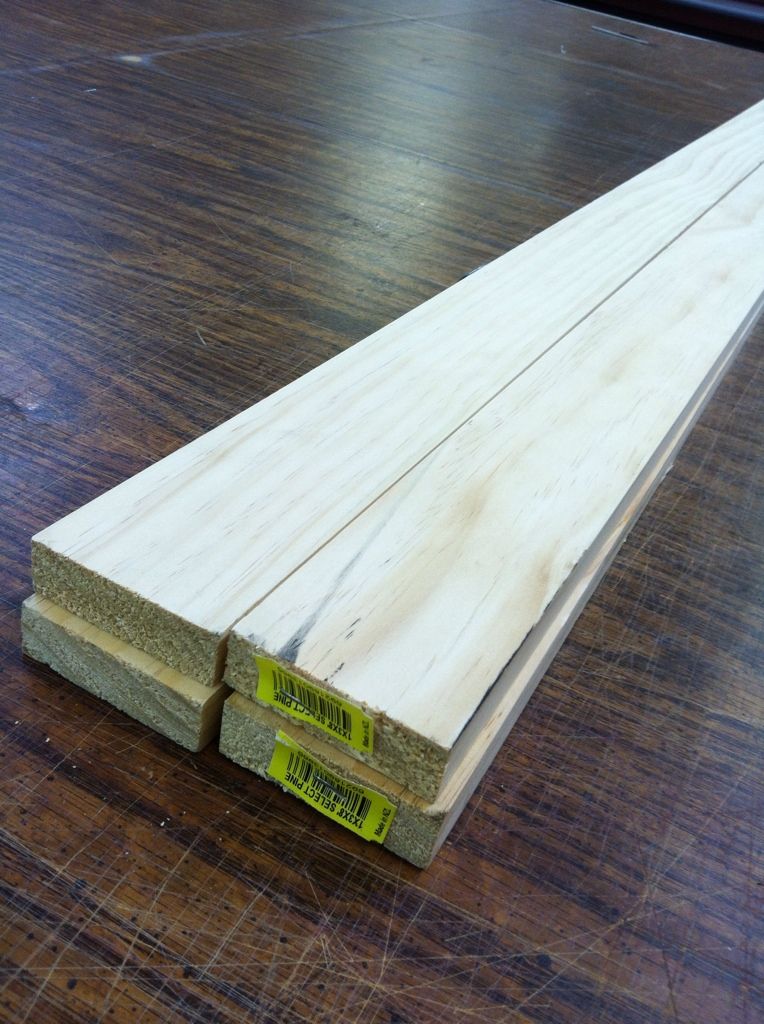
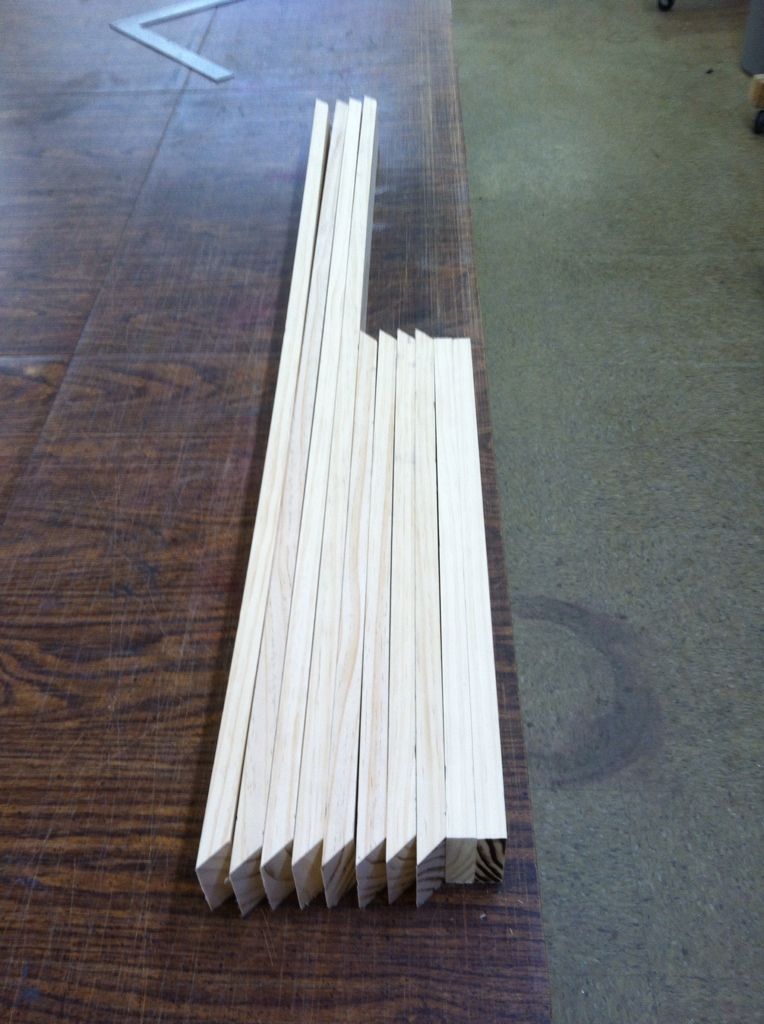
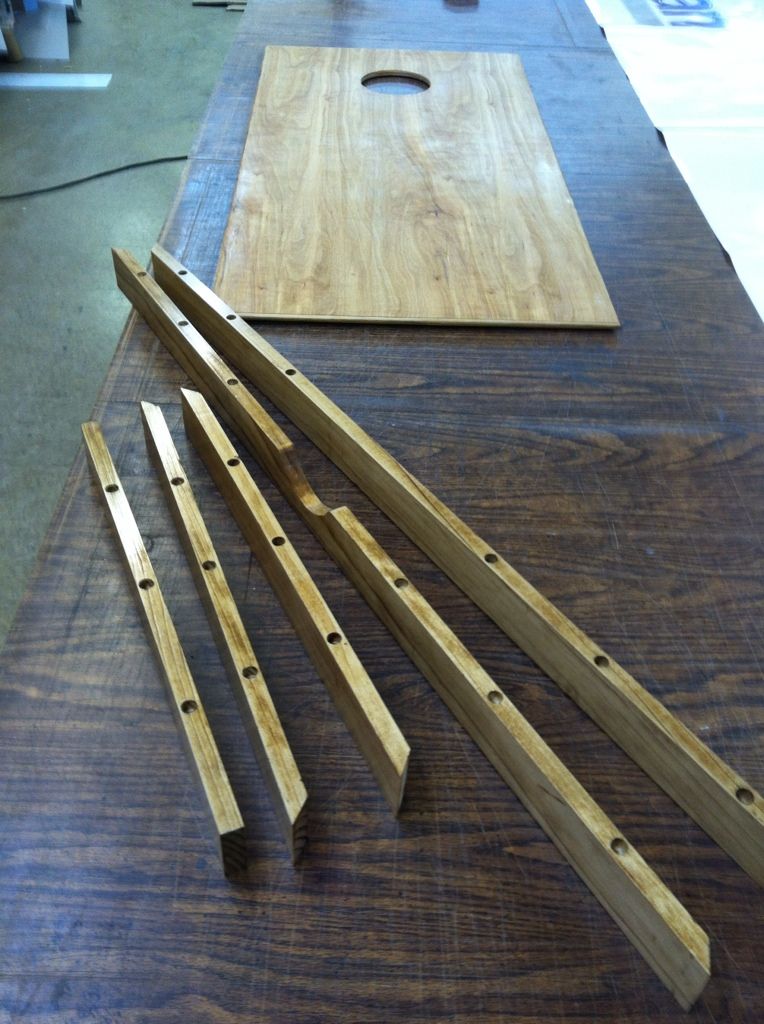
For the faces I got a nice piece of 1/2 Birch Ply and for the legs and frames I got some 1x3 select pine planks.
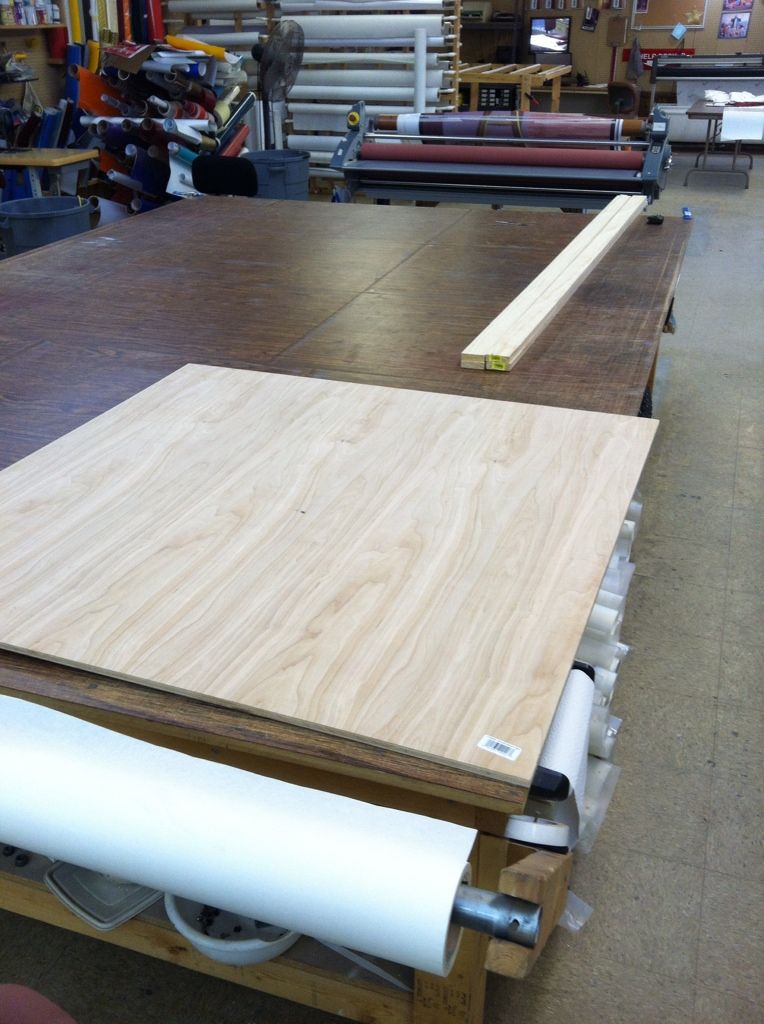
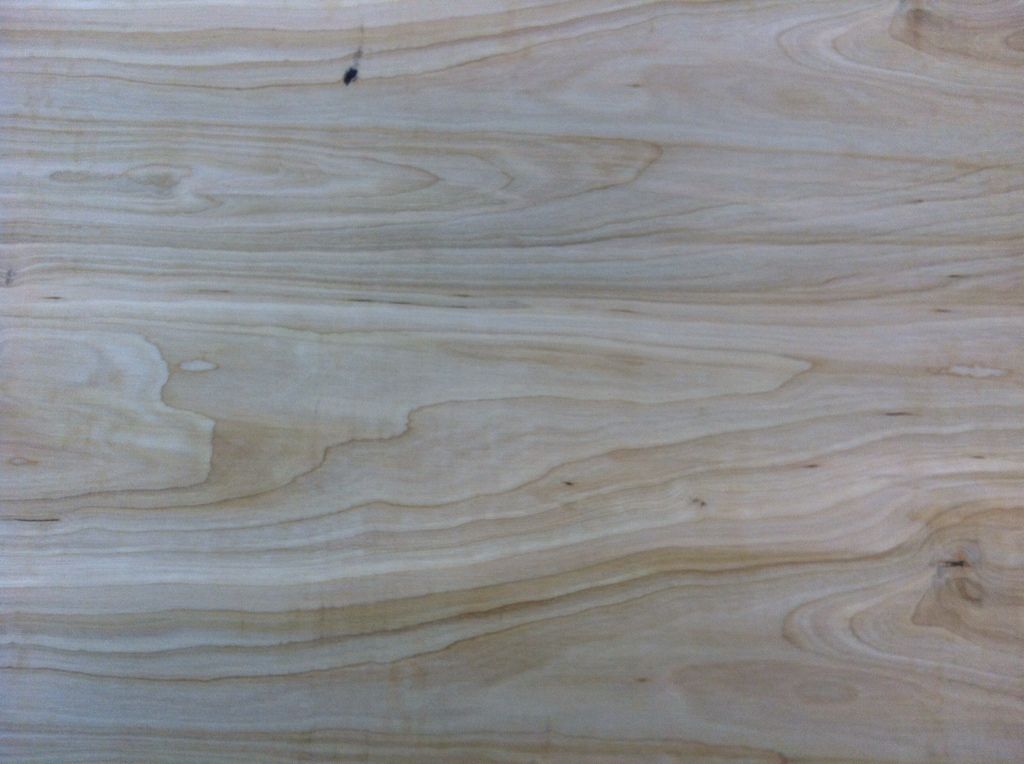
I split the ply in to 2x4 pieces for the faces and rounded the edges on all sides
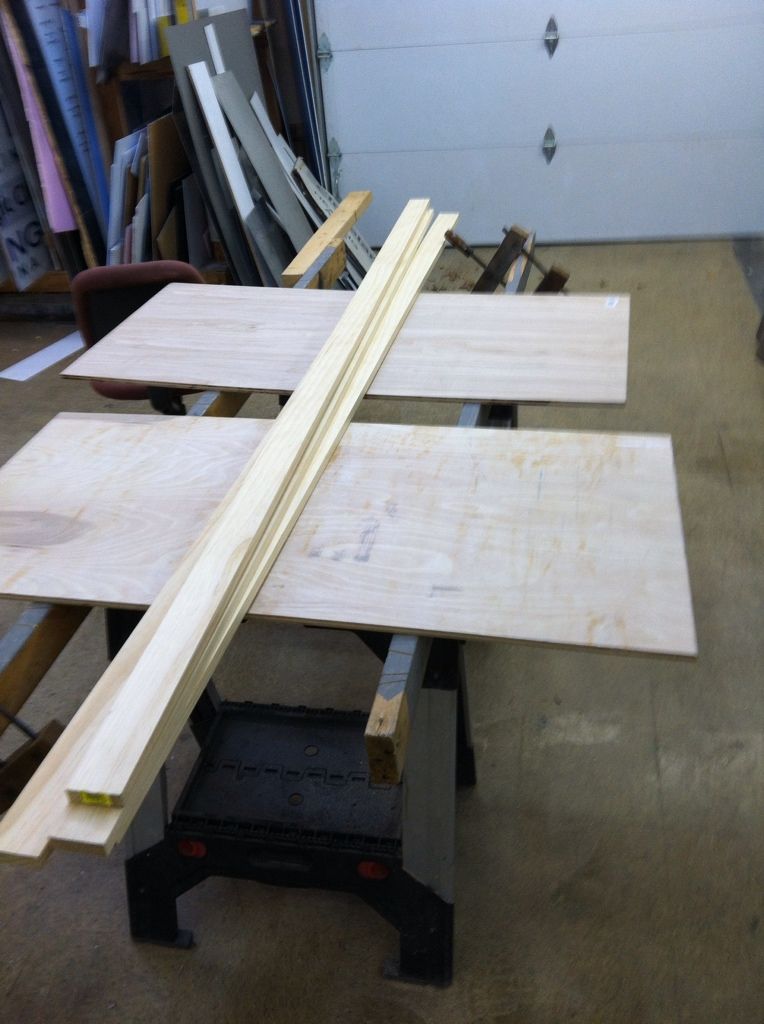

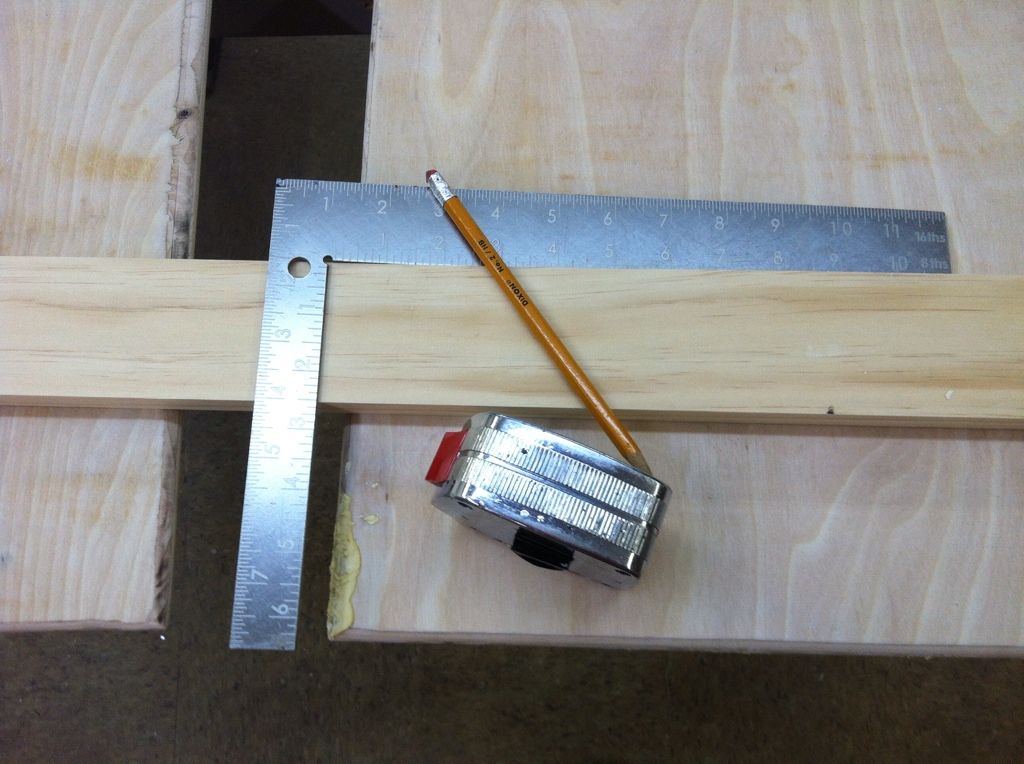
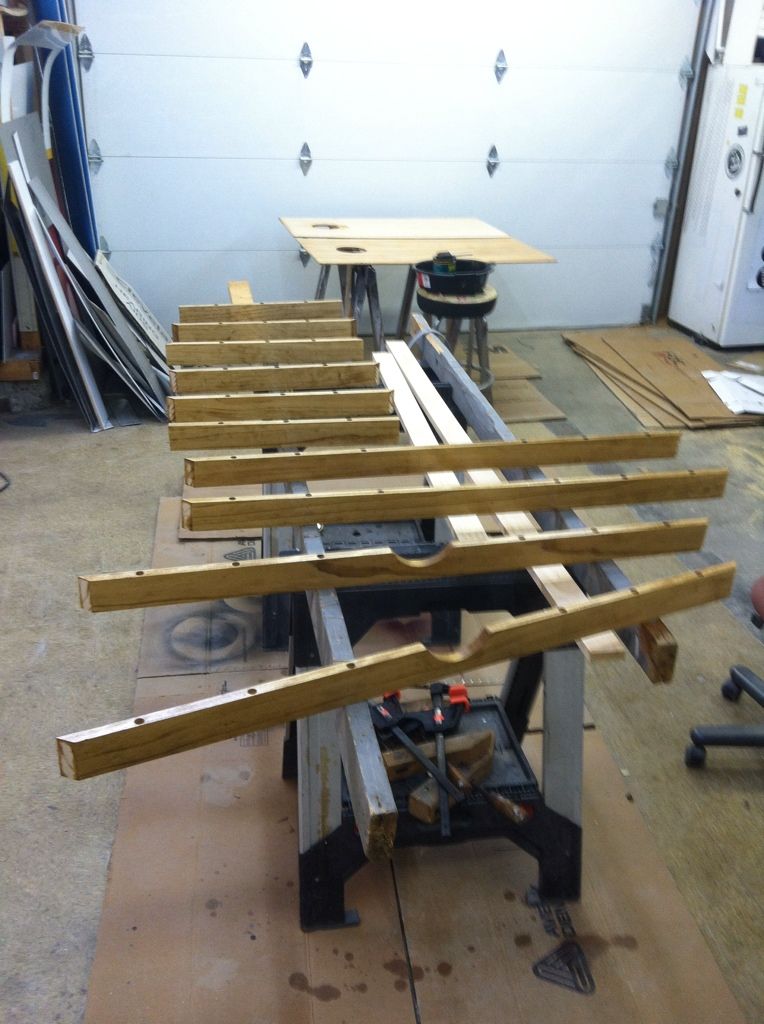
Then I cut all my pieces for the frames. 45'd all corners.
I drilled holes to sink my pan head screws into. They will go into the bottom of the faces.

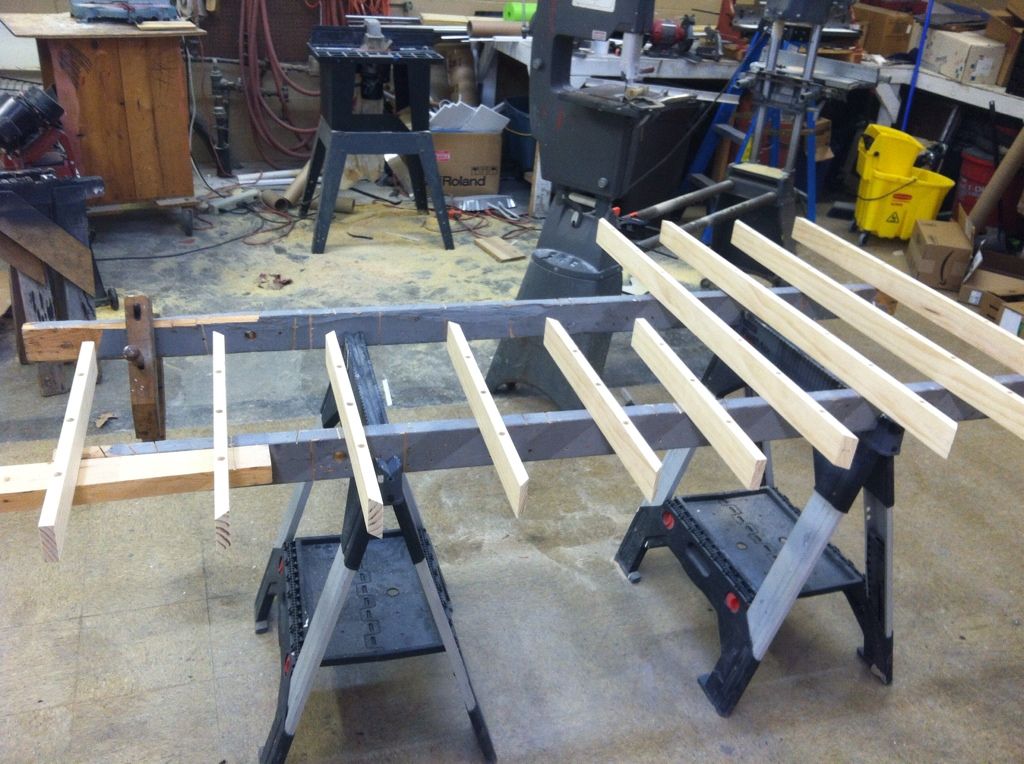
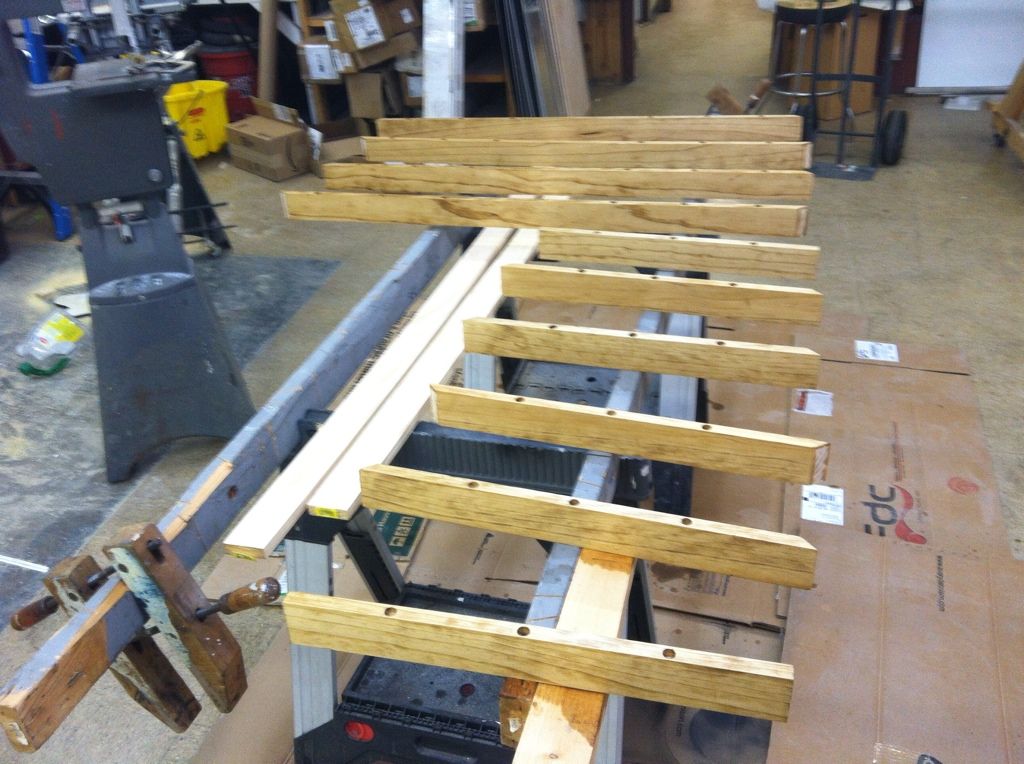
Then I screwed all the planks to some horses for stain and poly
I planned to wrap the birch ply faces with a graphic so I needed to put some poly on them to help the vinyl stick.

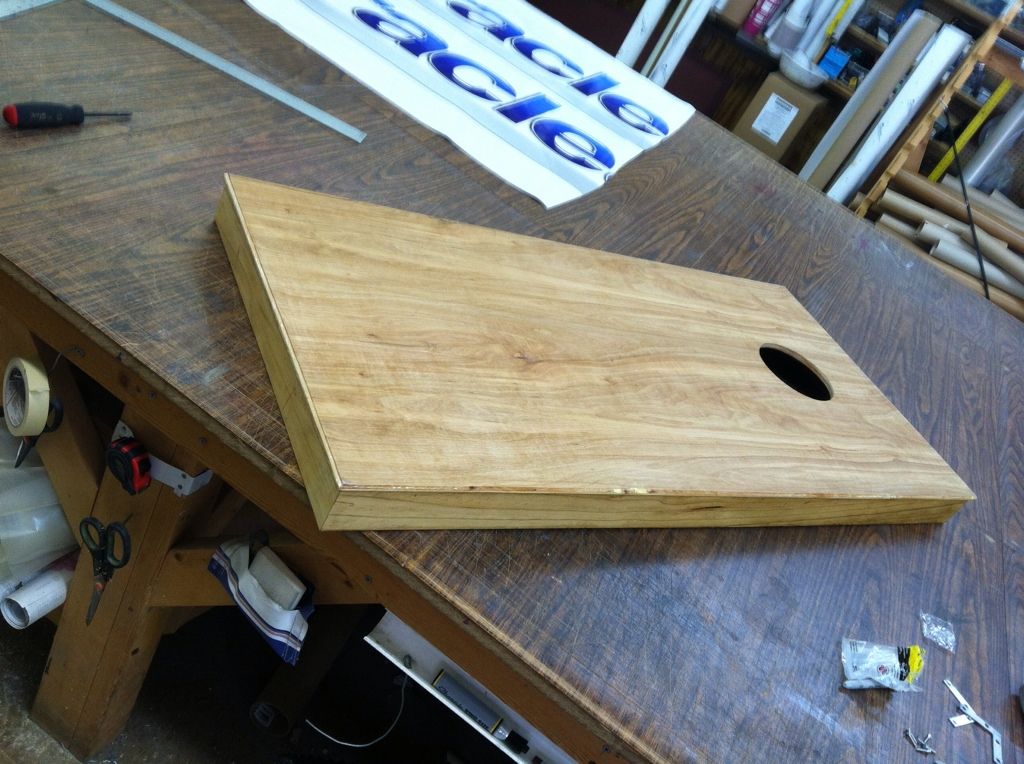
Then I was ready to put the frame together and screw it to the faces.

At this point, some of my screws didn't get the bite I wanted so I went around the top of the faces and put some finishing nails in all the edges. I took a nail set and carefully set each nail perfectly flush so that the nail heads wouldn't show under the vinyl and so I wouldn't have to fill the indentions and re-clear.
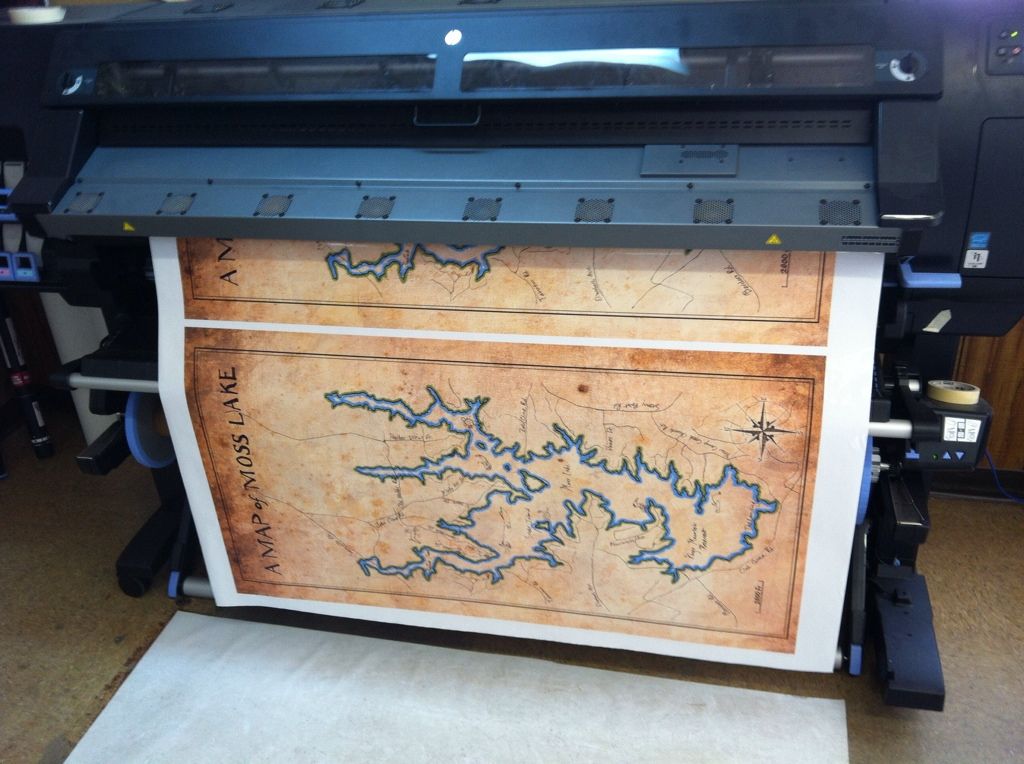
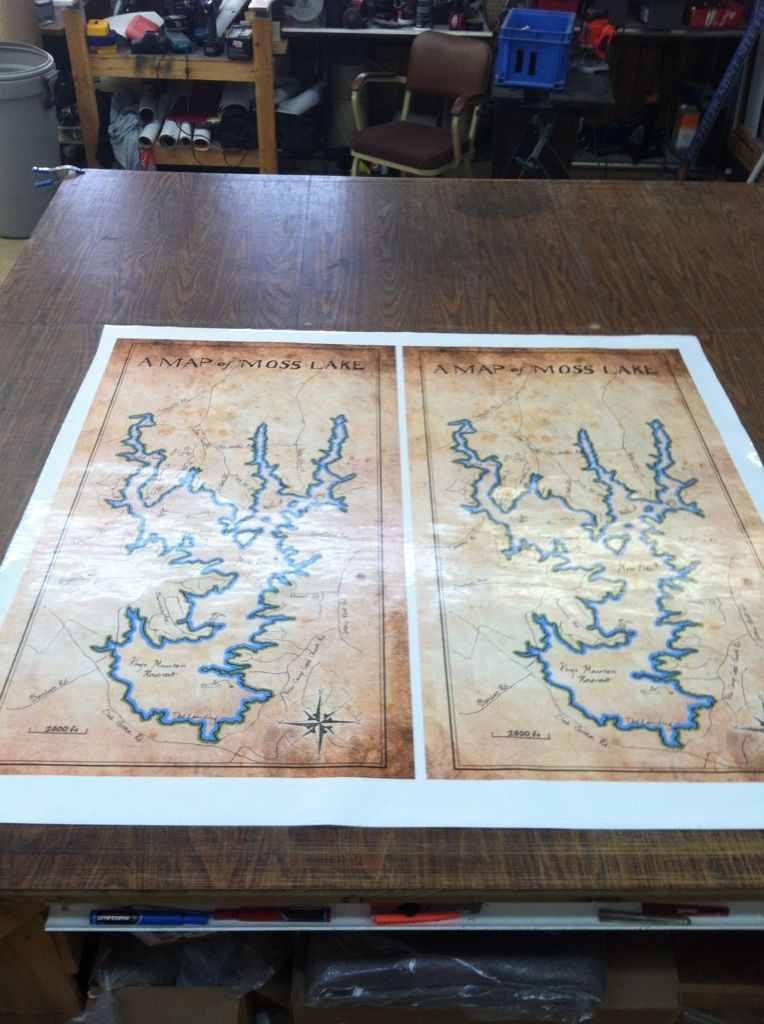
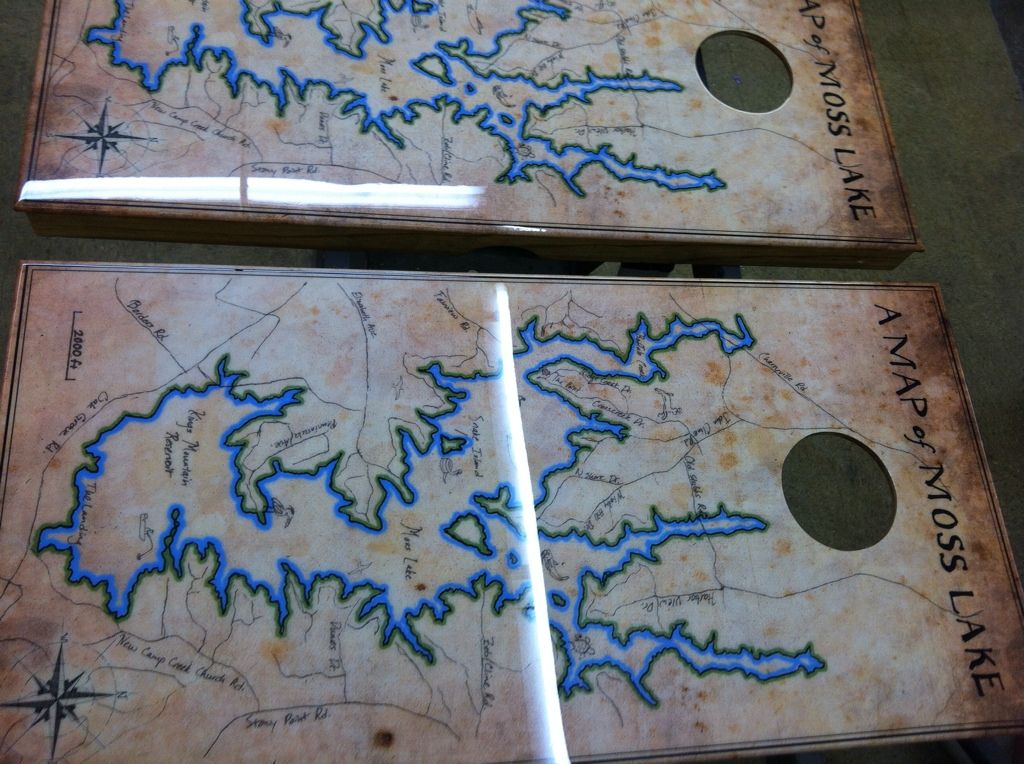
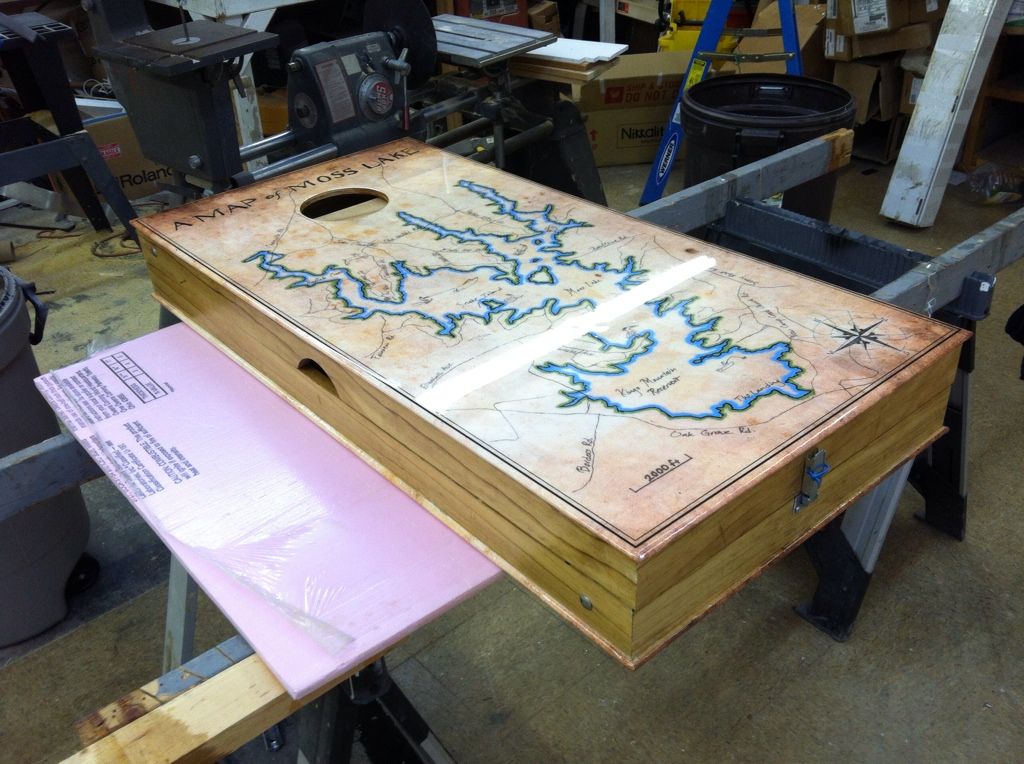
Now it was time to apply the graphic. I wanted to make it something special for my parents so I drew a map of the lake we grew up on and scanned it into photoshop. I tried to make it look like an old hand drawn map.

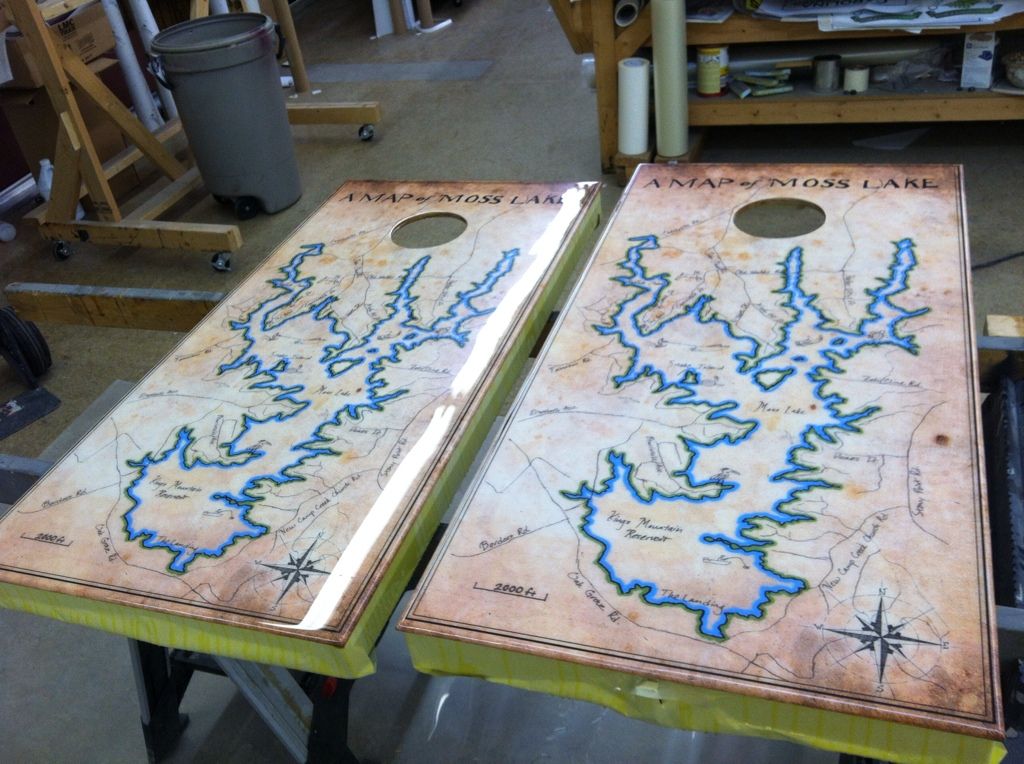
This is what they look like applied to the boards. You can see a bit of the texture of the wood showing through. I had a plan of how to smooth it out and protect the graphics from the wear and tear the boards will see.

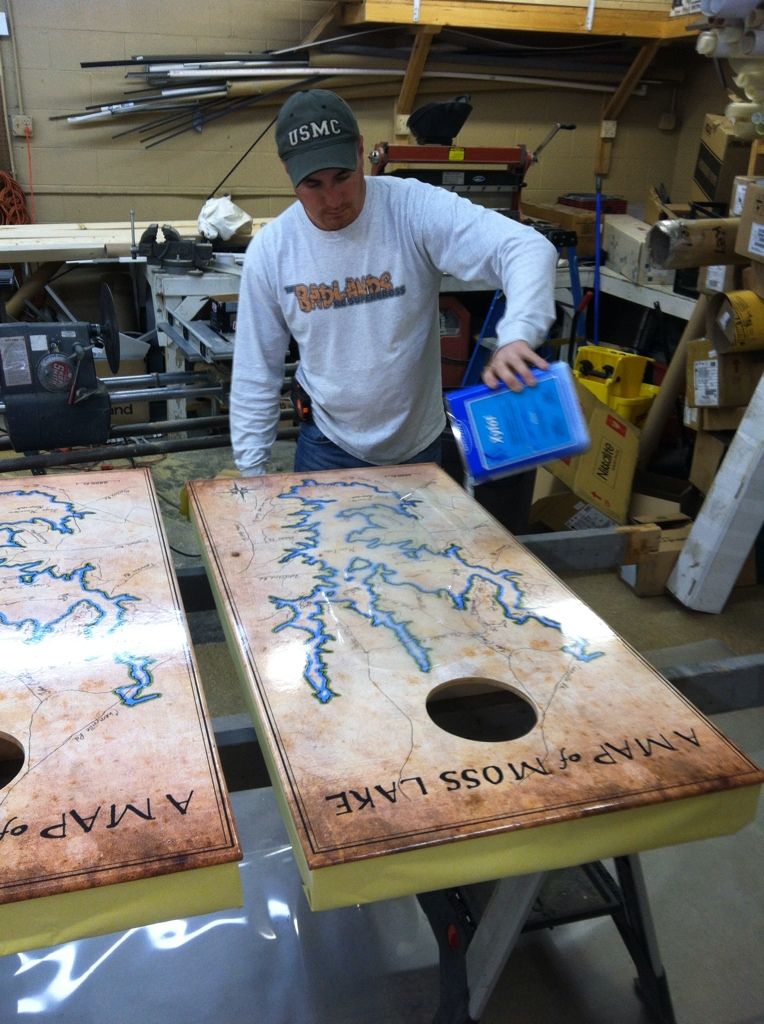
To protect them, I found this stuff in lowes called GlazeCoat. It claims to be equal to 60 coats of varnish in one pour. Each box is a quart and a quart does about 9 square feet at 1/8th inch thick. So I needed a box for each board. I called a friend who had used the stuff before to help out. He is the one in the picture. We just used the xylol tin as a mixing vessel. It was empty and clean.

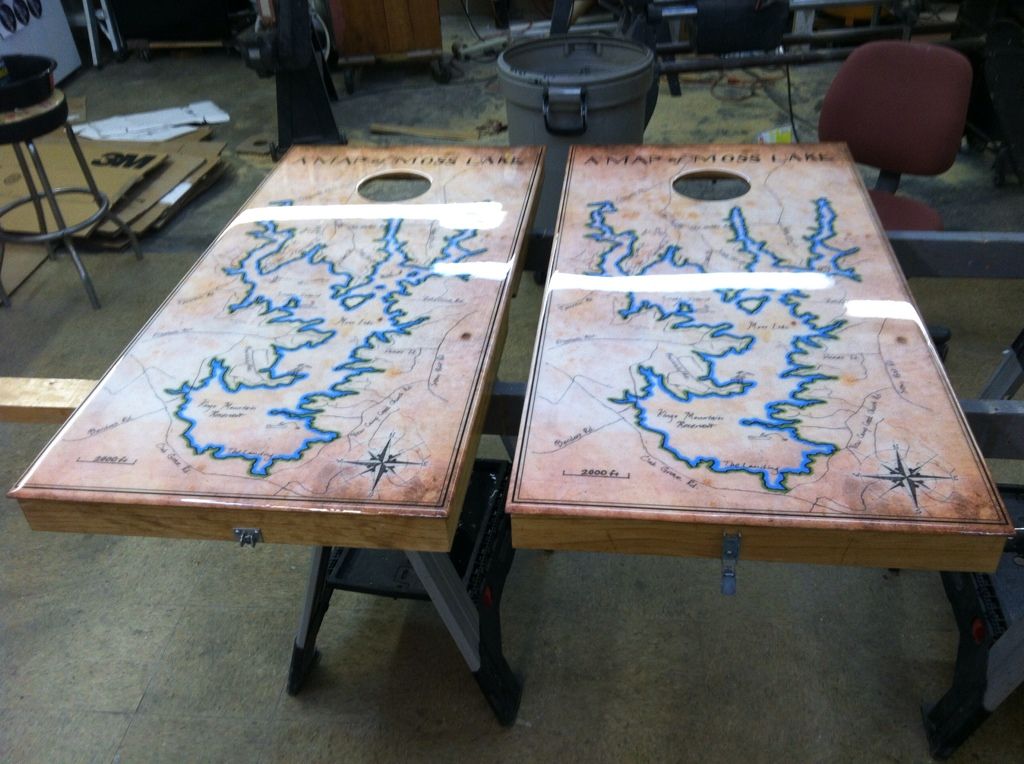
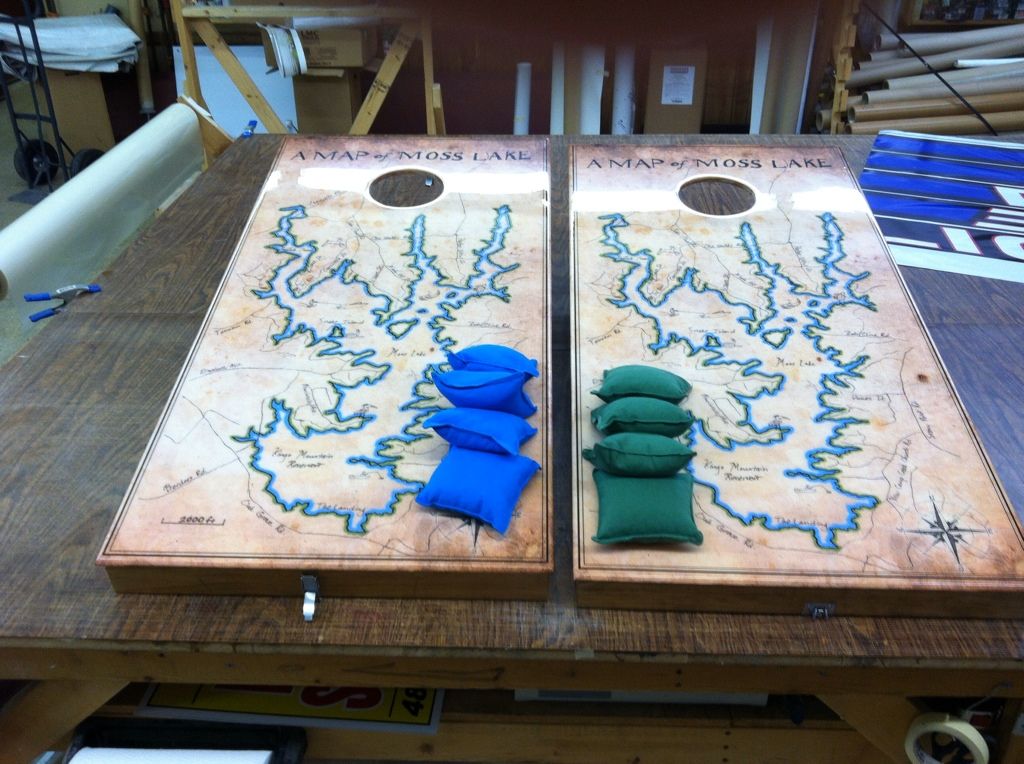
This is how they turned out after curing for 72 hours
The next thing to do was to add the legs.
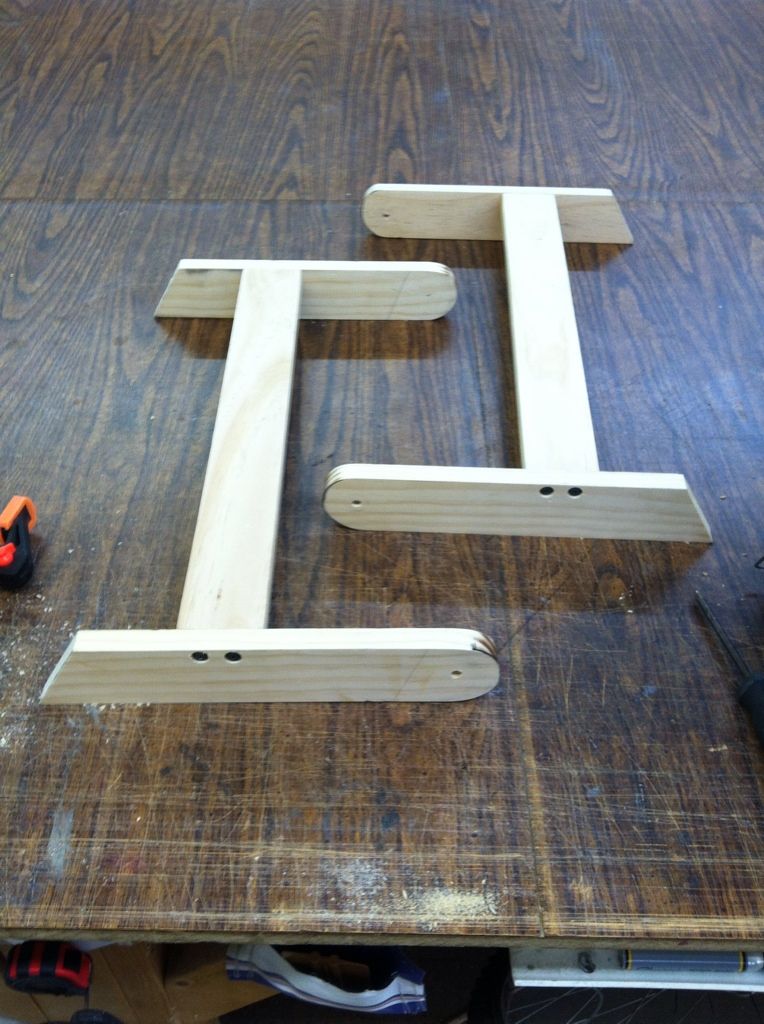

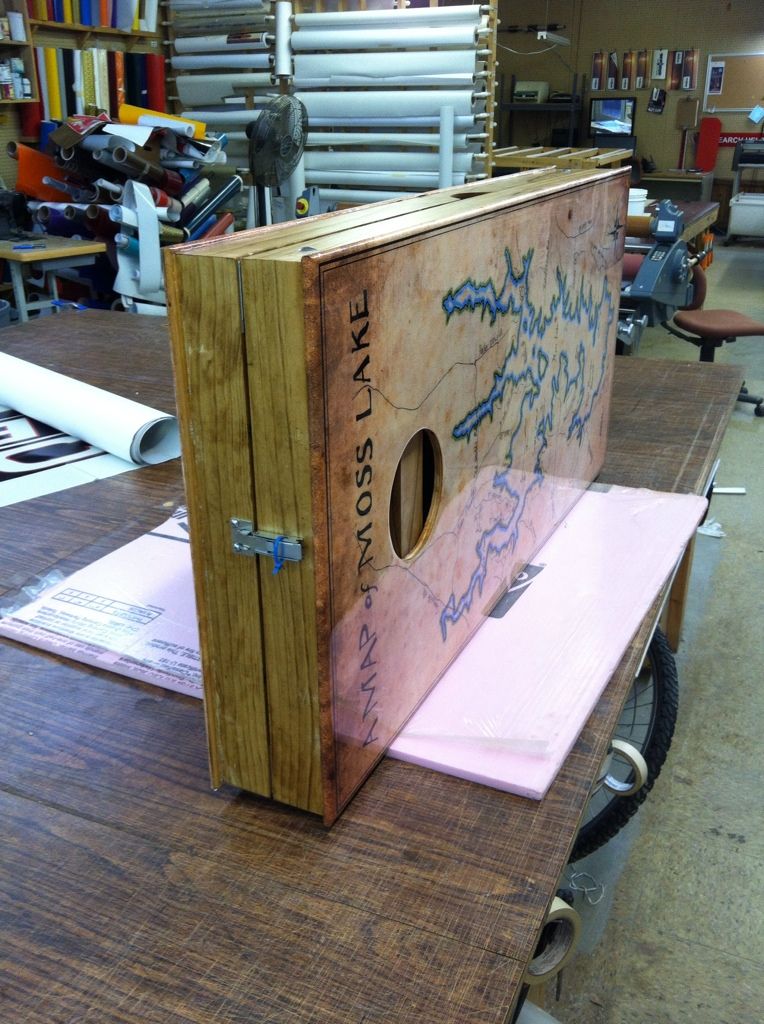
This is how they go together for hauling.
When I went to college I took my step-dad's corn hole boards with me and always said I would build him another set. Well 5 years later I have decided to follow through on that and make him some for christmas.
My goals for these boards were to make them better than the ones I took and 90% of the other boards out there. I wanted them to be sturdy and light weight. I wanted them to be able to latch together so they would be easy to haul. I wanted as little hardware to show as possible as not to take away from the beauty of the wood grain.
For the faces I got a nice piece of 1/2 Birch Ply and for the legs and frames I got some 1x3 select pine planks.
I split the ply in to 2x4 pieces for the faces and rounded the edges on all sides
Then I cut all my pieces for the frames. 45'd all corners.
I drilled holes to sink my pan head screws into. They will go into the bottom of the faces.
Then I screwed all the planks to some horses for stain and poly
I planned to wrap the birch ply faces with a graphic so I needed to put some poly on them to help the vinyl stick.
Then I was ready to put the frame together and screw it to the faces.
At this point, some of my screws didn't get the bite I wanted so I went around the top of the faces and put some finishing nails in all the edges. I took a nail set and carefully set each nail perfectly flush so that the nail heads wouldn't show under the vinyl and so I wouldn't have to fill the indentions and re-clear.
Now it was time to apply the graphic. I wanted to make it something special for my parents so I drew a map of the lake we grew up on and scanned it into photoshop. I tried to make it look like an old hand drawn map.
This is what they look like applied to the boards. You can see a bit of the texture of the wood showing through. I had a plan of how to smooth it out and protect the graphics from the wear and tear the boards will see.
To protect them, I found this stuff in lowes called GlazeCoat. It claims to be equal to 60 coats of varnish in one pour. Each box is a quart and a quart does about 9 square feet at 1/8th inch thick. So I needed a box for each board. I called a friend who had used the stuff before to help out. He is the one in the picture. We just used the xylol tin as a mixing vessel. It was empty and clean.
This is how they turned out after curing for 72 hours
The next thing to do was to add the legs.
This is how they go together for hauling.


Comment