-
-
Yeah I was shocked too I thought it would be waaaaaaay more. I didnt even pay that much.... got a bro deal =)Comment
-
If you have pop-out rear windows, you need to get inside the car and remove the coat hanger hook--pull hard, it'll come out--remove the seat belt mounting bolt and the round trim plug at the bottom to access the two nuts inside. Now have a helper hold the window from the outside or it could shift and scratch the paint. You'll need an 8mm socket and be careful not to drop the nuts down inside the car. Then at the back hinge just pop off the plastic cover to access the two screws that mount it to the car.
If you have fixed rear windows:
Last edited by TrentW; 01-07-2013, 09:18 AM.Comment
-
I used duplicolor trim and self etching primer with good results. I wanted to add that I have tried to remove drip rails from cars and couldn't do it without damaging it so I just masked and sprayed it on the car. It's really not that bad of a job and will save u the trouble of removing and reinstalling. Powdercoat looks good and will last but $100 vs $15 is a big difference and u can paint and repaint the trim on the car. So another plus 1 for duplicolor paint.Last edited by reelizmpro; 05-28-2012, 06:18 PM."I'd probably take the E30 M3 in this case just because I love that little car, and how tanky that inline 6 is." - thecj
85 323i M TECH 1 S52 - ALPINEWEISS
88 M3 - LACHSSILBER
89 M3 - ALPINEWEISS II
91 M TECH CABRIO 2.7L TURBO - MACAOBLAUComment
-
I'm going to be doing mine again, probably this weekend. I originally used PlastiDip, and it worked great, but you rub it off in one area, and it's FINISHED.
This time, I'm going to use the same DupliColor spray-on bedliner I used in my engine bay, and on my side moldings. It's held up amazingly well on both. I'll get pics.Comment
-
How did it come out?17 Range Rover Sport SVR
14 Q5 TDI S-Line
...on the hunt for another E30.Comment
-
Just wanted to post my results with the SEM Trim Paint:


 17 Range Rover Sport SVR
14 Q5 TDI S-Line
...on the hunt for another E30.Comment
-
Looks good. :up:Comment
-
I can't wait to do this, my chrome is really faded and cloudy. I've been debating it for a while. I figured maybe I should keep the chrome since I have an early model, but I can't hold back any more. I'm convinced it has a better overall look, even with the chrome bumpers.
-'87 325 - ratbox swap http://www.r3vlimited.com/board/show...77#post3250277 << Check out my Wanted threadComment
-
Guys that used SEM, did you use regular trim black or Euro trim black? I did some stuff with the Euro black and it matches awesome.- Josh
1990 325is
Need a shift boot?
Looking to buy shift boot frames, PM if you have one to sell
Here's what happens when you let the internet pick your license plateComment
-
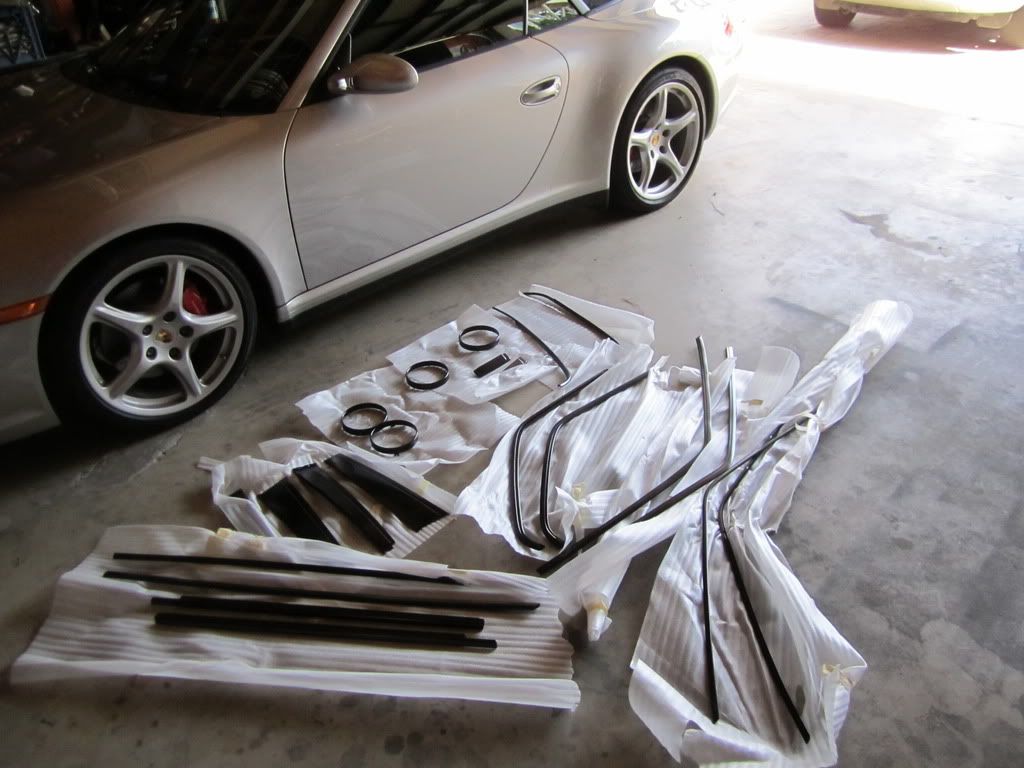
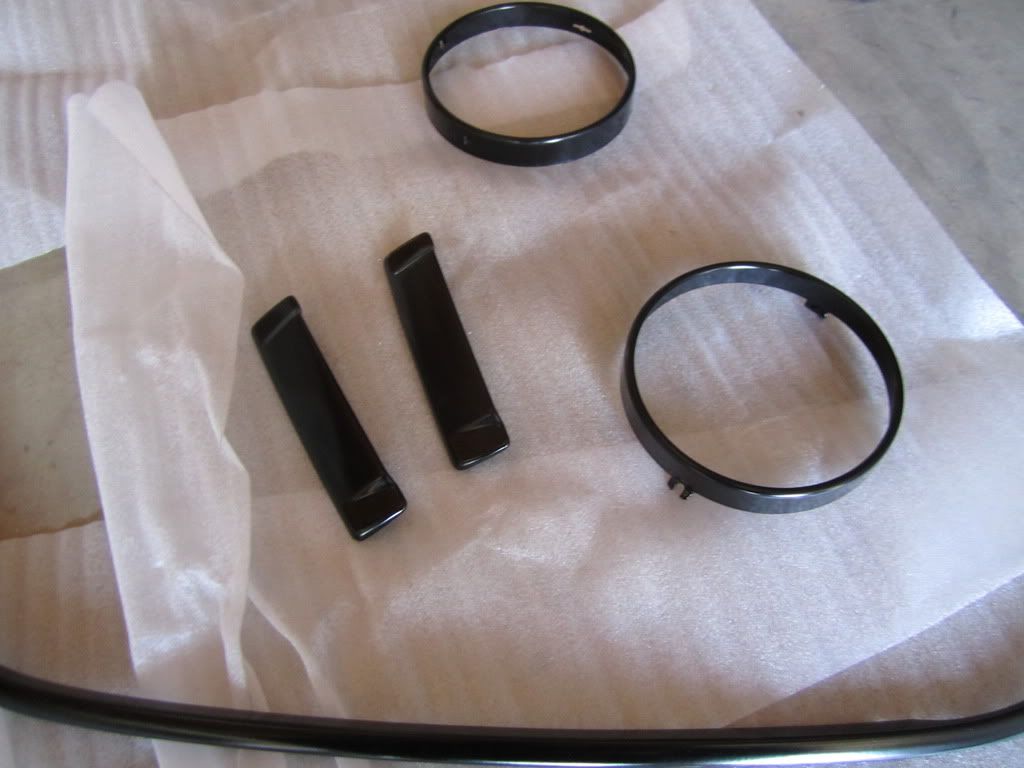
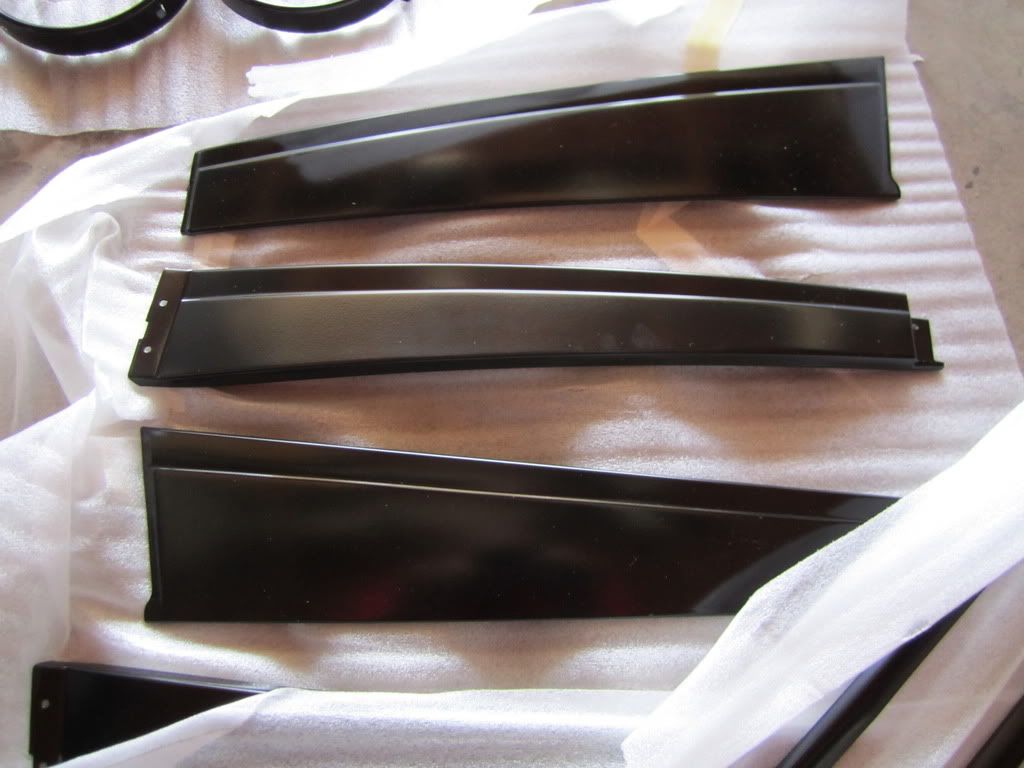
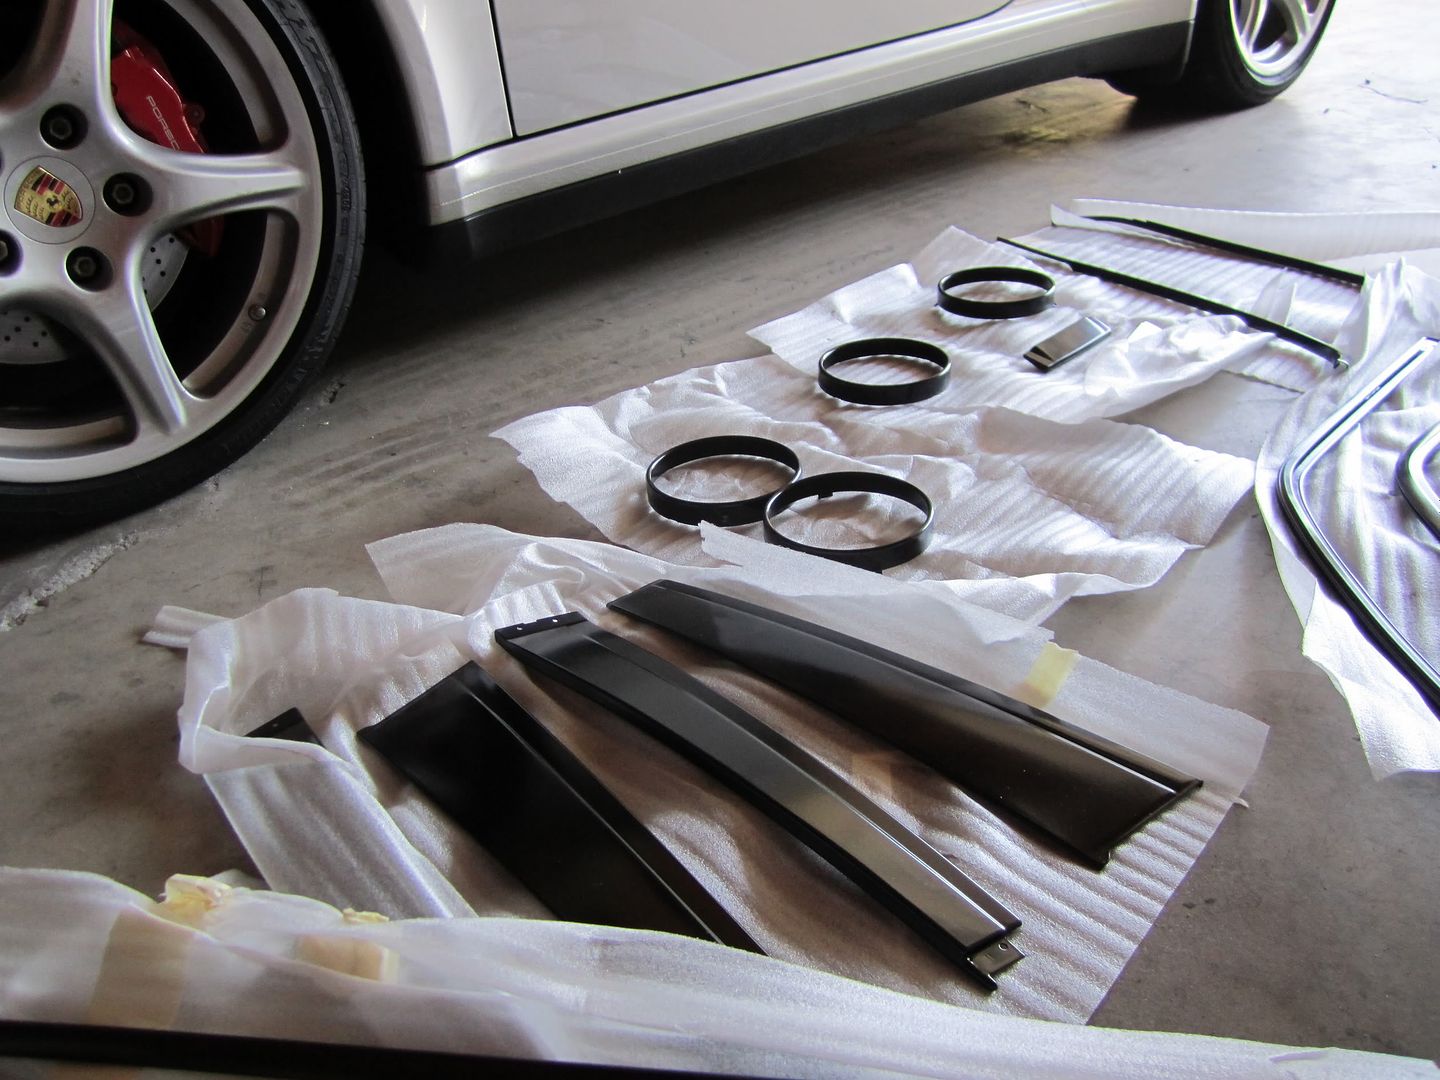
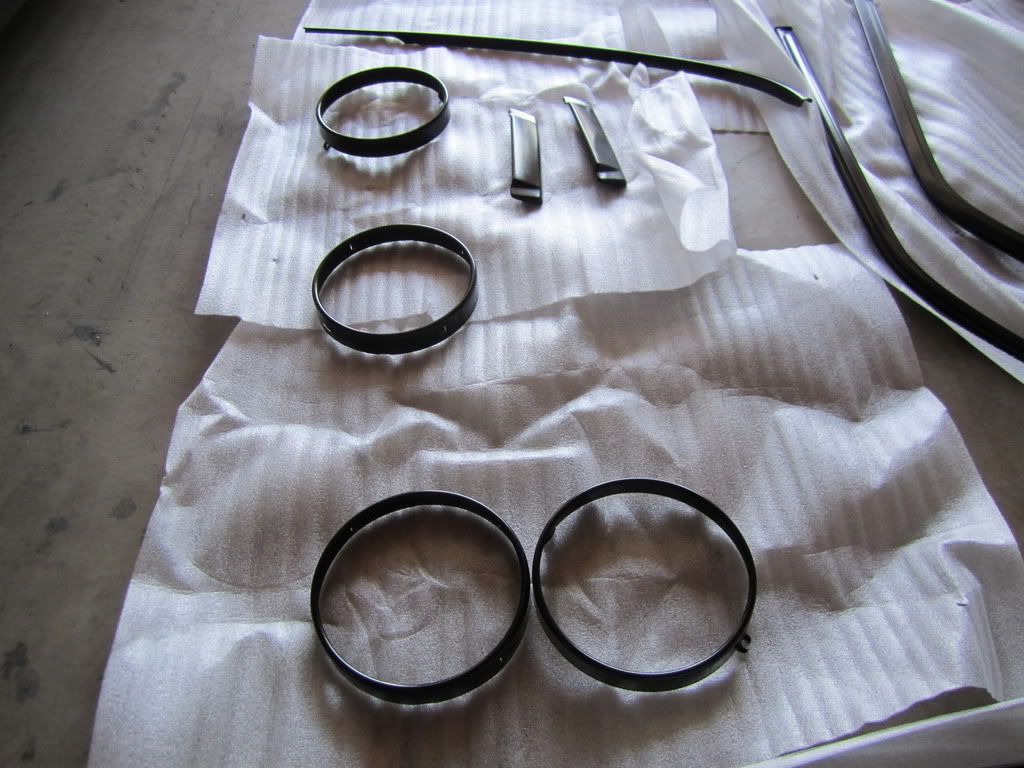
I pulled all my trim off last night and started sanding. If you want to paint the trim off the vehicle I have a few tips:
- I removed trim using this guide: http://www.r3vlimited.com/tech/windo...windowtrim.htm
- When removing piece E, be very patient. I found the best way was to work your way down the piece of trim starting at the front where the mirror was, slowly prying the trim straight upward no more that an 1/8 or 1/4 inch at a time. It will go, just be patient, make a few passes. I bent my passenger side and spent 20 minutes bending it back. The guide I linked said this was the most intuitive section to remove, but I thought it was the most difficult.
- Piece D Has clips inside the window frame(under the seal/track), and is relatively simple to remove. It should be known that there are no clips holding it in near where the mirrors are, it's simply glued to the door frame. I got the trim free of the clips, then carefully slid the whole trim piece up and towards the rear (along the window frame) and it slowly was freed of the glue.
- Piece F is held in by the same style clips as D, so just use your screwdriver to push the tabs and work it out.
- Freaking patience!
Hope this helps a few. If you ask me, this is the 'right' way to do it but once I was about halfway through, I thought "Wish I'd painted these on the car!"
-'87 325 - ratbox swap http://www.r3vlimited.com/board/show...77#post3250277 << Check out my Wanted threadComment
- I removed trim using this guide: http://www.r3vlimited.com/tech/windo...windowtrim.htm
-
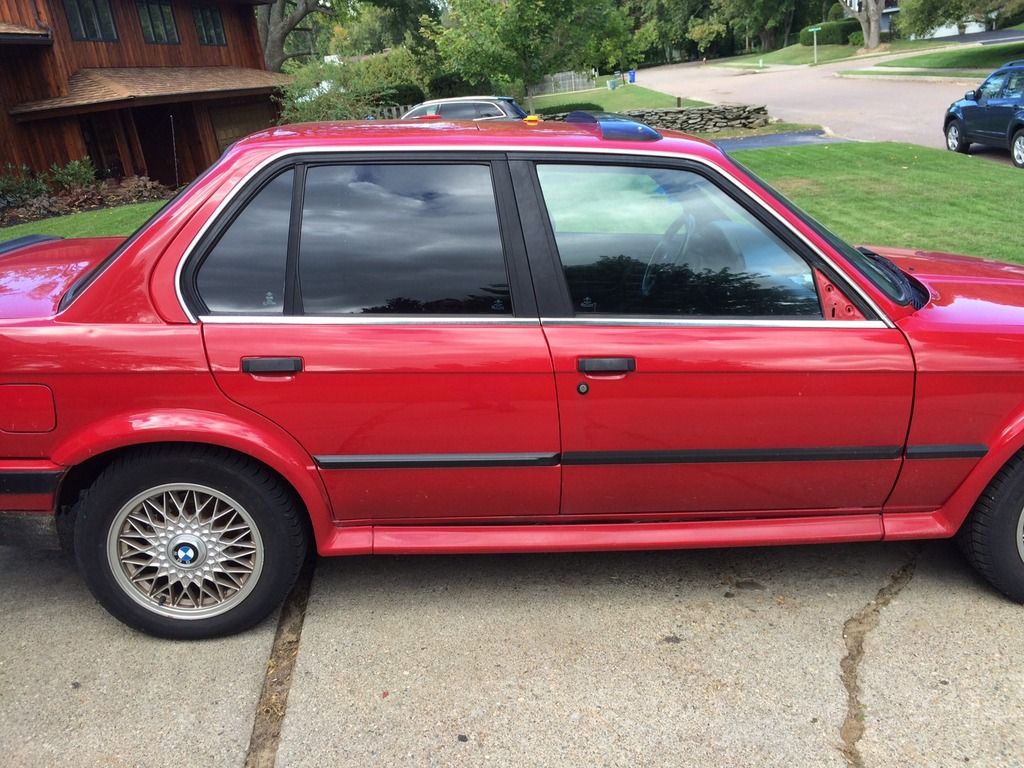
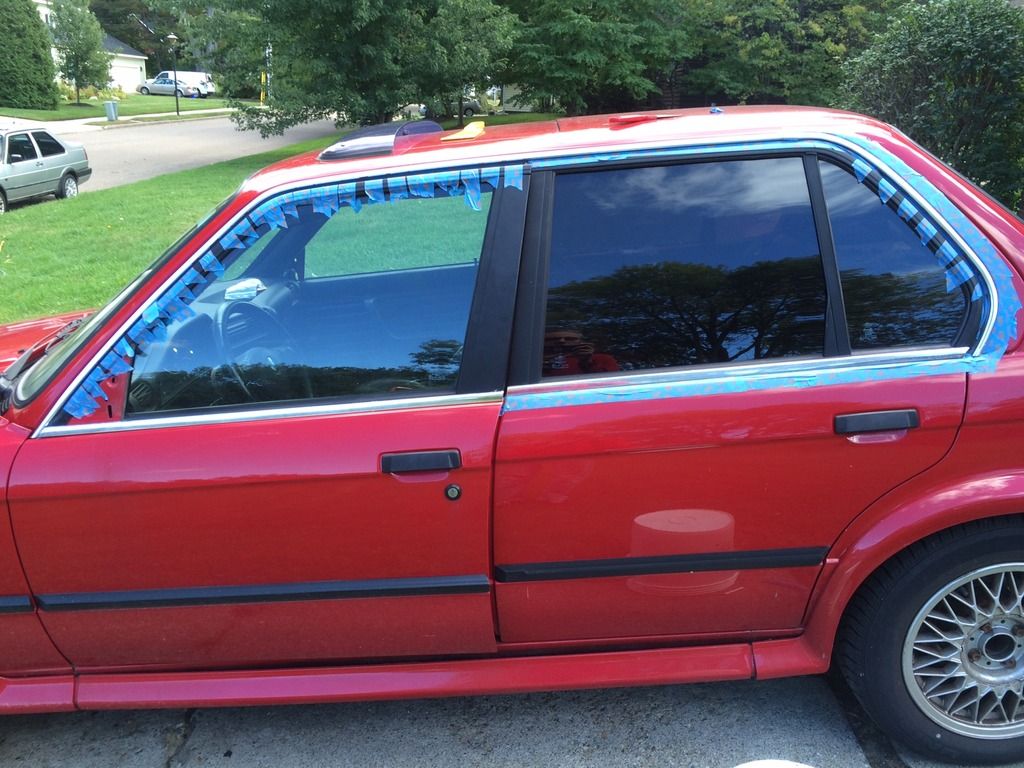
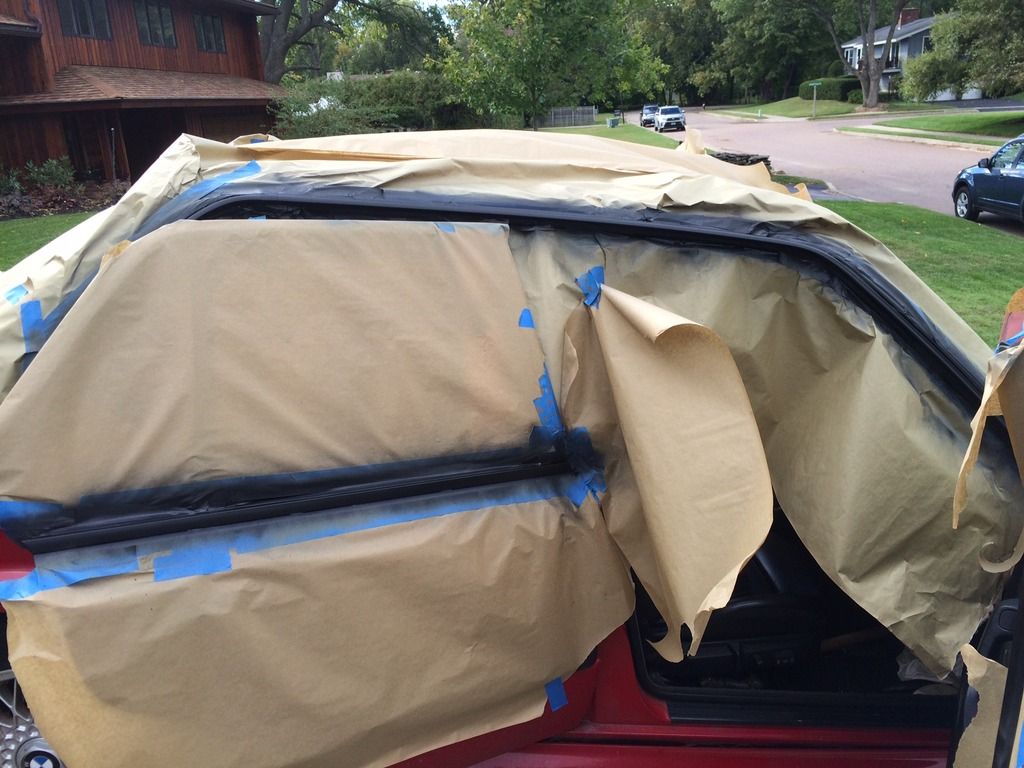
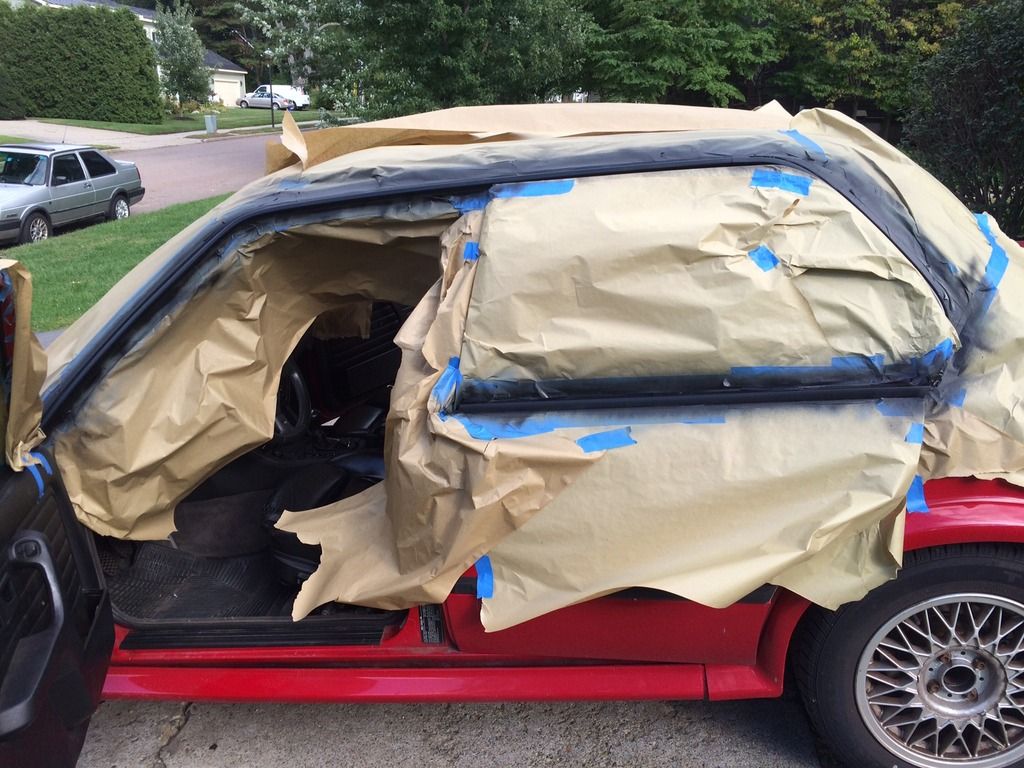
Mine. Self-etching primer. SEM trim black 39143.
BEFORE
DURING
AFTER
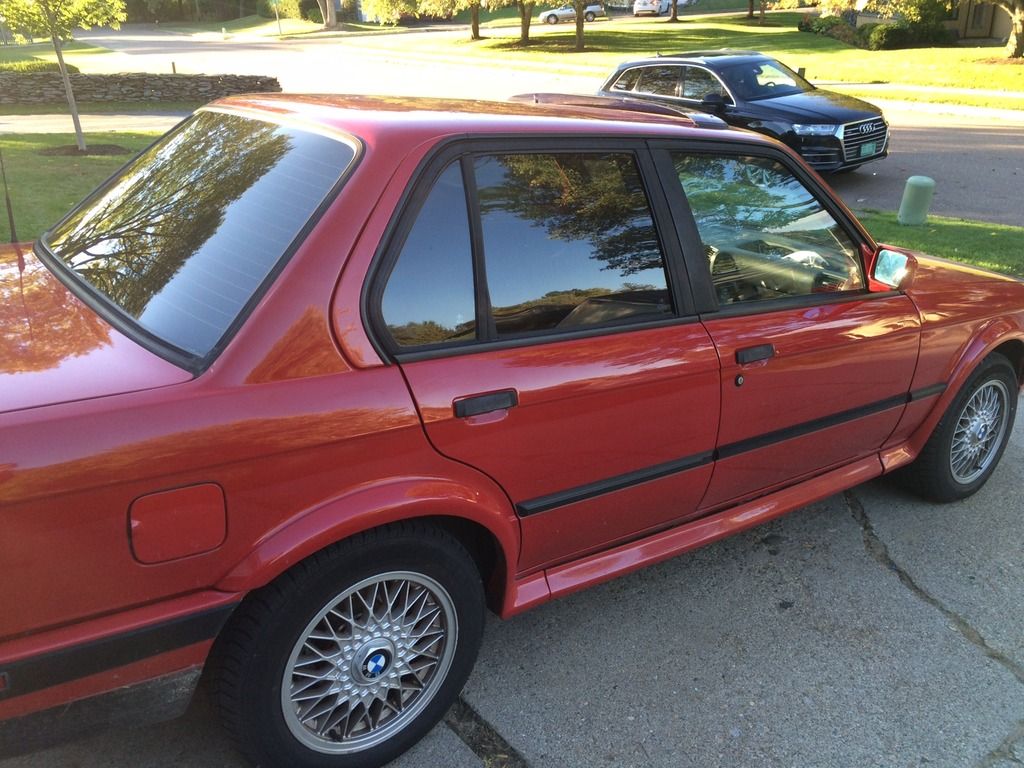
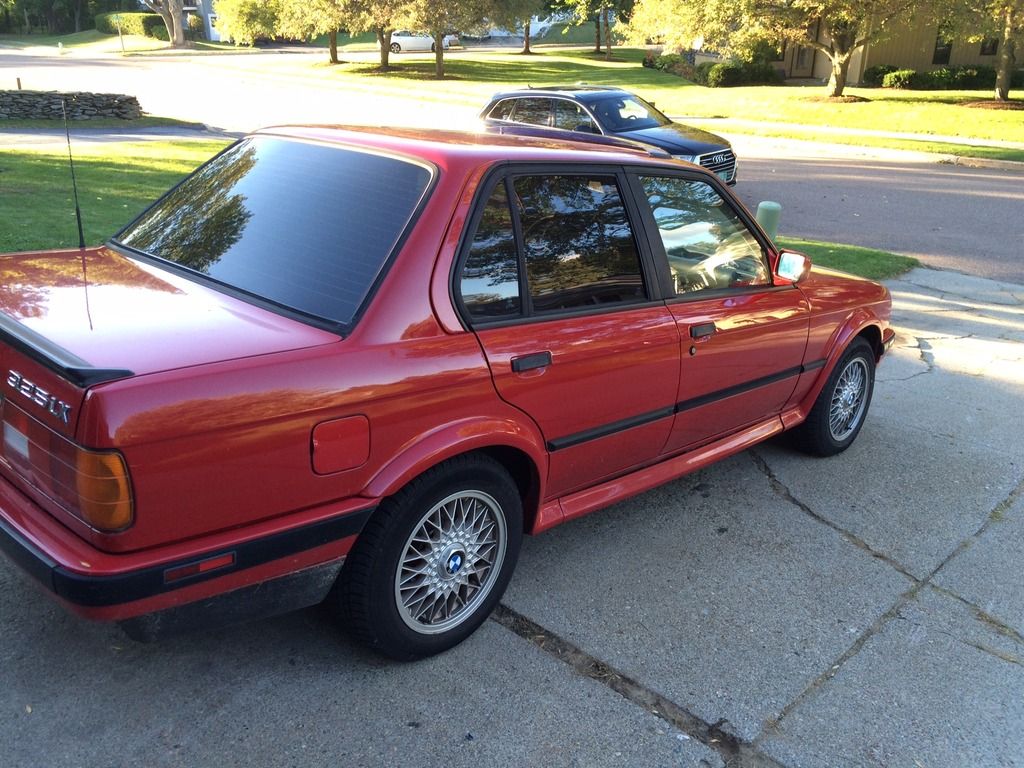
Diggin the juxtaposition of red and black.Comment
-
It's rather amazing the way just changing that small amount of shiny, bright trim changes the look of the car.
Really ties the room together.Comment


Comment