
Alright here's a little DIY for retrofitting R-134a in your E30. This is not just a "change the o-ring" type of install, it's a little more than that. R-134a has different characteristics than the R-12 that originally came in our cars. To make it short, R-134a has different chemical and physical properties than R-12. To "compensate" for this, R-134a systems have a different type of condenser, components, and operating pressures.
An E30 R-12 system has a tube and fin type condenser, as most R-12 systems. A parallel flow condenser is required for R-134a because it can dissipate more heat from the higher operating pressure of R-134a due to a more efficient design, ie: more surface area.
Below is a pic of the 3 types of condensers used in automotive systems. The diagram should be self explanatory. A serpentine condenser is a combination of the two designs.

Since an AC system becomes cold by rapid pressurizing, cooling, then rapid de-pressuring the freon gas, the pressure median that's maintained in the system is important. If that median changes due to a leak or in R-134a's case, different behavior under pressure, the system is going to respond with not operating efficiently or effectively. If you have a leak, you find the leak. If you are converting, you need to install a different pressure switch since R-134a's higher operation pressure would render the system not fully functional due to the switch being triggered prematurely. The expansion valve needs to be changed as well as the new operating pressure is outside of the R-12's valve design limits. If you do not, you will most likely blow your old R-12 valve and be left with defunct system.
A different type of lubrication for the system is required as well. R-12 systems use Ester oil, R-134a systems use PAG oil in various viscosities. Viscosity of the compressor oil depends on the type of compressor. If the system is not lubricated properly, your compressor and other AC components will slowly fail. See the chart farther down for determining your vis.
As for the o-rings, what's different between them and a standard R-12's is the material they are made of. When R-134a mixes with PAG oil, the chemical make up is harmful to standard R-12 o-rings that are often made up of various types of synthetic rubber. As a result you need a composite rubber that can width stand the higher pressure, higher temperature, and harmful chemical make up. Most R-134a o-rings are made up of HNBR (Hydrogenated Nitrile Butadiene Rubber). HNBR is backwards compatible with R-134a and R-12. A typical HNBR o-ring is green (it's an unofficial standard), but not always the case. I recommend only buying your o-rings straight from BMW or someone reputable.
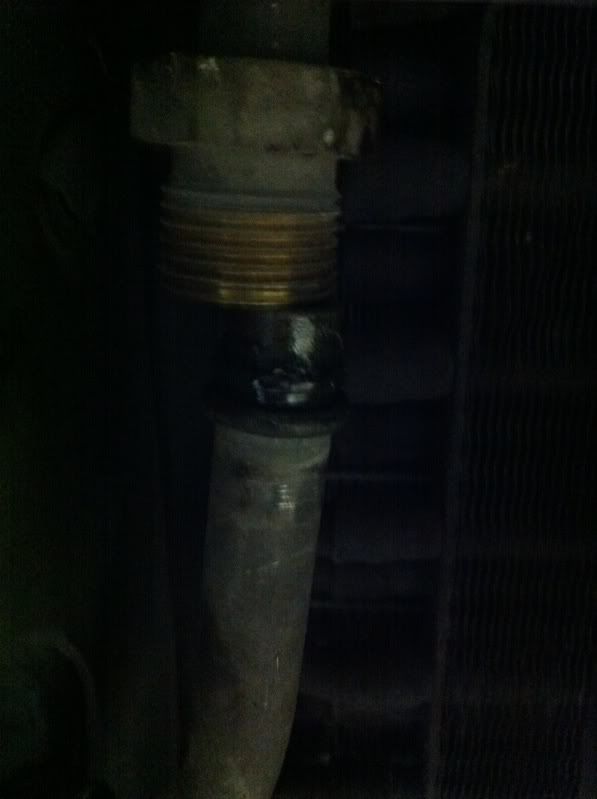
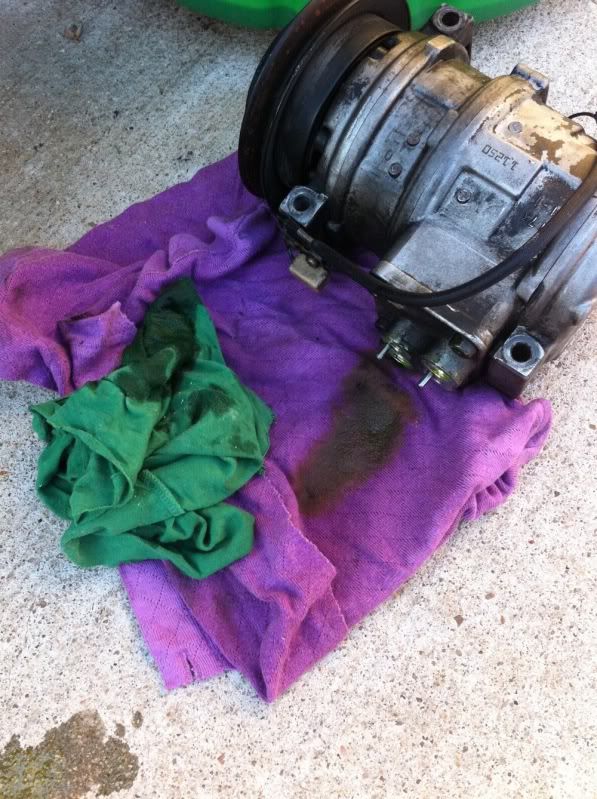
One of my blown out o-rings:
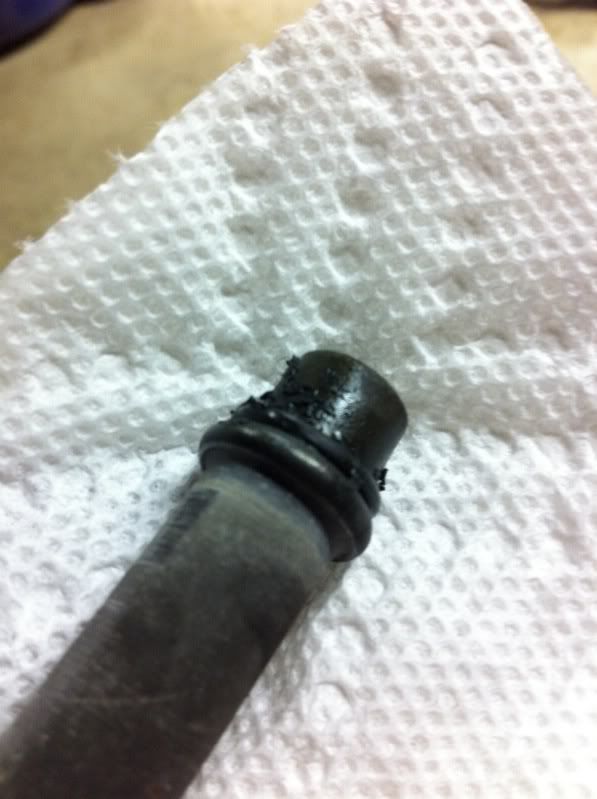
Also worth mentioning are the AC hoses used in the E30 system. If your car was made before 09/1987, it's a good idea to change out all of the rubber hoses as they are not barrier hoses. What does this mean? The hose has an interior lining. R-134a molecules are smaller than the rubber molecules in the hose and as a result will slowly seep out to the atmosphere. In the short term it may be better for you to stay R-12 till you can afford the cost of switching to the newer style hoses. I'm not listing the part numbers for these as they vary depending on the years.
Now on to the actual DIY since you should now understand the basics of a R-134a retrofit.
IMPORTANT!: Make sure your system is empty of freon before you begin! It's against Federal Law to release your refrigerant out into the atmosphere. YOU HAVE BEEN WARNED!
Parts Required for Conversion:
Parallel flow condenser (ignore the pic) (click here)
R134a Expansion valve (can be used with R-12)- PN 64511466259
R134a Pressure switch- PN 64538390971
Dryer/Reciever- PN 64538391025
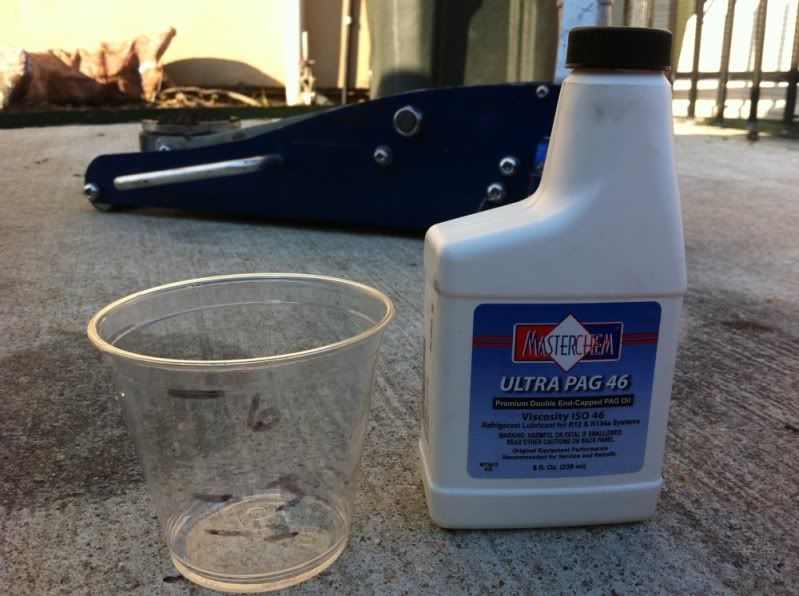
PAG oil- see pic and chart link below for determining the viscosity for your compressor.
New style compressor bracket idea for M20 peeps --> http://www.r3vlimited.com/board/show...&postcount=134
Pressure switch wiring write up is here -->
Viscosity:
O-Rings- order about 8 each
Recommended additional new parts/tools:
Tools required:
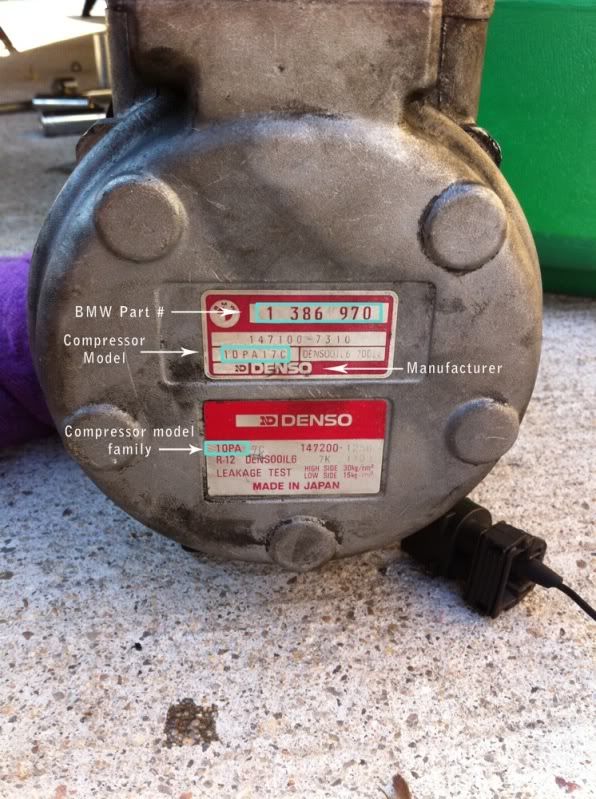
To determine the viscosity of the PAG oil needed for the compressor, you first need to figure out some info on your compressor. Look at the pic below to see how to identify the manufacturer and model family.
>Click Here for chart<
This is the compressor off of my M42. By looking at this sticker, I can see that compressor type is a 10PA. So I go down to Nippondenso on the chart and look for 10PA. I look at the column on the far right and it says ISO 46, this is the viscosity of oil I need for my compressor.
Before you can get started, you need something to measure out the PAG oil. I used a 6oz plastic cup and marked out measurement points.
Alright now we are ready to actually start working on the E30.
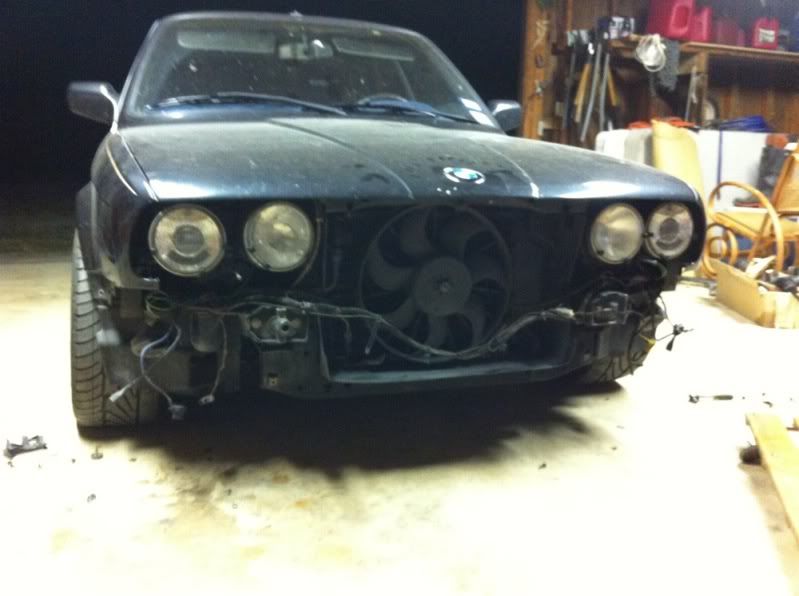
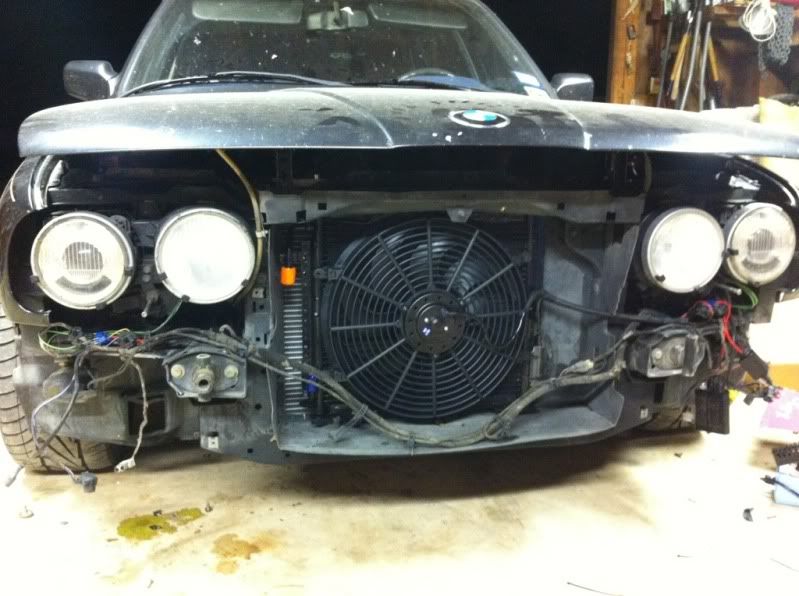
First things first, the front bumper and valence needs to come off to get access to the condenser. That's already documented, so I'll just link to it: http://www.r3vlimited.com/board/show...40&postcount=1
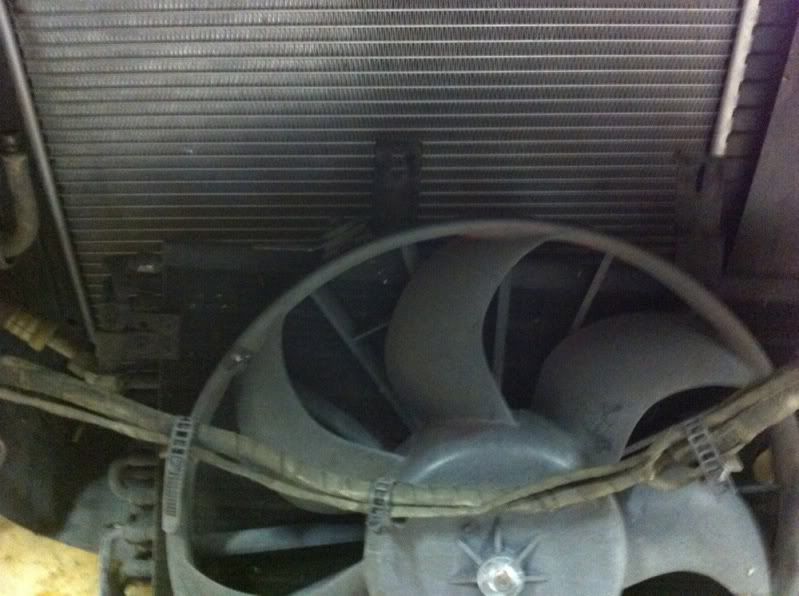
Your E30 should look something like this starting this DIY:
Remove the old condenser, you need to remove the bolts that hold in the radiator support bracket and the 10mm hex bolts holding the condenser to the radiator core support.
Undo the hoses on the condenser. These are a 22 and 19mm I believe.
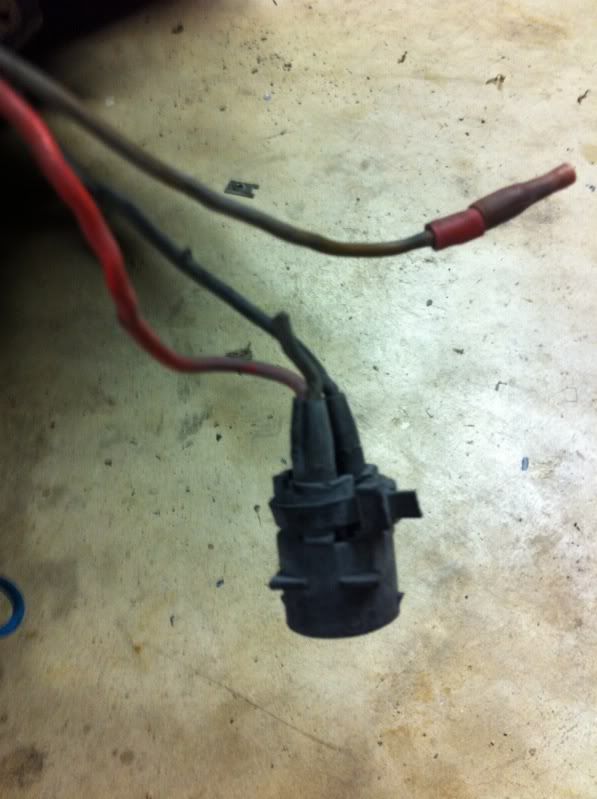
Disconnect the auxiliary fan's connector or what's left of it in my case.
You can now remove the old set up from the car.
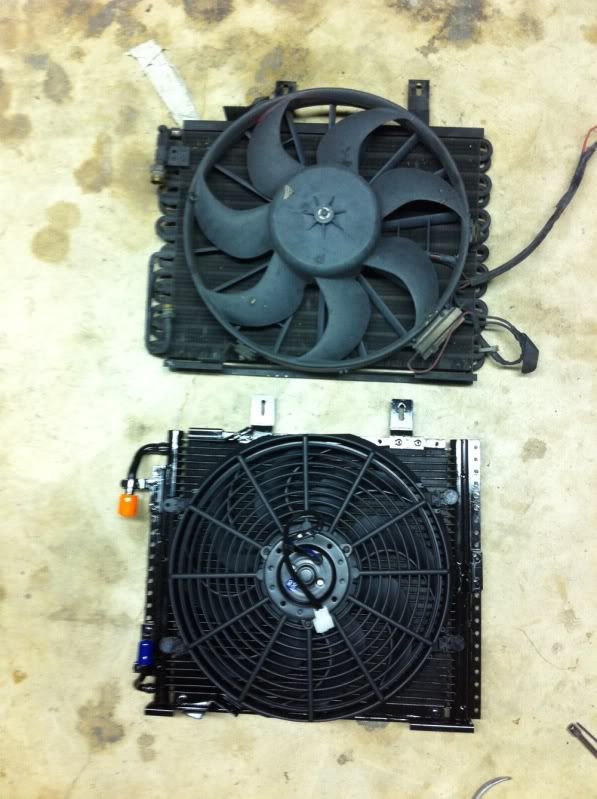
New vs. old
Before you install the new condenser, add one ounce of PAG oil to it through one of the fittings.
Install the same way you removed it.
Replace the o-rings on the hoses as well as the hose to the dryer if you choose to do so. To tighten the hoses on to the condenser, you need to use some care. The parallel condenser is made of aluminum which is soft. (Your old one is copper, even more fragile) If you start to over torque the fittings they will flex, bend, break, etc. To avoid this, hold one fitting with a crescent and the other with a wrench while tightening them down. These fittings do not require too much torque to make a seal. That's why the o-ring is there. Tighten them till they're snug.
You can button up the front end afterwards.
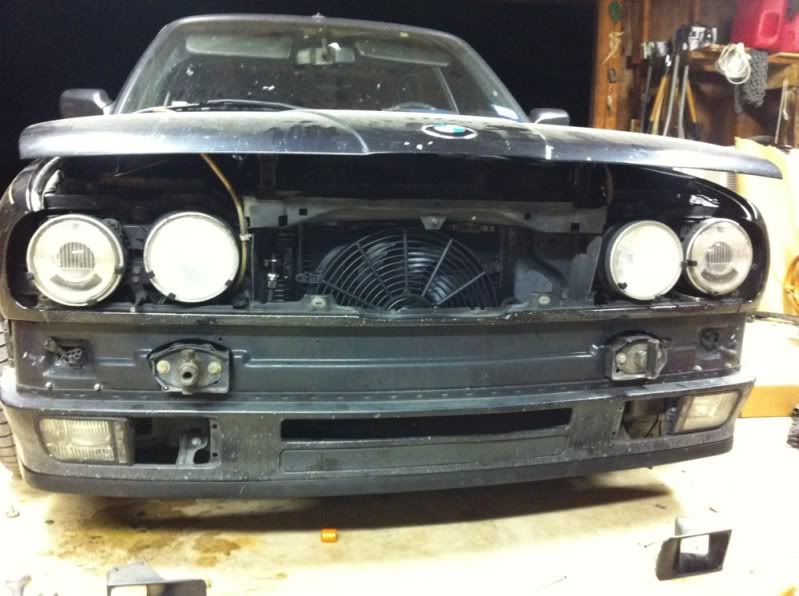
Sitting pretty.
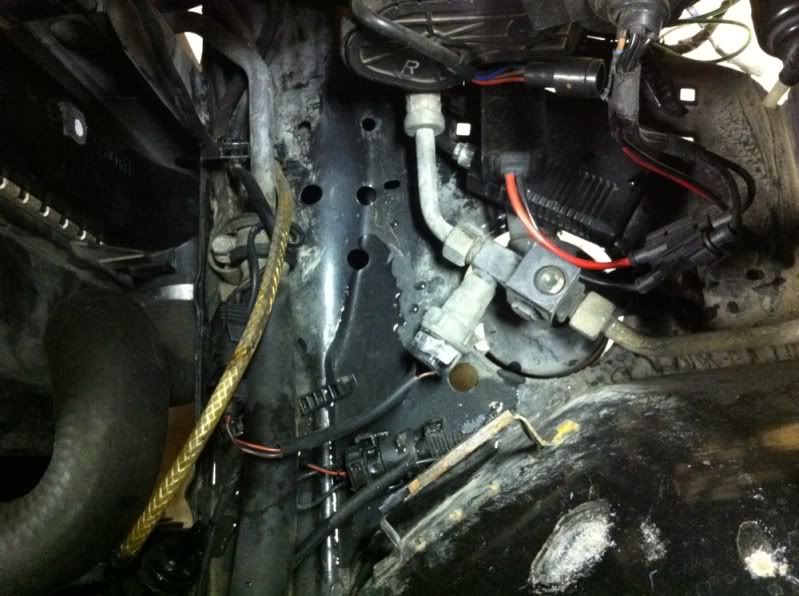
Remove your washer fluid reservoir to gain access to the dryer and pressure switch. Go ahead and disconnect the rubber and metal hoses. These are 17mm's.
To remove the metal lines to replace the o-rings and flush the lines out, you need to take off the hood support bracket. This is held on by two 10mm bolts.
This will give you access to their fittings.
The metal line running along the fender has two 10mm bolts securing it to the car. Flush it out with compressed air and reinstall with new o-rings. Do the same with the low pressure line running to the compressor.


Add one ounce of oil to the new dryer and attach the R-134a pressure switch. Be sure to install your o-rings before tightening everything up. Also hook up your new switch.
Now is as good as a time as ever to remove the compressor to dump out the old oil. It's held on by four 13mm bolts on my M42 powered car. I did not document this process as it varies from E30 to E30 and I had already done it when I had my engine out. :)
To dump out the oil you just tip it upside down as you spin the compressor. Keep it like this till oil stops dripping out. Look for any particles or dark coloration. These can be clues to a future premature compressor failure.
Refill with the amount the chart linked earlier listed, minus 2 ounces. These are accounted for in other parts of the system which we already did. Reinstall, tighten up the hoses, and reconnect the clutch engagement connector.
You're now ready to start on the interior side of this install.
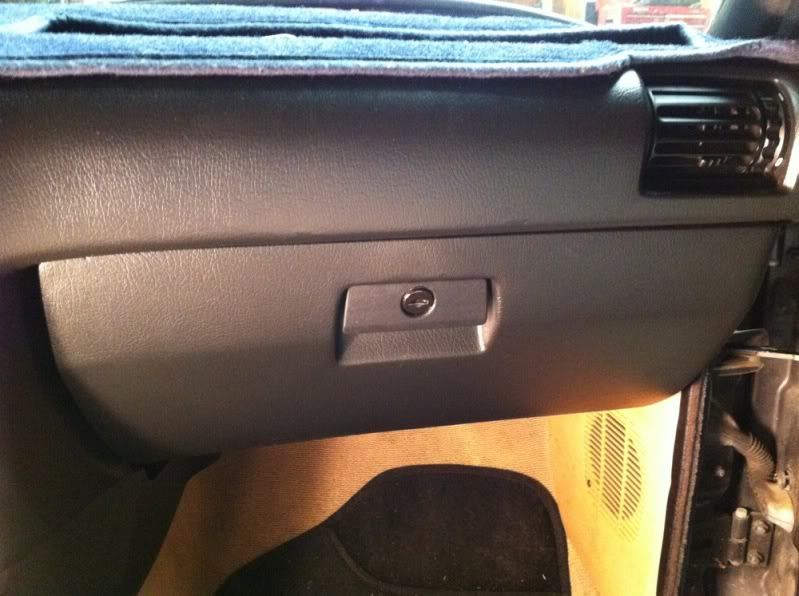
Here's what you're going to start with.
There's three 10mm nuts that hold the hinge to the firewall. You do not need to remove them completely, just loosen them enough to pull the glove box out.
Remove this next. It has two phillips screws and two thumb screws in the rear. You do not have to remove your center console for the next step, but it does make things easier.

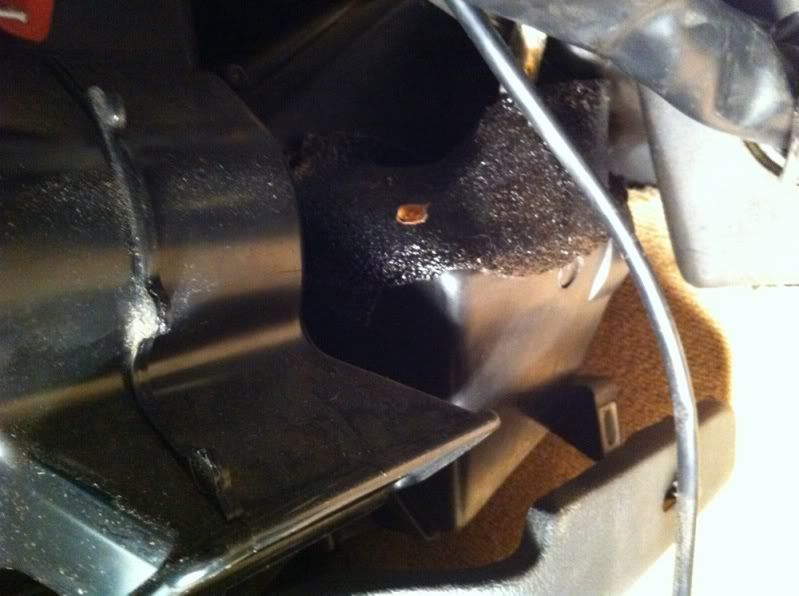
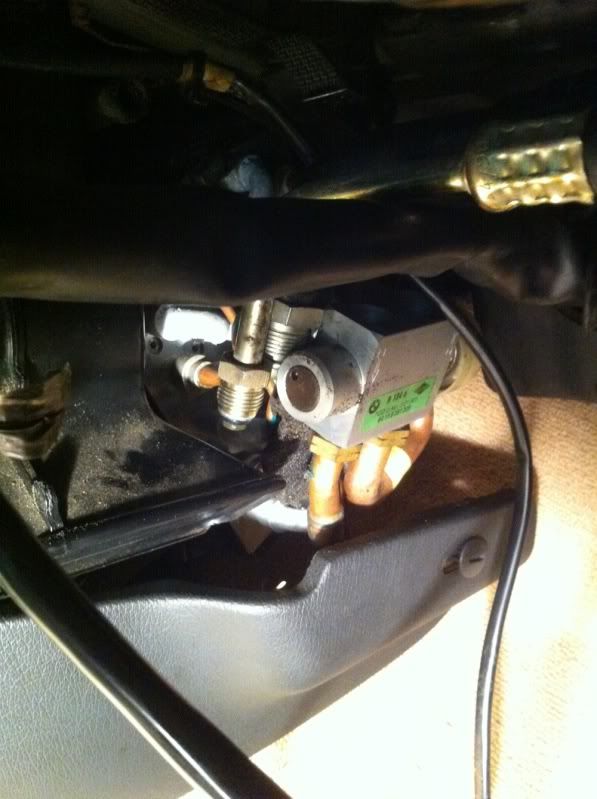
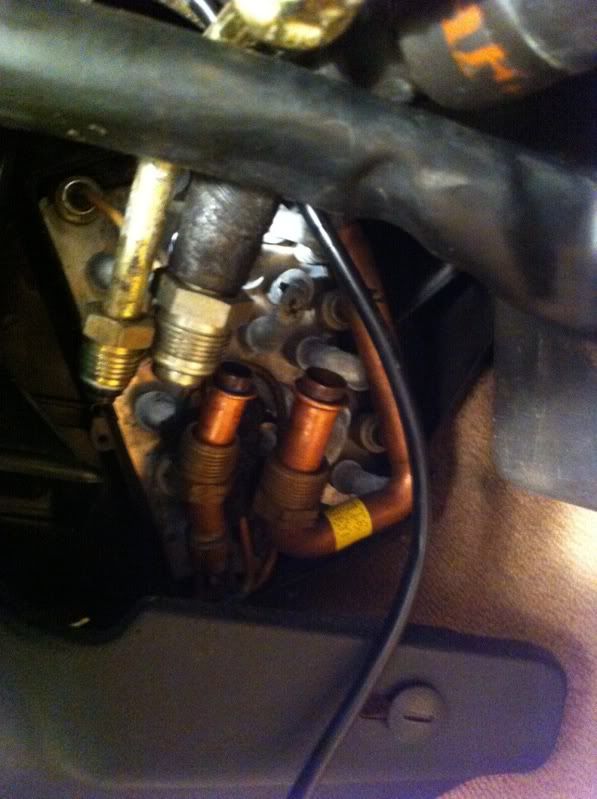
Here's where you'll be working.
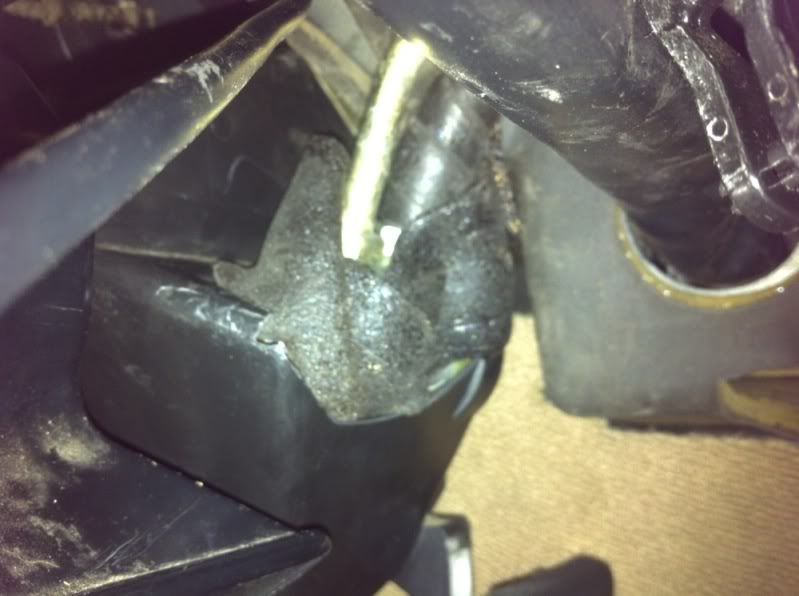
Remove that foamy, tar insulation.
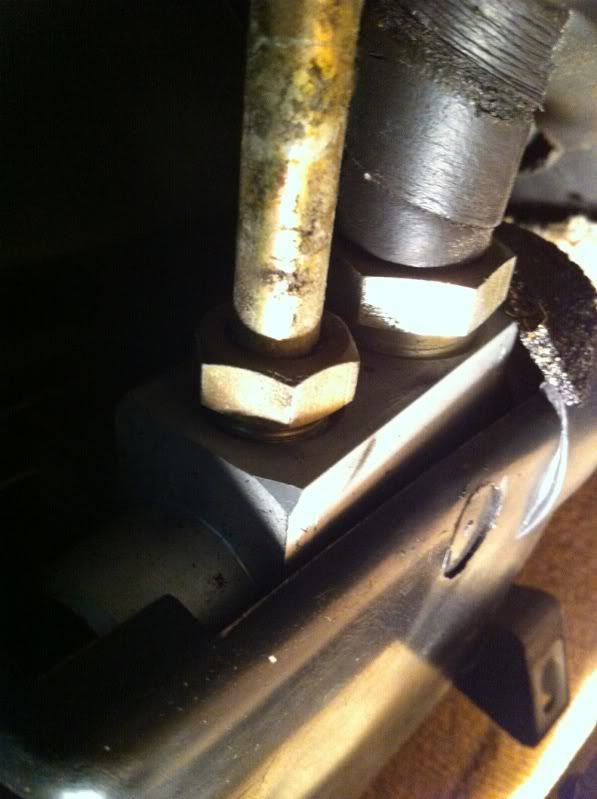
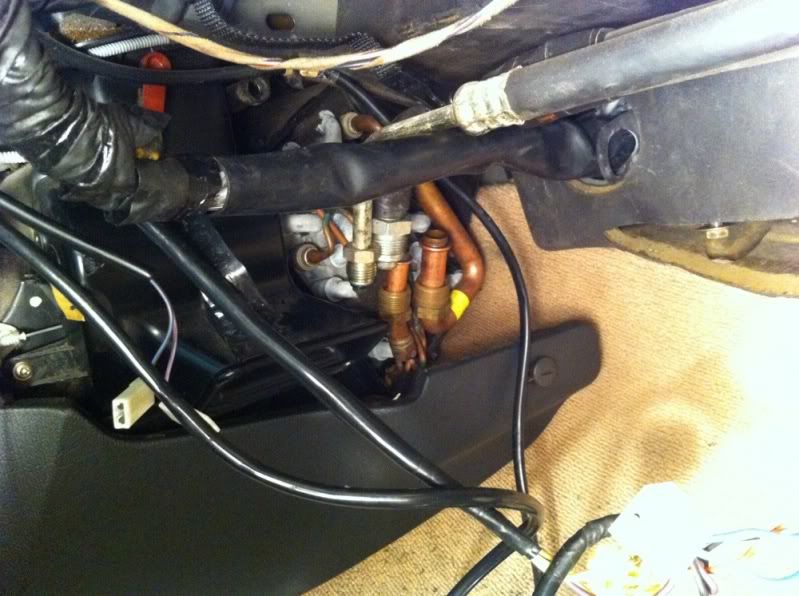
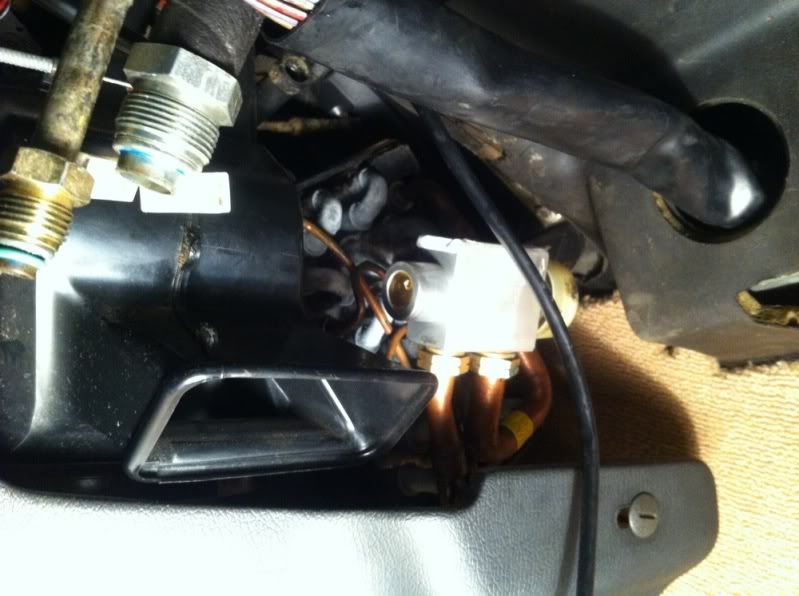
Remove the smaller fitting first, then the larger one. Be sure to use a crescent to hold and stop the expansion valve from twisting the lower fittings on the evaporator.
This cover will have to come off to get to the lower fittings, it isn't fun. It's held on by 4 T-15 screws and it can't be broken either. The screw closest to the firewall is quite difficult to remove, so I wish you luck! ;)
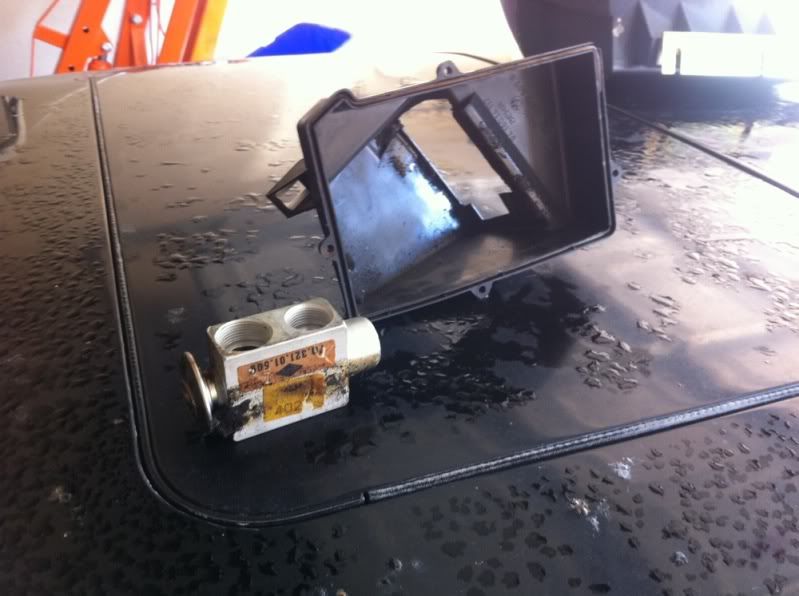
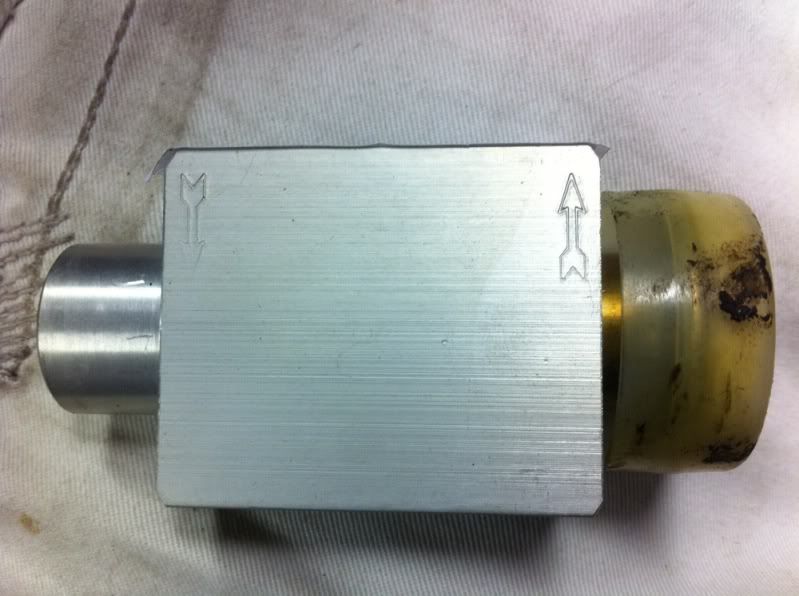
Here's what it looks like out of the car. I used a small bead of silicone along the seal to stop any possible future leaks.
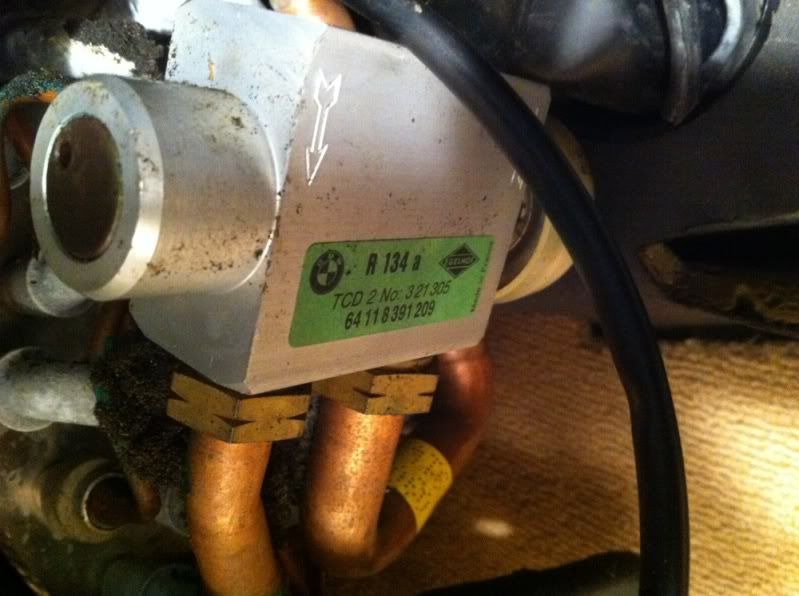
Note these directional arrows, they're important for reinstall. My expansion valve was replaced before as you can see.
Now is the time to replace your evaporator if you wish. Mine was good and I just pulled it out a little to get 20 years worth of dirt out and flush any remnant oil.
Install the new expansion valve with the plastic cover over the top openings. You do not want any foam/dirt getting in there as you secure the bottom fittings. Reinstall the top fittings and replace the cover.
Be sure to stuff this foam back around the valve. Reinstall your covers and glovebox. The next step is best left to the professionals.
Charging your newly converted system.
This part is a bit tricky. Since we are no longer using the factory condenser our R-134a amounts outlined in the official conversion document are a little skewed. The system will also need to be vacuumed out to check for leaks and remove moisture.
https://docs.google.com/document/d/1...LOZEG8prg/edit
If you fill by pressure rating, my converted system on my old E30 took 28oz of R-134a. My new one as well.
Your technician should fill by the air temp coming out of your vents. He can match the values of pressure to the relative ambient temperature and humidity to see what your system should be at under those exact conditions.
However to give him a baseline, I will say start with 25oz and start watching the gauges and vent temps.
This is the official BMW info document on temps/pressures that you should see coming out of your system.
https://docs.google.com/open?id=0B6q...0x6RU0yZjZxa3c
Official BMW conversion document courtesy of CorvallisBMW:
https://docs.google.com/open?id=0B4v...thkey=CNO6w-8O
These are the temps I have been seeing on my setup for comparison.
So there you go. Now enjoy the AC in your E30 all summer long! :)
Post any questions here in this thread and I'll try my best to answer them.
An E30 R-12 system has a tube and fin type condenser, as most R-12 systems. A parallel flow condenser is required for R-134a because it can dissipate more heat from the higher operating pressure of R-134a due to a more efficient design, ie: more surface area.
Below is a pic of the 3 types of condensers used in automotive systems. The diagram should be self explanatory. A serpentine condenser is a combination of the two designs.
Since an AC system becomes cold by rapid pressurizing, cooling, then rapid de-pressuring the freon gas, the pressure median that's maintained in the system is important. If that median changes due to a leak or in R-134a's case, different behavior under pressure, the system is going to respond with not operating efficiently or effectively. If you have a leak, you find the leak. If you are converting, you need to install a different pressure switch since R-134a's higher operation pressure would render the system not fully functional due to the switch being triggered prematurely. The expansion valve needs to be changed as well as the new operating pressure is outside of the R-12's valve design limits. If you do not, you will most likely blow your old R-12 valve and be left with defunct system.
A different type of lubrication for the system is required as well. R-12 systems use Ester oil, R-134a systems use PAG oil in various viscosities. Viscosity of the compressor oil depends on the type of compressor. If the system is not lubricated properly, your compressor and other AC components will slowly fail. See the chart farther down for determining your vis.
As for the o-rings, what's different between them and a standard R-12's is the material they are made of. When R-134a mixes with PAG oil, the chemical make up is harmful to standard R-12 o-rings that are often made up of various types of synthetic rubber. As a result you need a composite rubber that can width stand the higher pressure, higher temperature, and harmful chemical make up. Most R-134a o-rings are made up of HNBR (Hydrogenated Nitrile Butadiene Rubber). HNBR is backwards compatible with R-134a and R-12. A typical HNBR o-ring is green (it's an unofficial standard), but not always the case. I recommend only buying your o-rings straight from BMW or someone reputable.
One of my blown out o-rings:
Also worth mentioning are the AC hoses used in the E30 system. If your car was made before 09/1987, it's a good idea to change out all of the rubber hoses as they are not barrier hoses. What does this mean? The hose has an interior lining. R-134a molecules are smaller than the rubber molecules in the hose and as a result will slowly seep out to the atmosphere. In the short term it may be better for you to stay R-12 till you can afford the cost of switching to the newer style hoses. I'm not listing the part numbers for these as they vary depending on the years.
Now on to the actual DIY since you should now understand the basics of a R-134a retrofit.
IMPORTANT!: Make sure your system is empty of freon before you begin! It's against Federal Law to release your refrigerant out into the atmosphere. YOU HAVE BEEN WARNED!
Parts Required for Conversion:
Parallel flow condenser (ignore the pic) (click here)
R134a Expansion valve (can be used with R-12)- PN 64511466259
R134a Pressure switch- PN 64538390971
Dryer/Reciever- PN 64538391025
PAG oil- see pic and chart link below for determining the viscosity for your compressor.
New style compressor bracket idea for M20 peeps --> http://www.r3vlimited.com/board/show...&postcount=134
Pressure switch wiring write up is here -->

Viscosity:
- PAG ISO 46 PN 55-9807-905 (Not a BMW listed part number)
- PAG ISO 100 PN 55-9807-906
- PAG ISO 150 PN 55-9807-907
O-Rings- order about 8 each
- 64501468463
- 64501468464
- 64501468465
- 64501468466
- 64508390605
Recommended additional new parts/tools:
- Evaporator- PN 64511468560
- 2400+ CFM 14" electric fan
- a R-12 flushing agent to clean out the lines
Tools required:
- Crescent Wrench (another crescent wrench is required if you do not have a 22 or 24mm wrench)
- 13mm wrench
- 17mm wrench
- 19mm wrench
- 22mm wrench
- 24mm wrench
- 8mm socket
- 10 mm socket
- 13 mm socket
- T15 Torx (may or may not be required depending on year model)
- 6mm Allen socket (Harbor Freight sells these)
- Phillips head screw driver
- Air Compressor
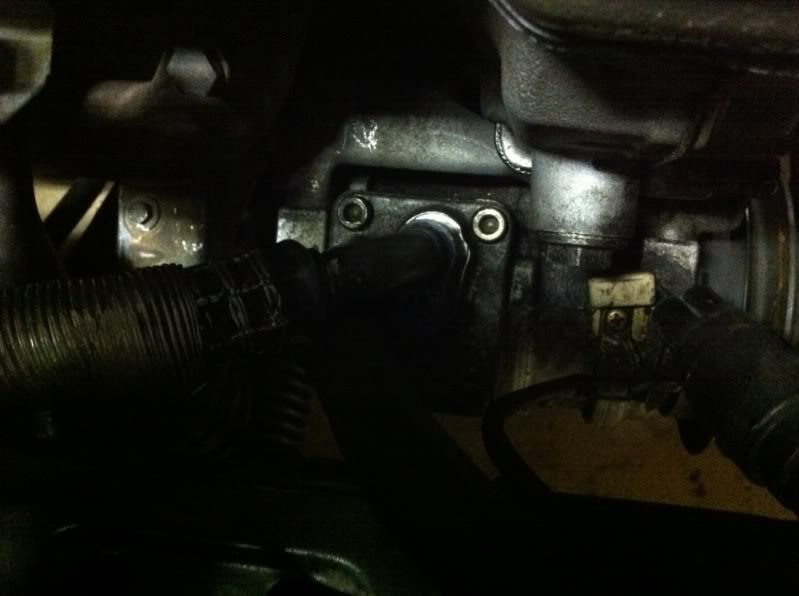
To determine the viscosity of the PAG oil needed for the compressor, you first need to figure out some info on your compressor. Look at the pic below to see how to identify the manufacturer and model family.
>Click Here for chart<
This is the compressor off of my M42. By looking at this sticker, I can see that compressor type is a 10PA. So I go down to Nippondenso on the chart and look for 10PA. I look at the column on the far right and it says ISO 46, this is the viscosity of oil I need for my compressor.
Before you can get started, you need something to measure out the PAG oil. I used a 6oz plastic cup and marked out measurement points.
Alright now we are ready to actually start working on the E30.
First things first, the front bumper and valence needs to come off to get access to the condenser. That's already documented, so I'll just link to it: http://www.r3vlimited.com/board/show...40&postcount=1
Your E30 should look something like this starting this DIY:
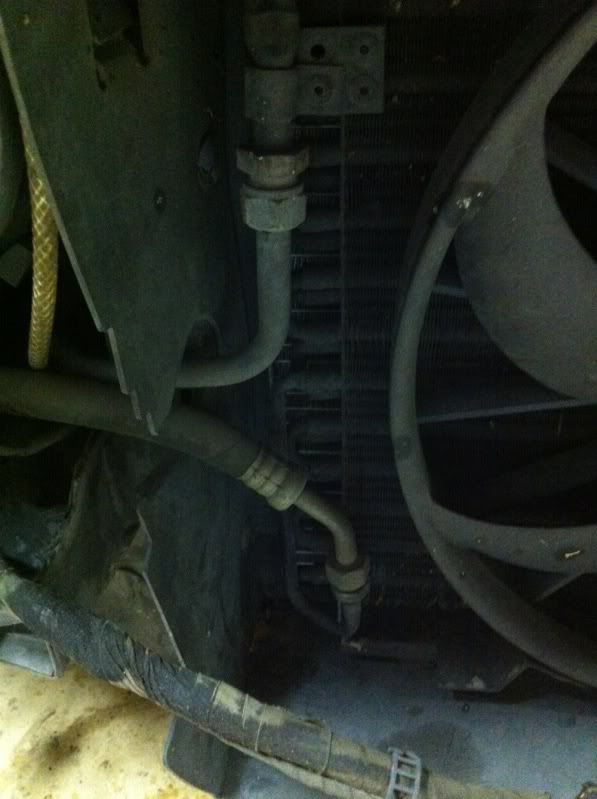
Remove the old condenser, you need to remove the bolts that hold in the radiator support bracket and the 10mm hex bolts holding the condenser to the radiator core support.
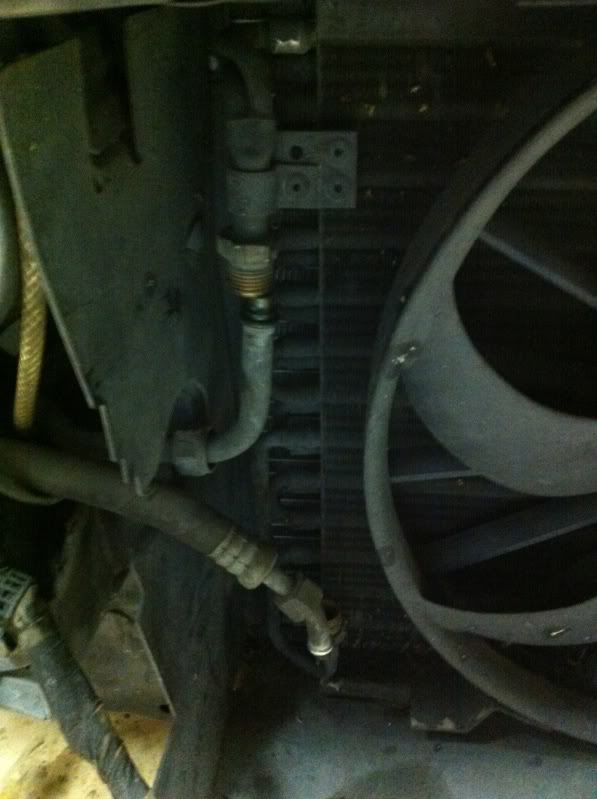
Undo the hoses on the condenser. These are a 22 and 19mm I believe.
Disconnect the auxiliary fan's connector or what's left of it in my case.
You can now remove the old set up from the car.
New vs. old
Before you install the new condenser, add one ounce of PAG oil to it through one of the fittings.
Install the same way you removed it.
Replace the o-rings on the hoses as well as the hose to the dryer if you choose to do so. To tighten the hoses on to the condenser, you need to use some care. The parallel condenser is made of aluminum which is soft. (Your old one is copper, even more fragile) If you start to over torque the fittings they will flex, bend, break, etc. To avoid this, hold one fitting with a crescent and the other with a wrench while tightening them down. These fittings do not require too much torque to make a seal. That's why the o-ring is there. Tighten them till they're snug.
You can button up the front end afterwards.
Sitting pretty.
Remove your washer fluid reservoir to gain access to the dryer and pressure switch. Go ahead and disconnect the rubber and metal hoses. These are 17mm's.
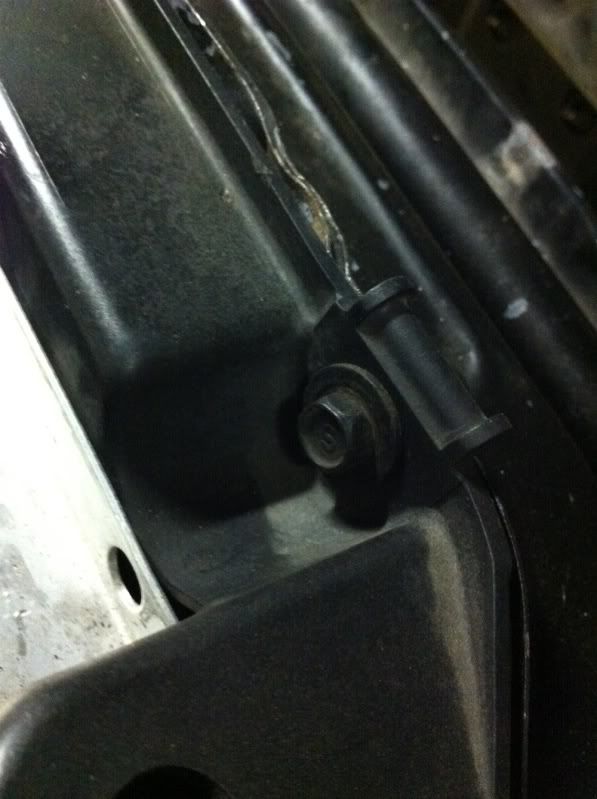
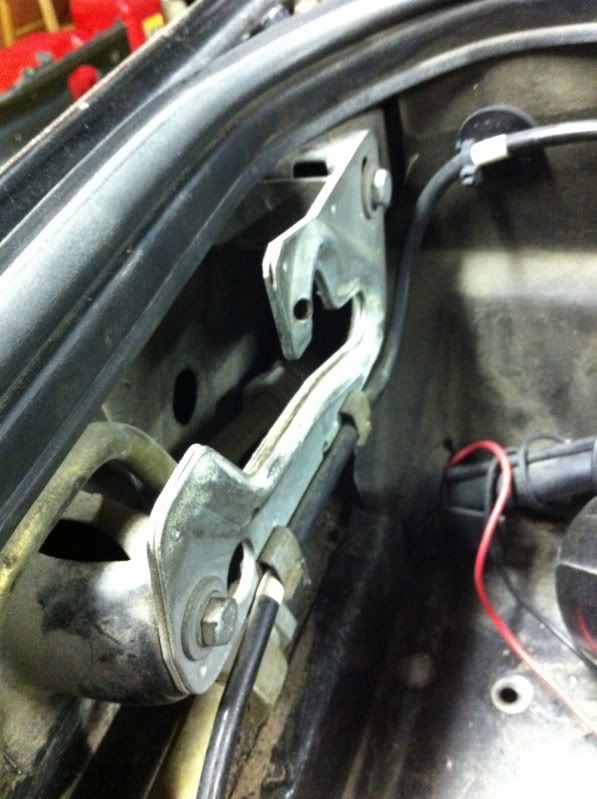
To remove the metal lines to replace the o-rings and flush the lines out, you need to take off the hood support bracket. This is held on by two 10mm bolts.
This will give you access to their fittings.
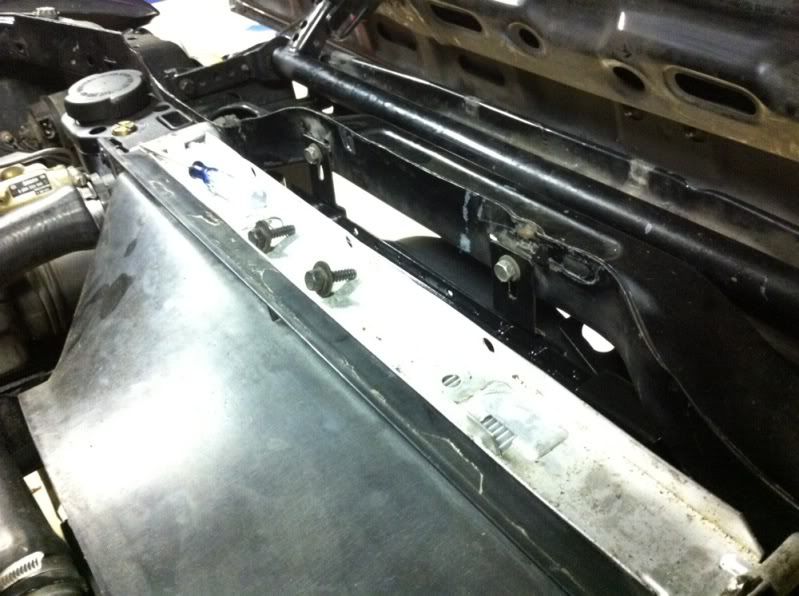
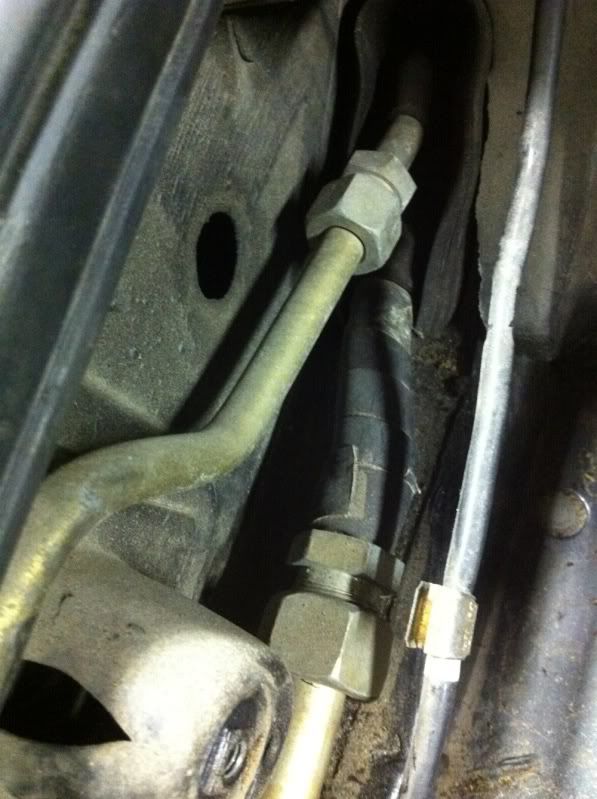
The metal line running along the fender has two 10mm bolts securing it to the car. Flush it out with compressed air and reinstall with new o-rings. Do the same with the low pressure line running to the compressor.
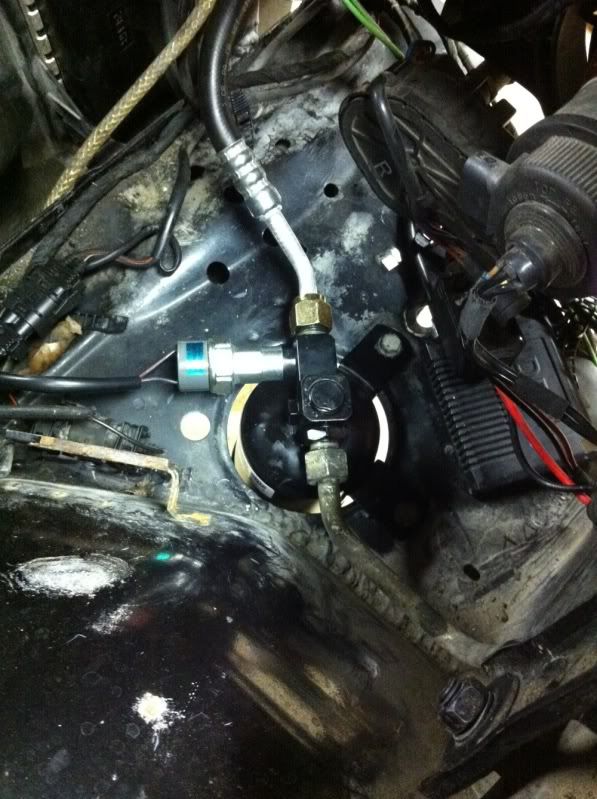
Add one ounce of oil to the new dryer and attach the R-134a pressure switch. Be sure to install your o-rings before tightening everything up. Also hook up your new switch.
Now is as good as a time as ever to remove the compressor to dump out the old oil. It's held on by four 13mm bolts on my M42 powered car. I did not document this process as it varies from E30 to E30 and I had already done it when I had my engine out. :)
To dump out the oil you just tip it upside down as you spin the compressor. Keep it like this till oil stops dripping out. Look for any particles or dark coloration. These can be clues to a future premature compressor failure.
Refill with the amount the chart linked earlier listed, minus 2 ounces. These are accounted for in other parts of the system which we already did. Reinstall, tighten up the hoses, and reconnect the clutch engagement connector.
You're now ready to start on the interior side of this install.
Here's what you're going to start with.
There's three 10mm nuts that hold the hinge to the firewall. You do not need to remove them completely, just loosen them enough to pull the glove box out.
Remove this next. It has two phillips screws and two thumb screws in the rear. You do not have to remove your center console for the next step, but it does make things easier.
Here's where you'll be working.
Remove that foamy, tar insulation.
Remove the smaller fitting first, then the larger one. Be sure to use a crescent to hold and stop the expansion valve from twisting the lower fittings on the evaporator.
This cover will have to come off to get to the lower fittings, it isn't fun. It's held on by 4 T-15 screws and it can't be broken either. The screw closest to the firewall is quite difficult to remove, so I wish you luck! ;)
Here's what it looks like out of the car. I used a small bead of silicone along the seal to stop any possible future leaks.
Note these directional arrows, they're important for reinstall. My expansion valve was replaced before as you can see.
Now is the time to replace your evaporator if you wish. Mine was good and I just pulled it out a little to get 20 years worth of dirt out and flush any remnant oil.
Install the new expansion valve with the plastic cover over the top openings. You do not want any foam/dirt getting in there as you secure the bottom fittings. Reinstall the top fittings and replace the cover.
Be sure to stuff this foam back around the valve. Reinstall your covers and glovebox. The next step is best left to the professionals.
Charging your newly converted system.
This part is a bit tricky. Since we are no longer using the factory condenser our R-134a amounts outlined in the official conversion document are a little skewed. The system will also need to be vacuumed out to check for leaks and remove moisture.
https://docs.google.com/document/d/1...LOZEG8prg/edit
If you fill by pressure rating, my converted system on my old E30 took 28oz of R-134a. My new one as well.
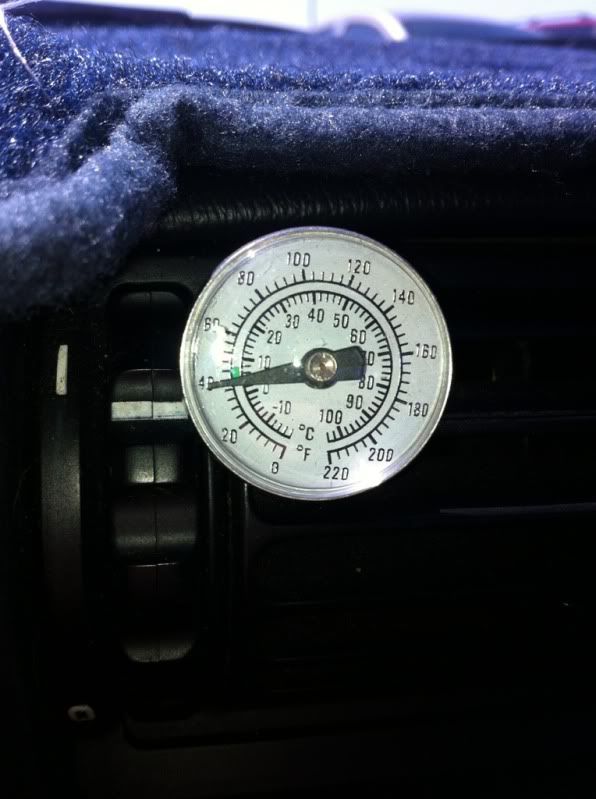
Your technician should fill by the air temp coming out of your vents. He can match the values of pressure to the relative ambient temperature and humidity to see what your system should be at under those exact conditions.
However to give him a baseline, I will say start with 25oz and start watching the gauges and vent temps.
This is the official BMW info document on temps/pressures that you should see coming out of your system.
https://docs.google.com/open?id=0B6q...0x6RU0yZjZxa3c
Official BMW conversion document courtesy of CorvallisBMW:
https://docs.google.com/open?id=0B4v...thkey=CNO6w-8O
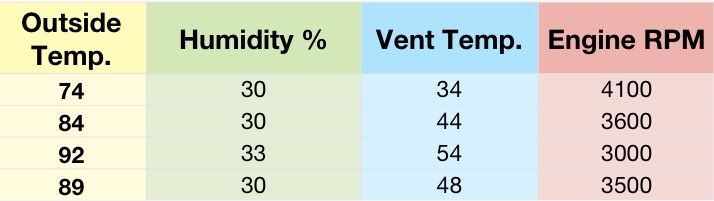
These are the temps I have been seeing on my setup for comparison.
So there you go. Now enjoy the AC in your E30 all summer long! :)
Post any questions here in this thread and I'll try my best to answer them.


Comment