Announcement

Collapse
No announcement yet.

Project Canyongrun - E36 Revival

Collapse
X
 
  • Filter
  • Time
  • Show
Clear All
new posts

    Project Canyongrun - E36 Revival

    Project Canyongrun - E36 Revival

    Two scrap E36's on death's door.
    One mission to make a running, driving machine.


    -


    Current Modifications:
    Blast pipes with OEM cats, OEM resonators, glasspacks, and custom silencers.
    Aftermarket ECU Tune (RKtunes).
    E46 Front lower control arms, E90 inner tierods.
    Condor Speed Shop E36/E46 Conversion Bushings.
    Custom short shifter & knob.
    DRL Disable switch.
    16" Style 42 Wheels (Summer)
    Kenwood KDC-X396 Headunit.
    MTX 12" Subwoofer in ported box.
    Pyle PLA2200 amplifier.
    Euro DEPO ellipsoid/projector headlights.
    Aukee H1 6000K LED low beams.
    Fog light delete blanking plates.
    20mm rear wheel spacers.
    LTW Replica Wing (Aliexpress. Filled w/Spray Foam)
    Rear Shock Mount Reinforcement Plates

    180F Thermostat w/Metal Thermostat Housing Upgrade.
    H&R Sport Springs (29824-2)

    โ€‹Hella H1 Xtreme Yellow high beams.
    Bosch Remanufactured Starter
    M3 Replica Front Bumper
    Vvivid Premium Gloss Orange Vinyl Wrap
    Strobing LED Third Brake Light
    Koni STR.T Orange Dampers
    Thicker Front Upper Spring pads
    949Racing 60mm Steering Wheel Extender
    370mm M-Tech II Steering Wheel (Re-wrapped with M-Tricolor Stitching)


    ---------------------------------------------------------------------------------------------------------------------------------------------------------------------------


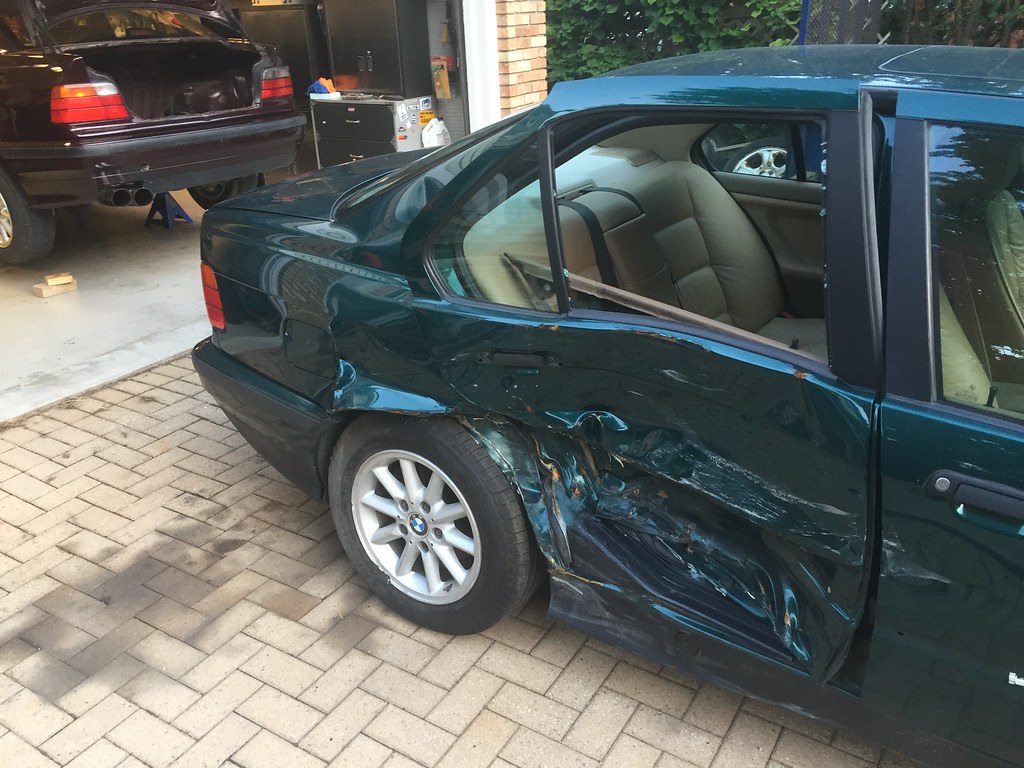
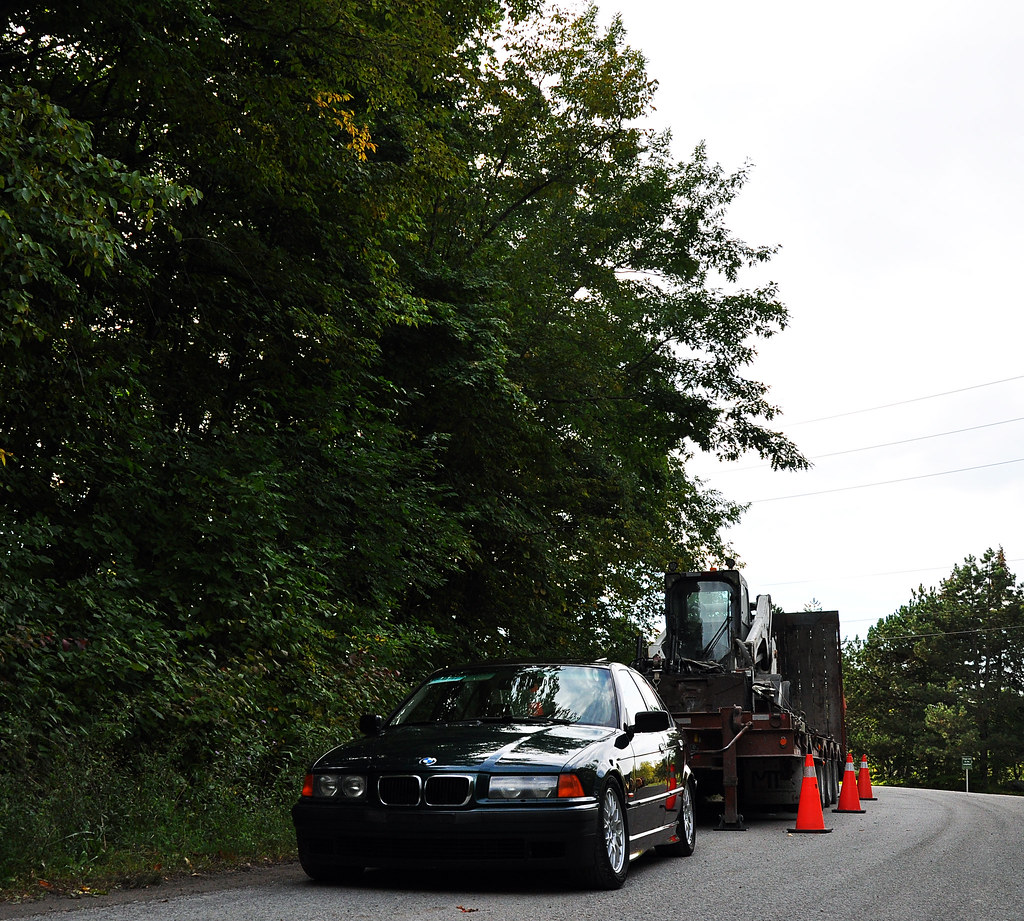
    Subject one: 1998 BMW 328i E36 four door in rare Canyonrot Metallic (343).
    Former drift car.
    Welded diff.
    Gutted interior.
    Over 400,000km. Broken Odometer.
    Considerably Rusty. Decidedly Clapped.

    Gas tank held up by ratchet straps.
    Brake lines rusted through.
    Ebrake assembly removed completely.
    No swaybars.
    No seatbelts.
    No lights.
    Cracked windshield.
    Cut wiring harness.

    Straight exhaust.
    Aftermarket ECU Tune (RKtunes).
    E46 Front LCAs.
    Condor Speed Shop E36/E46 Conversion Bushings.
    Lowering Springs (H&R Race Front[?], Raceland Rear)
    Bilstein Dampers


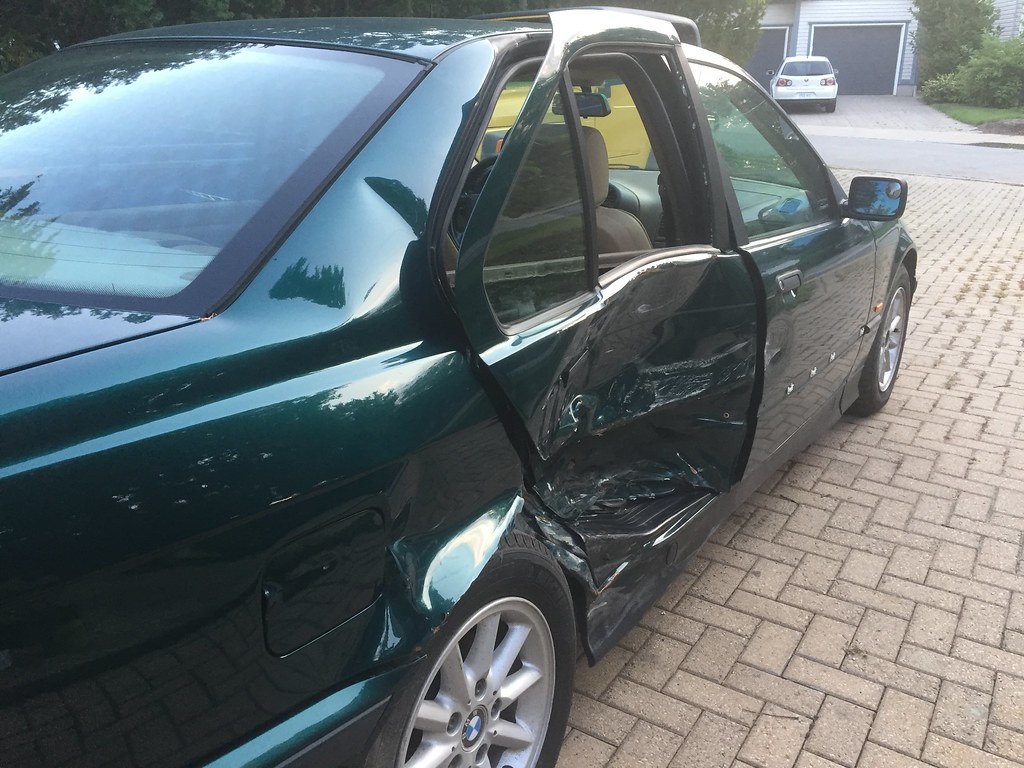
    Subject two: 1997 BMW 328i E36 four door in Bostongrun Pearl Metallic (275).
    Heavy impact damage to passenger side rear door.
    Drivetrain pushed forward.
    Transmission and motor mounts snapped.
    233,000km
    Leather interior.
    Working A/C.


    Last edited by Panici; 10-07-2024, 11:00 AM.

    #2
    Step 1: The Rust Monster

    Functional repairs are the name of the game here. I'm not going for perfect butt-welded repairs like on my E30.

    Gas tank strap mounts, gas tank access holes, trunk floor, trunk rain gutter, and front swaybar mount all patched.


    Comment


      #3
      Step 2: Brakes, Differential, Swaybars.


      Swapped the entire rear brake system including the parking brake assembly and cables. (Air hammer and a modified socket is the trick to get the cables out without destroying them)


      Had to drop the exhaust systems and gas tanks to get access to the hardlines.
      The lines I removed from Canyonrot were completely destroyed. Talking multiple unions/splices on each line, and enough rust that they split in a few spots when removing from the car.


      Changed out one seized front caliper and was able to extract the broken bleeder from the other.


      Replaced the welded 3.91 rear end with an open unit, installed swaybars front and rear.


      Last edited by Panici; 10-18-2021, 06:22 PM.

      Comment


        #4
        Step 3: Body Panels, Rad Support, Windshield.


        Now you see where we get the name Canyongrun, as we have a little of both going on!

        The red trunk was rusted through by the license plate lights. The whole latch assembly was destroyed from what looks like a crowbar.
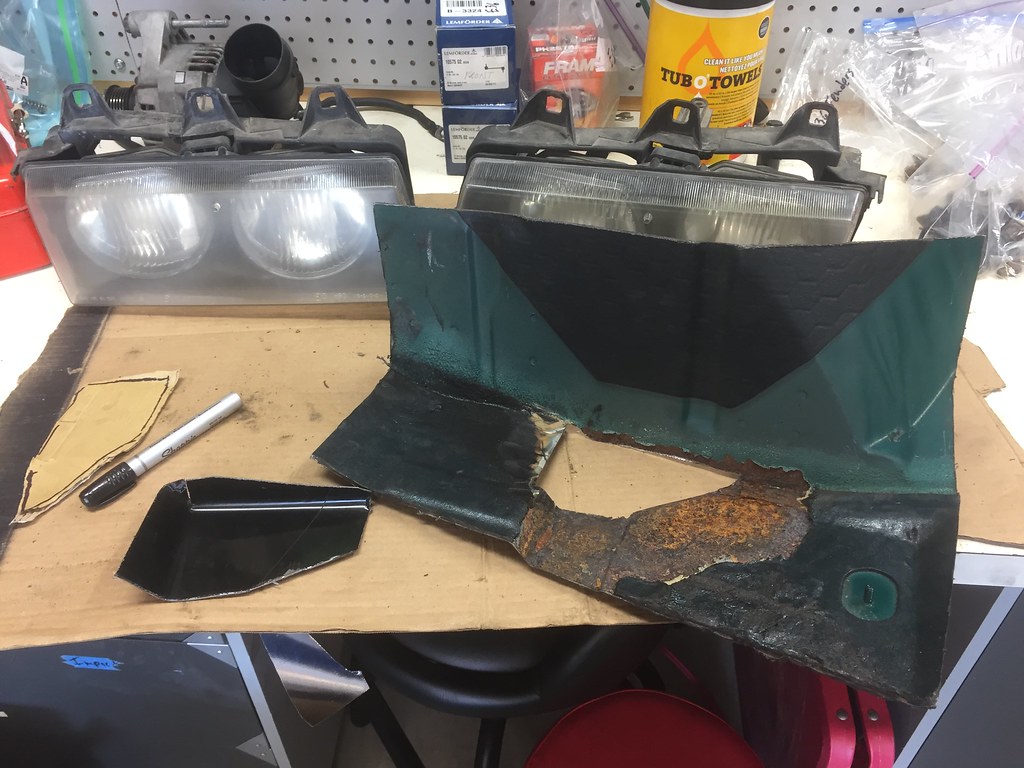
        The front fenders were rolled and pulled, and the driver's side had a rust hole right through the side.
        If that wasn't enough, the hood was bent and creased up near the driver's side windshield.

        While I had the front end apart I replaced the entire core support, electrical aux fan, and polished the plastic headlights.


        Installed the hood, closed it, and it promptly stuck shut! Had to get under the car with some improvised tools to get it free. Took apart, cleaned, adjusted the entire assembly and swapped a hood pin from the parts car.

        Also had a glass guy come out and swap over the good windshield.


        Comment


          #5
          Step 4: Electrical & Custom Shifting


          Going through the wiring has been interesting. So many things disconnected and many connectors cut straight off the harness. No bulbs in most of the car. Broken taillight & main gauge cluster.


          Hacked up wiring included front marker lights, temperature sensors, headlights, aux fan, reverse lights, horn, radio, etc. I didn't bother to take pictures of all the repairs, but you get the idea. Harvest connectors from the parts car, solder, marine heatshrink.

          Had a spare headunit sitting in storage, which does the job well enough. Also made my own short shifter, Z3-1.9 pictured for scale.

          Made a DRL disable switch as well for full lighting control.


          Comment


            #6
            Step 5: Interior


            Removed the tired vinyl front seats and set to work moving most of the leather interior and trim from the parts car.
            Even had to transfer the stock belts as they had been removed from the Canyonrot body.
            Fixed both rear windows which failed within a day of each other.
            Installed a new leather shift boot.


            Comment


              #7
              Step 6: Engine Bay & Exhaust


              Installed a fresh set of spark plugs to fix a P0306 misfire code. Transferred over the blower motor cover and seals.
              Removed the mechanical fan. Rewired the Aux fan for high-speed operation. Installed an airbox.
              Mounted the RKtunes ECU properly behind it's cover.
              Removed the SAP pump.

              Installed the OEM front catted section for emissions compliance and transferred the original muffler flanges onto the huge blast pipe rear section.

              Installed some leftover Kilmat sound deadening and new door seals to help with exhaust resonance.


              Comment


                #8
                Step 7: Front End Alignment & Test Drive


                Removed and reinstalled the Condor speed shop E36/E46 LCA conversion bushings.
                Previous owner installed the bushings skewed (as in the first picture) which threw off the alignment.


                Test drive showed much reduced pulling to the right hand side after the fix.


                Comment


                  #9
                  Step 8: Purchased 16" Style 42 Wheels


                  Test fitting these Style 42s on 225/50R16 tires was successful.
                  Will need a new set of tires before I can run these wheels.


                  Comment


                    #10
                    Thread is now up to date!

                    So far I'm at ~140 hours of work, and the car is back on the road.


                    Parts of this build have definitely been a battle, but it was a lot of fun!
                    Ultimately I'm pleased to have made one good E36 out of two cars destined for the scrap heap.


                    Obviously there are still items to be addressed, and many modifications to come. I'll update as work continues.

                    Comment


                      #11
                      Love it. Good work! Donโ€™t fancy sourcing some more doors & panels to make a harlequin-esque edition?! ๐Ÿ˜†

                      Comment


                        #12
                        Going to match the paint at all? A wrap could be the cheap/ easy way to make it all canyonrut. lovely color
                        Simon
                        Current Cars:
                        -1999 996.1 911 4/98 3.8L 6-Speed, 21st Century Beetle

                        Make R3V Great Again -2020

                        Comment


                          #13
                          Originally posted by Matt@EDC View Post
                          Love it. Good work! Donโ€™t fancy sourcing some more doors & panels to make a harlequin-esque edition?! ๐Ÿ˜†
                          Thanks Matt!
                          I do like the sound of that, would be lots of bright colours

                          Originally posted by 2mAn View Post
                          Going to match the paint at all? A wrap could be the cheap/ easy way to make it all canyonrut. lovely color
                          Most likely won't match the paint. The chassis is way too rough underneath to put that kind of money into it.
                          Besides the two-tone paint scheme is really growing on me!

                          Comment


                            #14
                            Ok damn that's a lot of update.
                            Originally posted by priapism
                            My girl don't know shit, but she bakes a mean cupcake.
                            Originally posted by shameson
                            Usually it's best not to know how much money you have into your e30

                            Comment


                              #15


                              I was looking at this like
                              "what are those ratchet straps around the headrest doing?"
                              "Oh jesus, those aren't ratchet straps"
                              Originally posted by priapism
                              My girl don't know shit, but she bakes a mean cupcake.
                              Originally posted by shameson
                              Usually it's best not to know how much money you have into your e30

                              Comment

                              Working...
                              X