Announcement

Collapse
No announcement yet.

Money Pit: The Sequel - Full Repaint Project

Collapse
X
 
  • Filter
  • Time
  • Show
Clear All
new posts

    Money Pit: The Sequel - Full Repaint Project

    After nearly 5 years since deciding that I was going to repaint the E30, it is finally happening.

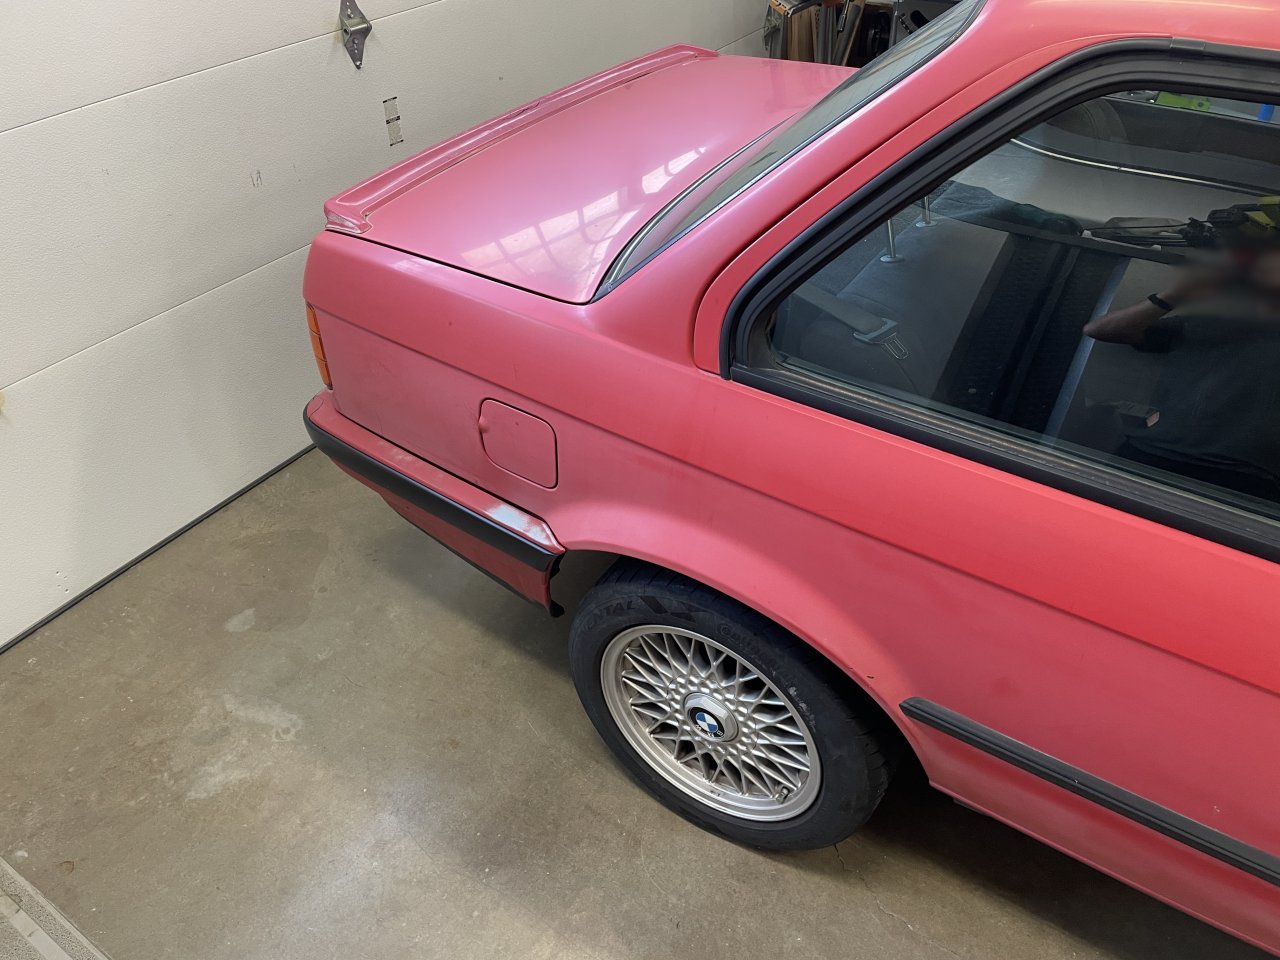
    It all started years ago when I got into a little bumper-bender in a parking lot which did some minor damage to the passenger side rear corner. The paint was getting shabby by then, and I knew that I would need a new bumper skin and some matching paint. Why not do the whole car? So I started making a list of the major items that I would need and ordered them. All new window seals, lots of clips, some trim pieces where needed, other seals, etc. By late 2019 I was about ready to go find a shop to do it, at which point the original Metric Mechanic 2.1L M42 I was running blew the head gasket as a casualty of the crank damper wheel coming apart and causing some very unfortunately-timed misfires. There went a bunch of time and a good chunk of the paint budget for a rebuild (which MM was kind enough to for me at the cost of labor 7 years after the initial purchase). Some of you may recall that saga lol...I nearly dumped the car and got something newer and more reliable. Thank goodness common sense did not get the best of me when I was vulnerable!

    So 2020 rolls around and we all know how that went with COVID and all. I got the newly rebuilt engine in the spring and had the car running shortly thereafter. It ran better than new, and while MM never really said that they found anything amiss in the core that I sent back, the thing ran like a different beast entirely. In a good way. At that point I decided to just drive the car for a couple of years and enjoy it, which I did. In late 2019 I had also picked up an MK5 Jetta TDI with the intent of having it be a very temporary car to use during the repaint project. It turned out to be a good purchase since it removed all of the time pressure from the engine rebuild, and honestly it is nice to have a car that pulls mid-40's fuel economy on the highway while also handling fairly well. It is not quite a project car since I am intent on keeping it OEM or maybe OEM+, but I have sunk some cash into it in the form of various engine, suspension, driveline, and interior parts to get it back to tip-top condition. But, I digress...I have a car to use while the E30 gets painted.

    Within the last couple of months I finally found a body shop to work with. If memory serves me right, I spoke with 9 different shops about the repaint. 6 of them outright said no, 2 indirectly said no in the form of estimates north of $25K, and one turned out to be what I was hoping to find. It was sort of accidental in that a former coworker put me in touch with a guy to do some precision TIG welding on a stainless fuel fitting for my Link E36X ECU project. I met the guy at his place of work, which was a body shop. The welds were good, and a while after that I texted him to see if he was interested in repainting my car. This was after a day of being rejected twice by other shops, so my hopes were not high.

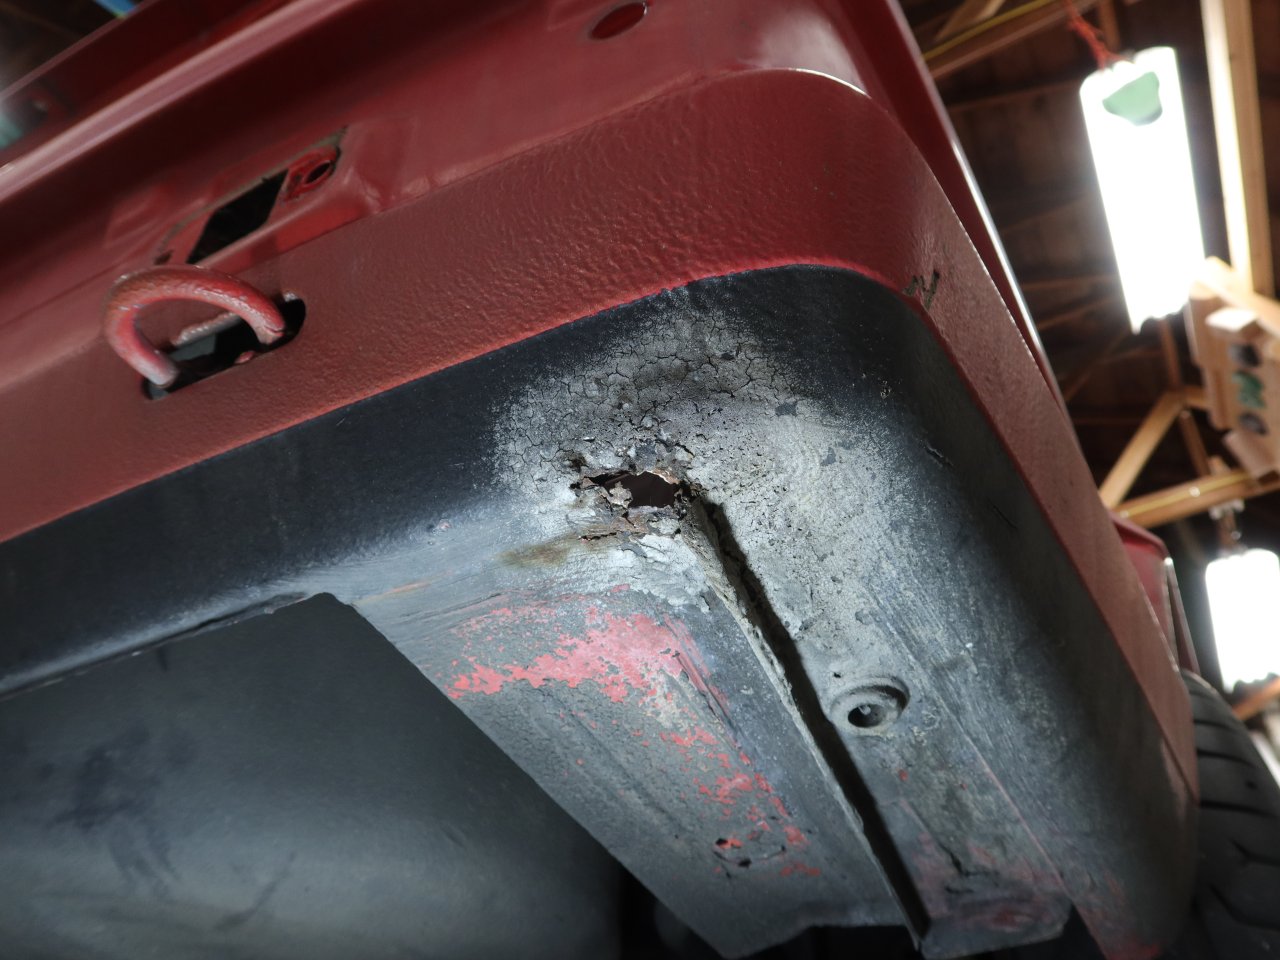
    To my surprise he seemed open to it. I took the car by, and about 5 minutes in to the estimate I could tell that I would want to work with that shop. He'd done other E30's and usually did 1-2 resto jobs like mine per year in addition to the usual high volume repair work that most shops do. From there we worked out a price, although that is likely to be subject to some upward creep if there are any surprises like unexpected rust once he gets in there. The agreed cost was well under $20k thank God.

    I will be documenting the paint project in this thread, so here goes.

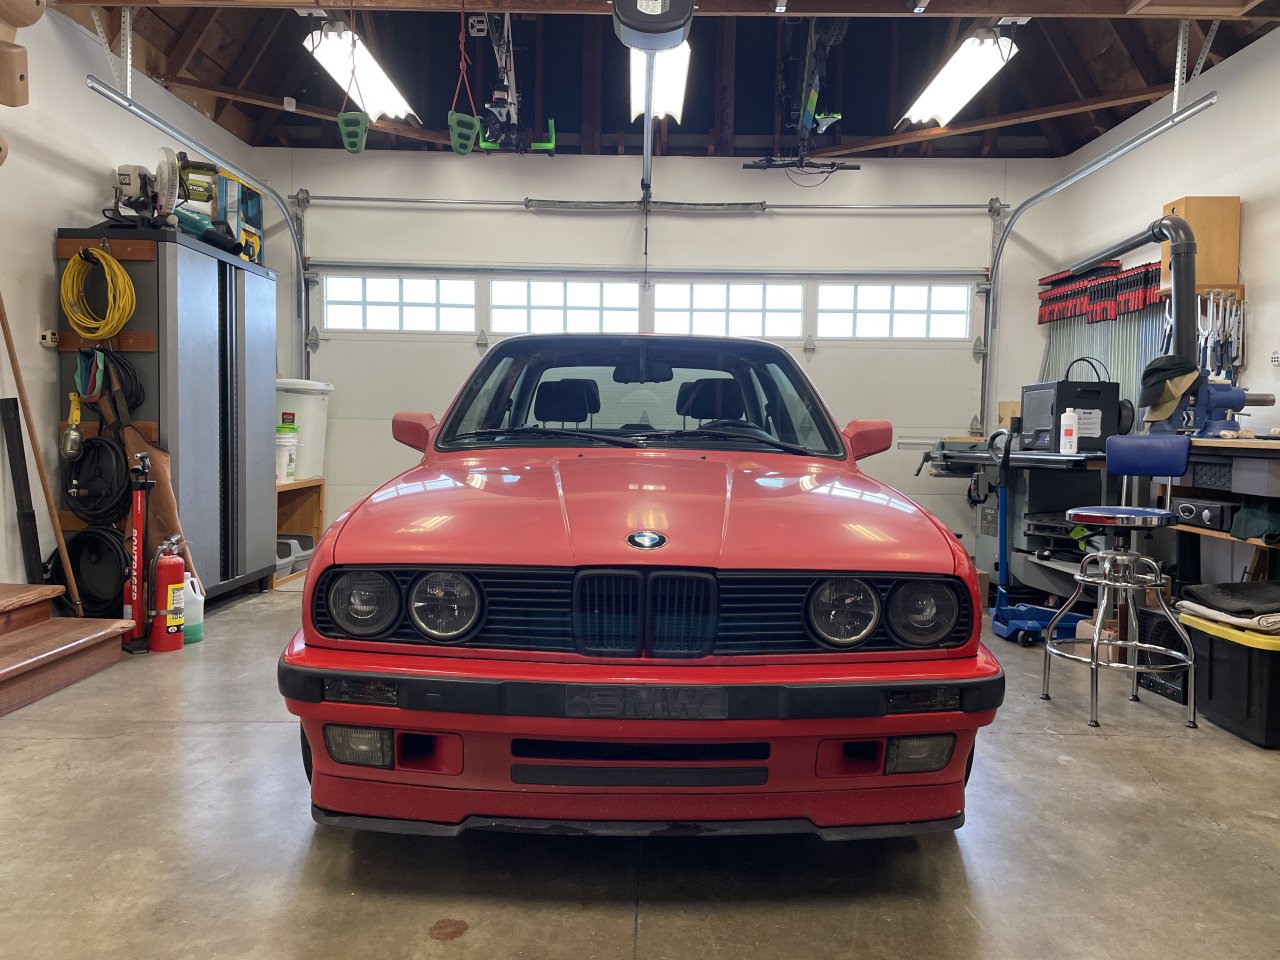
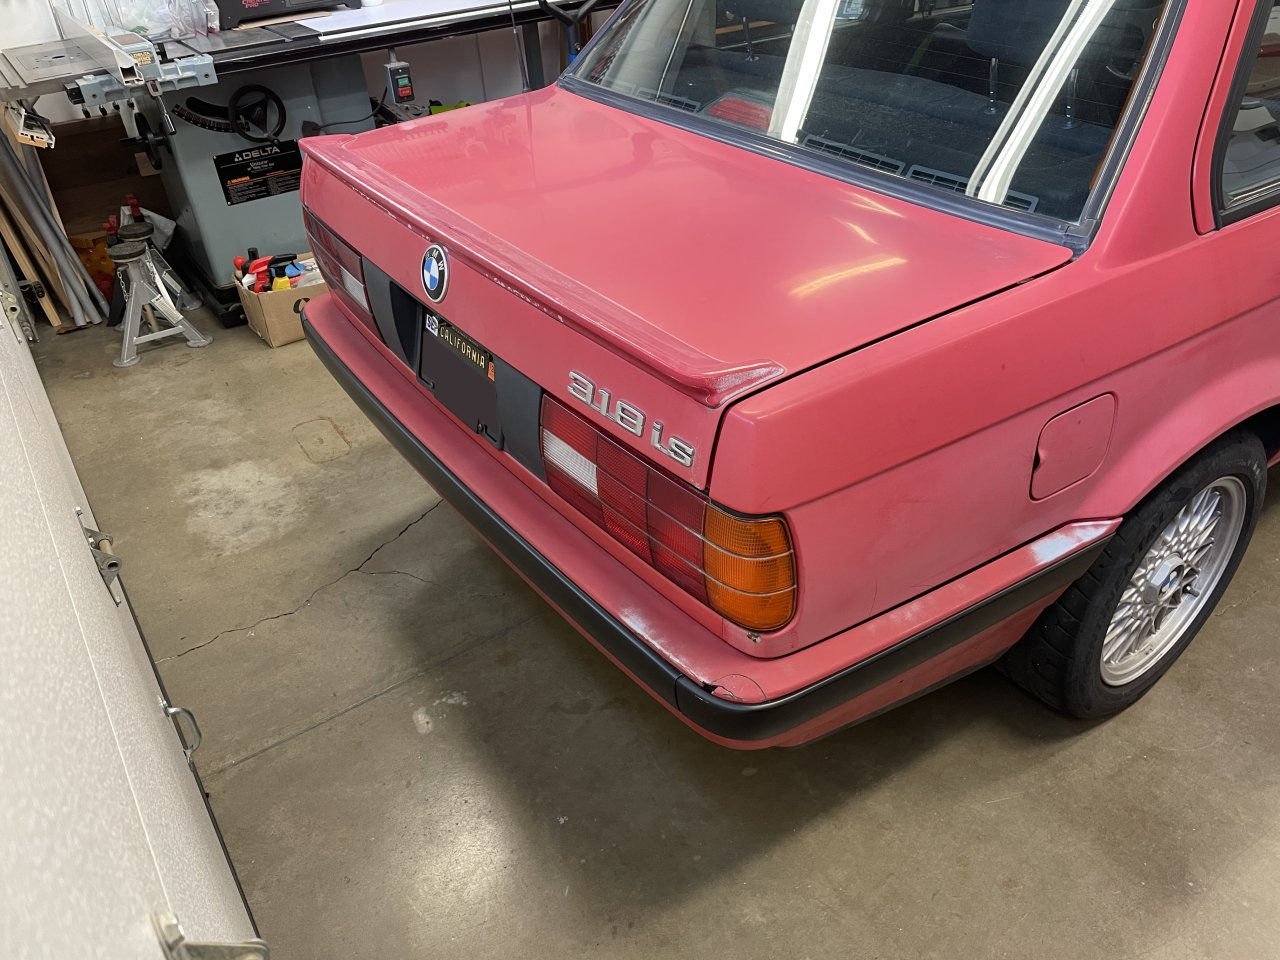
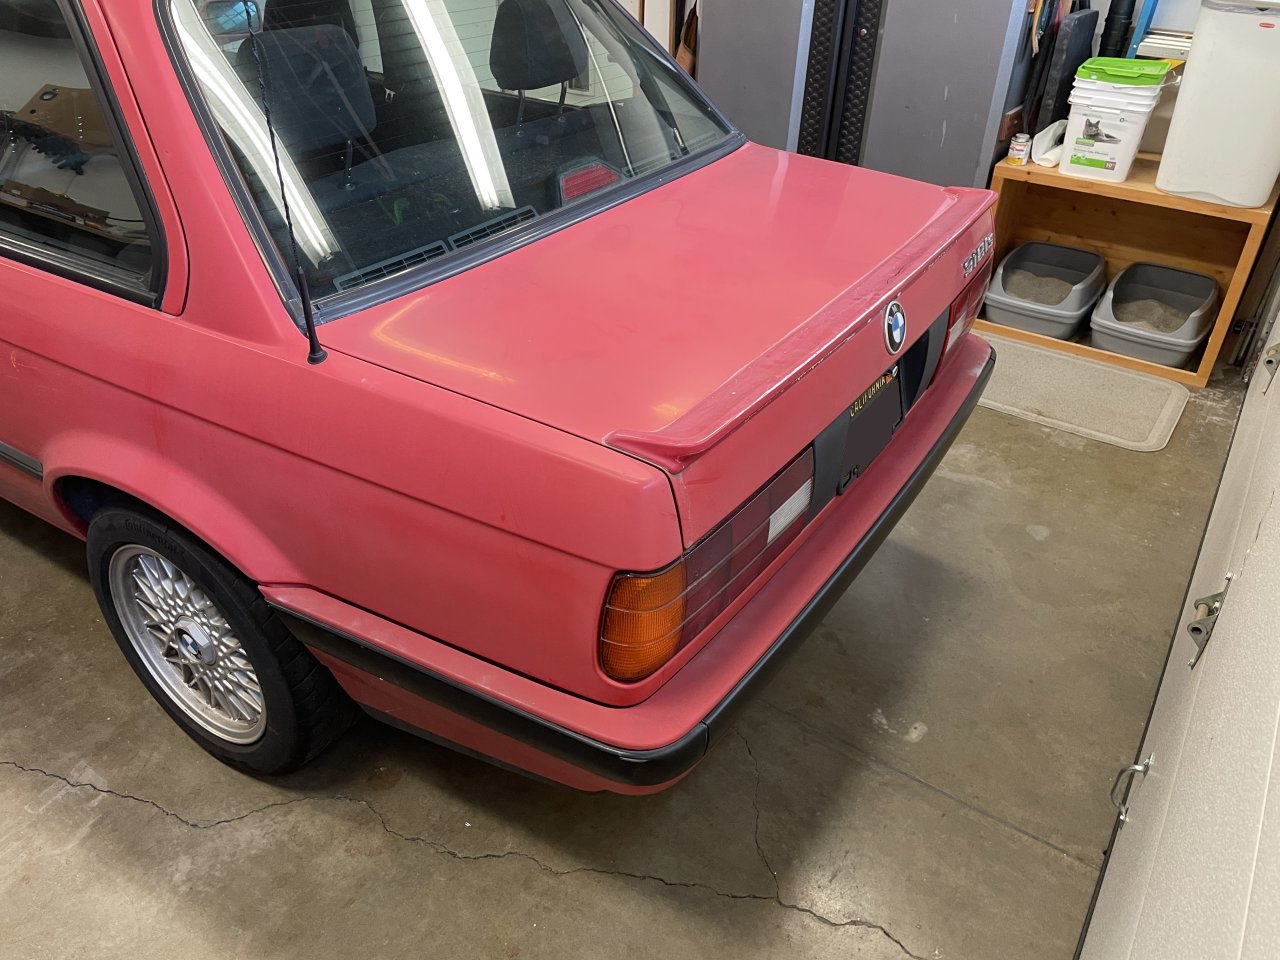
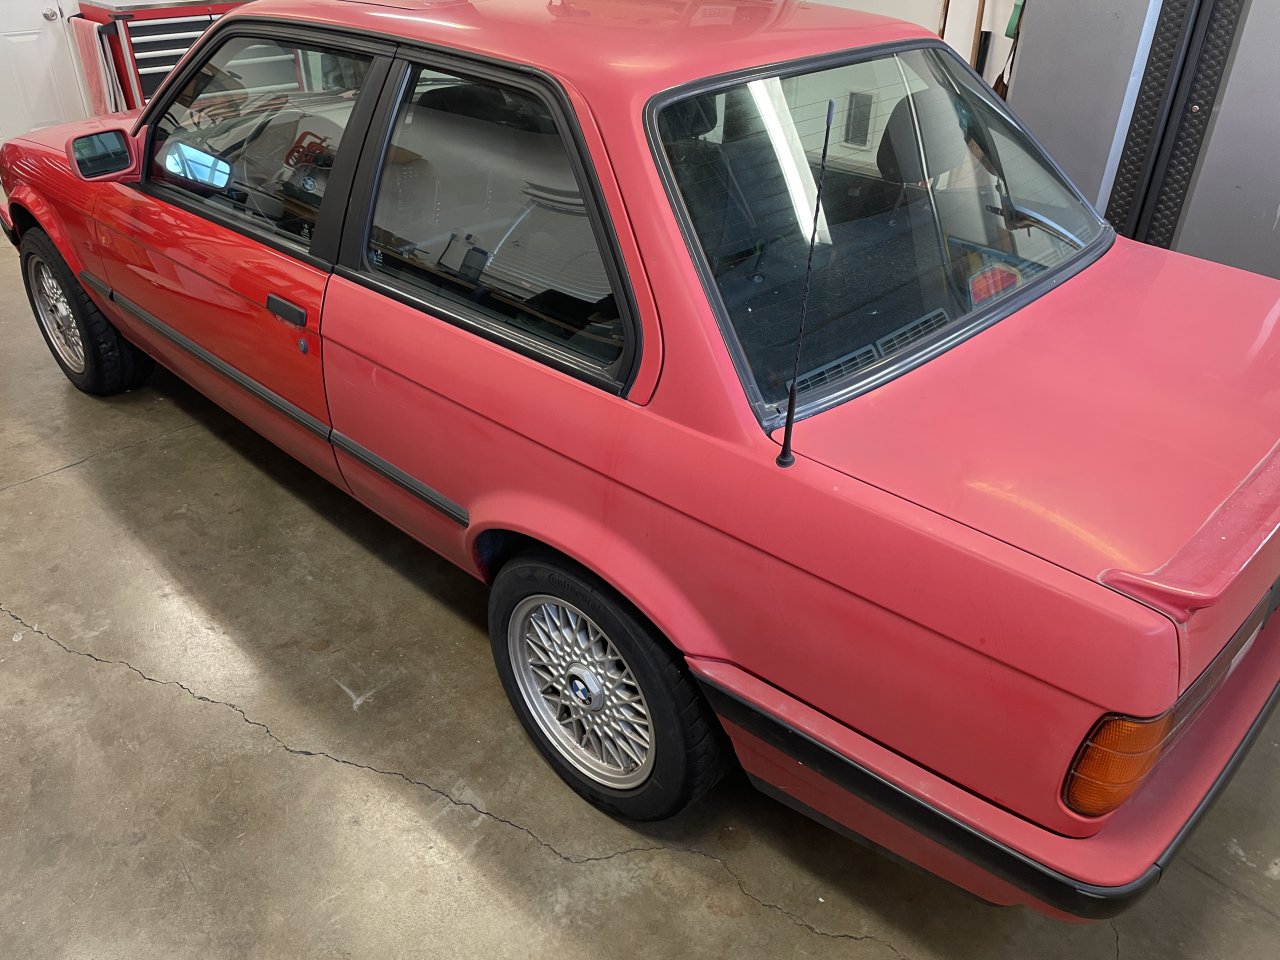
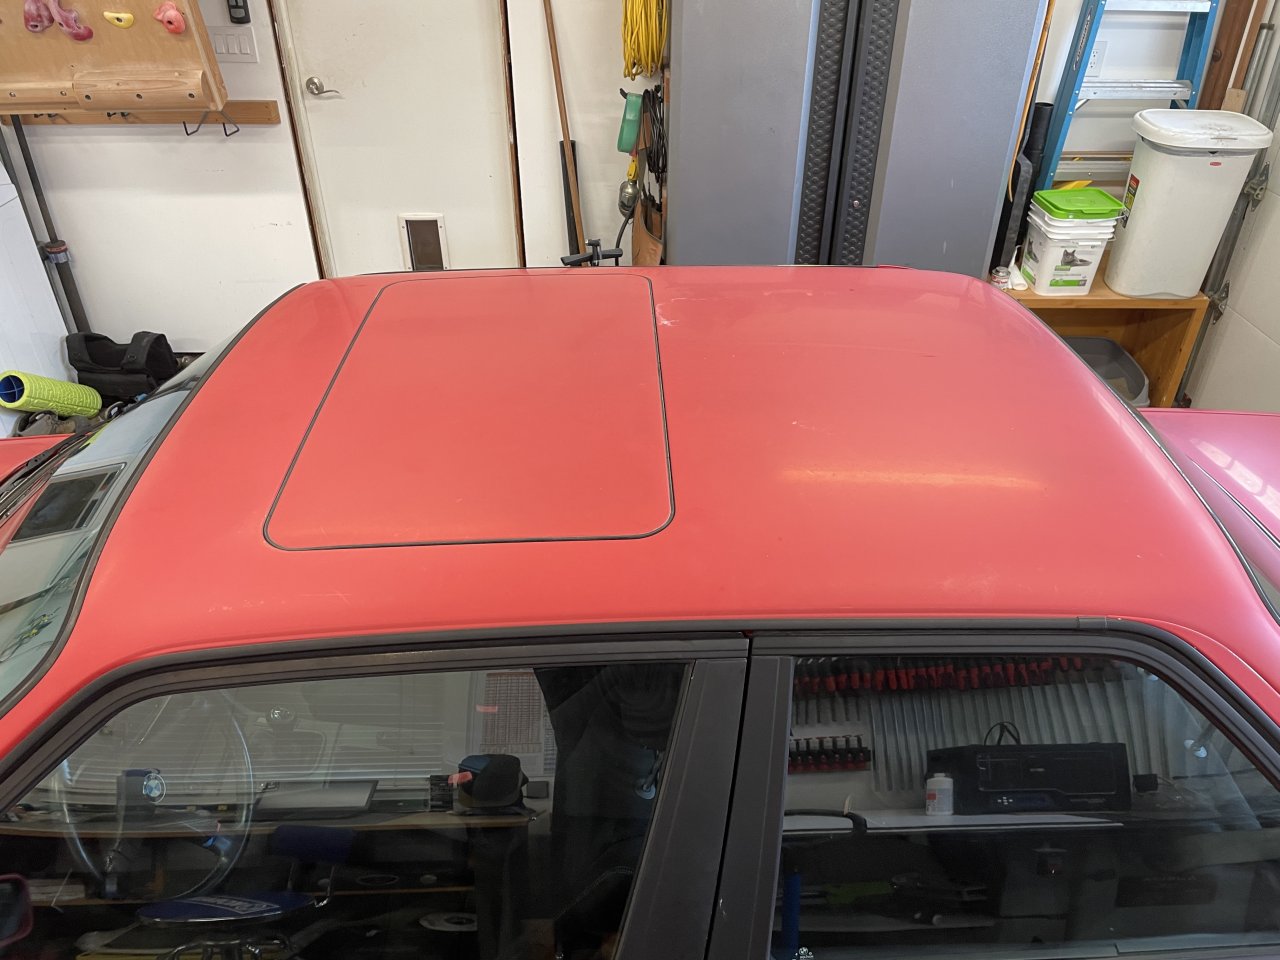
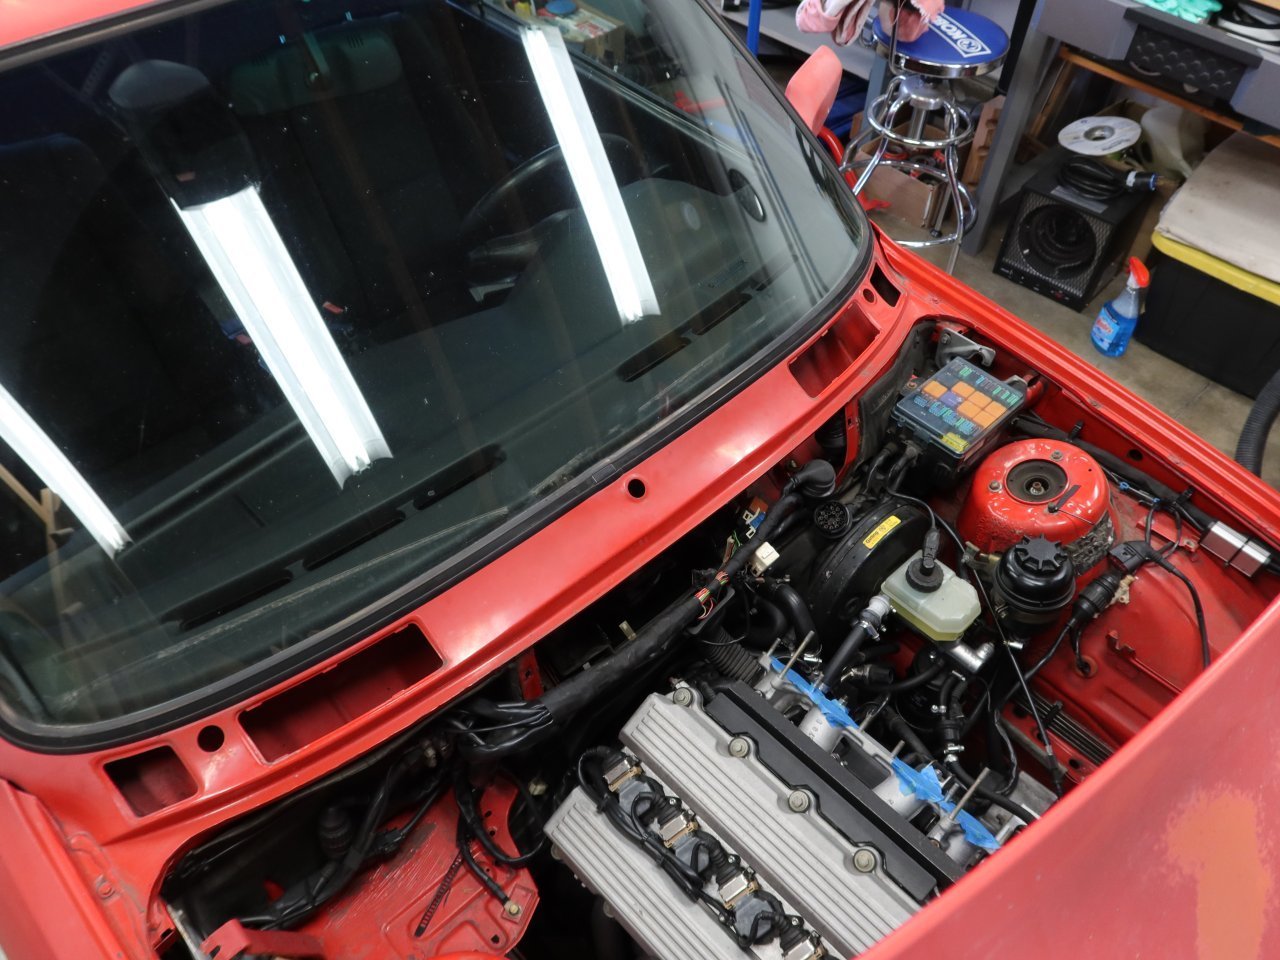
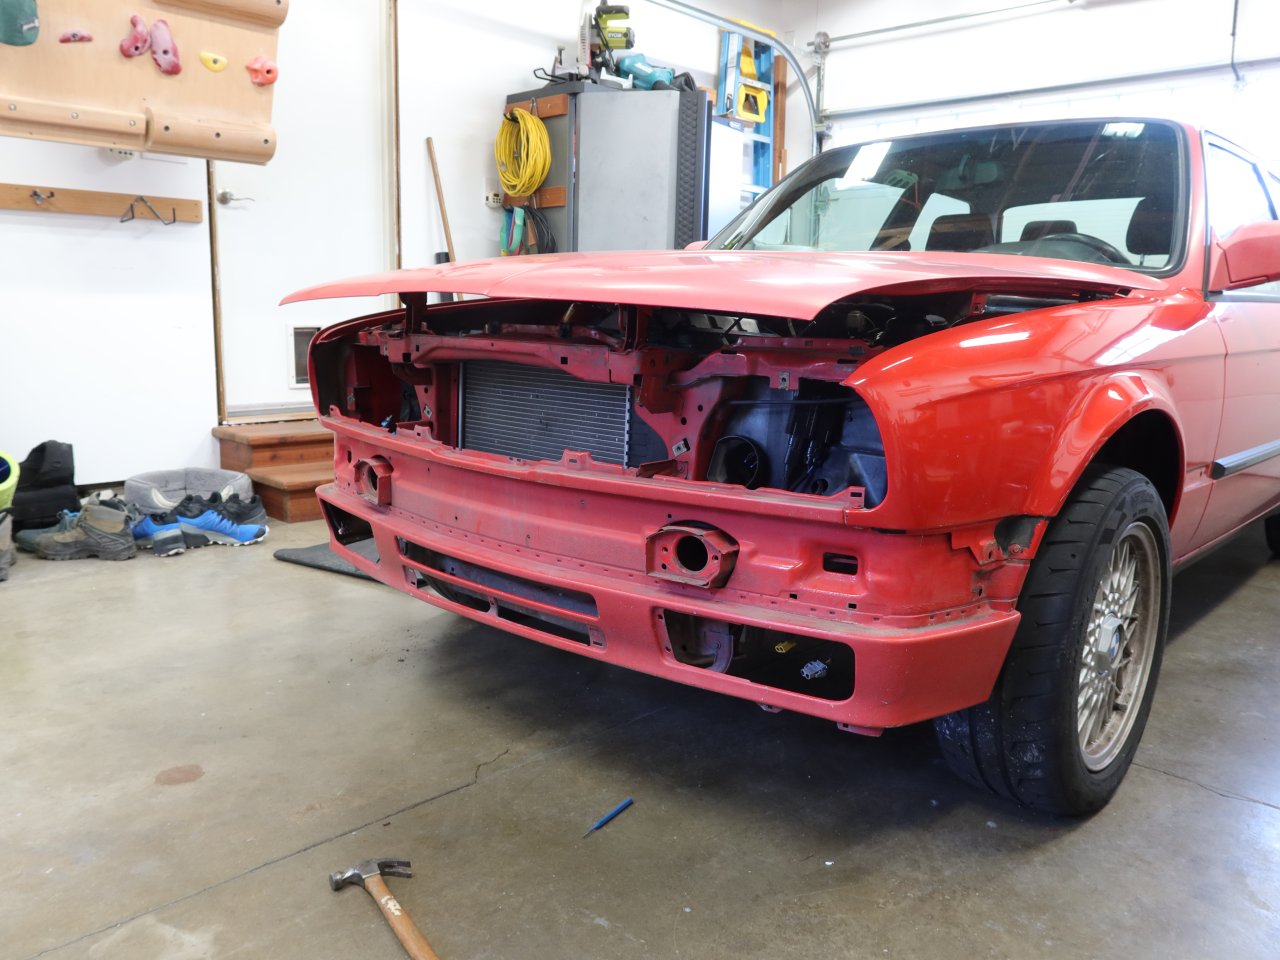
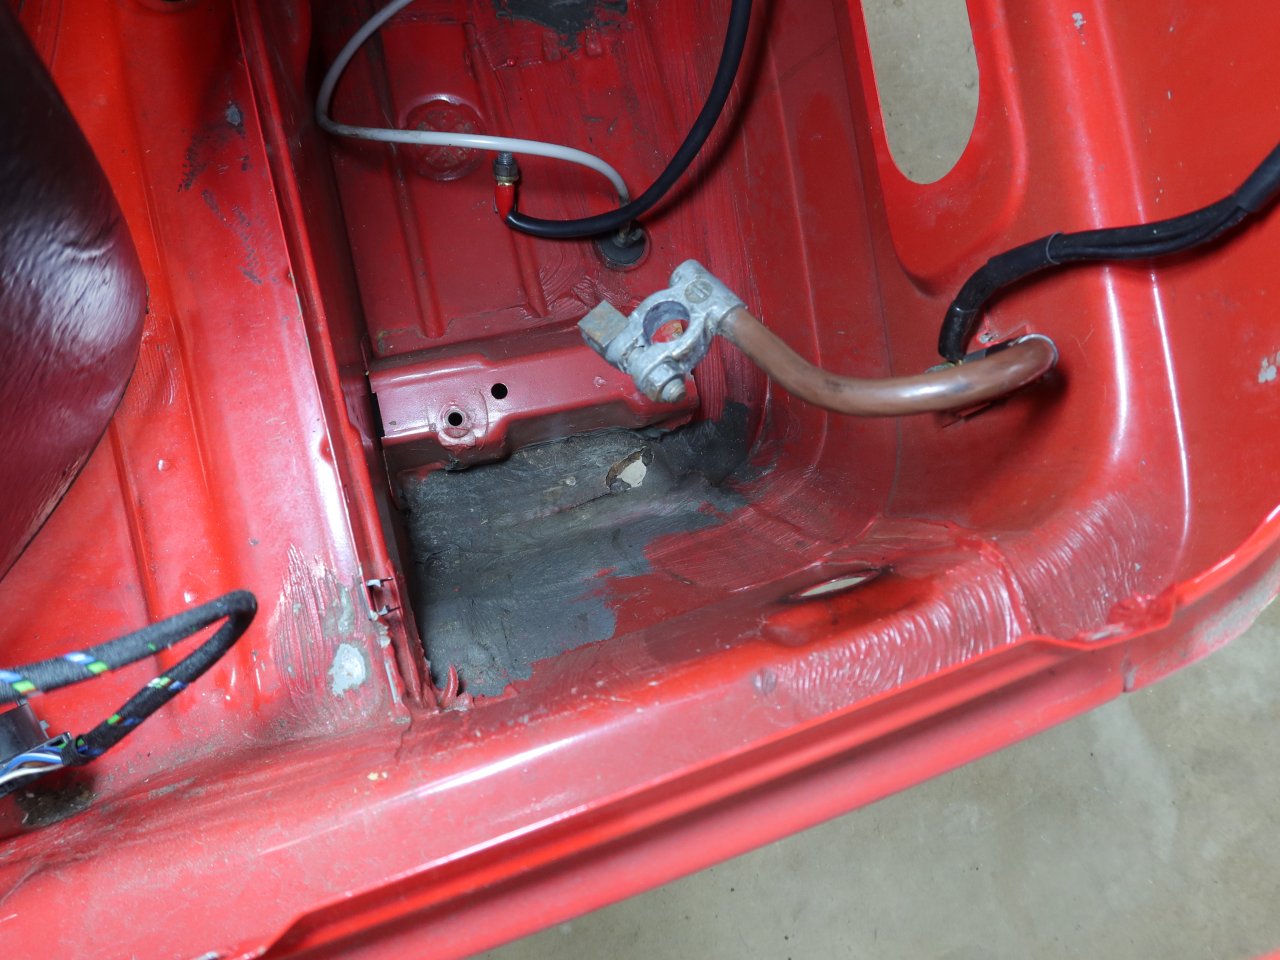
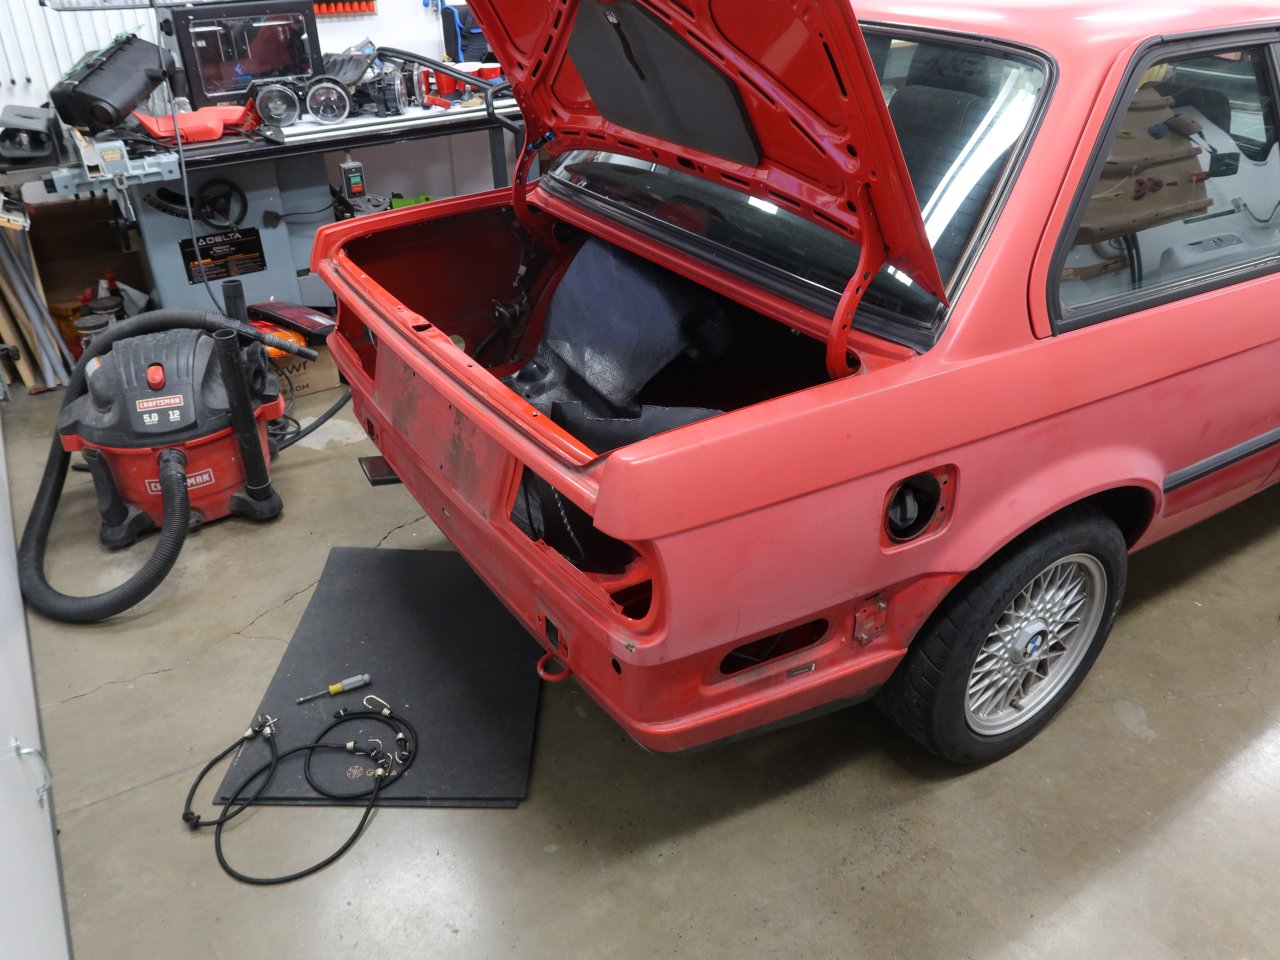
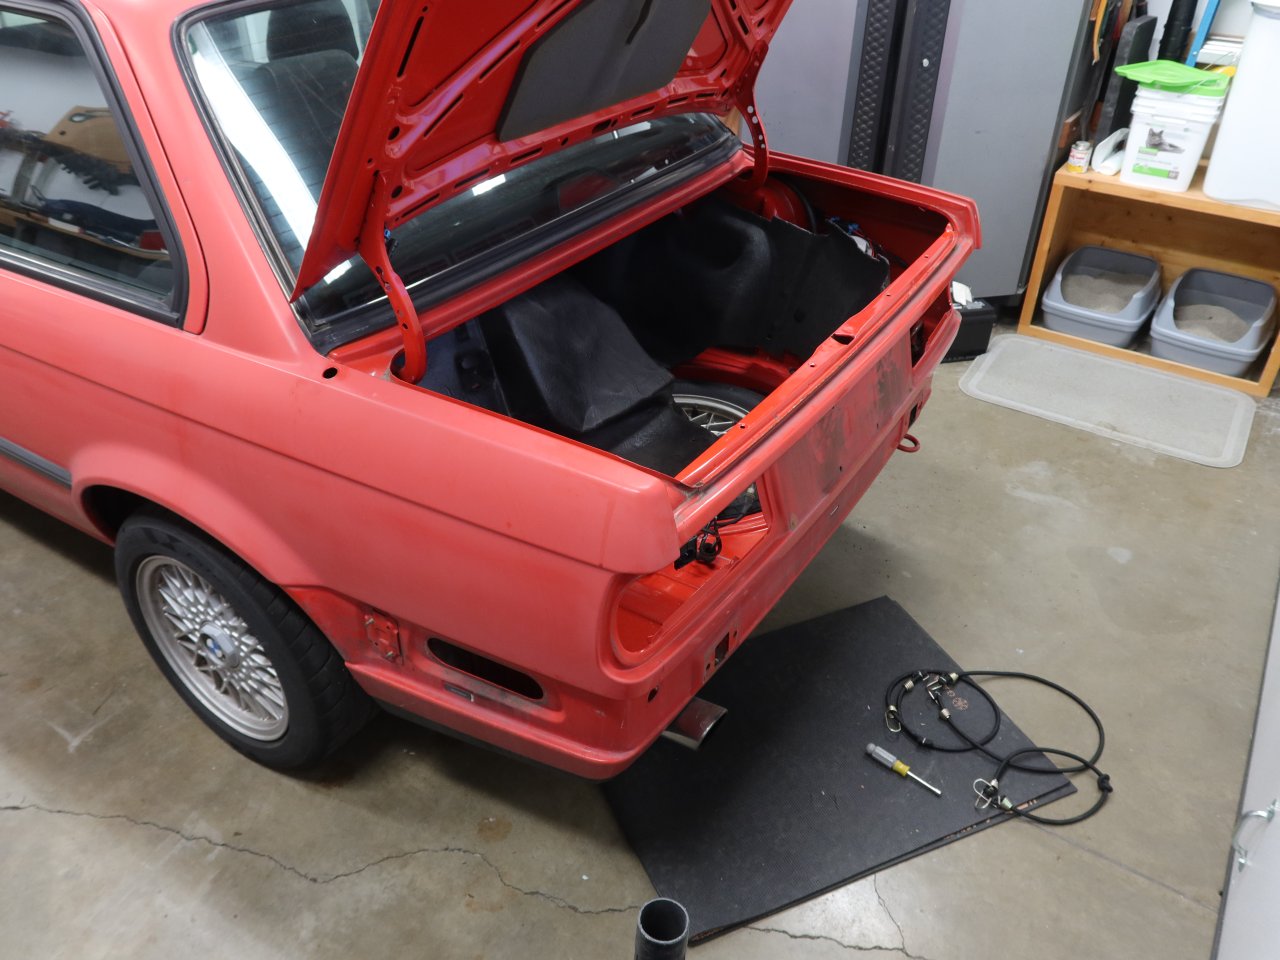
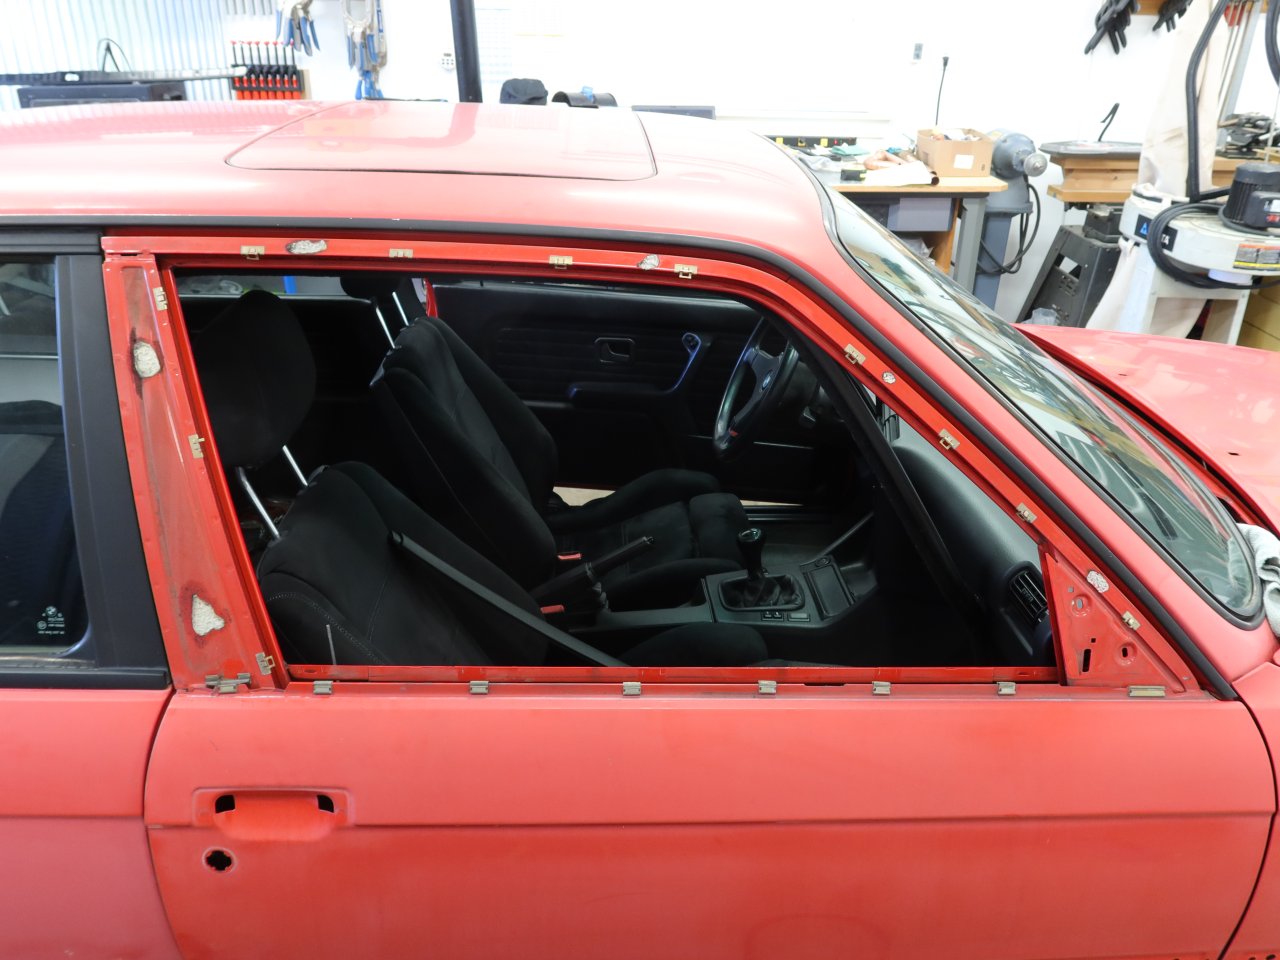
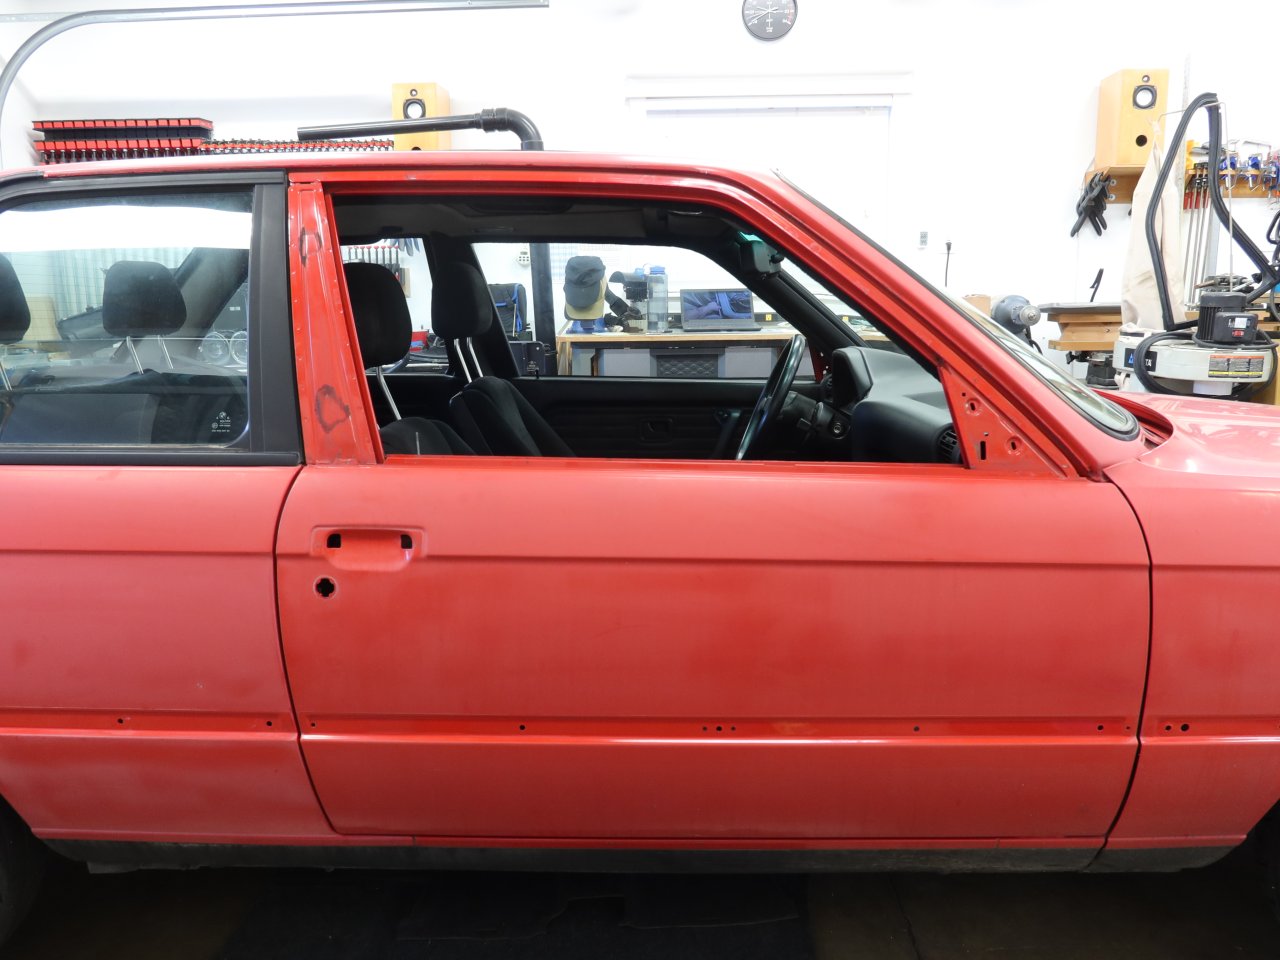
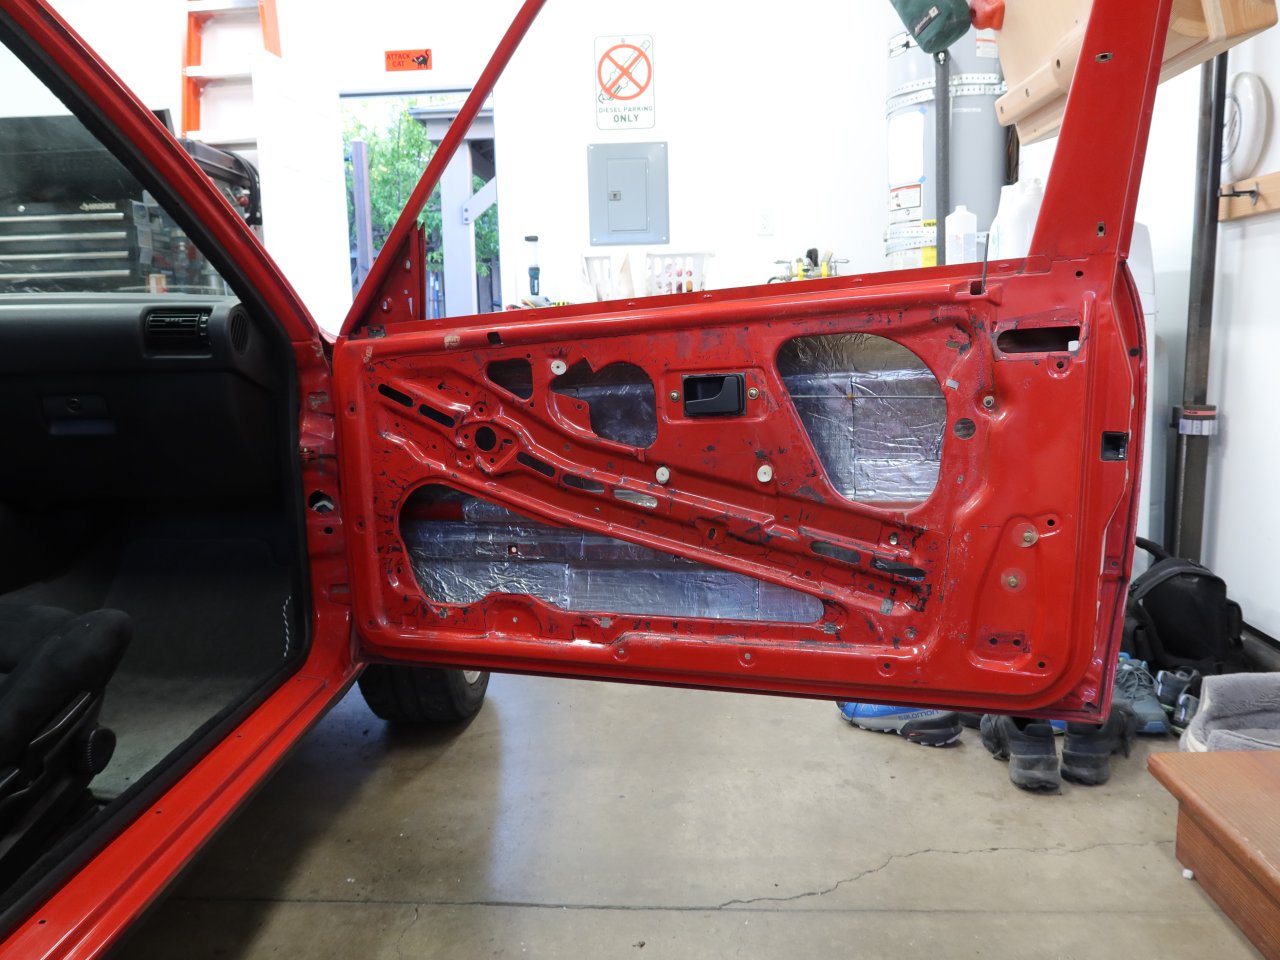
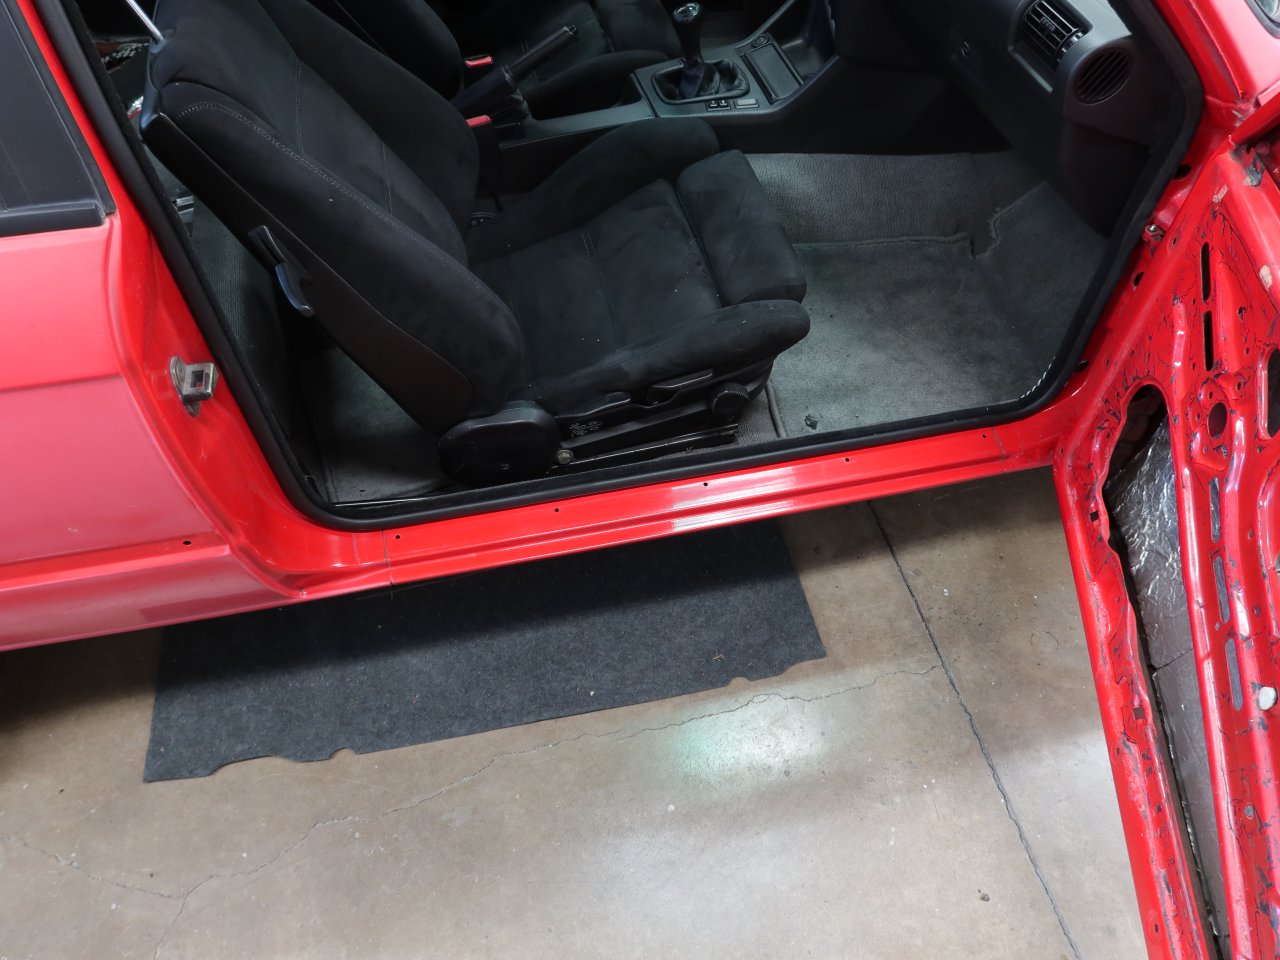
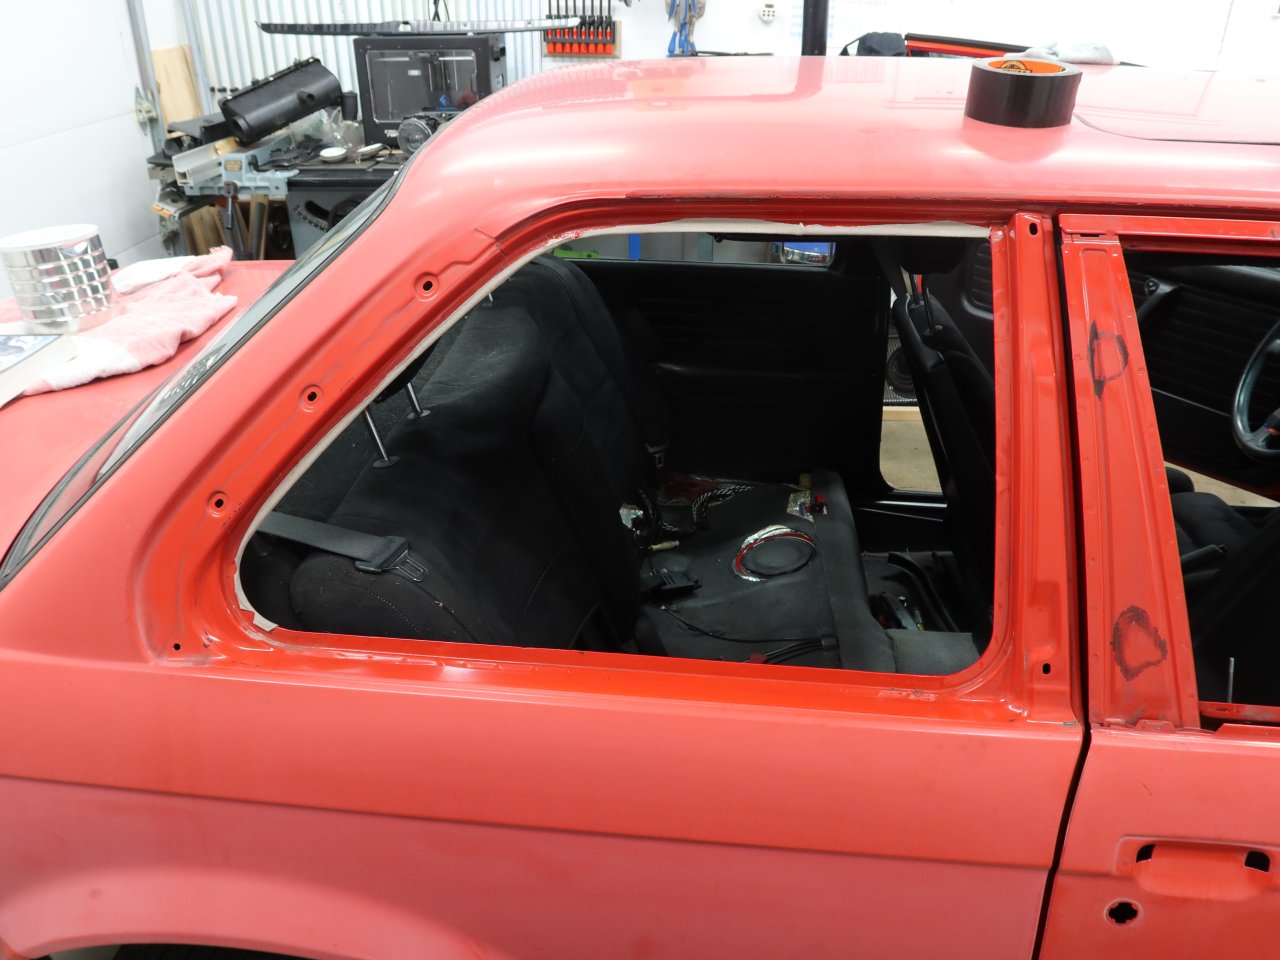
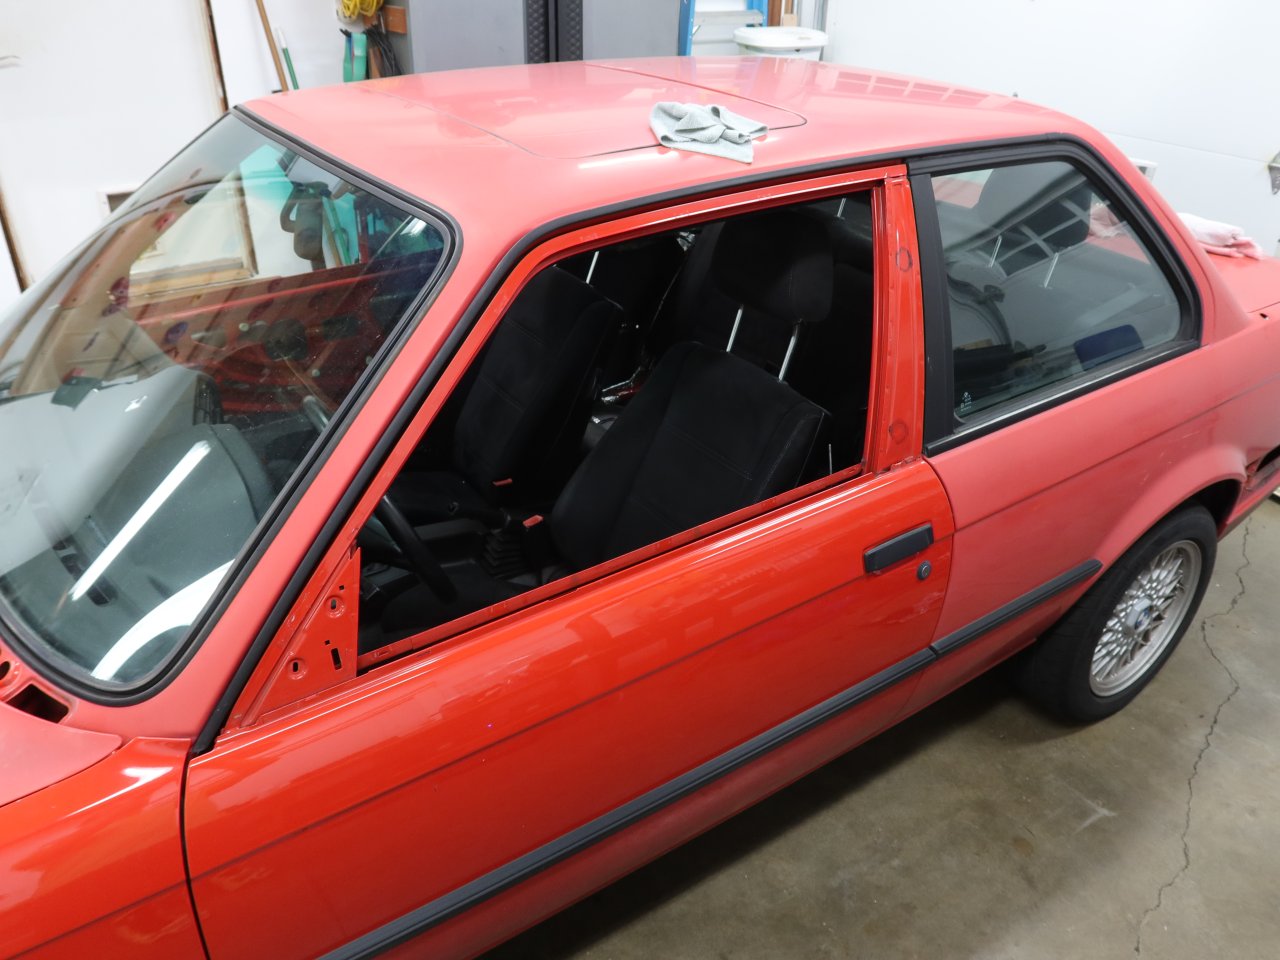
    Some photos of the car as it looks today. SAD. Has not seen wax since early 2019 when I decided to repaint it.


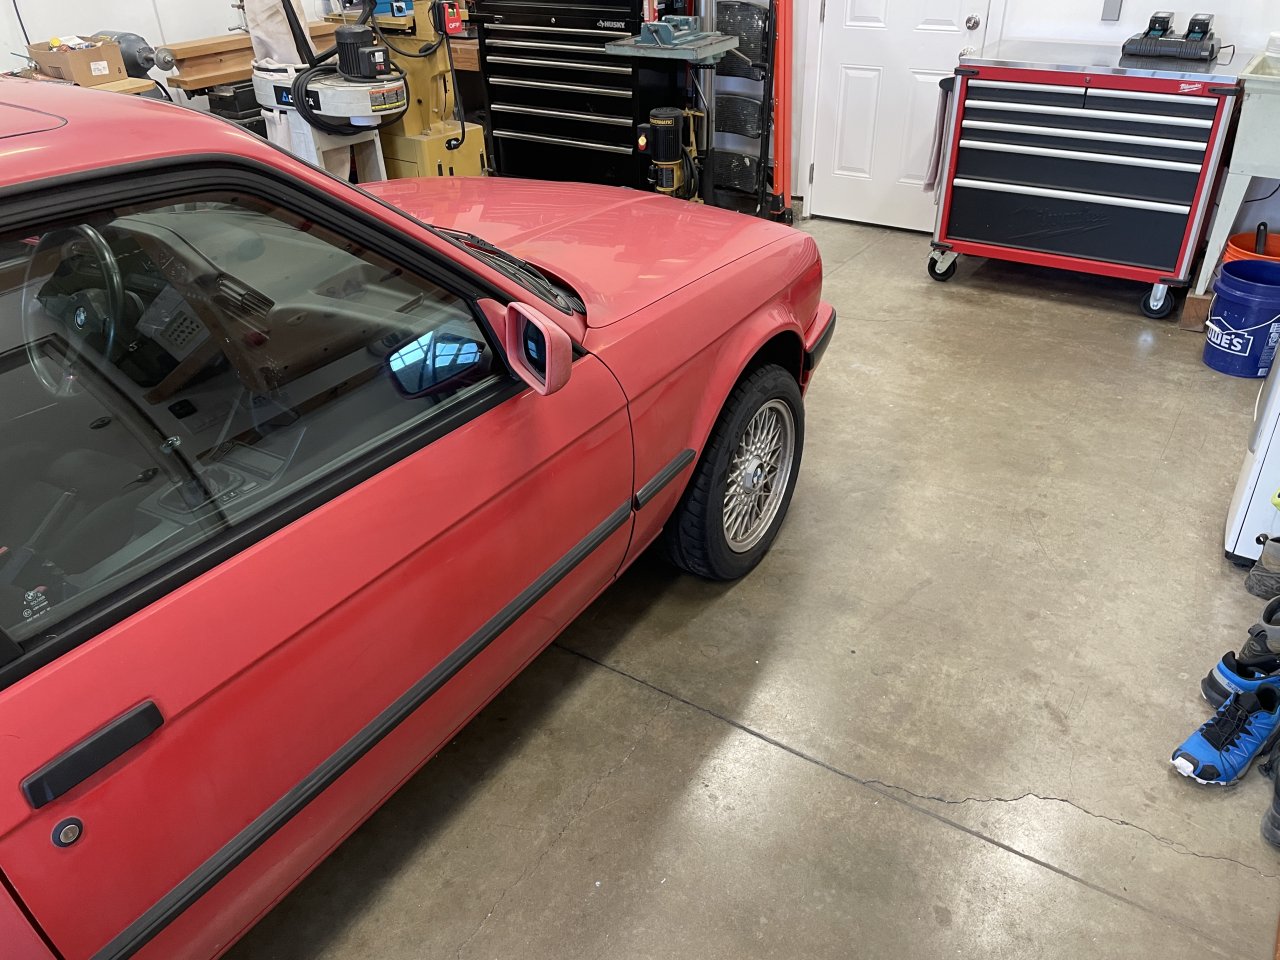
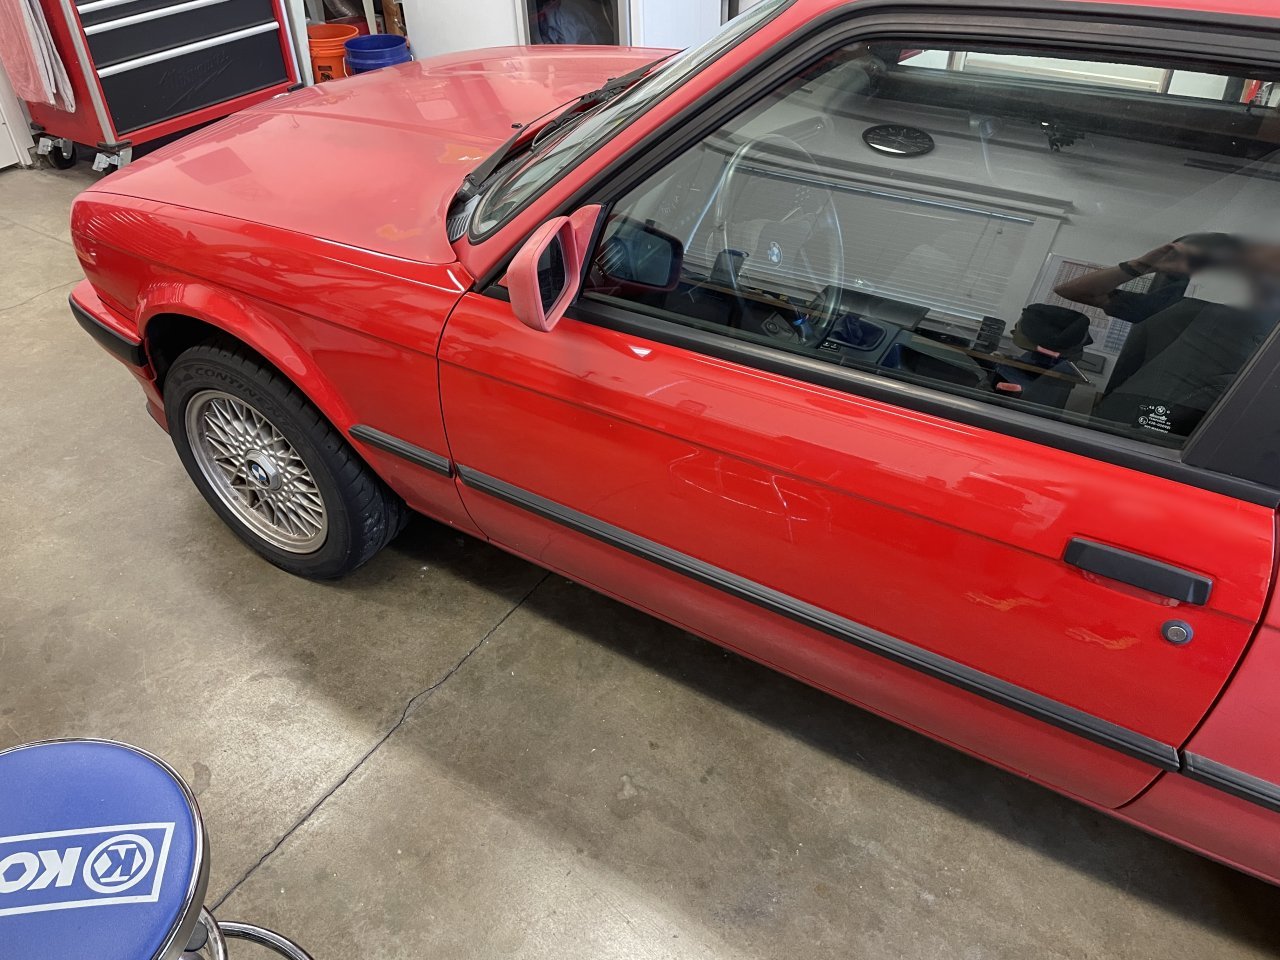
    Back in 2006 I got into a little fender-bender at the front driver's side. At the time it was my only car and I needed to get to work, so I had insurance deal with it. The shop did a poor job for sure. Orange peel, drips, and more recently the paint has been peeling due to improper prep. The shop basically said they didn't like dealing with older cars, but I was sort of in a pinch. At least the other party in the accident was at fault, so it did not cost me anything. Still, I will be glad to get rid of this crap.
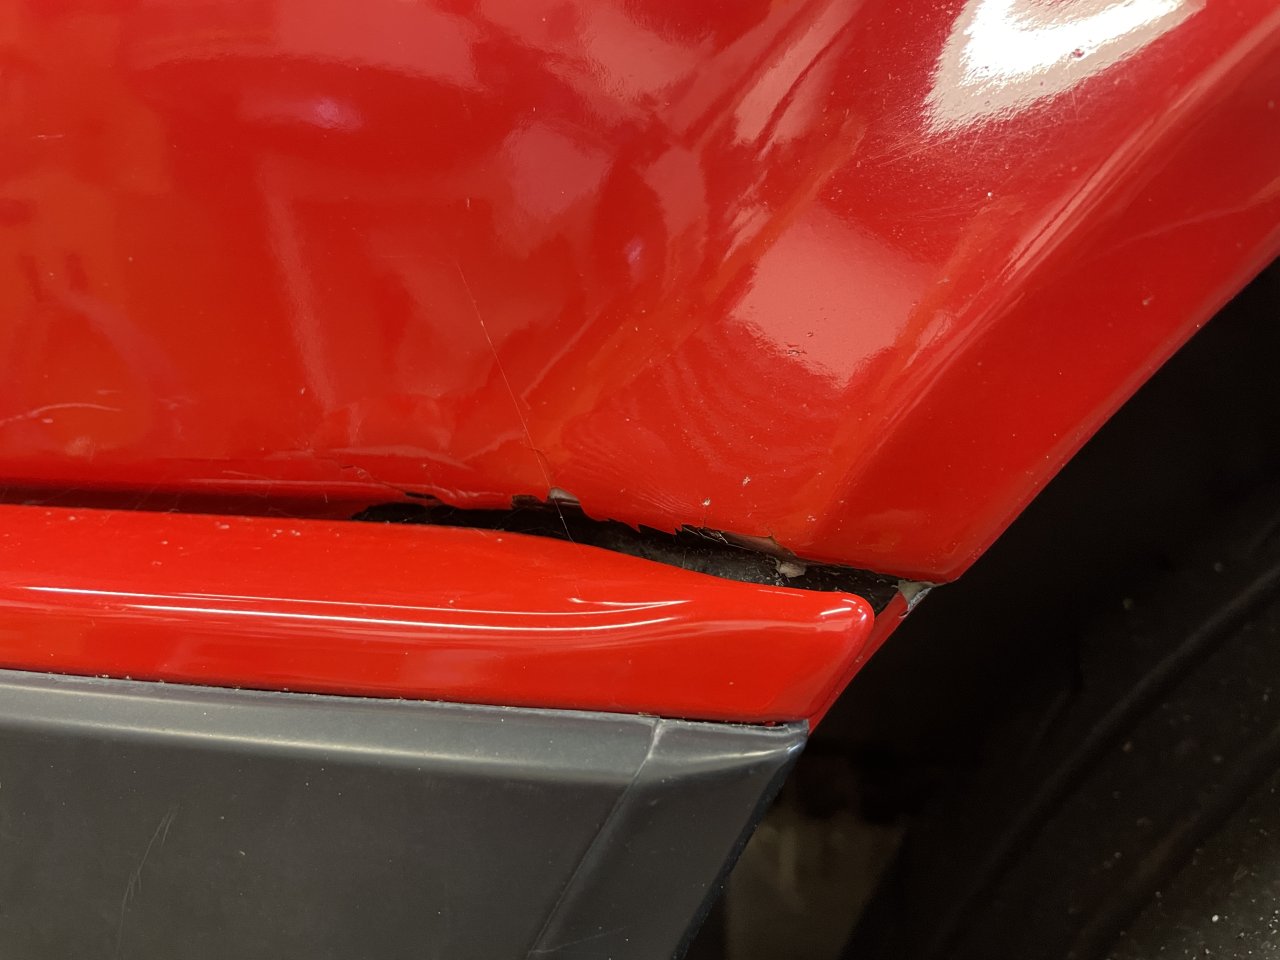


    Transaction Feedback: LINK

    #2
    I did get going on disassembly today. Part of my cost control for this project is DIY'ing as much mechanical work as possible, which will basically be everything except removing the doors, fenders, hood, and trunk (although I will prep all of them for removal as much as possible).

    I got the front third of the car completely ready with a few hours of work. Despite my seeming thoroughness when I ordered parts in 2019, I found a rather long list of little fasteners and body-nut type things that I will need to order since all of the old plastic ones are in shabby condition, and some of the metal ones are as well.

    There was a first for me as well. I have never had the pleasure of removing the wiper linkage/motor assembly before. When I realized that I was going to need to pull the strut brace, intake manifold, part of the engine harness, and blower motor, I was less than thrilled. At first I thought about just sort of dropping the assembly so it would be out of the way, but it is original, a little rusty, and the wipers did seem to be struggling a bit over the last year when I turned them on. So, I will just replace the whole thing.

    At first I simply could not figure out how to get it out. Even with the upper blower cover removed (which I did by popping the air flaps out entirely, and popping the 4 metal clips in the corners off), things were not looking good and I was feeling stuck. At that point I took a break to go grocery shopping with my wife, and consult some old r3v posts on my phone. After the little break, I got back in there, removed the motor from the bracket, pushed the linkage to one extreme, and the thing came out very very easily. So the keys here are removal of the motor, and setting the linkage as shown in the below pictures. Leave both of the wiper posts up in their holes when doing this, and with them up in their holes rotate the bottom forward until the passenger side clears the blower housing, and then it will drop right out. Also I recommend putting some tape on the posts to avoid scratching up the cowling.


    Everything else was pretty straightforward. As far as I can tell, I got everything off of there which will need to be off.


    Other than that, I popped a couple of trim bits here and there, got the side mirrors out, removed the mirror glass from them since I have new OEM glass to put in, and did a couple of things back on the trunk. The game plan will be to do a little in the evenings after work, and hopefully have it all apart in a week. My drop-off date is May 22, so I think that I should be ready by then.

    Transaction Feedback: LINK

    Comment


      #3
      Excited to see how this will turn out! My 318is needs paint real bad. I need motivation to do this

      Turbo M42 Build Thread :Here
      Ig:ryno_pzk
      I like the tuna here.
      Originally posted by lambo
      Buttchug. The official poster child of r3v.

      Comment


        #4
        Nice. Sub'd.

        Comment


          #5
          ahhh yes
          Simon
          Current Cars:
          -1999 996.1 911 4/98 3.8L 6-Speed, 21st Century Beetle

          Make R3V Great Again -2020

          Comment


            #6
            Originally posted by Dj Buttchug View Post
            Excited to see how this will turn out! My 318is needs paint real bad. I need motivation to do this
            It is a big project, and I think that I may have already found a not-insignificant number of expensive parts that I want/need to replace, but it will be worth it. Honestly, finding a shop to do it has been the hardest thing. Disassembly is straightforward so far.


            Originally posted by 2mAn View Post
            ahhh yes
            How many times did I drag my feet on getting CoTM pics because I thought that I would repaint the car? Better late than never!

            Transaction Feedback: LINK

            Comment


              #7
              The rear portion of the car is mostly done being taken apart. It all went pretty smoothly for the most part. The one issue, and I sort of had a suspicion that it was going to be there, was a rust patch under the battery compartment. Once I got everything out, I gave an ugly-looking spot a poke with a screwdriver, and it crumbled out. I sent a pic to the body shop for evaluation. It turns out that you can get various replacement E30 sheet metal panels, including this one. So the plan will be to cut out the affected portion, buy the replacement panel, cut out the corresponding patch, and TIG it in.


              The rest of the rear end came apart in a couple of hours.


              So far I have a pretty good pile of parts coming off of this thing. Some is being reused, some is being painted and reused, and some is being replaced.


              I also finished taking the side mirrors apart as much as possible. The plastic housing is heat-staked to the aluminum mount/pivot, and the halves seem to be glued or ultrasonically welded together, so there is no practical way to get them separated any further. The wire harness can easily be unplugged from the motor assembly and then snaked out of the entry hole. The trick is to get the cable sheath out of the hole, and then pull one of the wires with its terminals out. After that there is enough room to pull the rest of the wires through.


              Transaction Feedback: LINK

              Comment


                #8
                I also want to fully repaint my E30, so please please pretty please be as thorough as you can with this thread.
                I'm sure it won't be just me using this information.

                I also have some rust on the windshield cowl :/ your seems good though.
                Any suggestions on where I might find some information on how to swap it?

                Comment


                  #9
                  Originally posted by hozzziii View Post
                  I also want to fully repaint my E30, so please please pretty please be as thorough as you can with this thread.
                  I'm sure it won't be just me using this information.

                  I also have some rust on the windshield cowl :/ your seems good though.
                  Any suggestions on where I might find some information on how to swap it?
                  I think that the cowl would need to be cut out and a new one welded or brazed in. The PN you want is 41321913778. If there are specific things/details that you want me to take photos of, feel free to ask in here.

                  Transaction Feedback: LINK

                  Comment


                    #10
                    Nice progress and congrats on getting this finally done. One day I will. Prepping for the Vintage weekend, 800 mile drive and faded red paint/patina to show it off, lol
                    Alex 88 m5 | 91 318is | 19 Subaru Ascent
                    BMW Tool Rentals & Fender Roller

                    Comment


                      #11
                      Originally posted by monty23psk View Post
                      Nice progress and congrats on getting this finally done. One day I will. Prepping for the Vintage weekend, 800 mile drive and faded red paint/patina to show it off, lol
                      Thanks, yeah it has been a long time coming! Post up some Vintage Weekend pics in a thread here, it would be cool to see what sorts of old BMWs show up there. Maybe someday I will make it out to one!

                      Transaction Feedback: LINK

                      Comment


                        #12
                        The progress continues with the teardown, and I have like 3 full sheets of hand written notes listing things that I need (or in some cases want) to replace. This project has become a little more expensive lol. All I can say is that I am glad that I bought most of the big-ticket items 4 years ago before the COVID super-inflation.

                        Questions for r3v'ers:
                        - Headliner: If I break the edges loose from the door jamb and rear window, will it shrink / pull in and be impossible to get back into place? I have some industrial double-sided tape holding it to the edges for now just in case I need it to stay there, and worst-case I just have the shop mask it and paint up to it. I would prefer to peel the edges off so that the paint goes all the way to the ends, but won't do it if I risk having problems. I guess that I may want to consider having the headliner redone since it will be fully accessible...hmmmm. Anyone know of a good shop in the Bay Area?

                        - Door vapor barriers: What do you all make yours out of? Also, are there little circular stickers that you have used to cover things like the little fastener holes and whatnot in the inner door frame?

                        - Rear quarter glass: Based on taking it out, I am inclined to just pay someone to reinstall it. I have a new window gasket for both sides, and it will be even harder to get over the sheet metal than the original since the new ones are not all opened-up already. Reinstallation looks like a hell of a struggle, especially up at the headliner which I want to not damage!

                        - What is the putty that is installed under the window trim pieces, and where can I buy it?


                        Yesterday I got the passenger side all torn down. Here is how it looked after removing all of the sound deadening that I (should not have) installed on the inner frame 12 years ago. Removing it was a real chore, and you can see the residue all over. With that out of the way, it was super simple to get the window, regulator, wire harness, and seals out.


                        Getting the door handle and lock cylinder out was also fairly easy. The handle comes right out if you remove the window guide channel first, and the notorious C-clip that holds the lock cylinder in is fairly easy to pry out with a screwdriver. Here are some nice clear shots of those items before removal for reference.


                        Much to my surprise and delight, the plastic trim at the rear of the door came out without being damaged. Just get a plastic trim tool in under it and pry it out of these 3 clips.


                        As far as removing the aluminum window trim, it had me sweating a little since I had never done it before, and the stories of how easy to bend/kink it had me a little worried. Overall it is easy to remove, but it is equally easy to bend the crap out of it if you are not exceptionally careful. You know how you pull on a wrench with a stuck fastener in a tight space, where you want to apply a lot of force, but let up the nanosecond that the fastener comes loose so that you don't bash your hand into something? This is just like that, except you are letting up to avoid ruining the trim. I would say that this is most applicable to the bottom strip under the window in the door since it is probably the most securely clipped in, and also the flimsiest piece by far. I did bend it a little when it got stuck on one of the clips, but I was able to straighten it by hand VERY slowly and VERY carefully. If I hold it up and look down the length, there are a couple of very slightly bent spots, but they are only visible when looking right down the length while pointed at a fluorescent light. There is no kinking thankfully. Jordan's excellent guide was invaluable here, along with this YT video.


                        Also, there is some sort of putty under some of the trim pieces, I assume to prevent vibrations. It is soft and comes right off.


                        Here is the door and jamb area, all cleared out. The inner sill piece is such a damn PITA. I have had it off before, and it never gets any easier. Since I have new ones, I just ripped the old one straight out and let it shatter since it was cracked anyway. And the stupid little clips that it sits on...those were a real chore to try to pry out. Two of them are now living in the lower rocker channels as the tops just broke off. Oh well...


                        The door harness had like 4oz of water in it. It must have gotten up in the sheathing. Not my favorite design form BMW. I am going to clean these up and properly seal them before reinstallation.


                        Now that I am removing glass, I need to get some 2-by lumber and make a rack for it. OEM replacements are obscenely expensive.


                        Another first for me was removing the rear quarter glass. Getting it out took some intense prying of the inner seal lip with trim tools, and some firm pushing. Reinstallation is starting to look to me like something that I will want to pay a professional for. Also, I had not realized that the rear window trim was a) a single assembly, and b) the lock strip (sort of) for the window glass in the seal. Interesting design. No rust found anywhere in the perimeter of the car window frame either!


                        ----- Driver's Side -----

                        Today I got some work done on the driver's side. Once again I was faced with removing all of the sound deadening that I had stupidly put there. This side was worse for some reason, maybe because it is the side which gets a lot more sun when parked at home? Whatever the case, it took a little over 2 hours to clear it off. There are a bunch of small nicks and scratches from the window scraper, so I will be using some touchup paint to seal them when this all goes back together.


                        I took out some of the door guts, found a few more ounces of water in this side's wire harness, and popped the door trim. There was much less bending involved this time since I knew what to expect, but I did still need to straighten the lower one from the door. Damn, that piece is flimsy!


                        So there it is for now. I just need to deal with the door jamb and rear quarter window to finish up the bulk of the work here. From there, I just need to remove the sunroof, pop out the windshields, and remove the muffler to make room around the rear valence. So far so good!

                        Transaction Feedback: LINK

                        Comment


                          #13
                          awesome work! looks like a real clean example to start from too. Best tip I can give you is buy some cheap storage tubs and sandwhich bags. Write everything on the bags and put everything you can in the tubs. Makes putting it back together easier as you can just grab a bag, clean/paint parts and put them back on and chip away at it

                          with the sound deadening, did you find it made the car feel more solid when closing doors ect? was it worth doing?
                          Boris - 89 E30 325i
                          84- E30 323i

                          Comment


                            #14
                            Originally posted by bangn View Post
                            awesome work! looks like a real clean example to start from too. Best tip I can give you is buy some cheap storage tubs and sandwhich bags. Write everything on the bags and put everything you can in the tubs. Makes putting it back together easier as you can just grab a bag, clean/paint parts and put them back on and chip away at it

                            with the sound deadening, did you find it made the car feel more solid when closing doors ect? was it worth doing?
                            Good call. Right now I have my fasteners and clips in red party cups with labels written on masking tape. If a cat knocks them over...

                            Parts are in a couple of giant piles in my garage and back yard. The plastic tub idea is a better strategy.

                            Yeah the car is in pretty good shape overall, aside from the sad, sand paint. Minimal rust, and no real body damage to speak of. I guess it's one reason that California is still one of the best places for owning an older car, despite the state government's best efforts to make it a pain lol.


                            Sound deadening: 100% worth it! The doors sound like blocks of wood when closing them. I used a product called Damplifier from Second Skin Audio, and in some places added their Overkill 1/8" closed cell foam. There are some lessons that I can pass on.

                            - Wear gloves. The heavy duty metal foil layer is awesome for its purpose, but it will shred your hands when installing it

                            - Get a small roller that is like 1-2" wide and 1" in diameter. The deadening sheets only work if they are actually fully adhered to the sheet metal

                            - You will need to remove all of the old tar-based sound deadening, and then clean the surfaces that it was on since the oily residue will prevent any new sheet from sticking

                            - DO NOT PUT THE DEADENING ON EVERY LITTLE SURFACE! I went nuts and was trimming little pieces to cover every square inch; it a waste of material and time. You want to cover the large panel centers since those are the least damped areas. So, apply the material to the inside of the door skins (seen in my photos) and NOT the inner frame where the door cards go, the inside of the rear quarter panels next to the rear seat, the rear bulkhead between the seat and trunk, under the rear seat bottom, the floor pan and transmission tunnel, the sunroof panel, and up along the firewall. Again, you don't need to go out to the very edge of everything, just cover the central 90% of those areas. I would say that doing the doors made the most noticeable difference.

                            - I also did the underside of my hood in the 3 recessed areas, and then applied (IIRC?) the Mega Block heat shield product from Second Skin, with some high temperature aluminum HVAC tape around the perimeter. This made a HUGE difference in terms of quieting engine noise.

                            - If you want, you can also apply it to the flat inside faces of the door cards and rear seat side panels.

                            I will probably pull the carpet this weekend, and I can take some pictures showing where all I installed the deadening and foam.

                            Transaction Feedback: LINK

                            Comment


                              #15
                              Originally posted by bmwman91 View Post

                              I think that the cowl would need to be cut out and a new one welded or brazed in. The PN you want is 41321913778. If there are specific things/details that you want me to take photos of, feel free to ask in here.
                              Thanks!
                              I'm just not sure about how to remove the cowl.

                              I did see a garageholic video: https://www.youtube.com/watch?v=hotBBilIy-w
                              I guess this is as good of a guide as I can get. Wish me luck.

                              Comment

                              Working...
                              X