
Glad to hear that this is moving again! :up:
-
This is my favorite thread on this site. Congrats, and keep up the good work, man!Comment
-
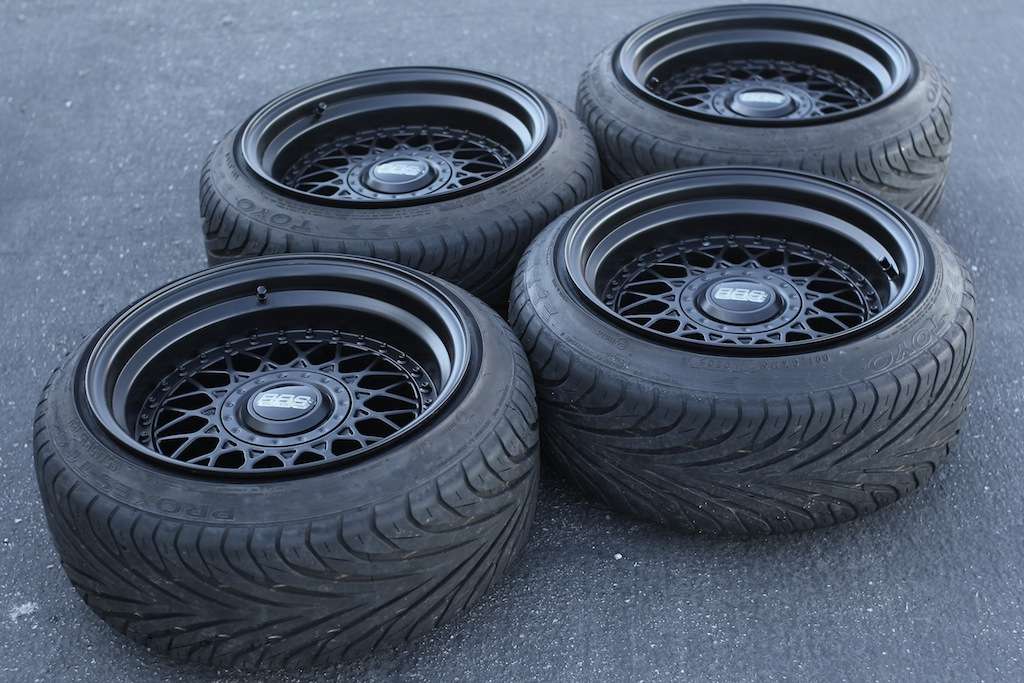
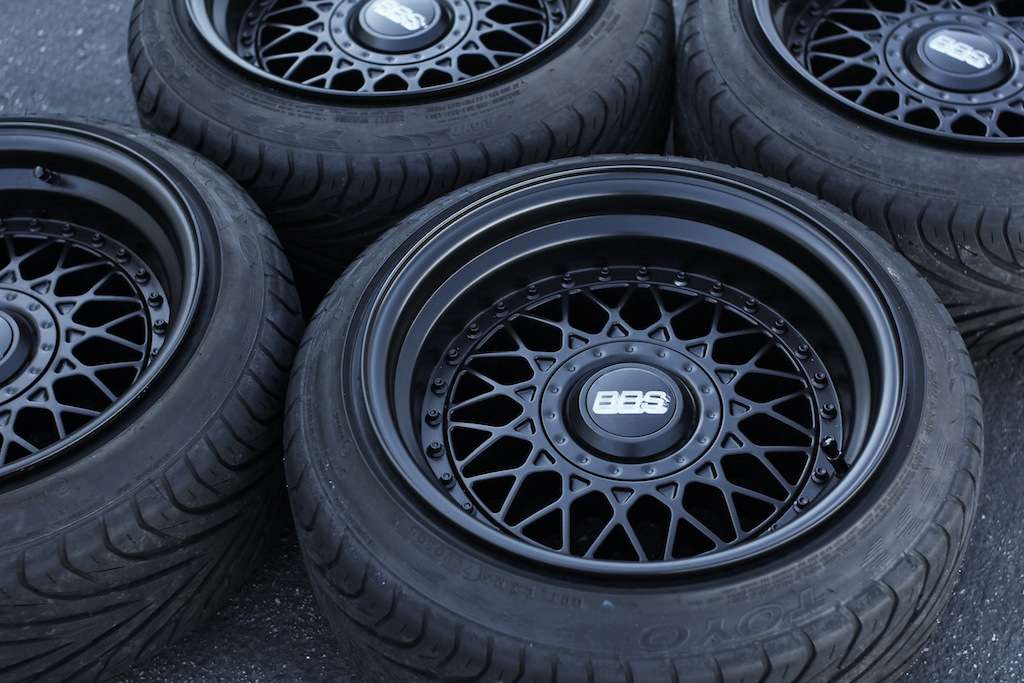
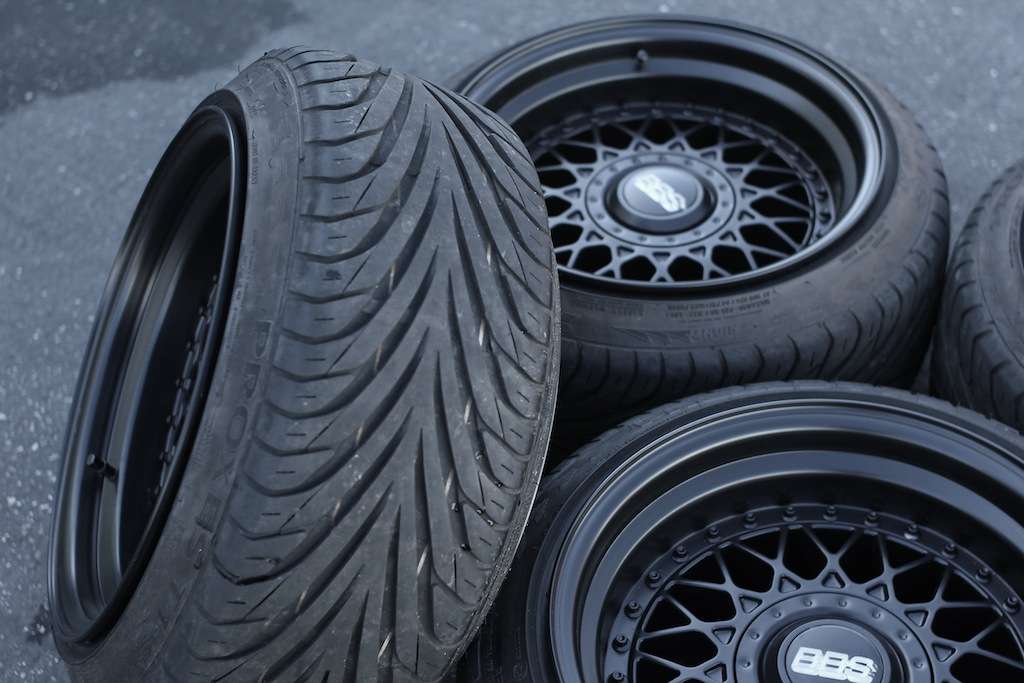
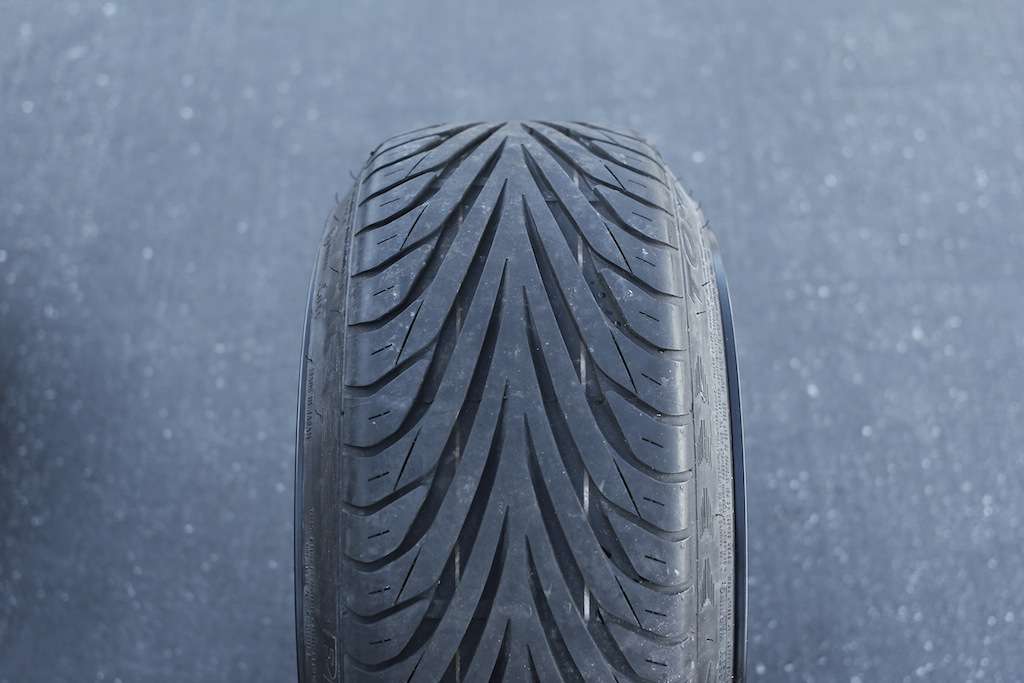
Just a small update but it's sort of a milestone for me so I thought I'd share.
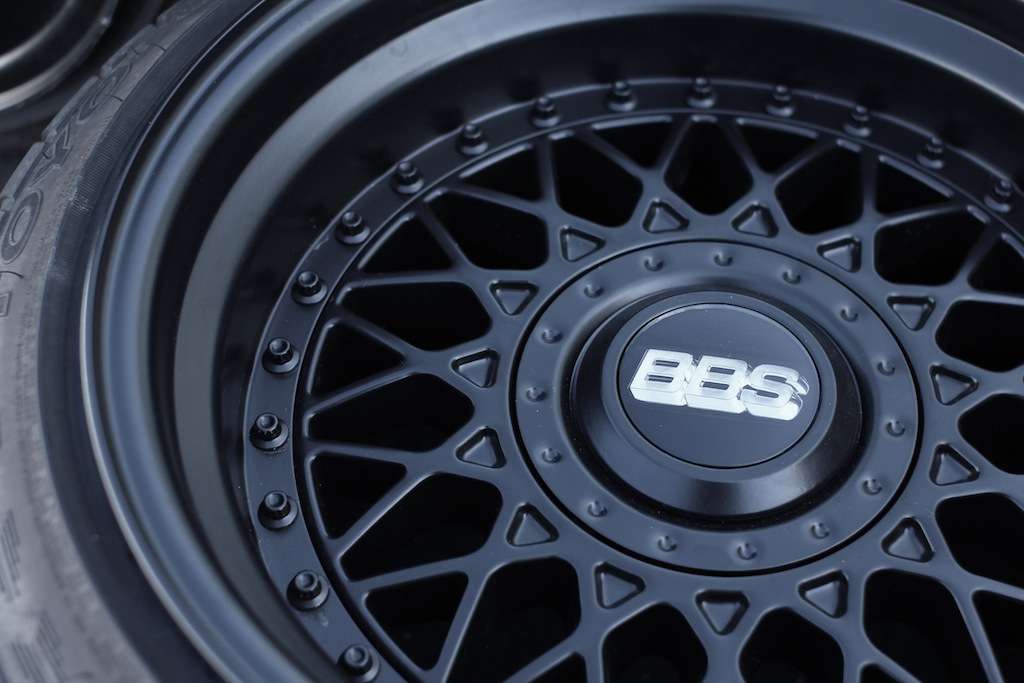
The wheels are done
Bought new dimple rings and had them powder coated along with the beveled cap surrounds. Then today I got the tires mounted and finally got to see the finished product that this '02 will be squatting down on for years to come :D
Comment
-
Hnnnnggh! Man, those are naughty!‘Tis by the grace of God that my cars run!Originally posted by LJ851
Siobhan's Build Thread - UPDATED!Originally posted by unloadedak

Comment
-
Awesome build thread. Love the wheels!Comment
-
keep up the good work!
Comment
-
Inspiring for my [potential] E21.Comment
-
And last but not least, the 2002 is finally down at my shop! Expect fruitful updates on the regular again :D
😩😫 need. More. Updates😩1991 325i Calypso Coupe
Like Grandfather, Like Father, Like Son
BMW
Comment
-
I hate your face. Jealous about everything that is in the pics. :letitout:Comment
-
subscribed.How to remove, install or convert to pop out windows
http://www.r3vlimited.com/board/showthread.php?t=297611
Could be better, could be worse.Comment
-
I just now came to the realization that it has been exactly 5 months to the day since I have posted actual progress on the 2002 itself. It amazes me how fast time flies. I have been so caught up in getting my shop space situated, helping friends out with their problems/projects and keeping my daily life rolling smoothly that I just simply haven't had the time to get back on it, until now.
I can't explain how great it felt to have my 2002 up on my own lift in my own shop, ready for progress. It was sort of a surreal moment, I felt like it tied everything together. It made me feel like the decisions and sacrifices I've made in the last few months were completely worth it.
Having this shop space has definitely been a challenge, but has been extremely rewarding at the same time. The last three months, I have literally had $50 to my name left over after paying rent each month, which has been a bit unsettling to say the least. But the feeling of opening those doors and realizing that the opportunities are endless is very encouraging, and I am slowly but surely finding ways to make money with my shop space, my new tools and my new skills. I'm not even sure what this will all end up becoming, or what my real intentions are, I'm just taking it one day at a time.
Getting back on topic here. Here is the progress I have made thus far. I've encountered a few dilemmas and unfortunate events which I will explain as I go, but progress is being made!
First off, the sight I've been looking forward to: the 2002 up on lift:

I removed the springs in the front and rear and bolted up the wheels. I lowered the car down (yes, that is a tree stump :D) to get an idea of how the wheels sat. I threw a 20mm spacer on the rear and this is where I was sitting:

Front fitment:

Rear fitment:

For this update, I am focusing on the fronts first. As you can see, the offsets are looking pretty prime. My goal is to have the fenders basically sitting on the lips. I was almost there, but a little bit of work had to be done to achieve my goal. I took all the necessary measurements to know what modifications needed to be made, and I jotted them down. The adapter tube is shown on the left with the measurements:

I later found out the hard way that I had miscalculated, and that I had accidentally added an extra inch to my overall strut height measurement. It really should've been 19" overall instead of 20". It took a few hours to get everything straightened out, but in the end everything worked out just fine. I'm just glad I caught it. Measure twice, cut once people!
Cutting the "adapter tube" to the proper height:

Next, it was time to get the original 2002 strut assembly ready for modification. Here is it in it's original form:

The top hat, spring, and strut insert had to be removed so that the strut housing itself was bare:

With all the measurements I took, I knew that I could have no more than 3 inches of the original strut housing left, so I cut it at 2.75":

The diameter of the adapter tube for the Air Lift universal struts was quite a bit larger than the diameter of the original 2002 strut housing tube, as displayed in this picture:

It is critical for the new universal strut to sit in the same position as the original strut tube, otherwise camber and/or toe will be affected. In order to assure this, I basically made an O-ring out of electrical tape. I wrapped it around the original strut tube until it was thick enough for the adapter tube to just barely slide over. I did this twice, and then covered both strips of electrical tape with one layer of duct tape so the tube would fit super snug and slide down evenly:


I then had to notch the adapter tube so that it would slide down all the way:


Once everything fit snug and was in place, it was time to weld. I have really been wanting to learn how to TIG weld and I recently decided to purchase the TIG/Plasma/Cart combo from Eastwood. Unfortunately, my first welder gave out on me during its second use, but Eastwood was quick to replace it. On top of that, my plasma cutter torch fried during my first use, but Eastwood quickly replaced that as well (I am pretty unhappy about this overall, but everything is settled now). Here it is pictured along side my new 60 gallon air compressor, which still needs a bit of setting up but is working wonderfully:

I got the adapter tube welded up, my TIG welds aren't beautiful yet, but I did a couple separate passes and made sure I was getting plenty of penetration:

Once that was done, it was time to weld the new air strut body into the adapter tube. There was a bit of play in between them, so I had to wrap a couple layers of electrical tape around the air strut body to ensure that it was perfectly centered in the adapter tube:

Once it was set in place, I TIG welded it all up. This section was quite a pain because you can only weld for a few seconds, and then you have to stop and dunk the whole thing in water to cool it down because you don't want the shock fluid inside to get too hot, otherwise you could render the shock useless. So once I finished that, it looked like this:

Then came time to create the new top hat. Air Lift supplies a round plate which needs to be modified to become the new top hat. Here it is pictured next the original strut spacer:

I used the original strut spacer as a guide and measured everything so that I was sure it was completely centered on the new plate and marked in where the holes needed to be drilled. In order to make my new wheels fit in the front, I needed a slight amount of negative camber. I added a touch of negative camber by drilling the new holes about .25" below where they should've been drilled. I got to use my new drill press for the first time and it worked great:

Once the holes were drilled, I pressed in the new studs and cut the plate to match the shape of the original top hat:

I then installed the new modified top hat onto the air strut:

At this point it was ready to install, and that's exactly what I did:

I then "aired it out" by placing a stool under the wheel and lowering the car down until it bottomed out:

Looks promising. Then I installed the front fender and was very pleased with the outcome:

It's basically exactly where I want it to sit. All I need to do is roll the fender lip out a tiny bit so that it clears the tire completely and sits down right on top of the lip of the wheel!
Once that side was done, I proceeded to build the front passenger side to the exact same spec. I was nearly finished when disaster struck. As I was making my second to last weld on the strut tube, my arc started to flicker and jump around a bit. Me being impatient, I didn't stop welding and tried to ride it out. Bad choice. The ark jumped and blew a hole right through the air strut body and fluid started squirting out. I ruined it. As soon as I realized what I had done, I was so mad at myself for not being more careful. I was really bummed out about it, and thought it would be at least $300-400 for a replacement. I gave BagRiders a call, and to my pleasant surprise, a replacement is only about $130, which is quite a relief although it's still a shitty situation. You live and you learn!

So I had to cut out the now ruined strut body in preparation for the replacement. I cut it right under the weld so that I still had plenty of the adapter tube left:


And now the passenger side spindle is ready for the new air strut body to be welded in and the passenger side will be done as well. The replacement strut body will be ordered first thing tomorrow, and then its just a matter of time before the fronts will be complete :alright
Thank you for reading and goodnight!Last edited by CubbyChowder; 10-16-2013, 01:02 AM.Comment
-
YES!! Progress!! Dude I love your car, your spirit and mindset. Keep up the great work. It's so cool to see others with ability and same passion I have for fabricating doing what they love!sigpic
Rebellion Forge Custom Fabrication
1988 325is - TrackRat in progress
Instagram @rebellionforgeComment
-
So glad to see this build moving again and things working out for you.
Keep up with the updates!!
Comment
-
ahh wow!! Im so happy for you man. Cant wait to see this done.Keep up the hard work and don't get discouraged!Comment
-
This is by far my favorite build. You are building my dream, can't wait for more progress!Comment


Comment