-
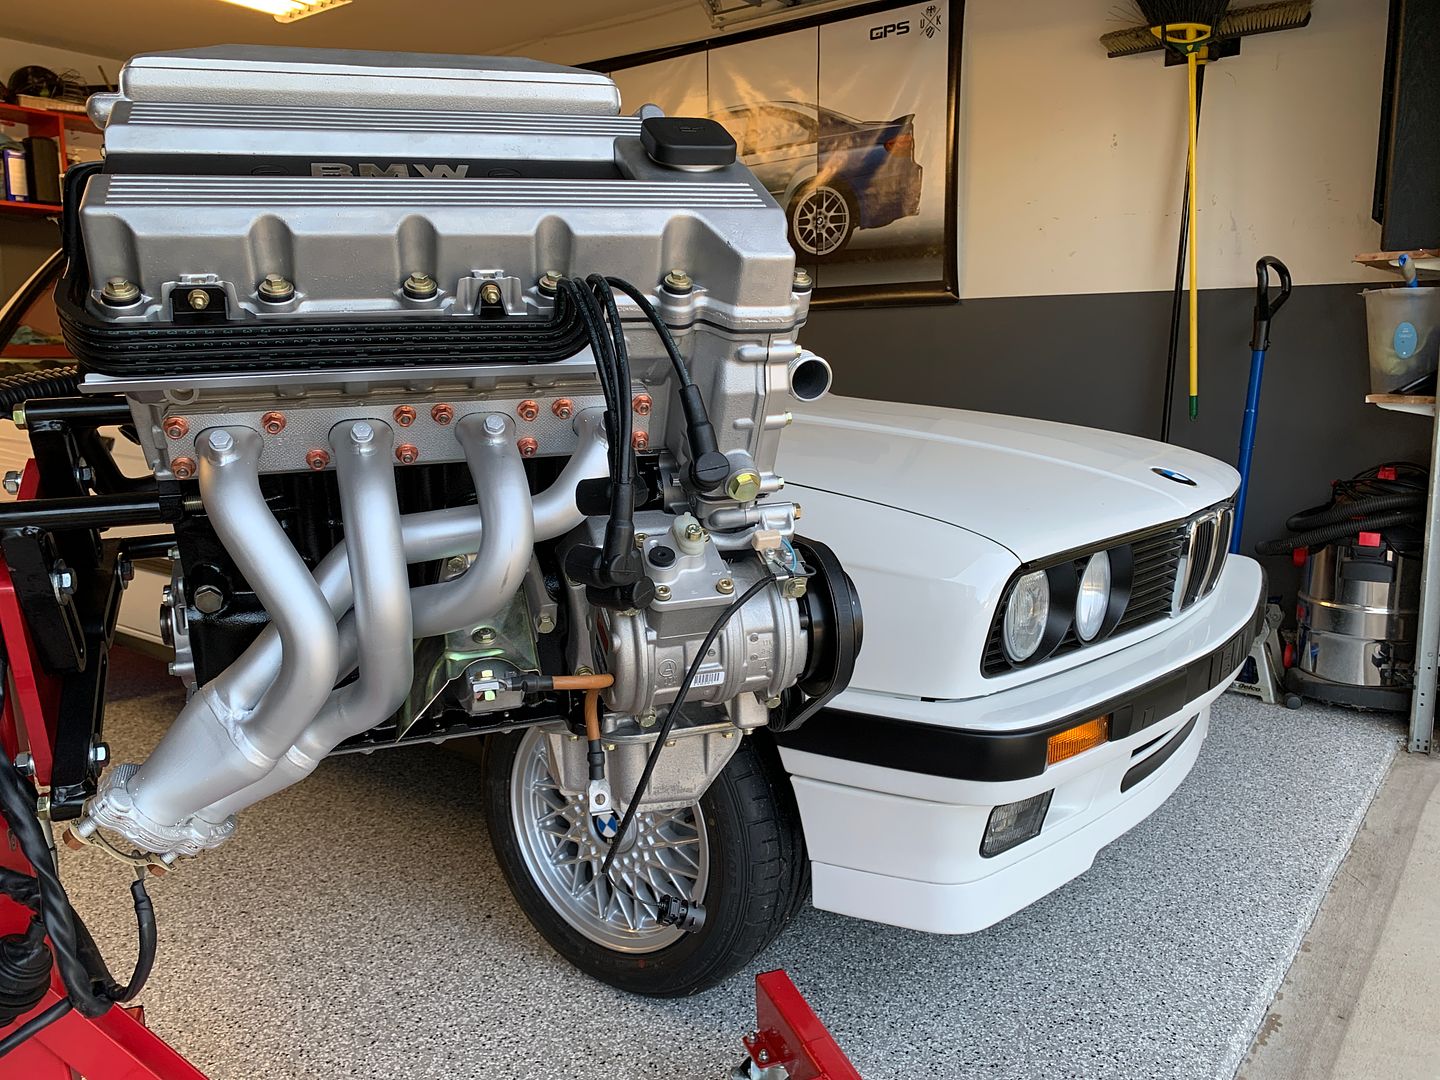
If there is something in particular you want to see by all means let me know, happy to take more pictures. -
I suppose it's not possible to get some brochure spec photos of it? They are beautiful engines once clean like that.
Leave a comment:
-
Alllllright, I've enjoyed an enormous amount of progress over the last few days but I have not been able to share it here as Photobucket has been DOWN. At the moment it is letting me log in so I'm going to try to snatch some photo links. If for some reason you can't see the images just try back later...
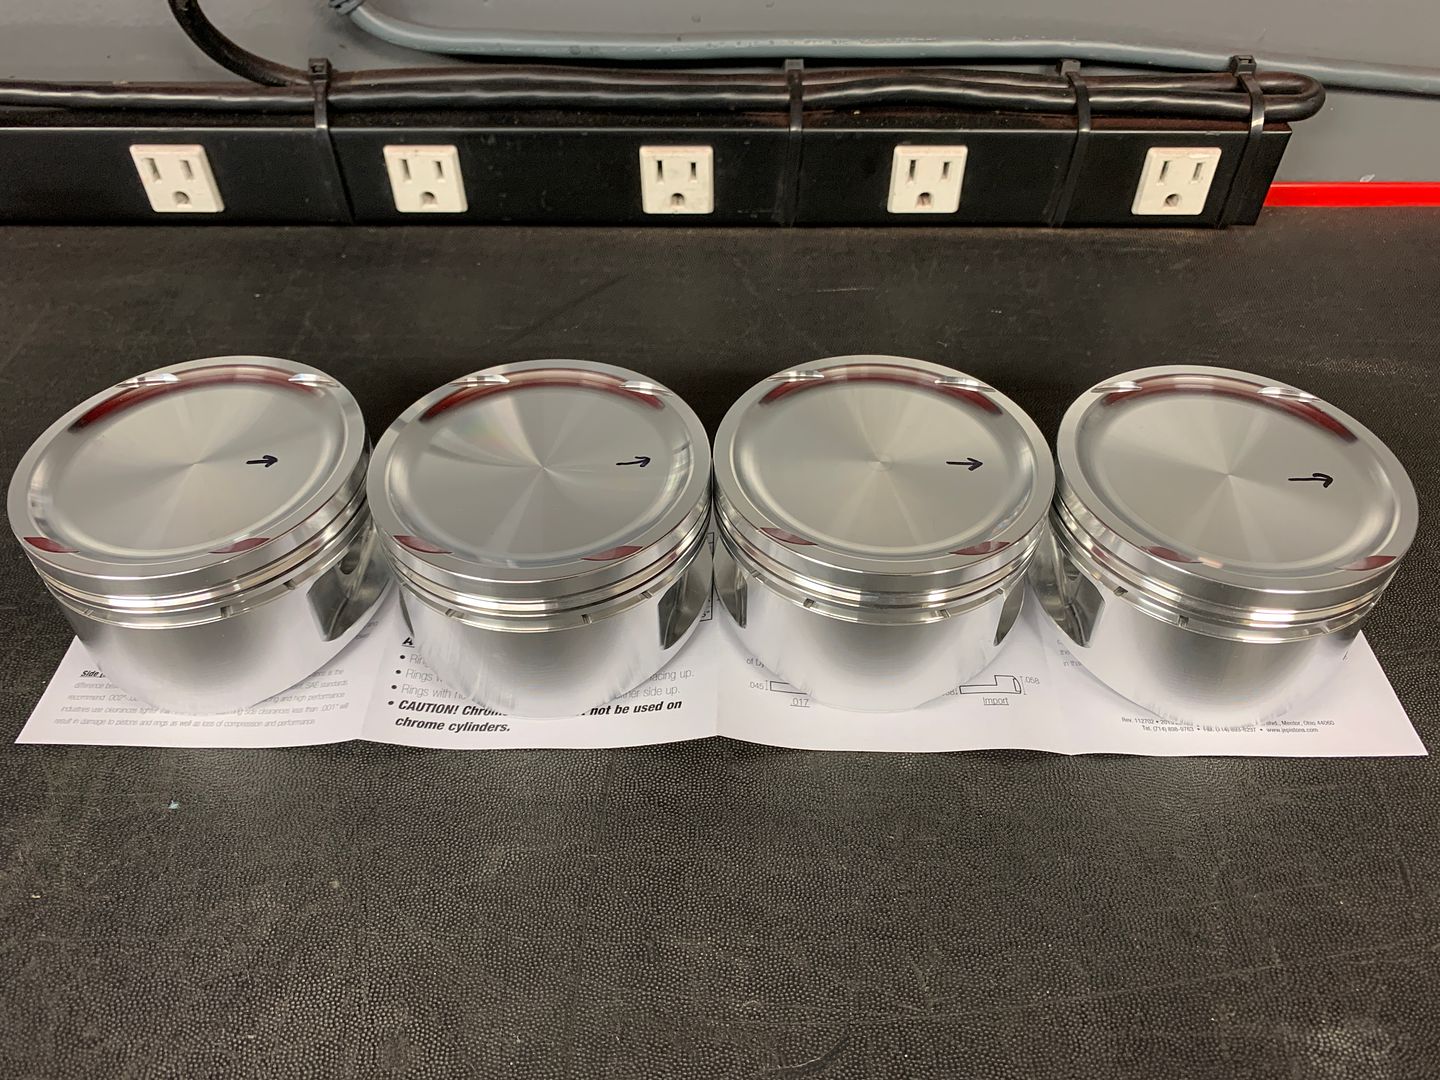
As of 3pm on Christmas Eve my pistons arrived from JE, a Merry Christmas it shall be (well for me anyway, wife is less than thrilled)
Unpacked from the carton, with the pistons marked with a sharpie arrow as the intake and exhaust valve reliefs are different and these only go in one way!
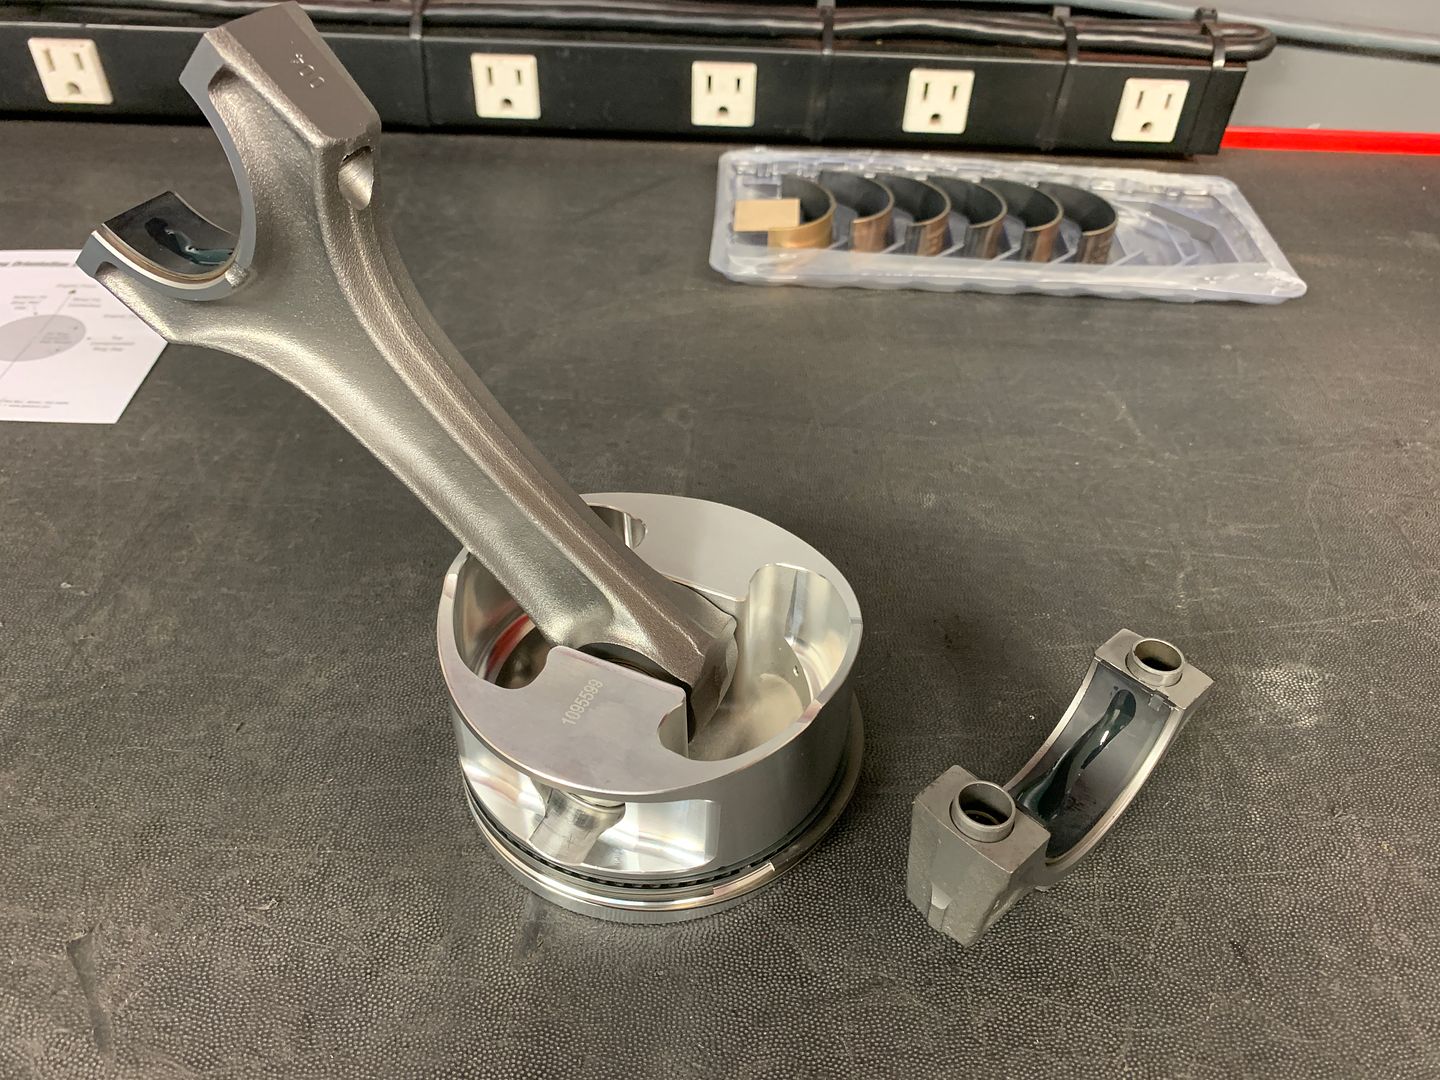
I filed all of the rings to fit and assembled the first ringed piston and rod.
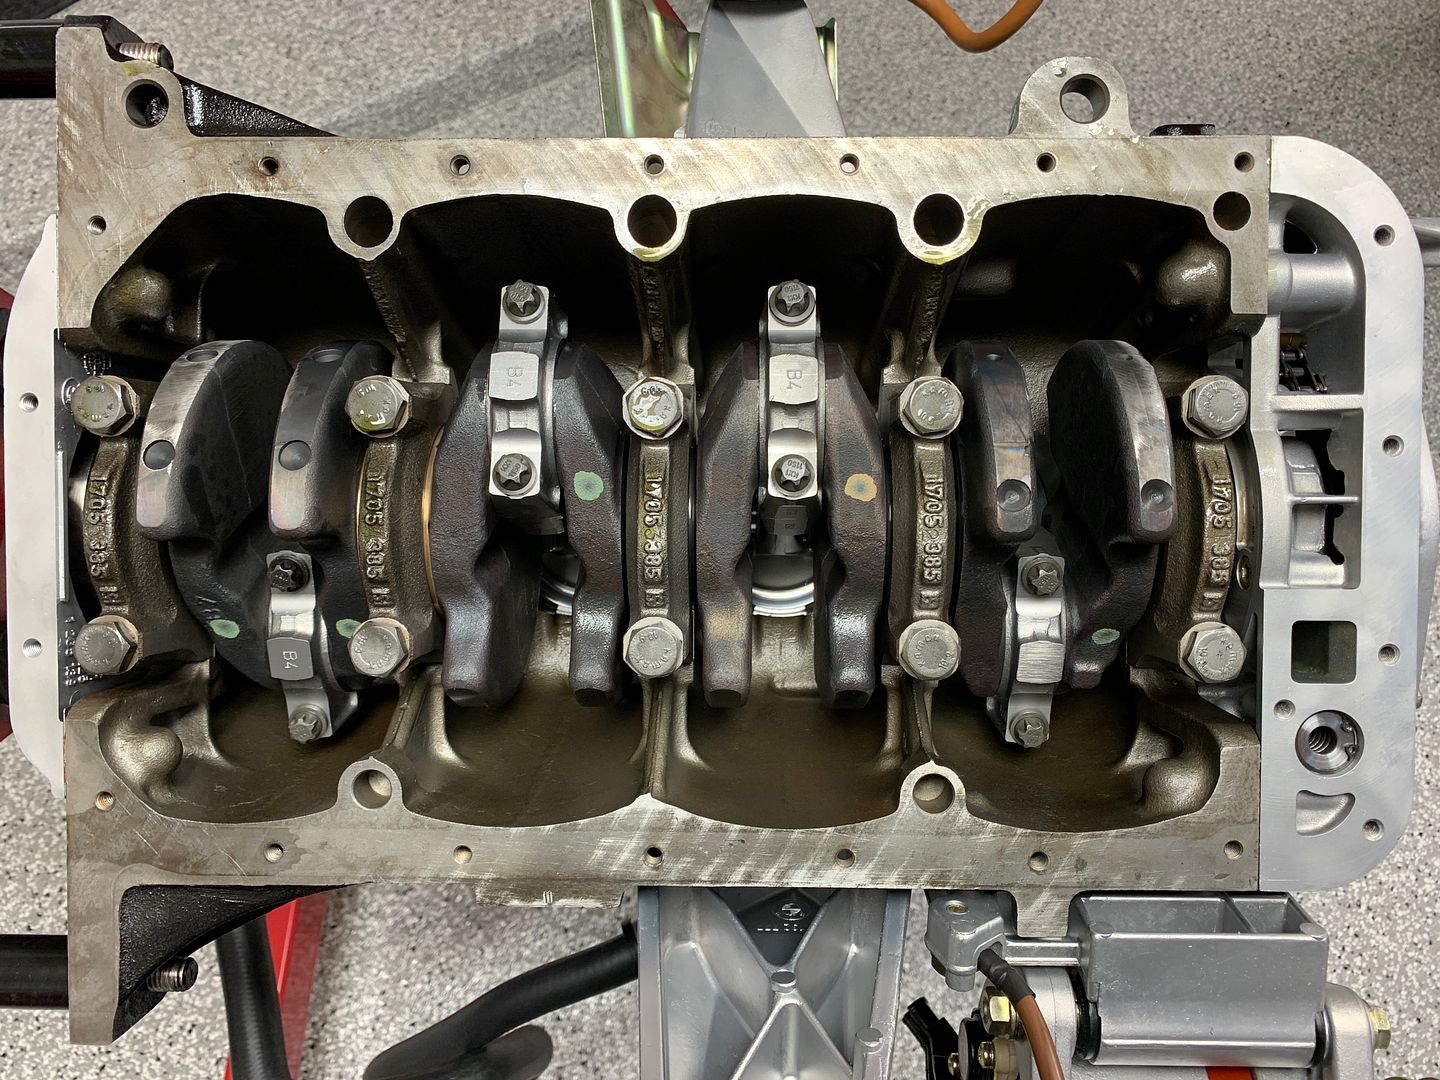
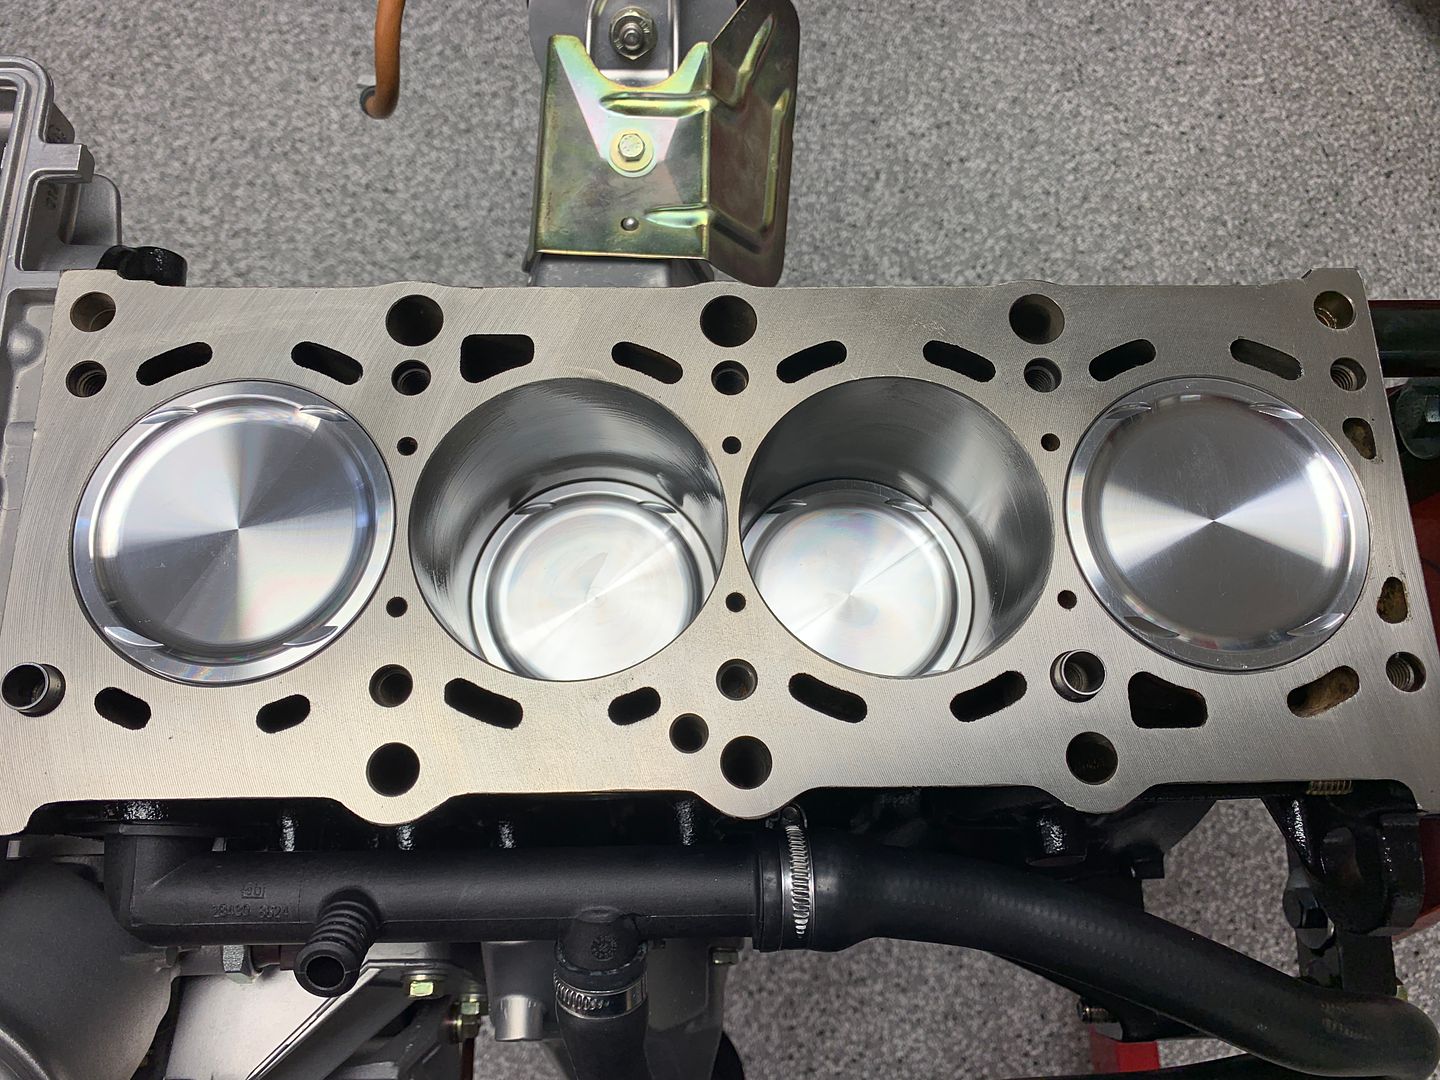
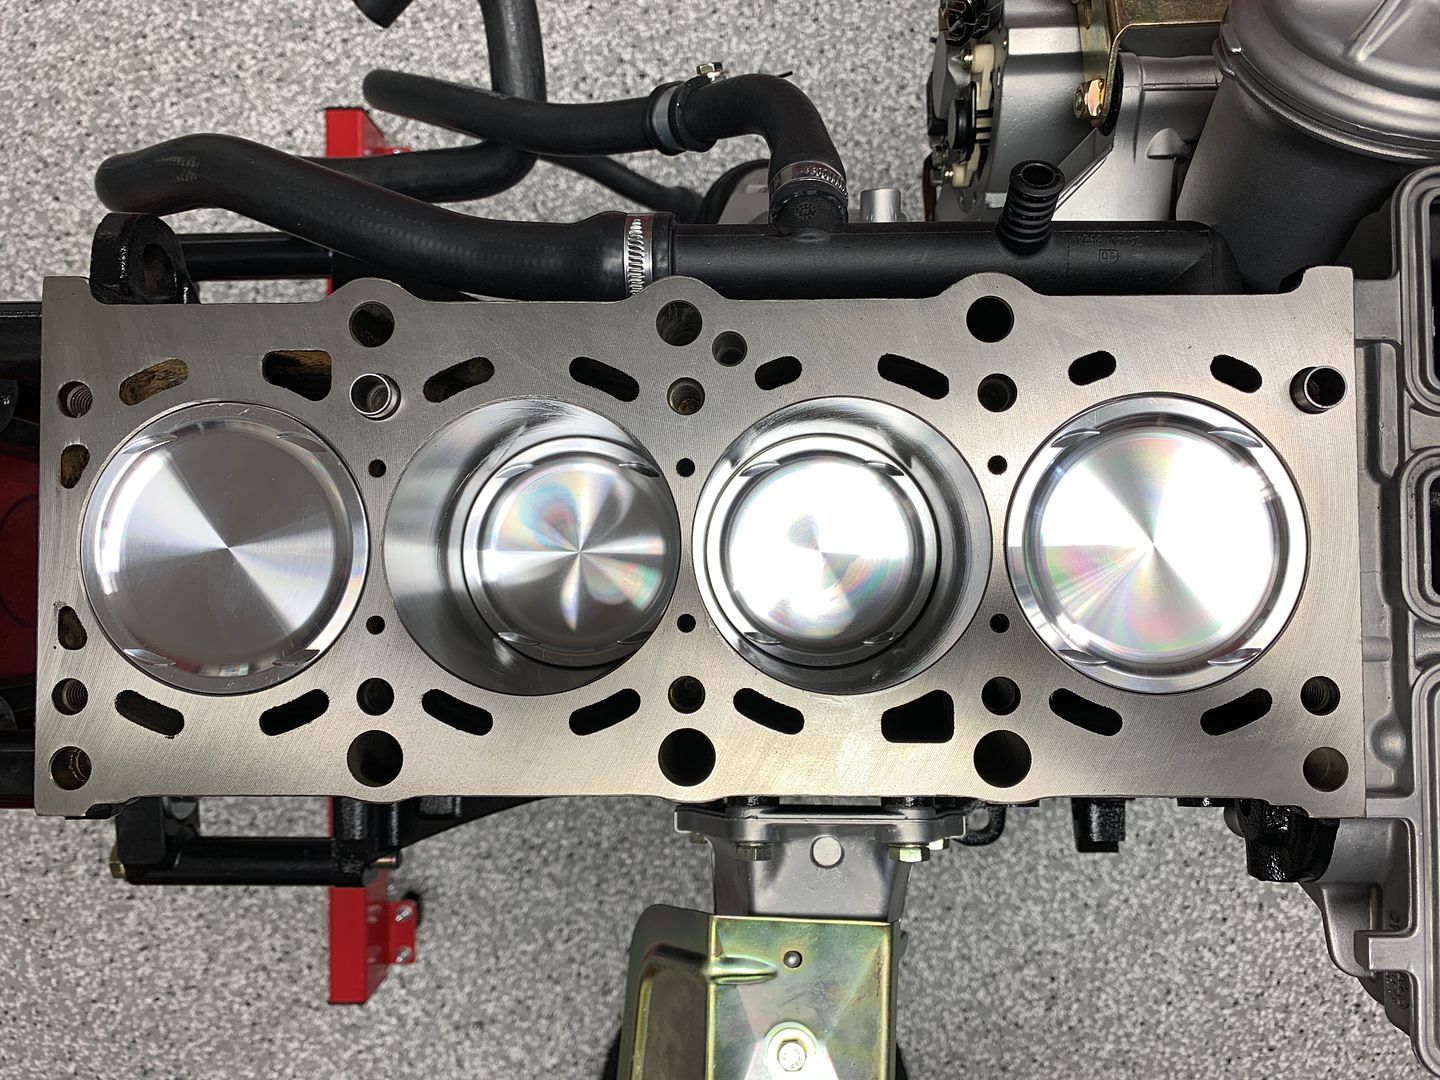
All four pistons, rods installed and rod caps torqued to spec
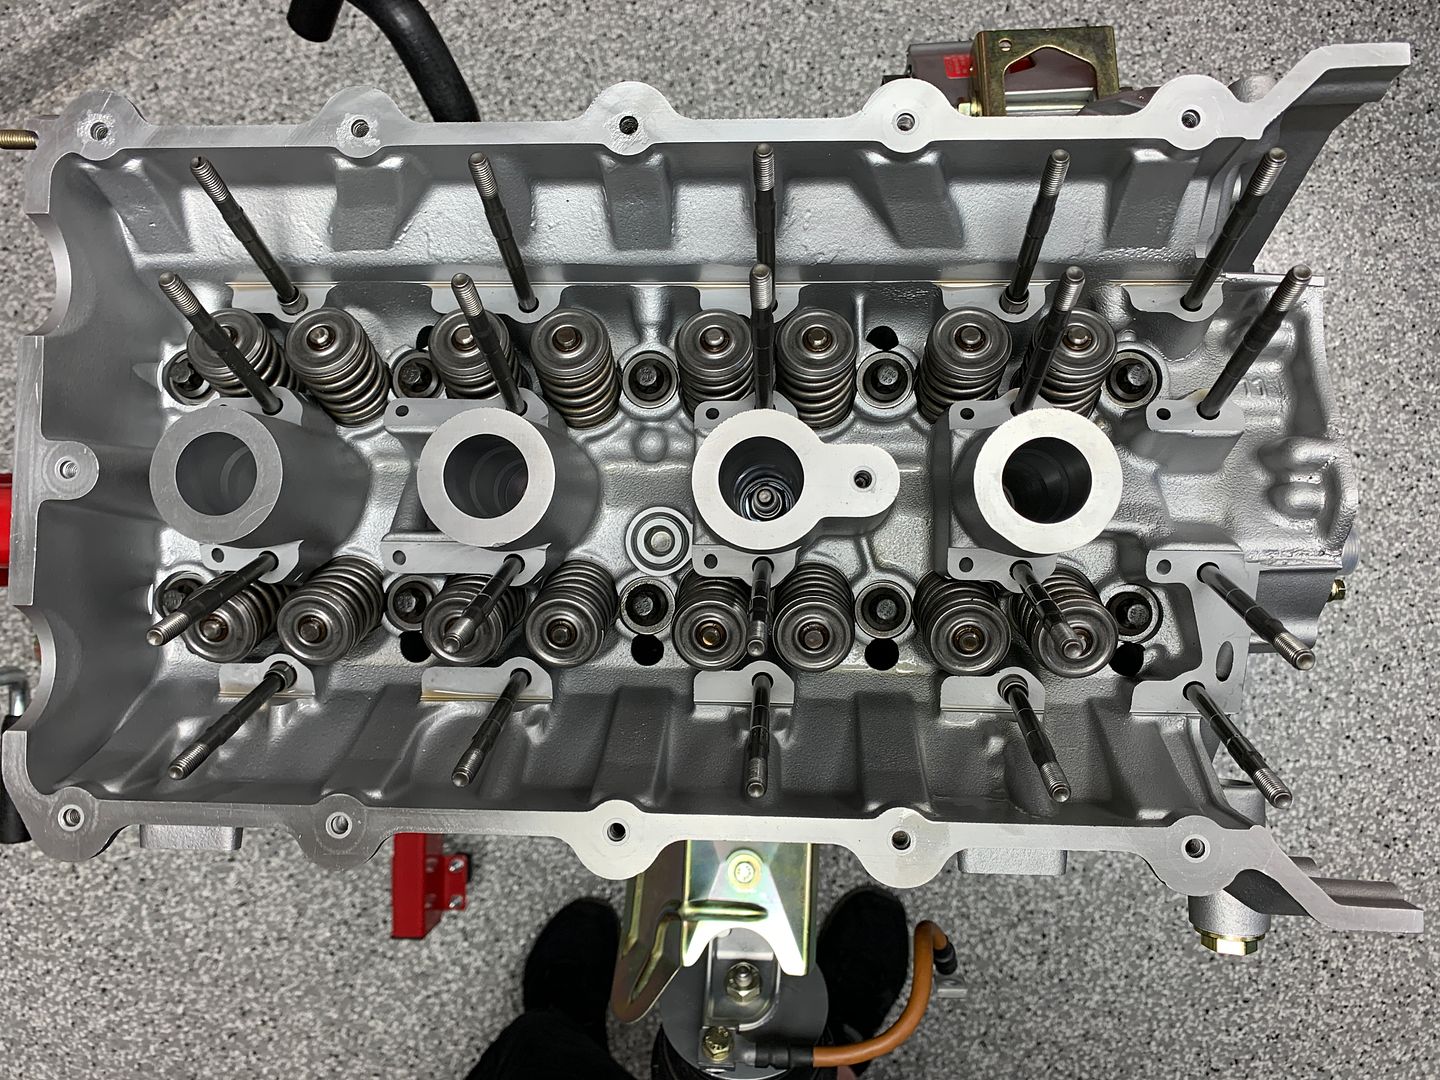
Hello down there
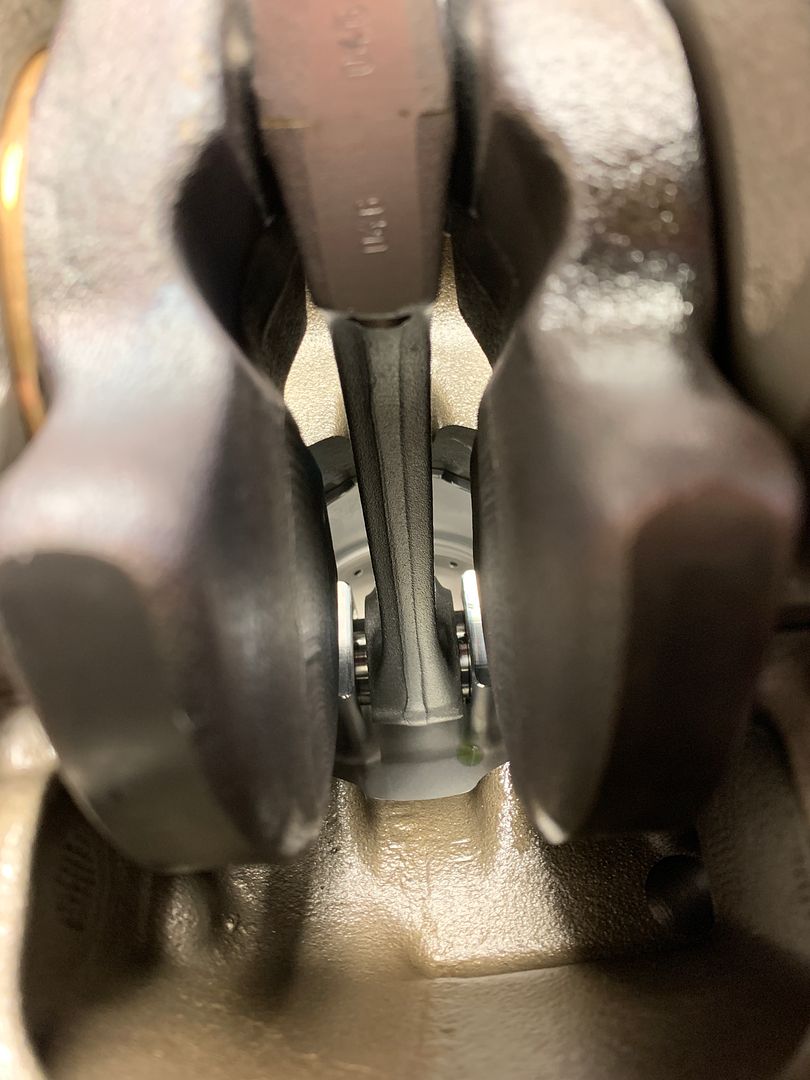
From the top, so pretty. Shame this all gets buried inside.
87mm headgasket options are limited. I elected to go with the Athena 87m MLS headgasket.
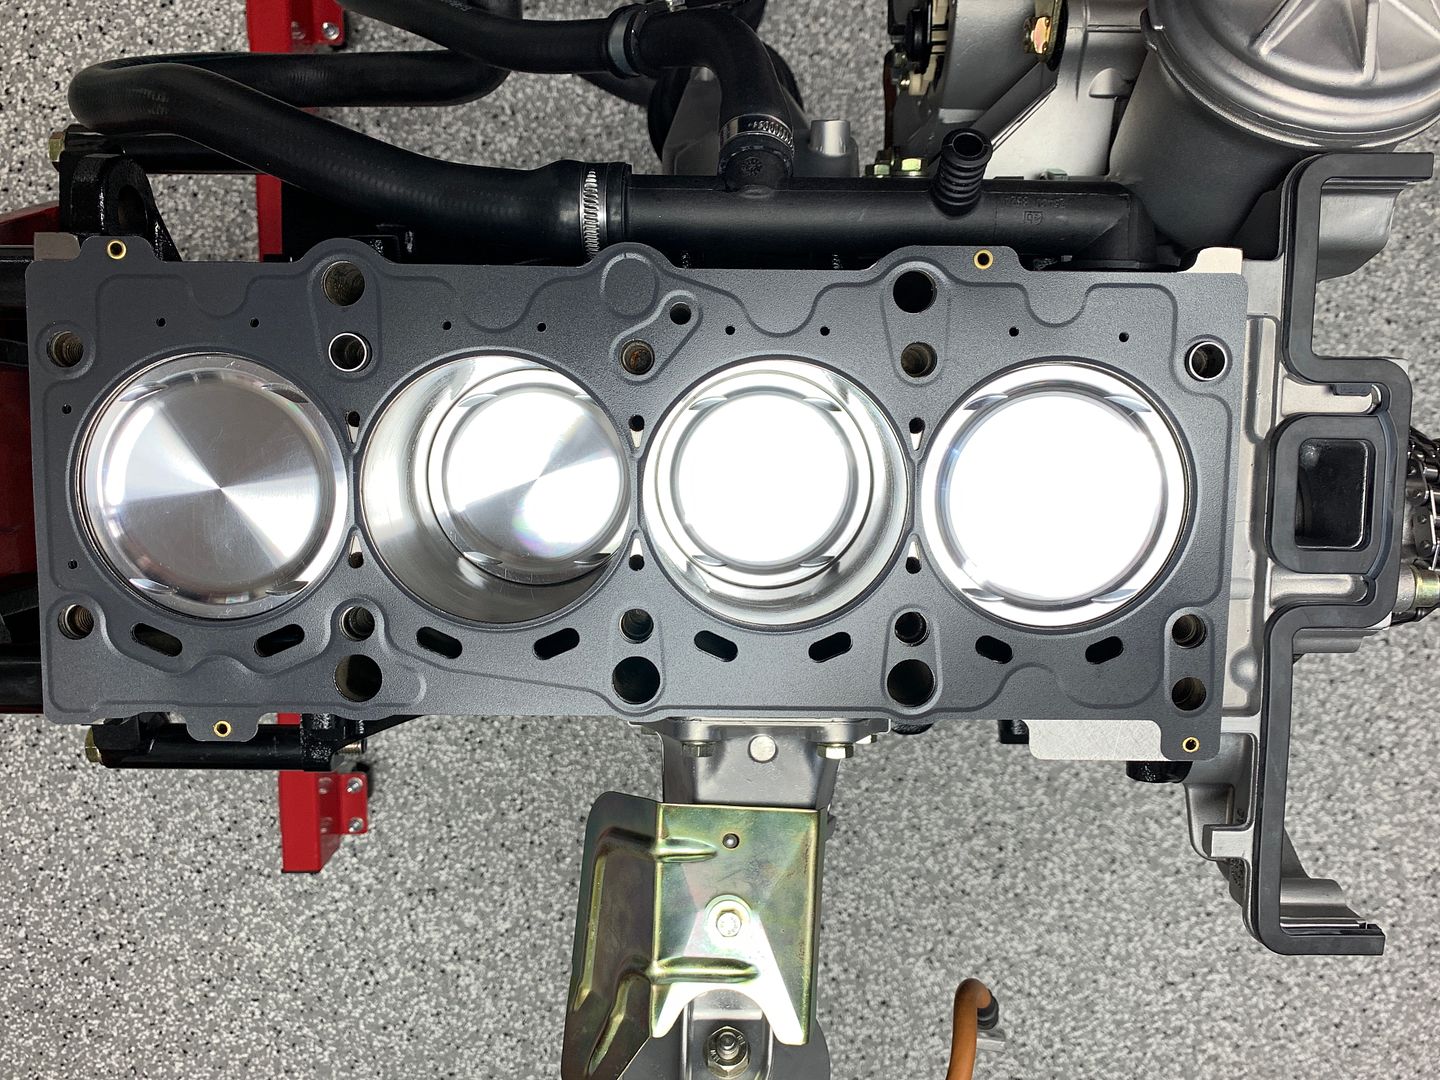
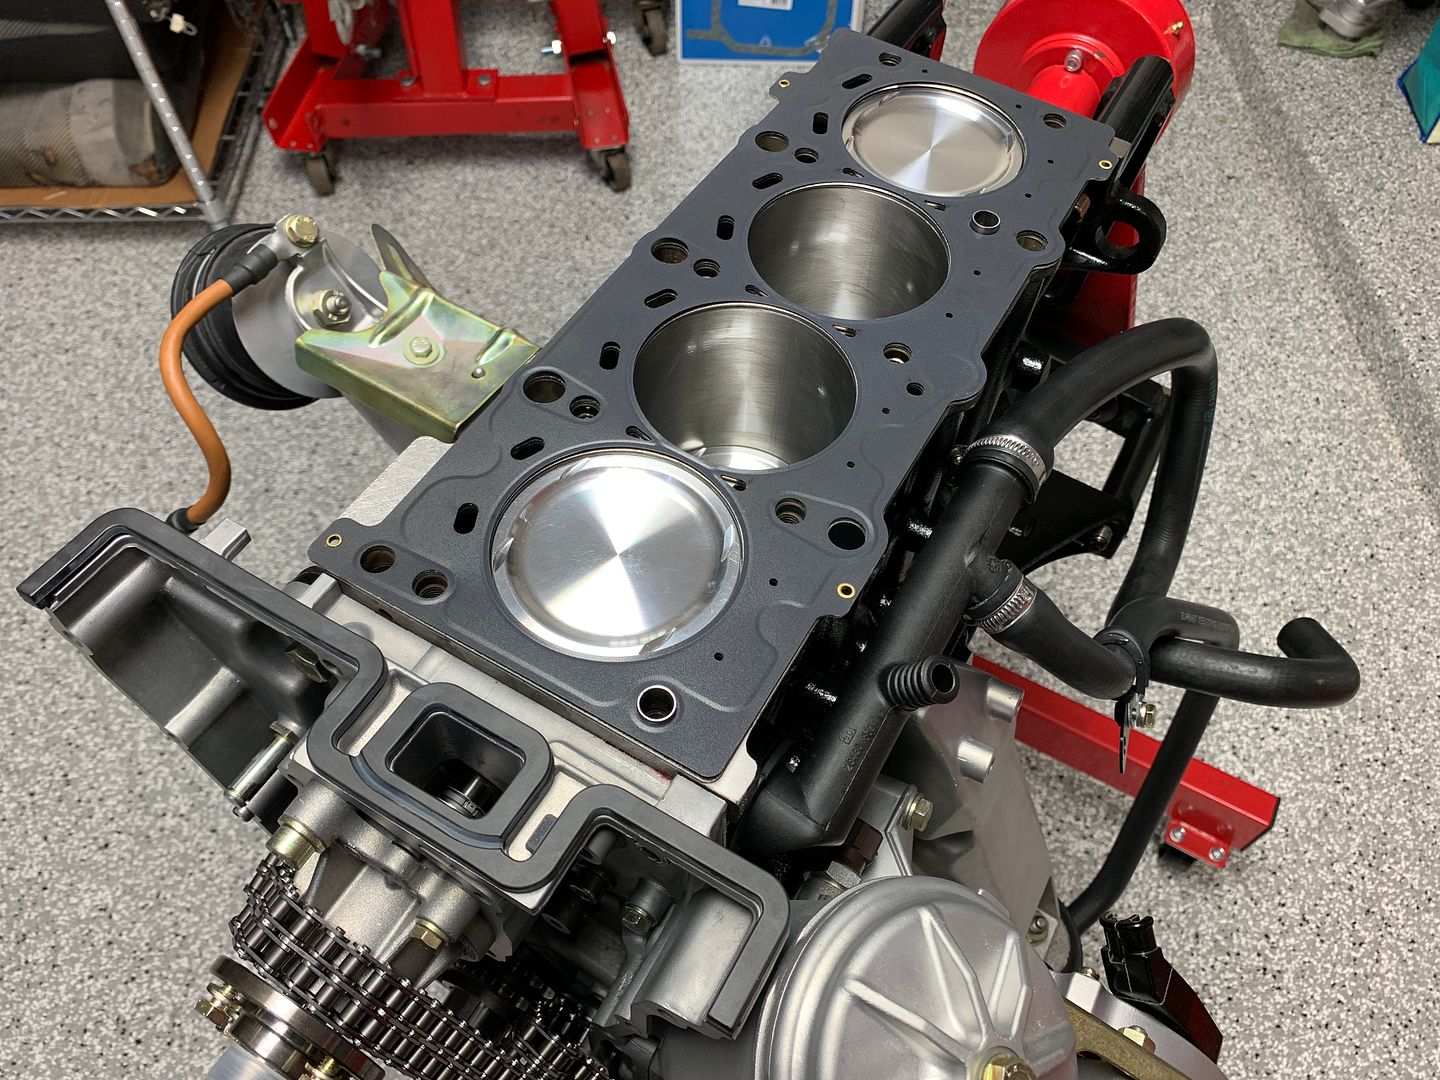
Not taking any chance with the profile gasket leaking.
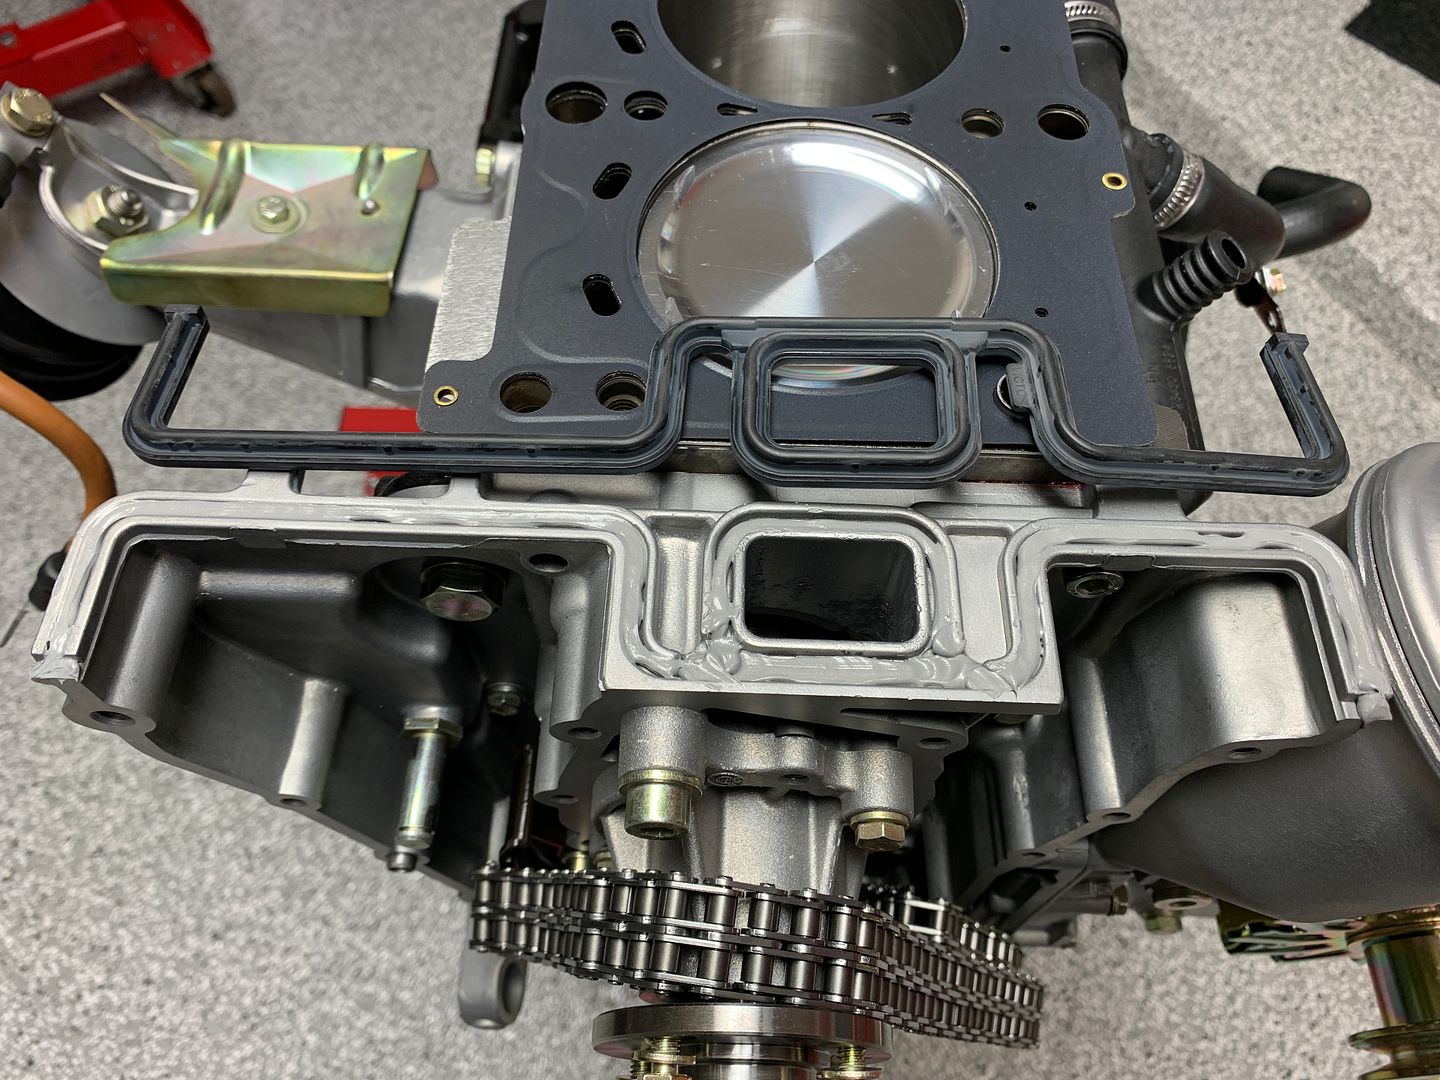

Cylinder head dropped on, bolts hand tightened.
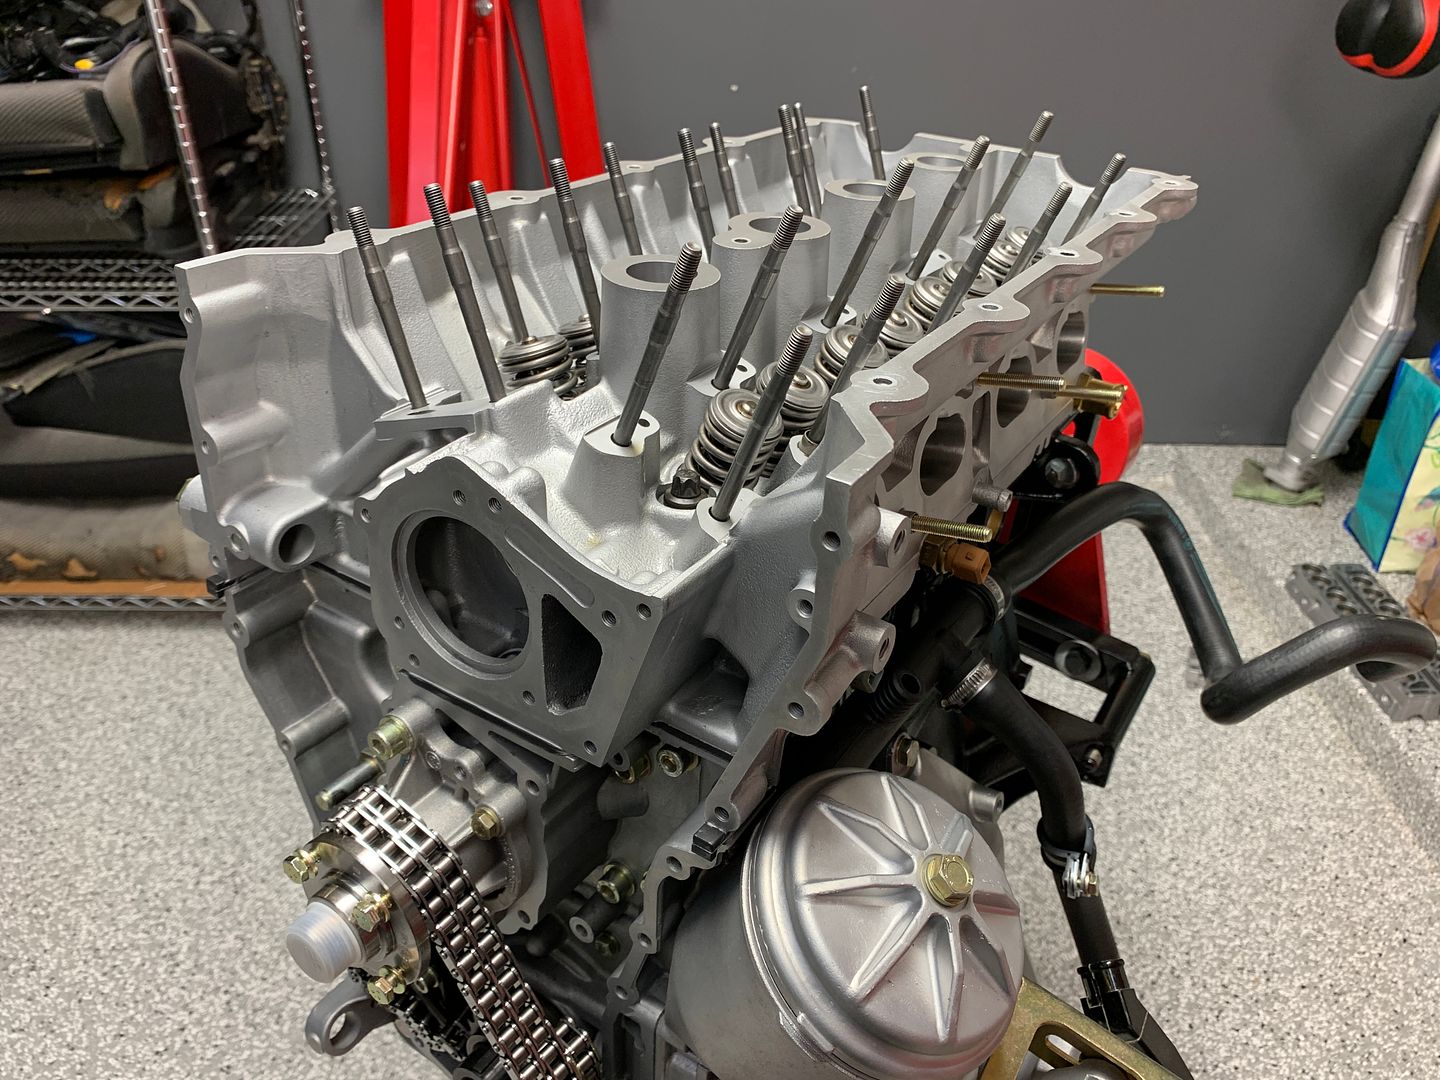
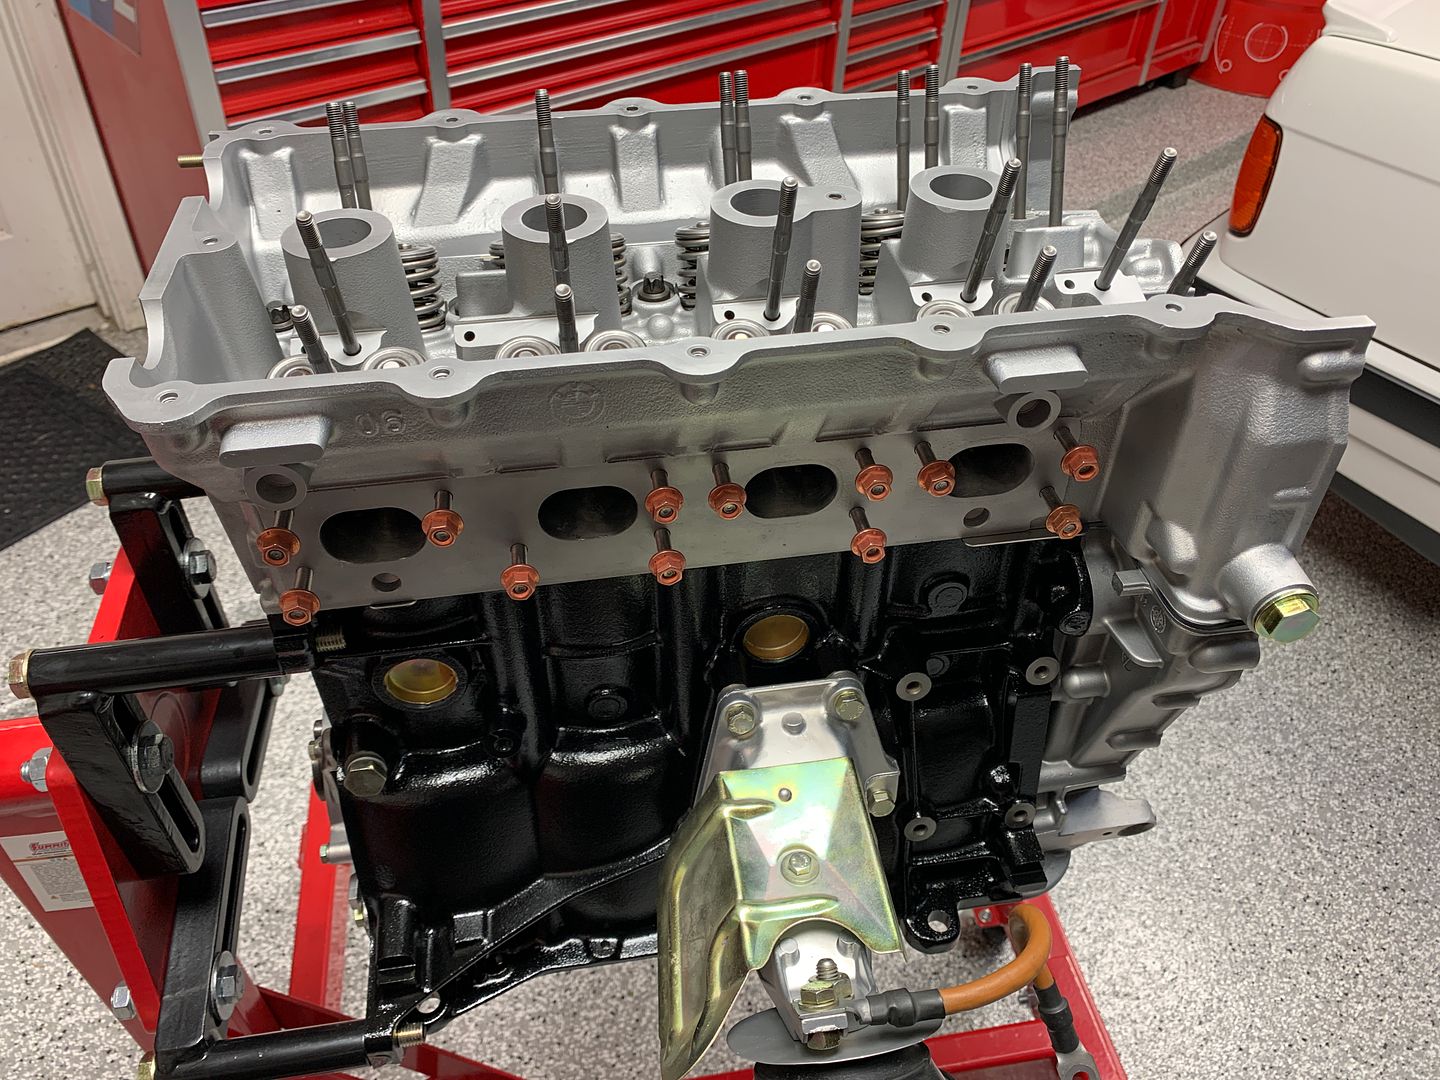
Head bolts torqued to spec, camshafts set in their journals with the caps loosely installed
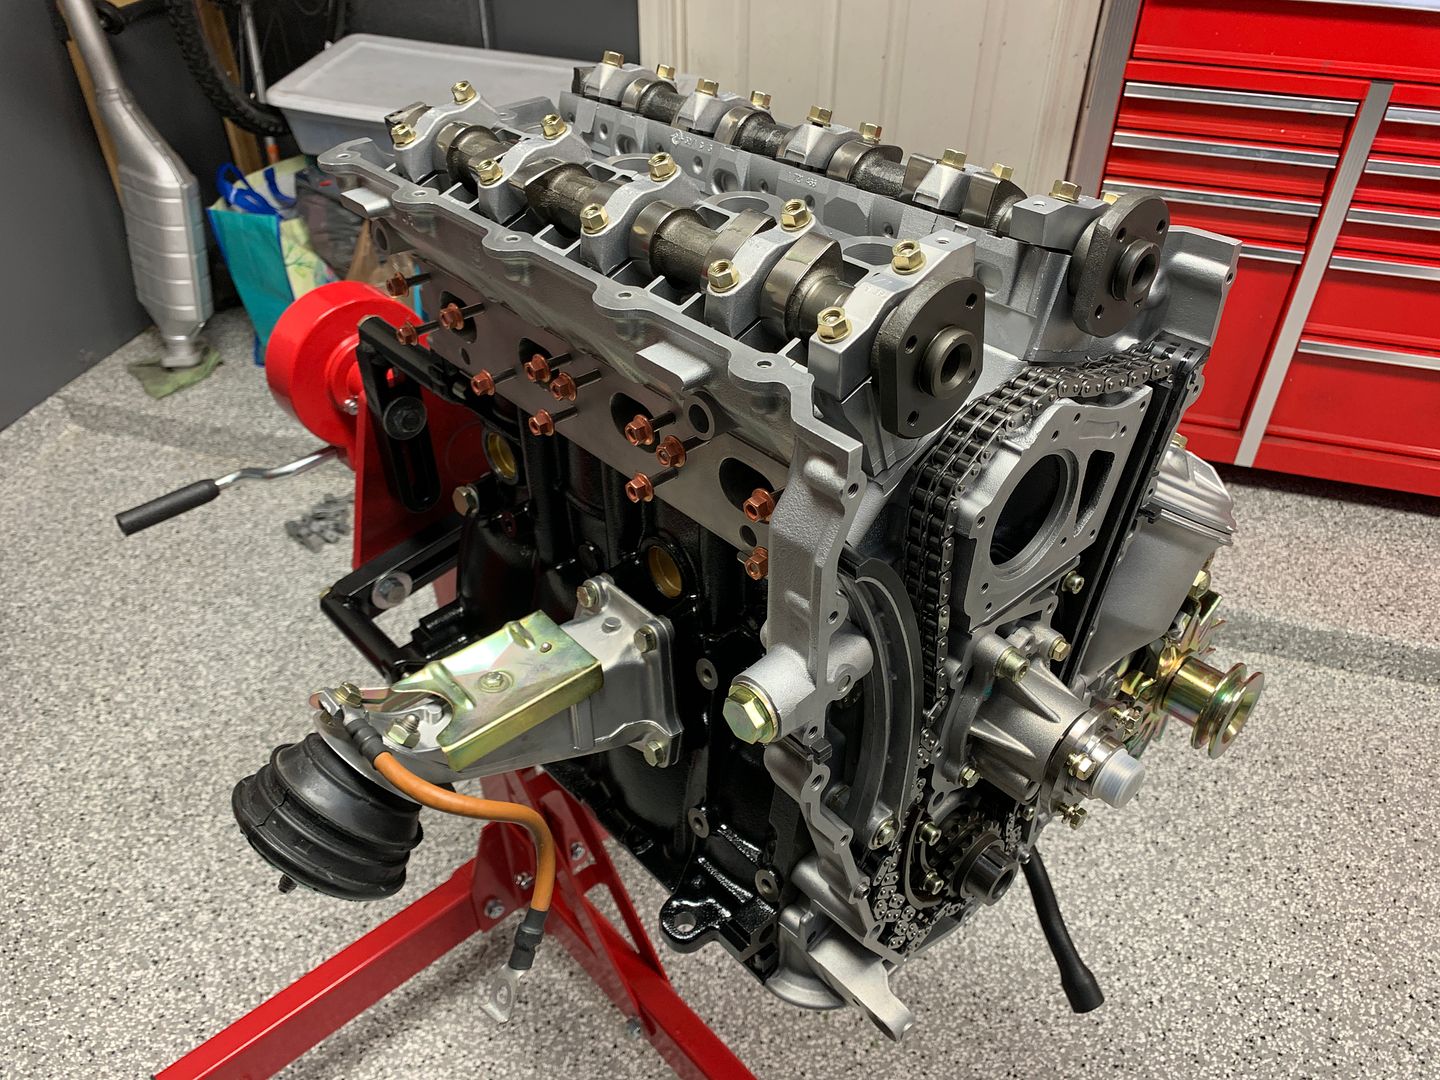


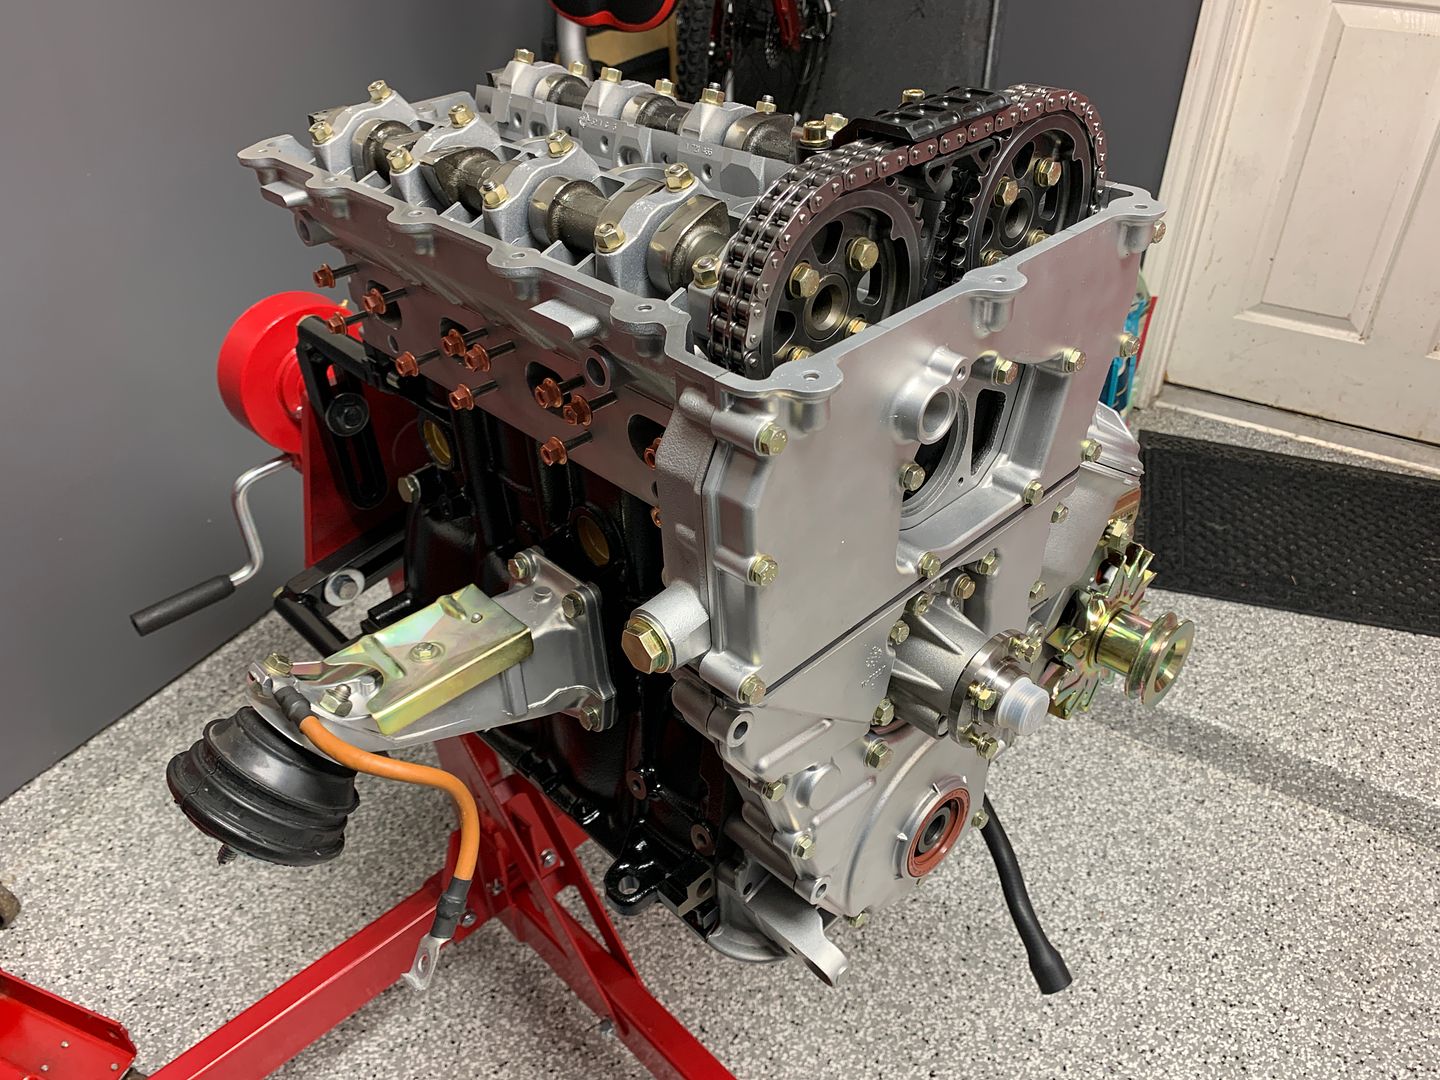
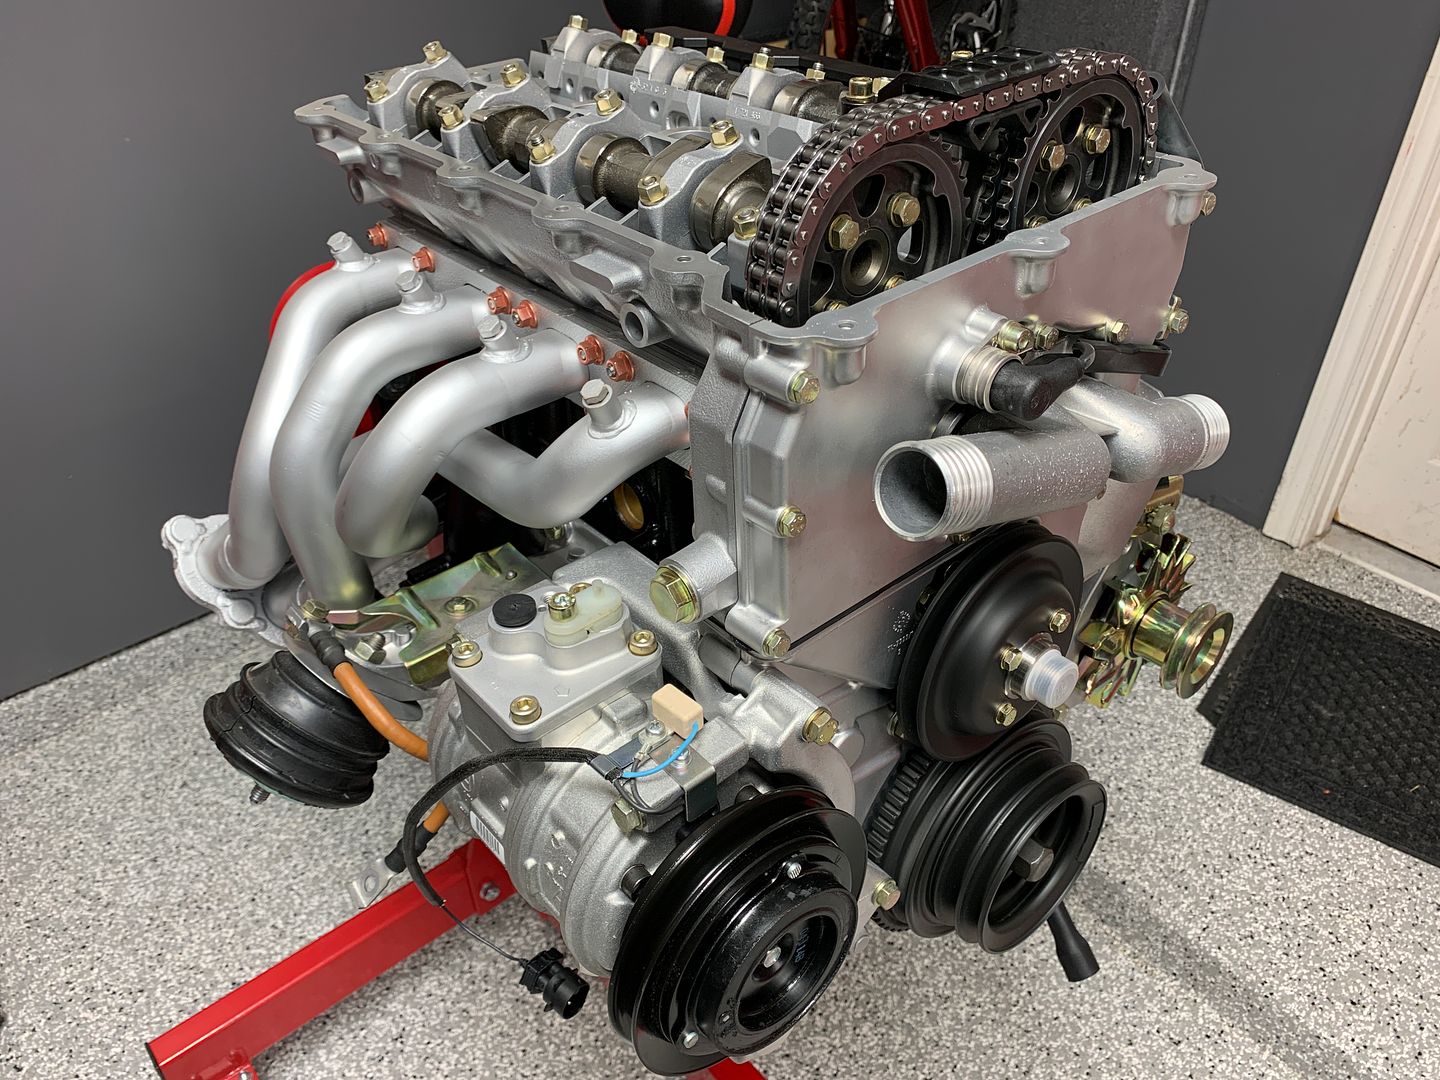
Timing gear all assembled, engine timed.
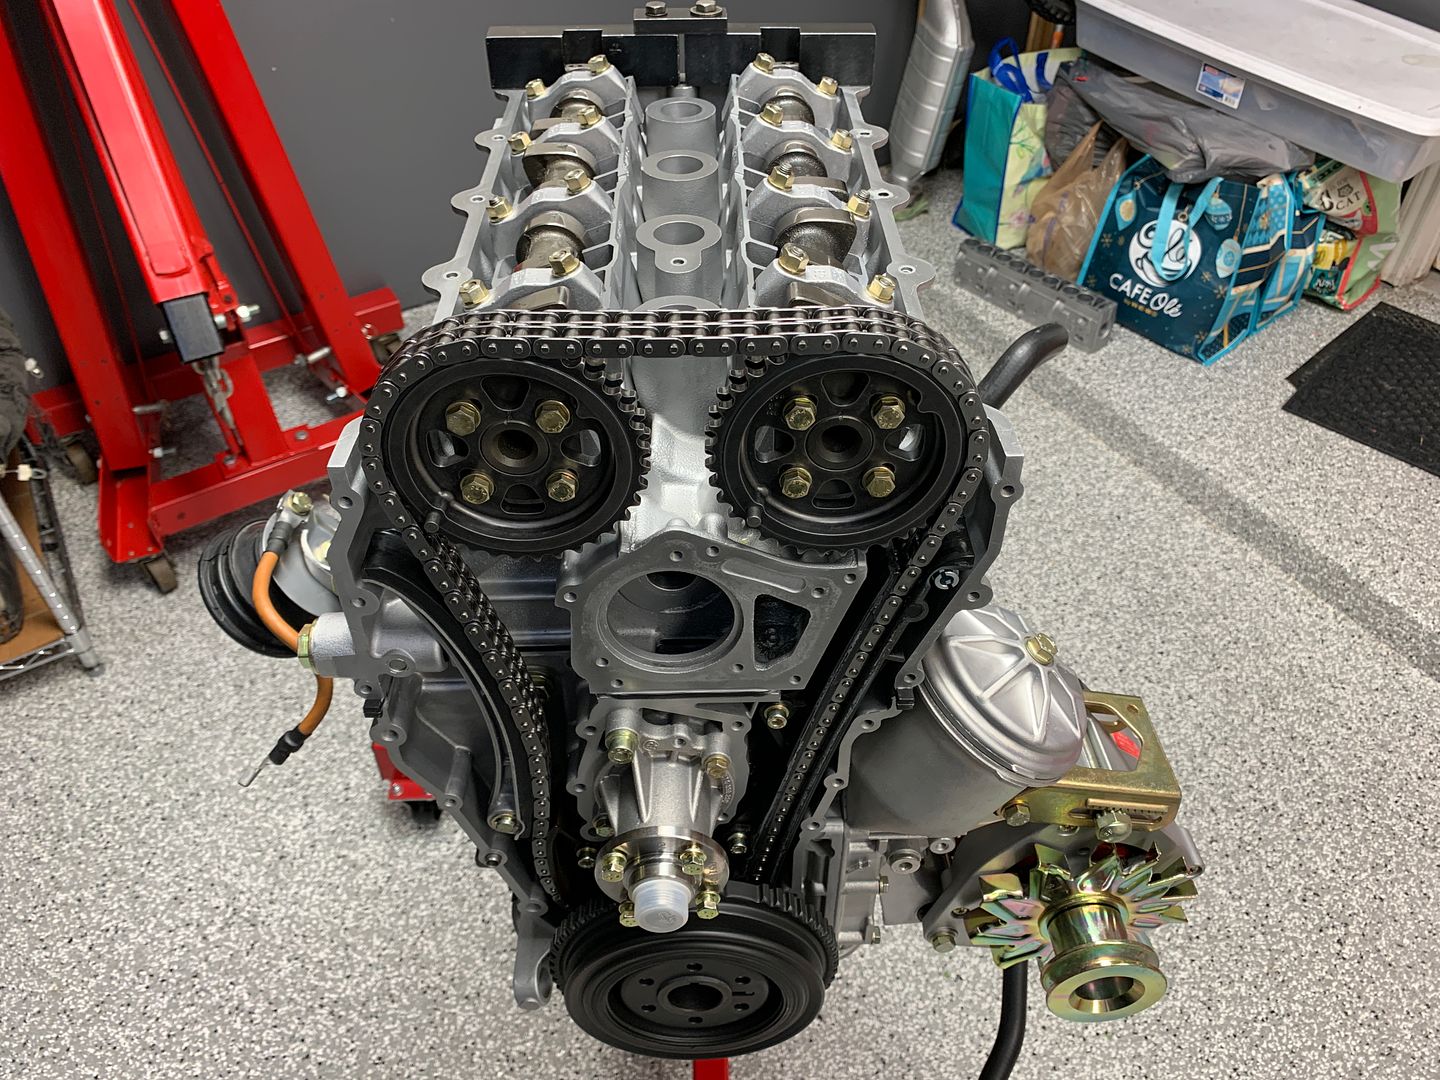
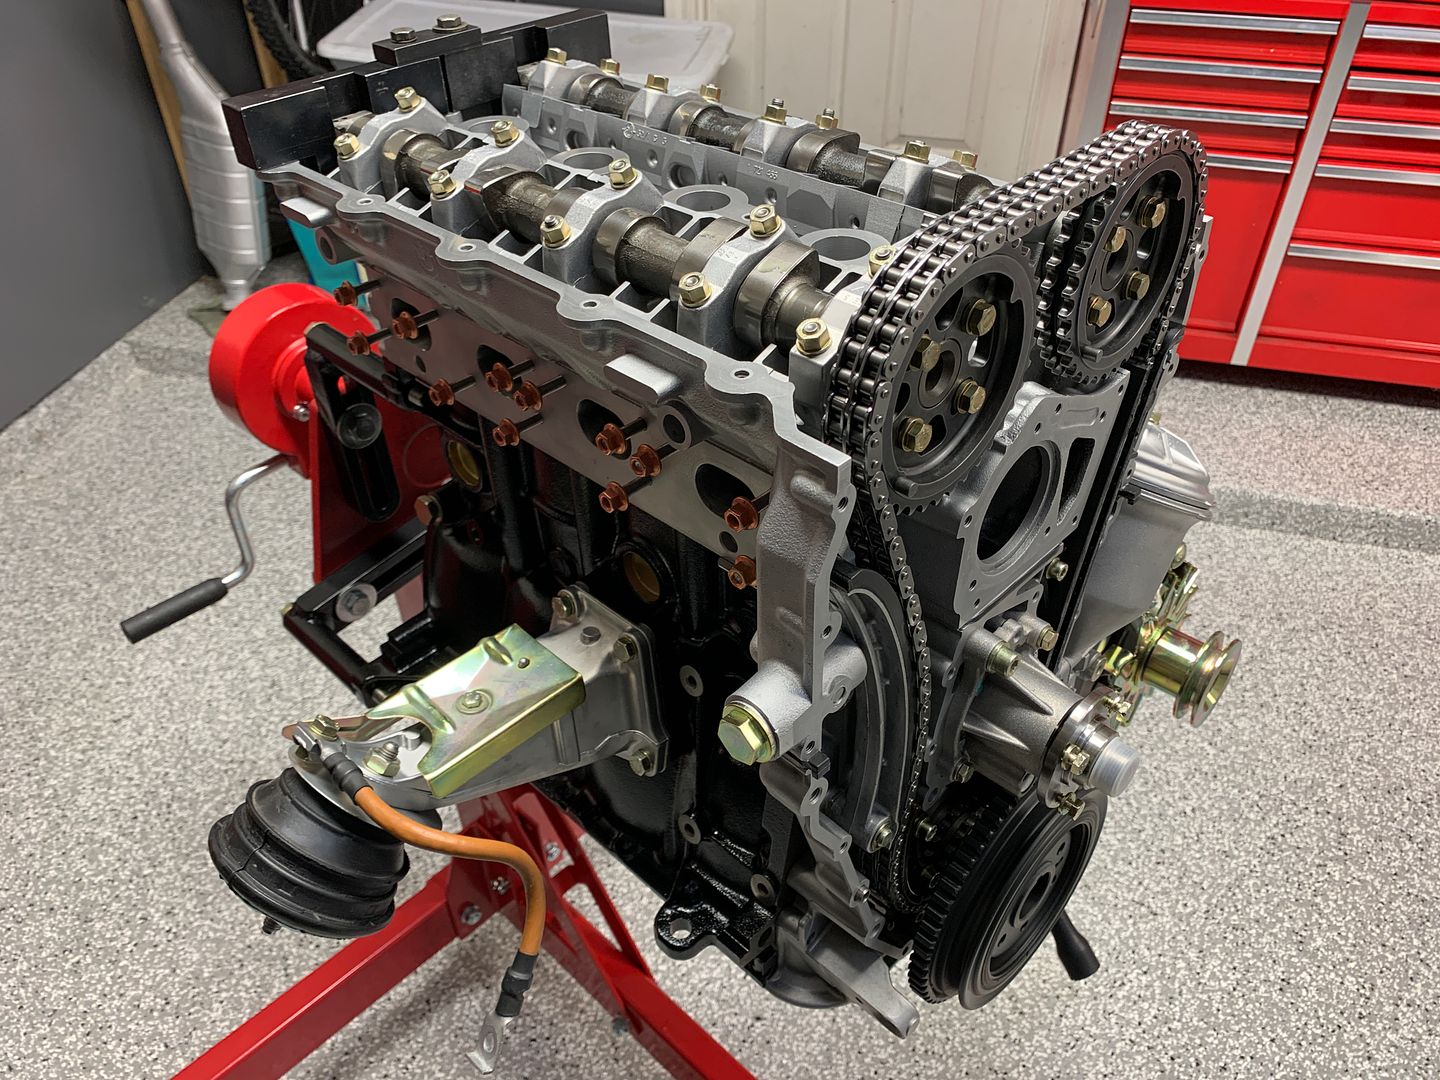
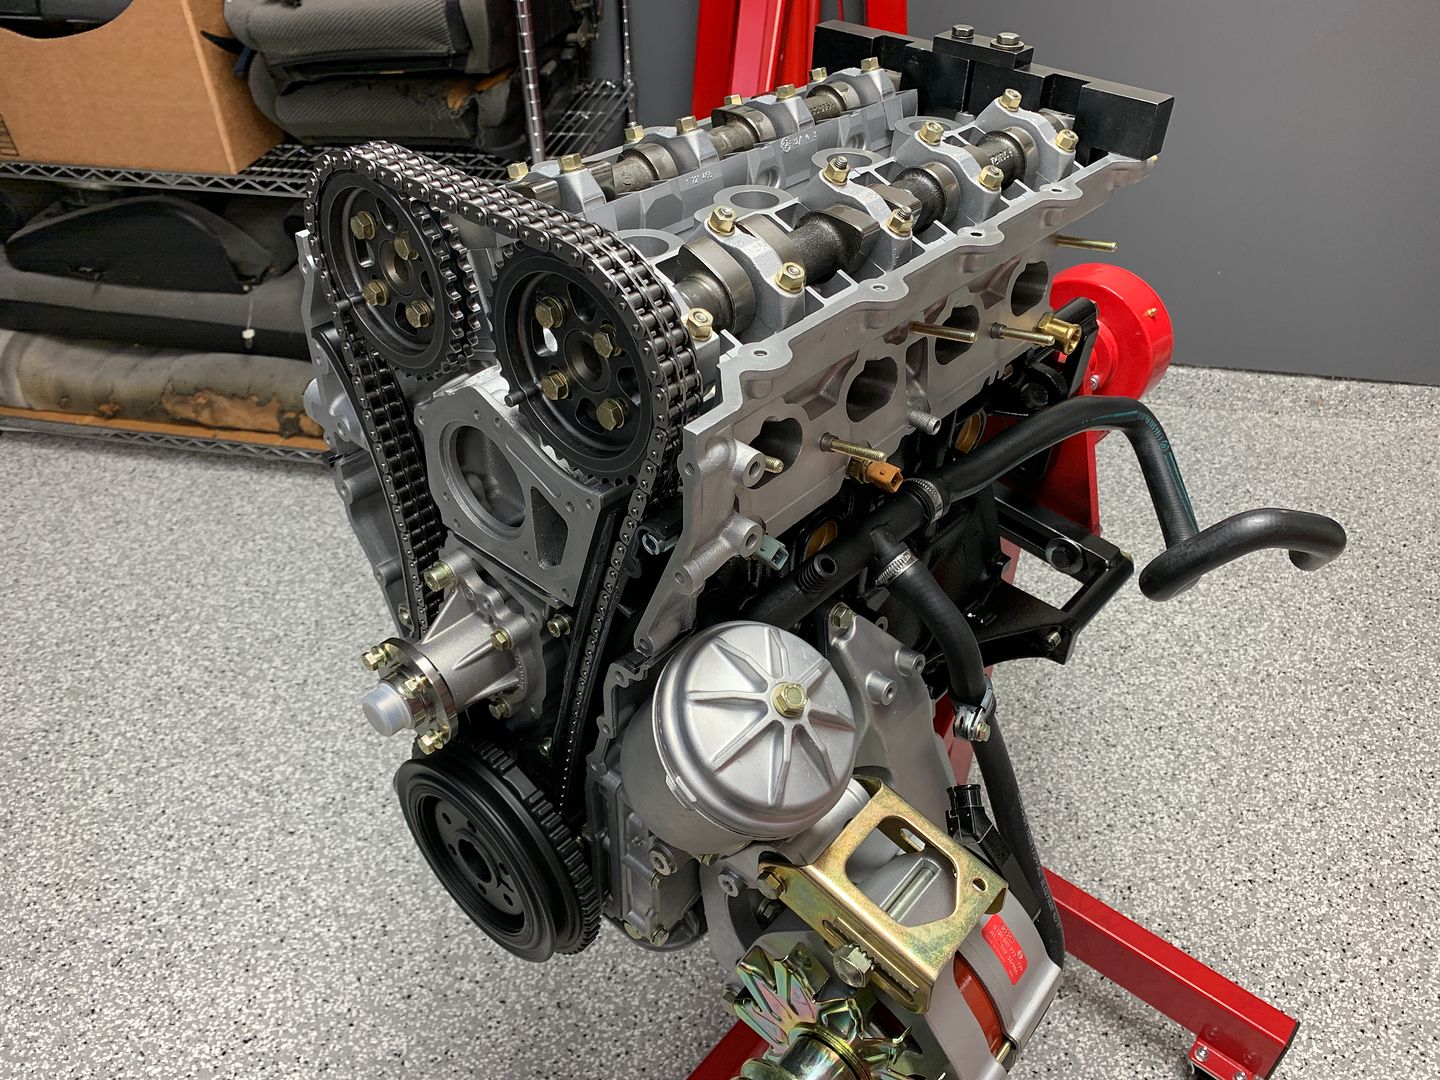
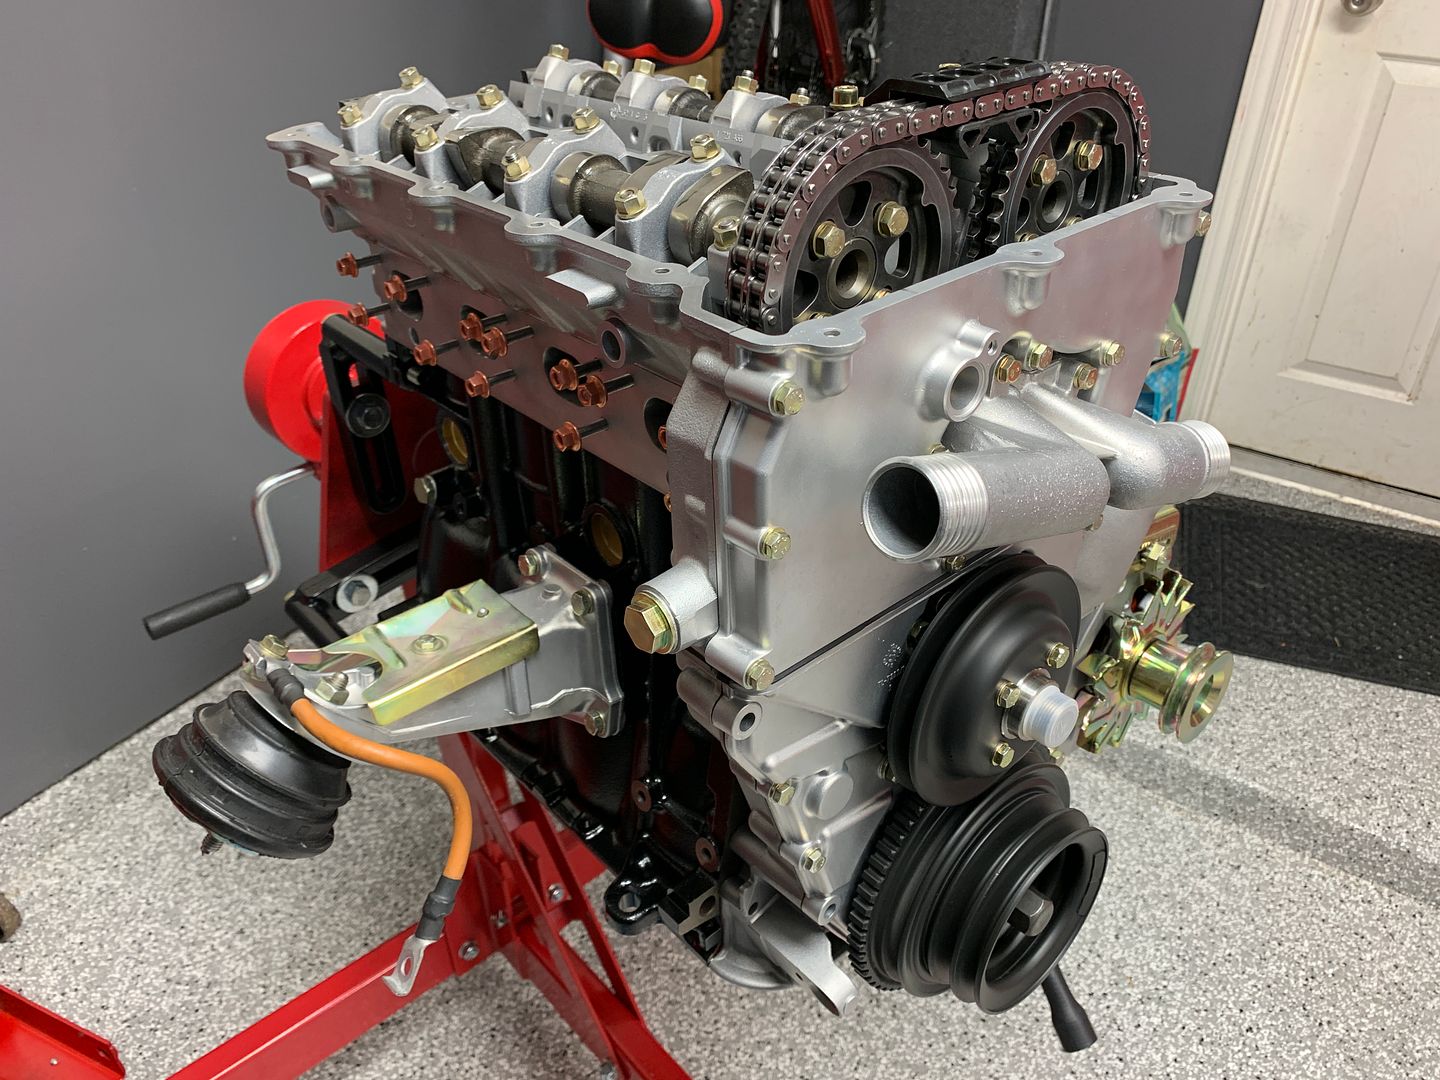
Upper and lower timing case covers installed and torqued to spec

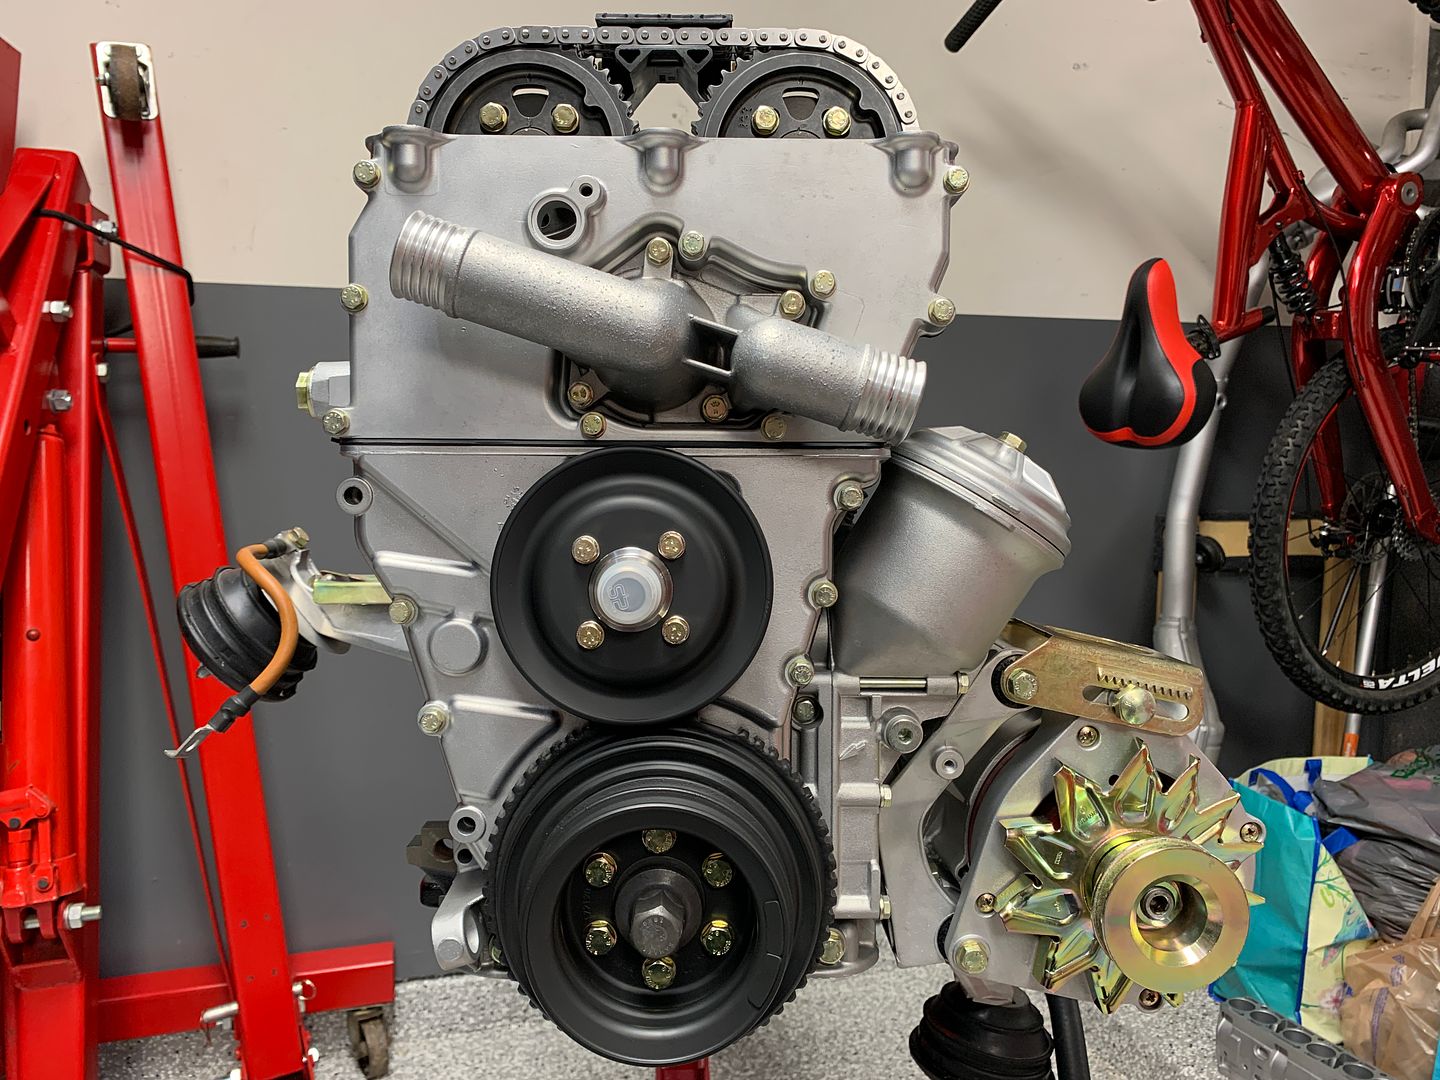
Add new thermostat housing, water pump pulley, and harmonic balancer/main pulley
Lower intake manifold assembly installed
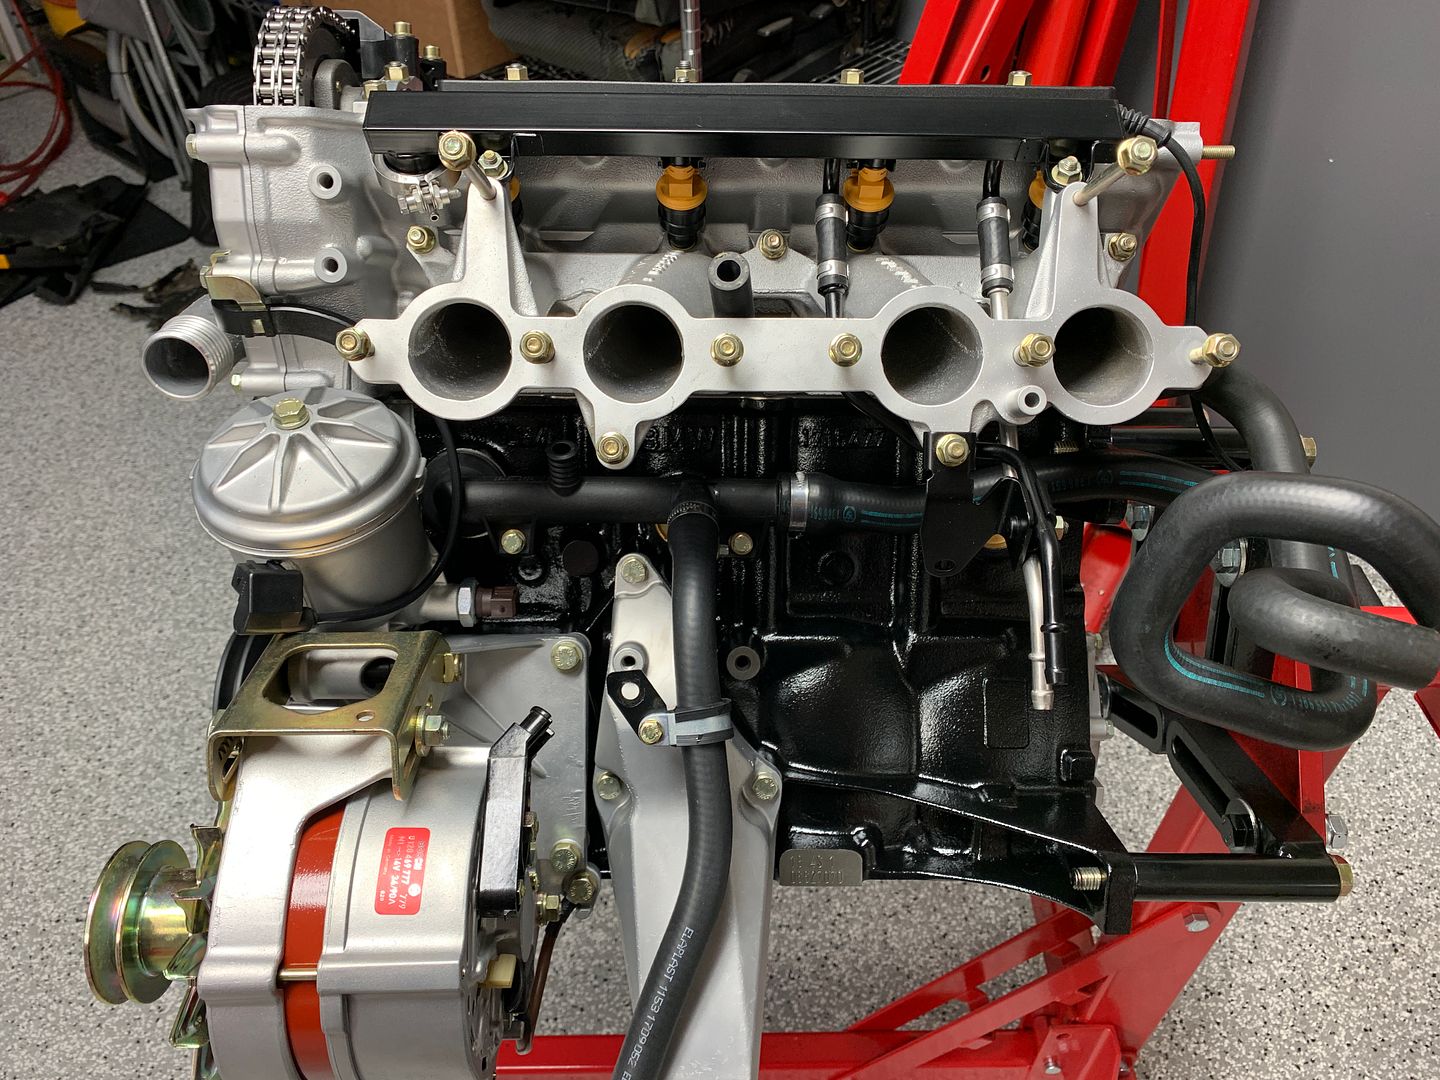
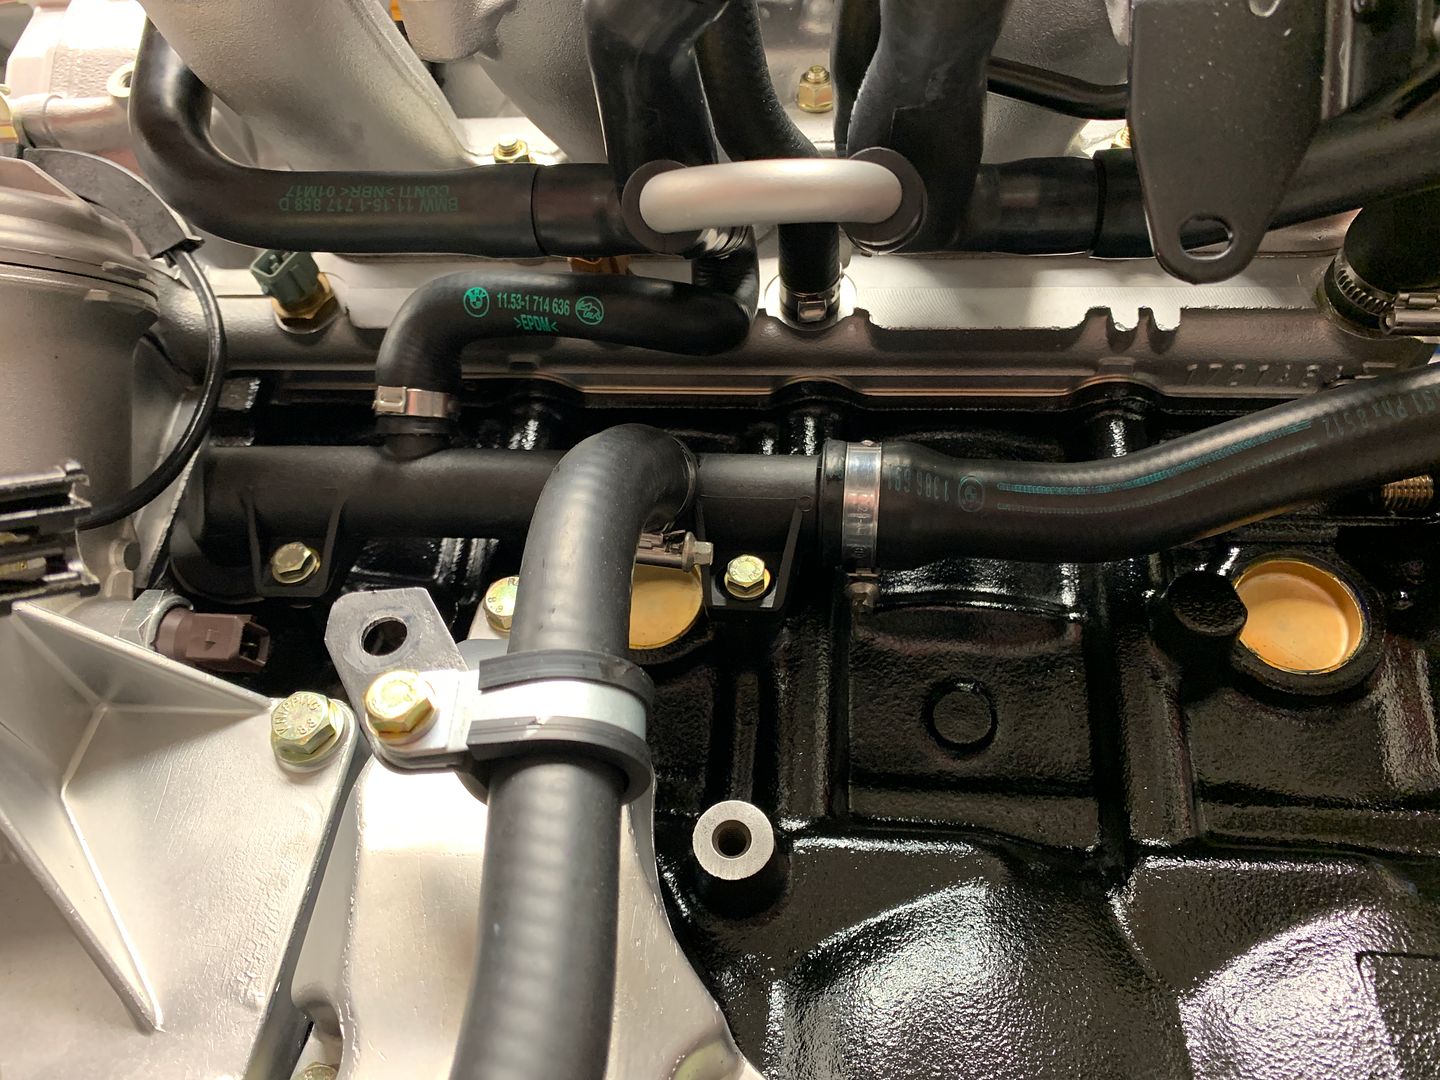
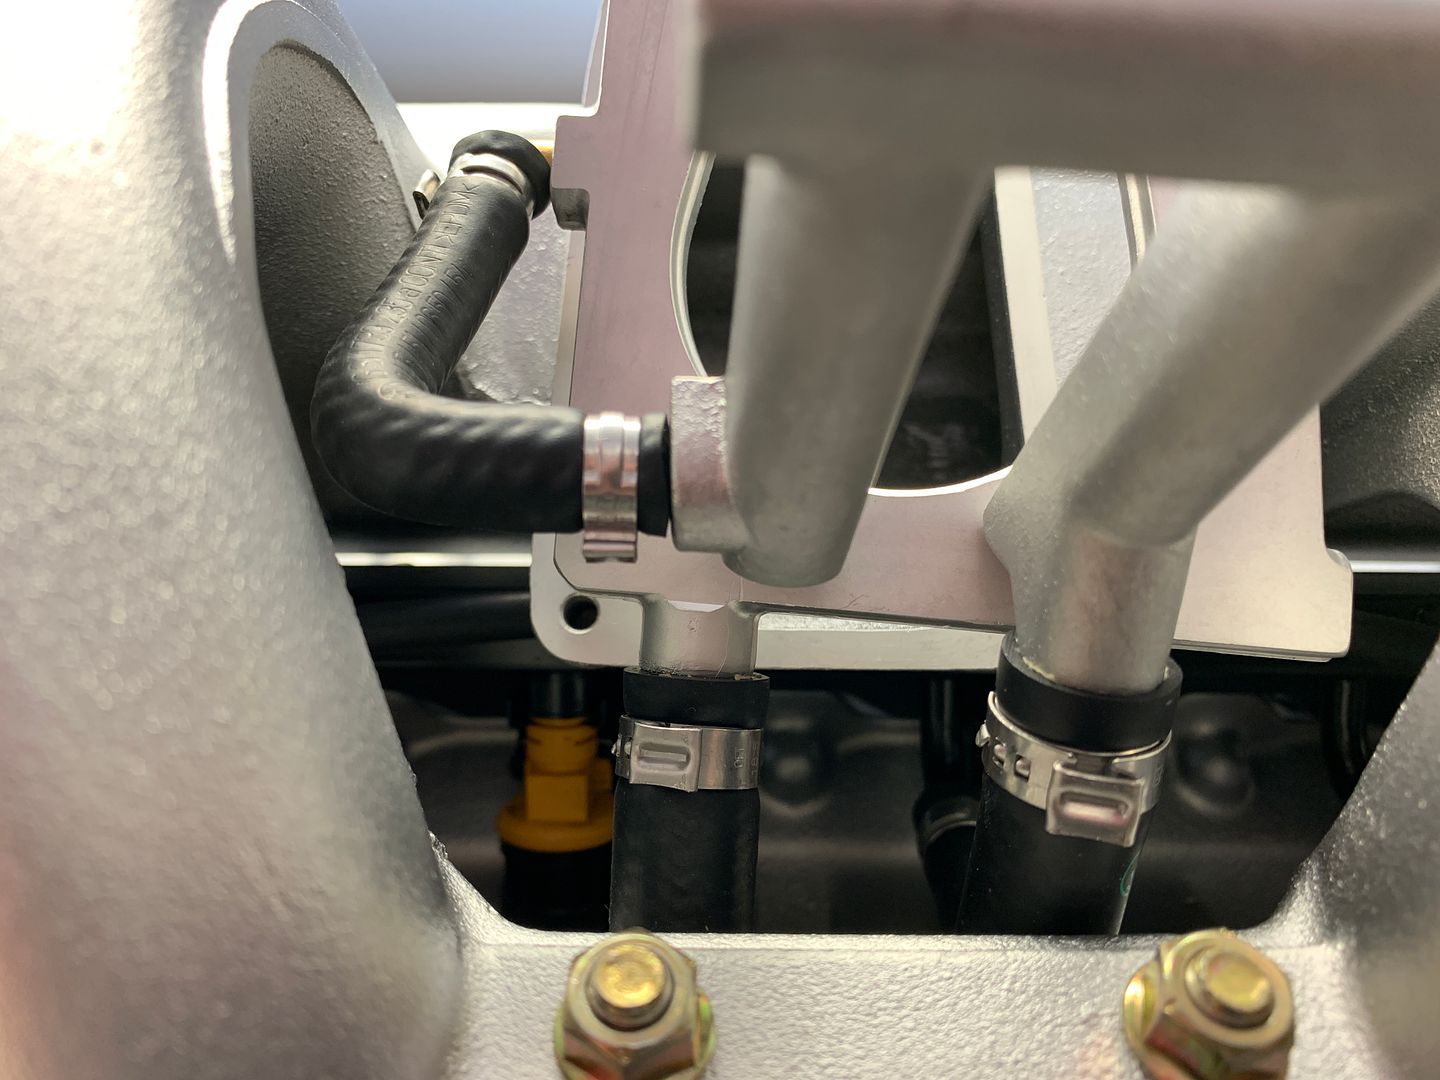
Add some hoses
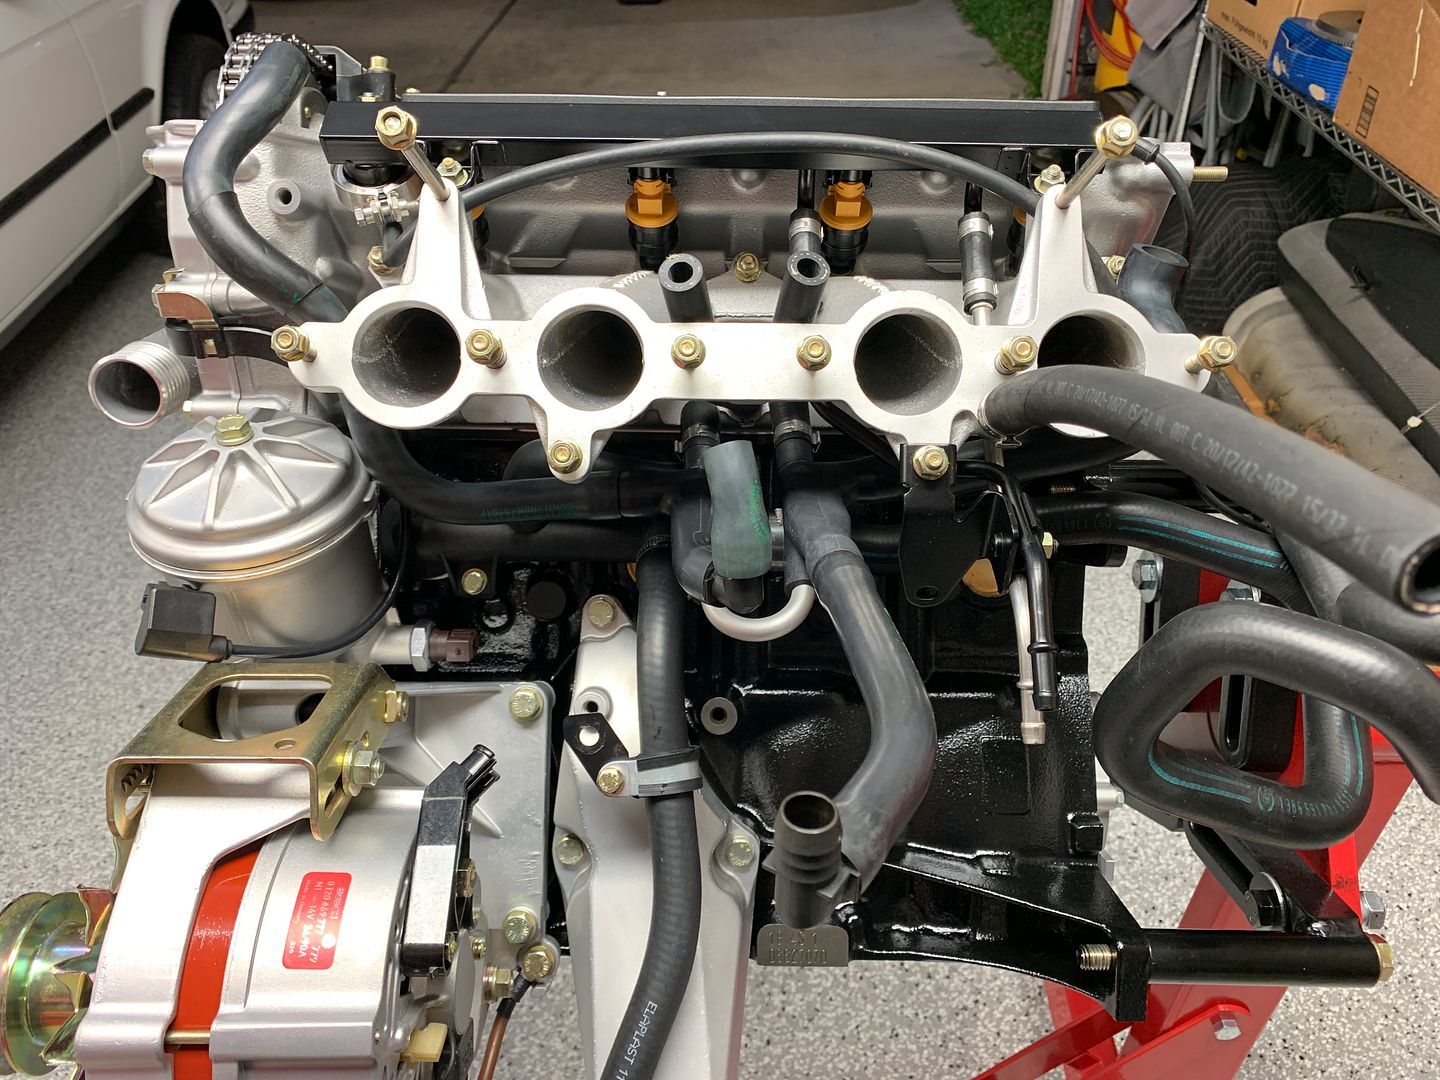
When everything is new and well lit its really not such a mess under the intake. Oetiker clamps used where ever possible.
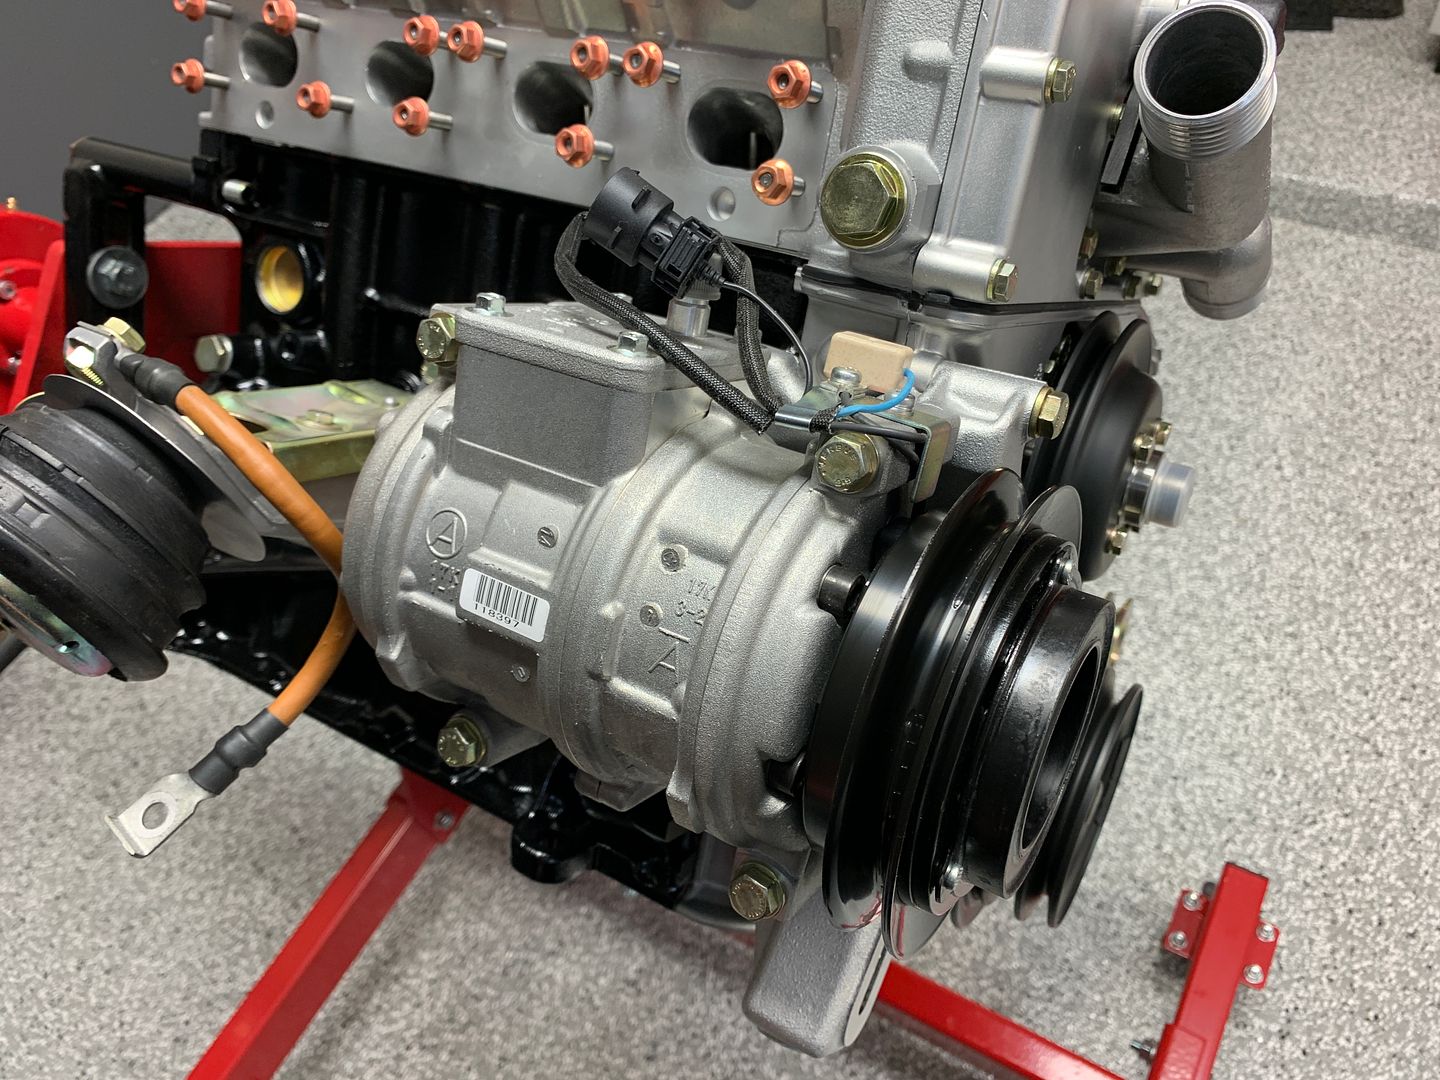
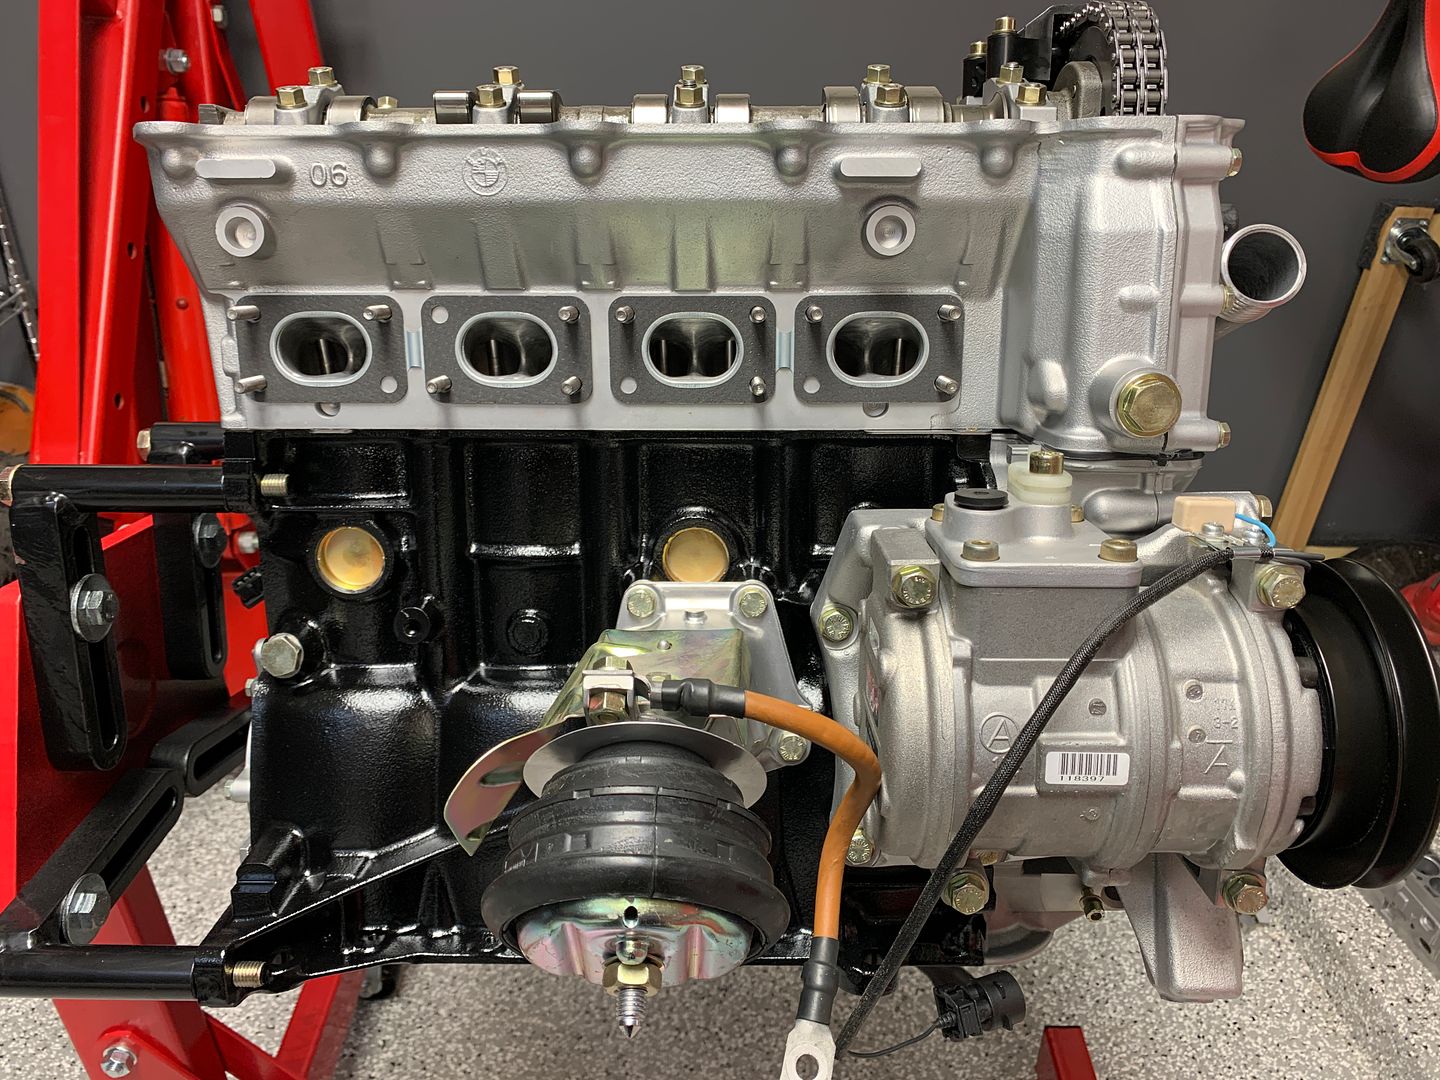
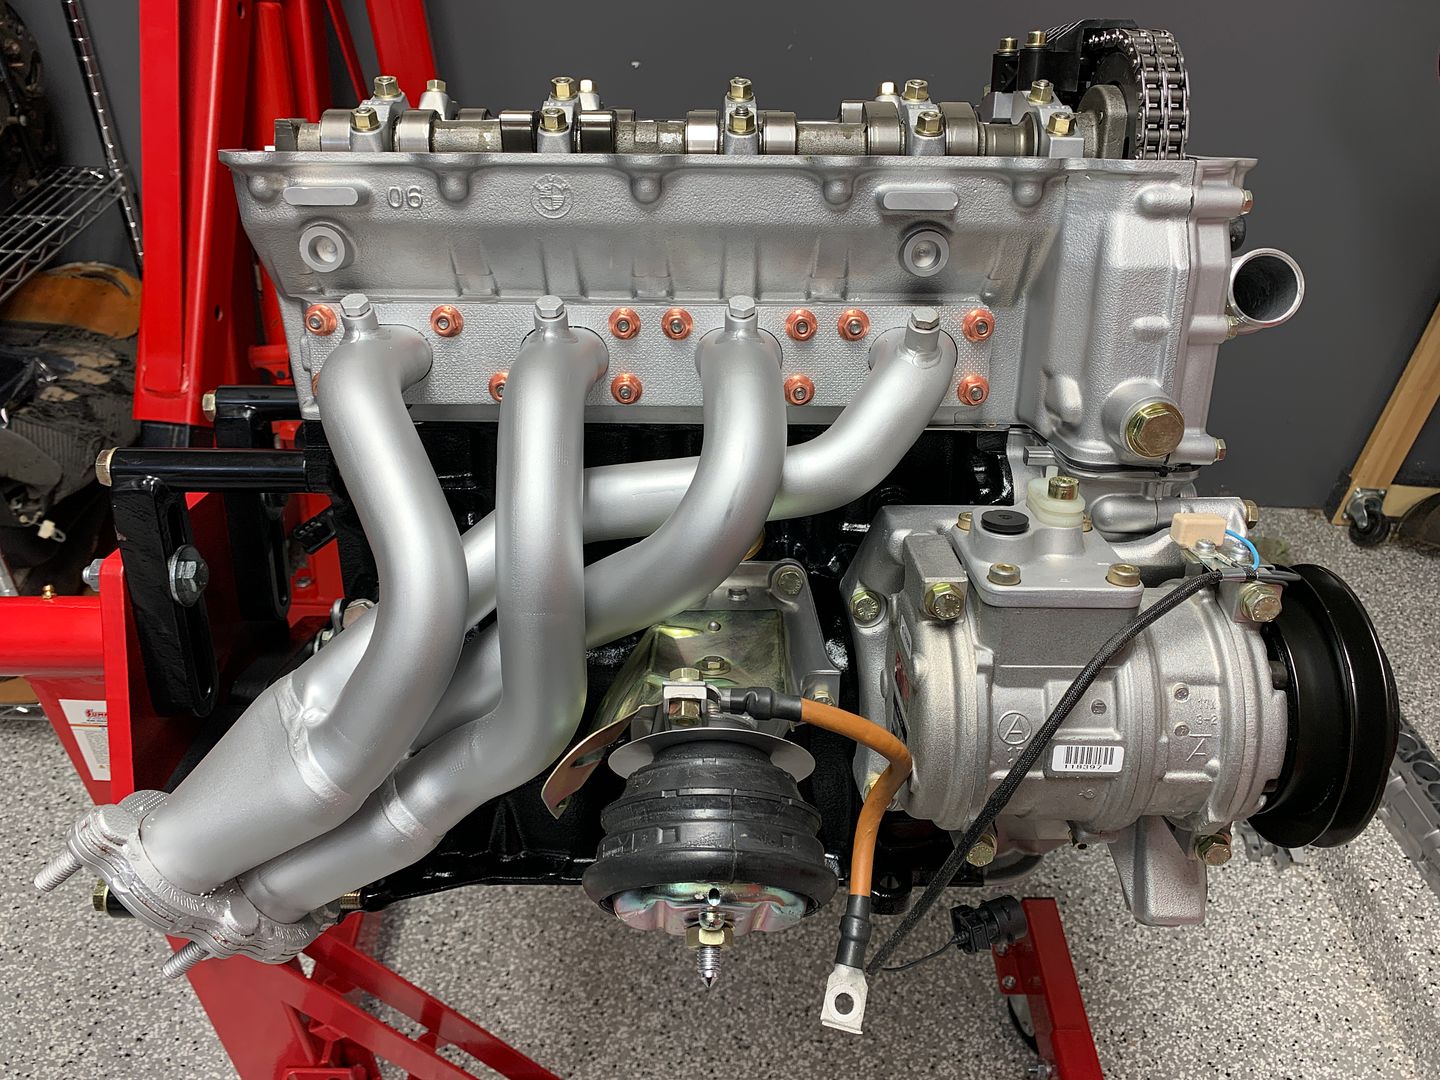
Brand new Nippondenso R134a swashplate compressor, AC should be top notch.
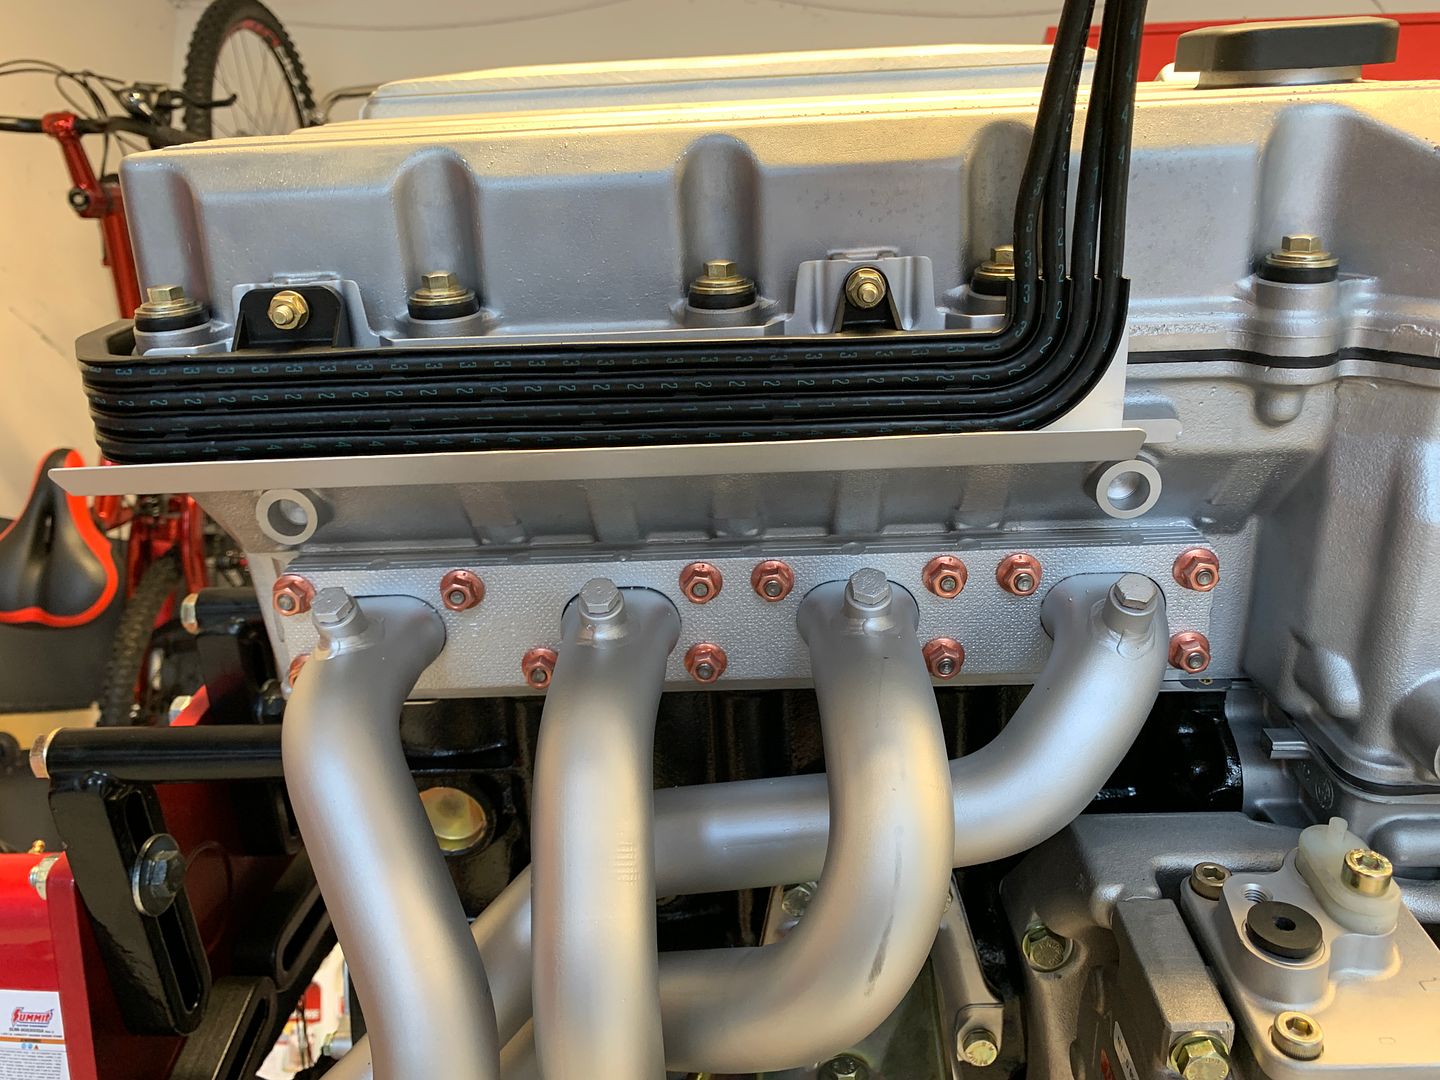
Ready to receive the ceramic coated exhaust manifold
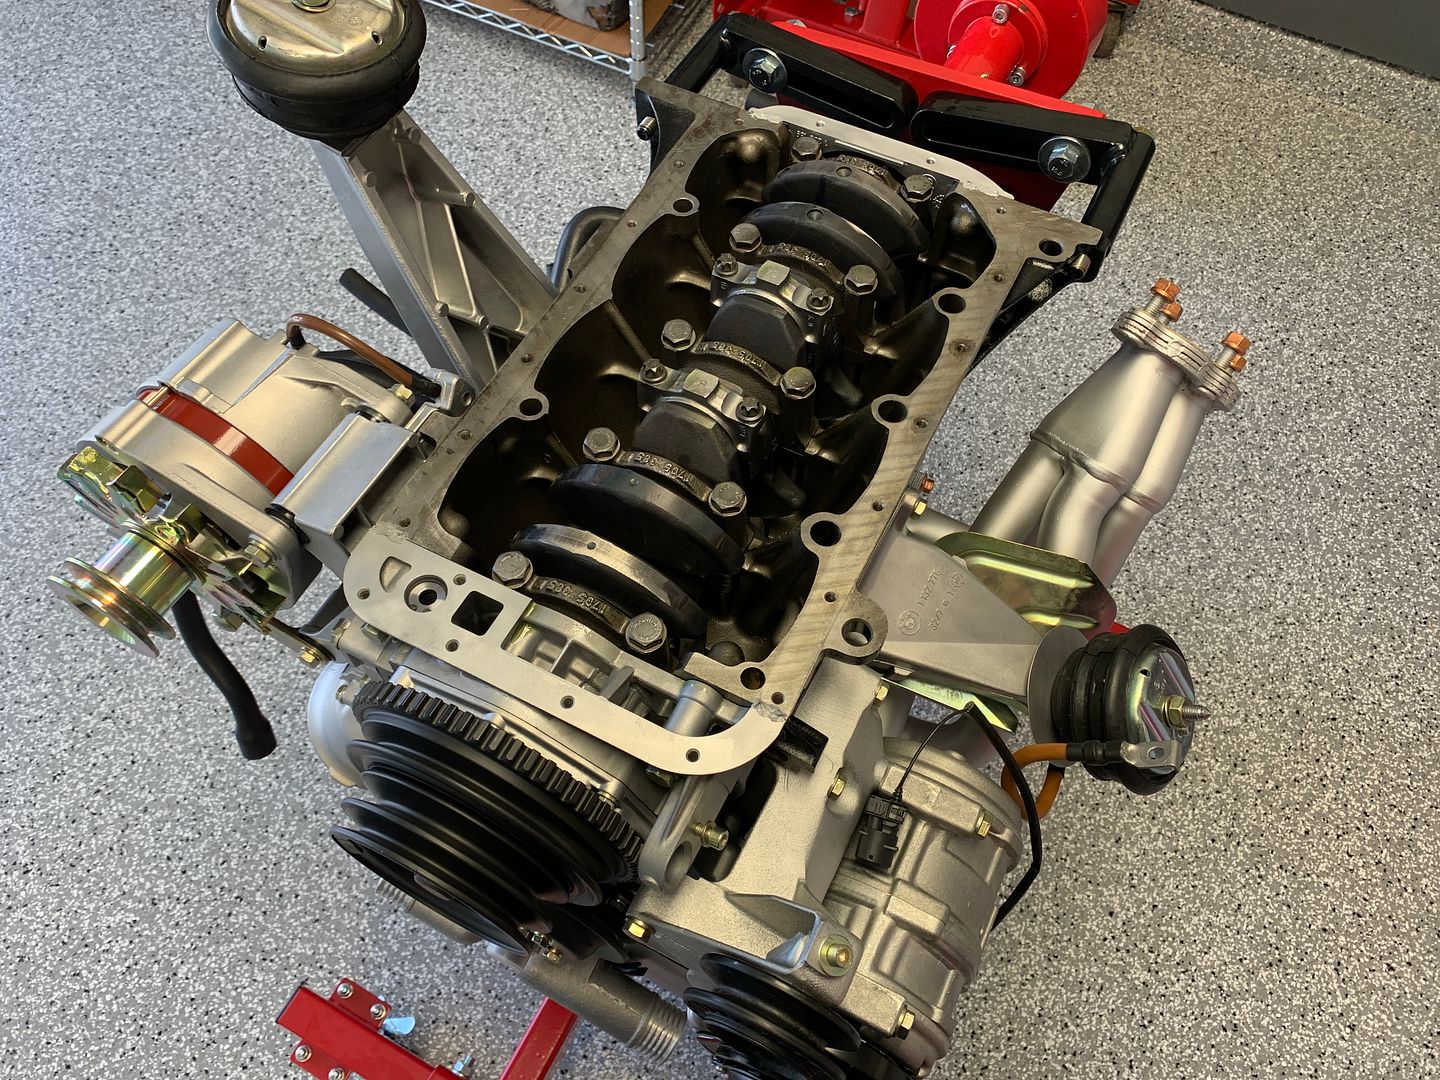
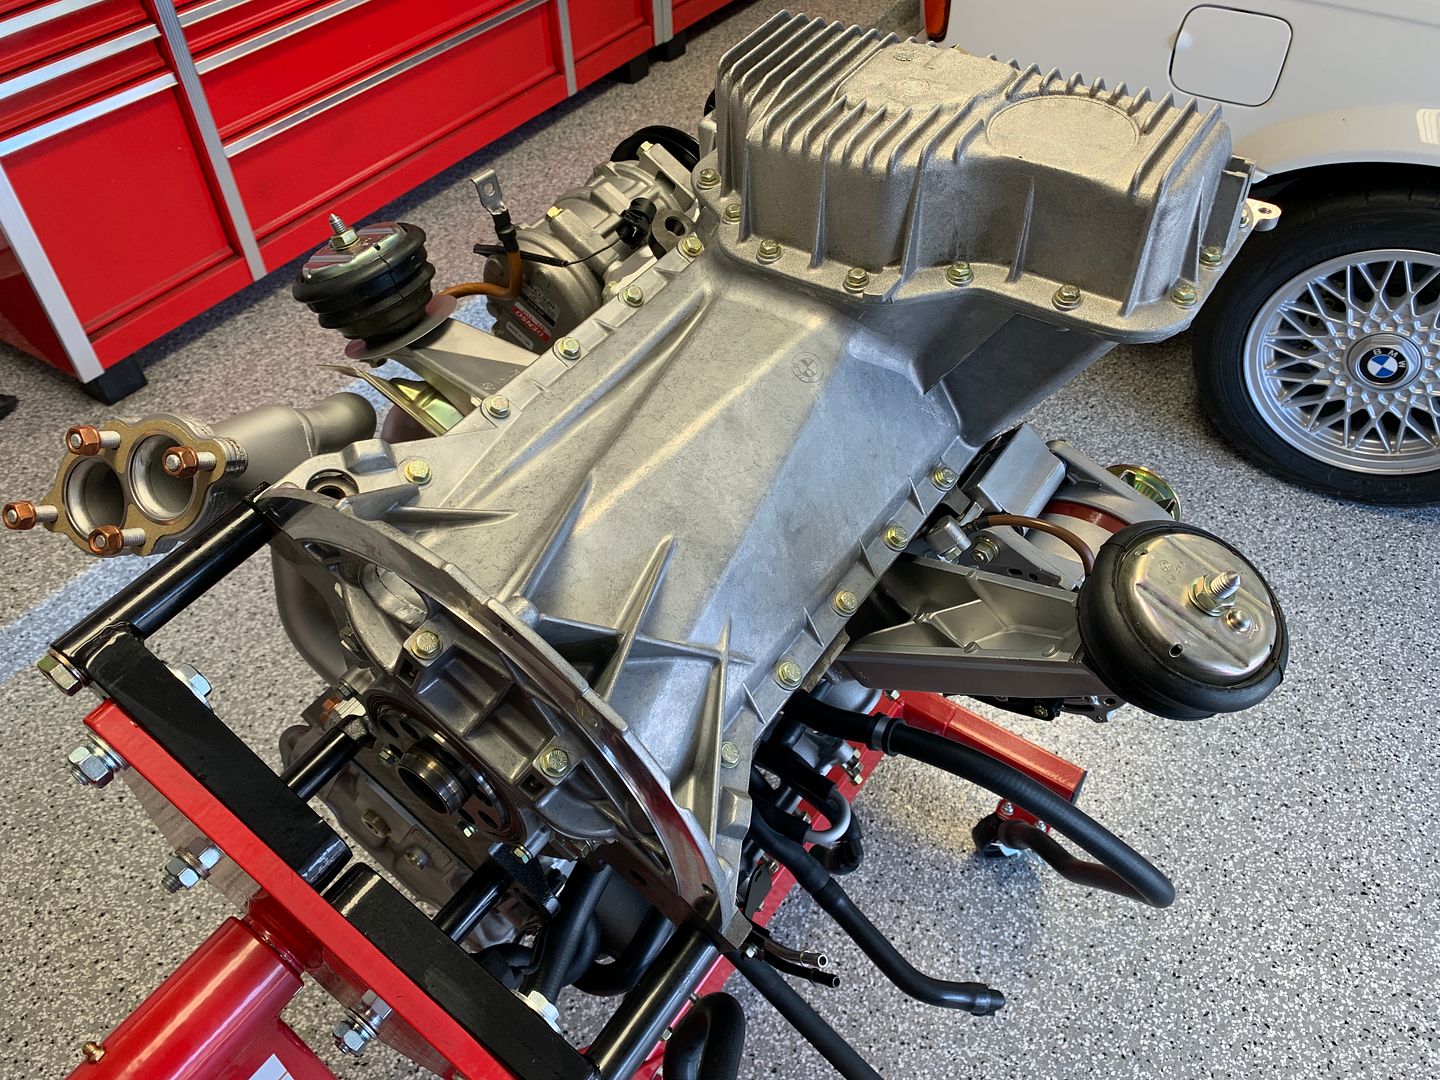
A quick flip upside down to prepare the mating surfaces for the oil pan.
New upper oil pan installed
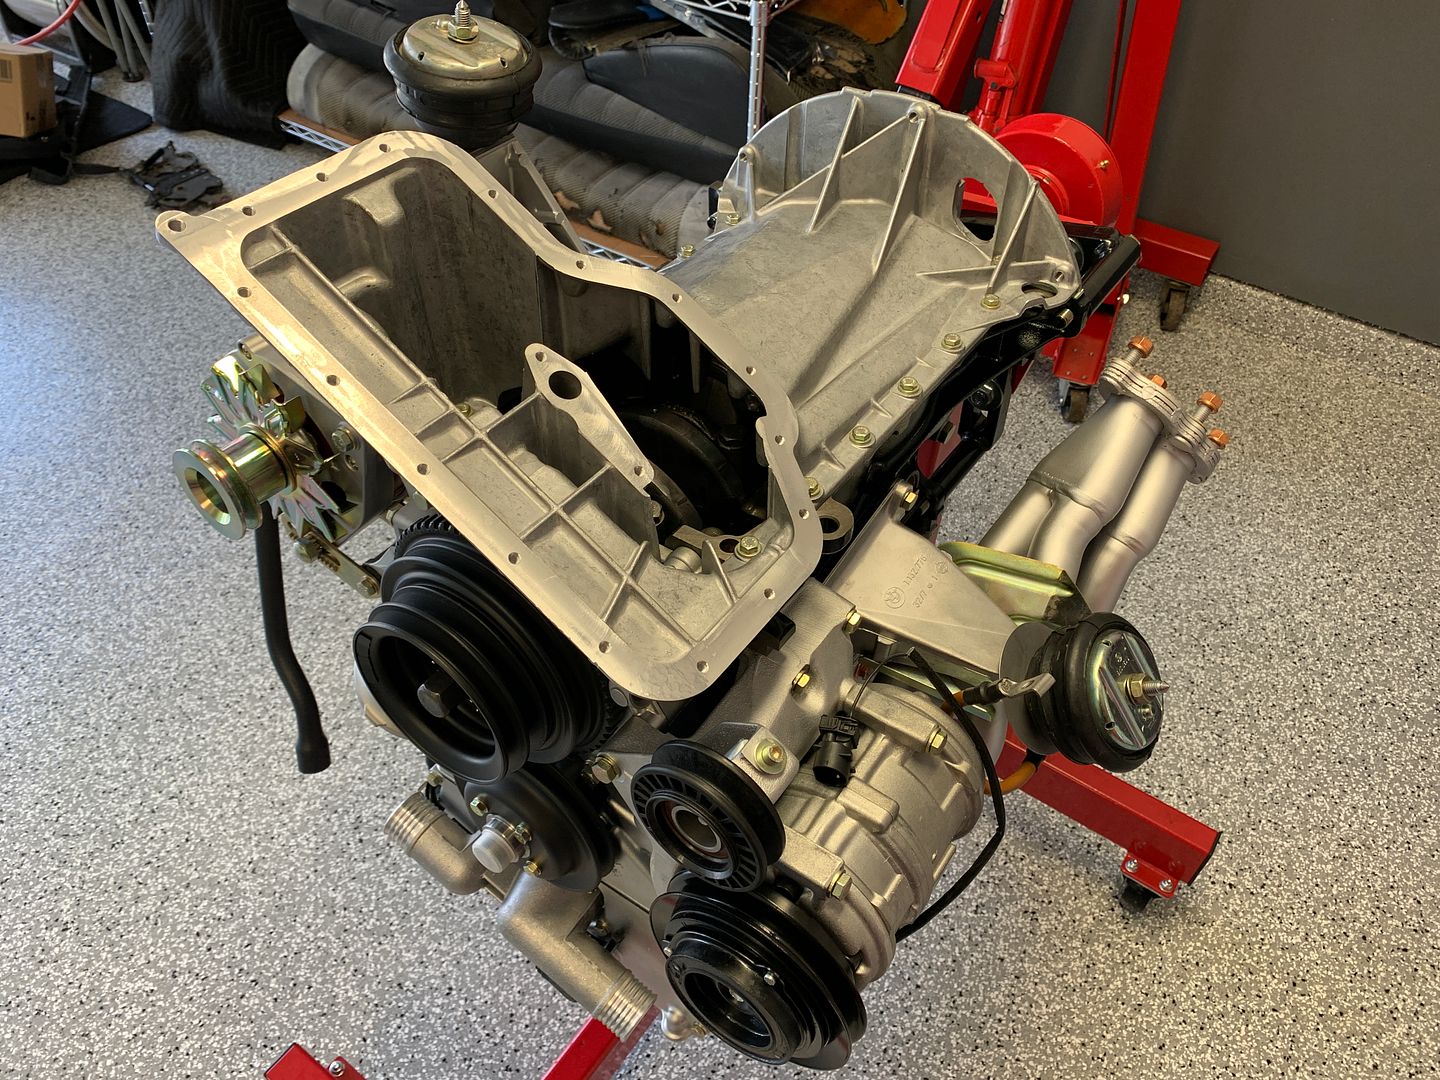
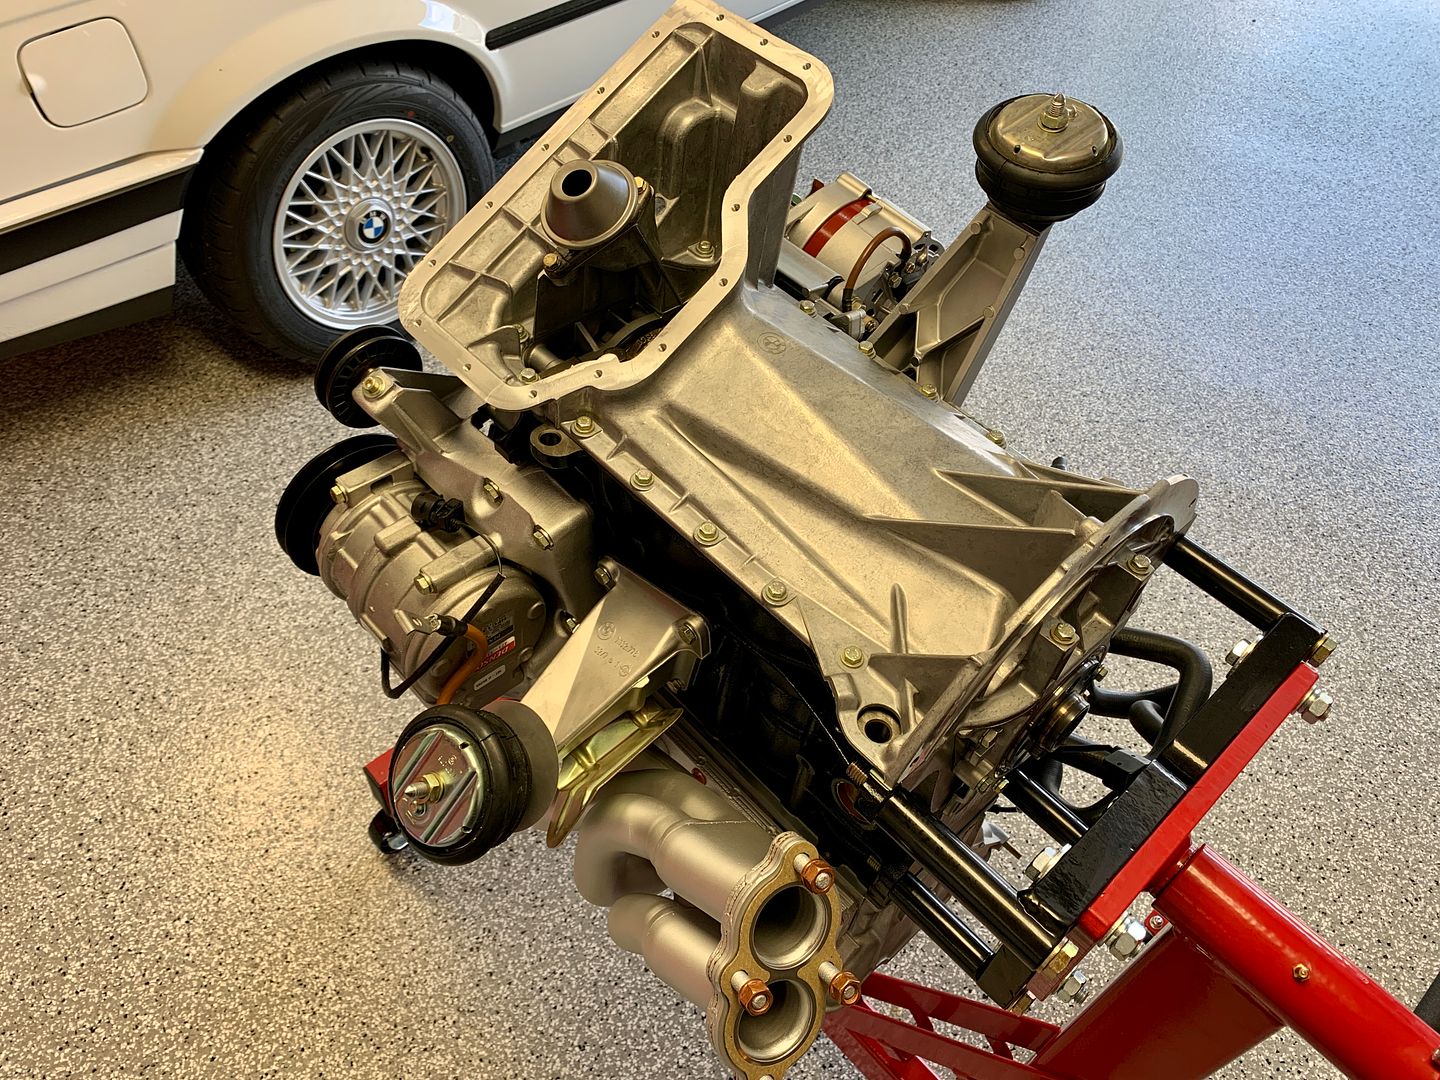
New lower oil pan installed
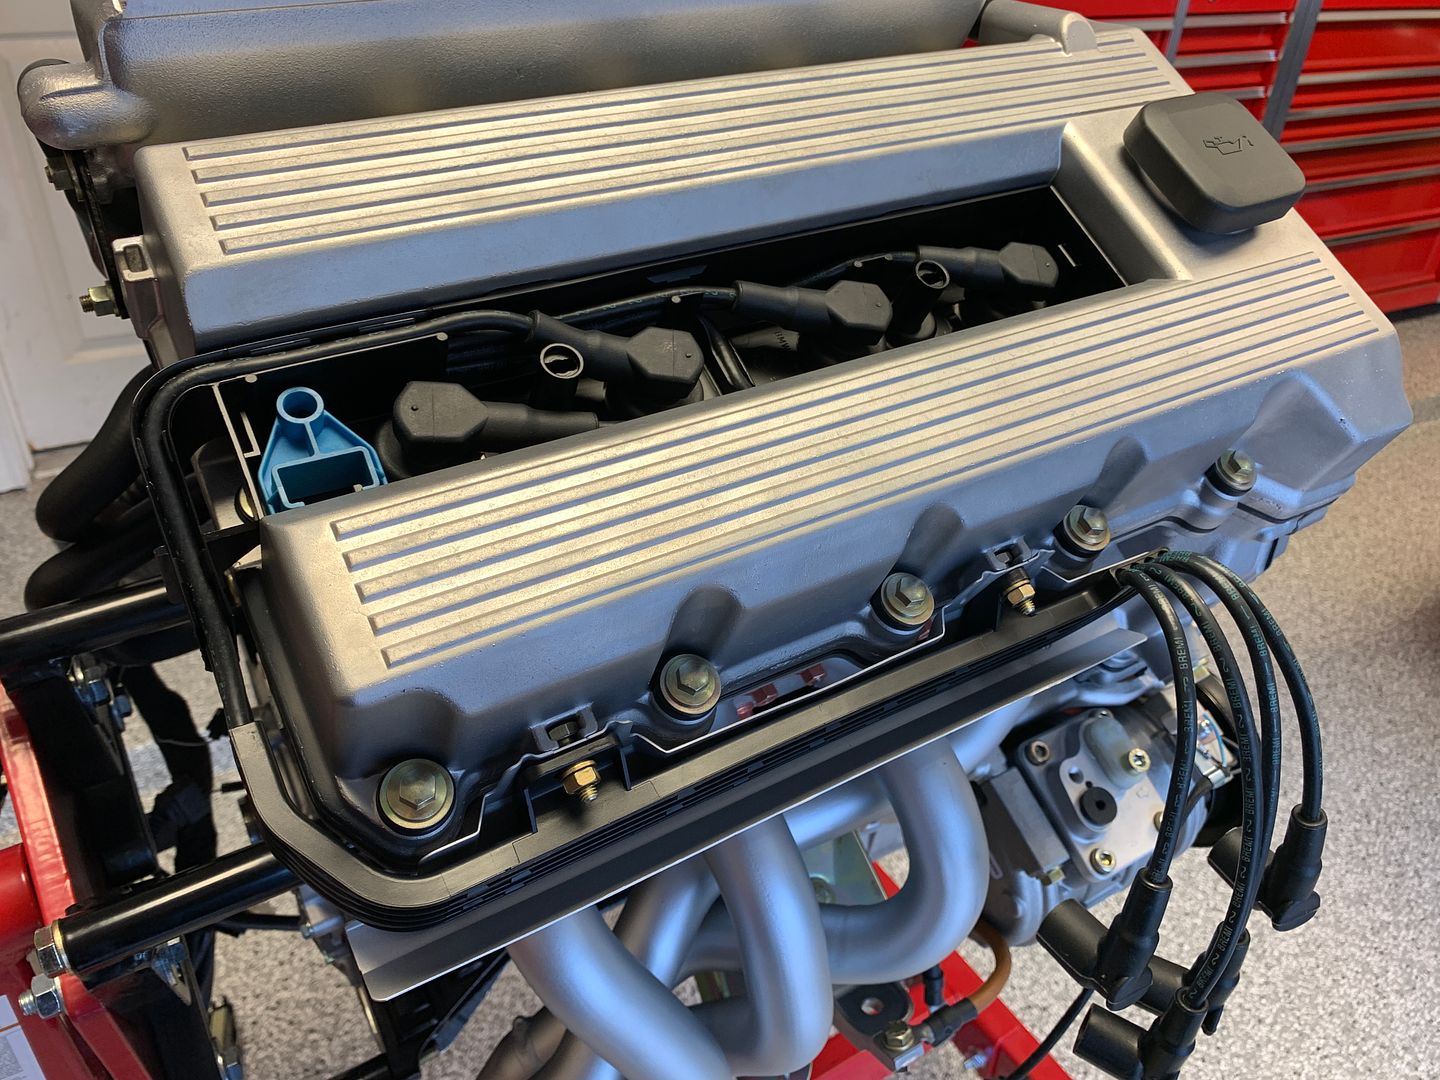
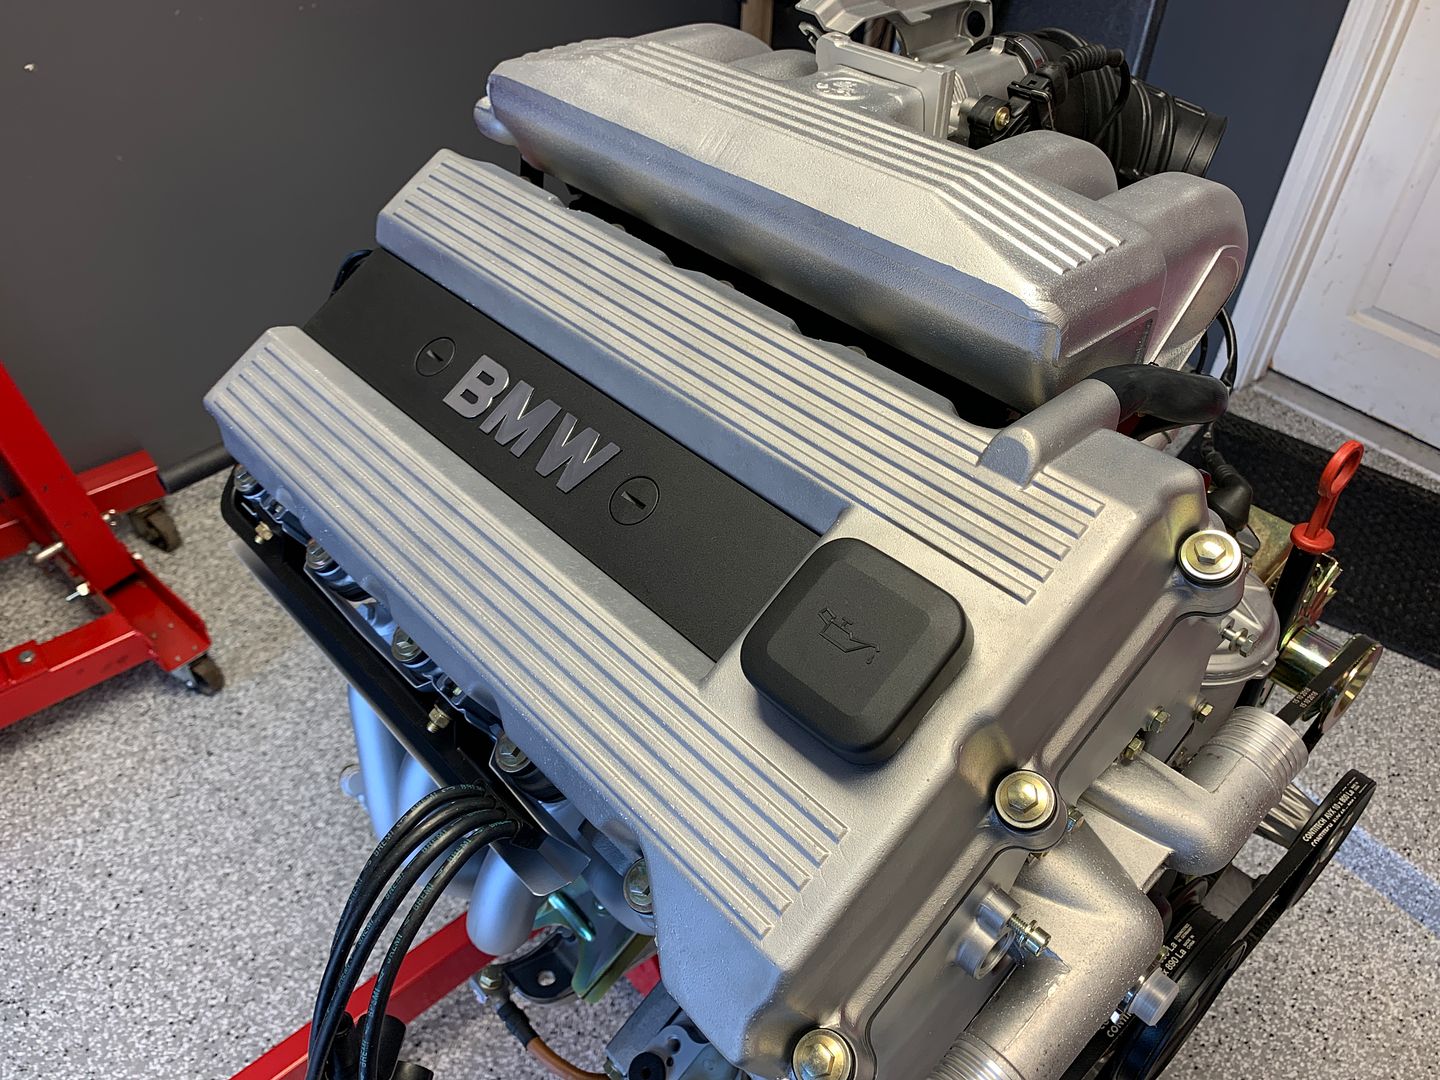
and a valve cover!
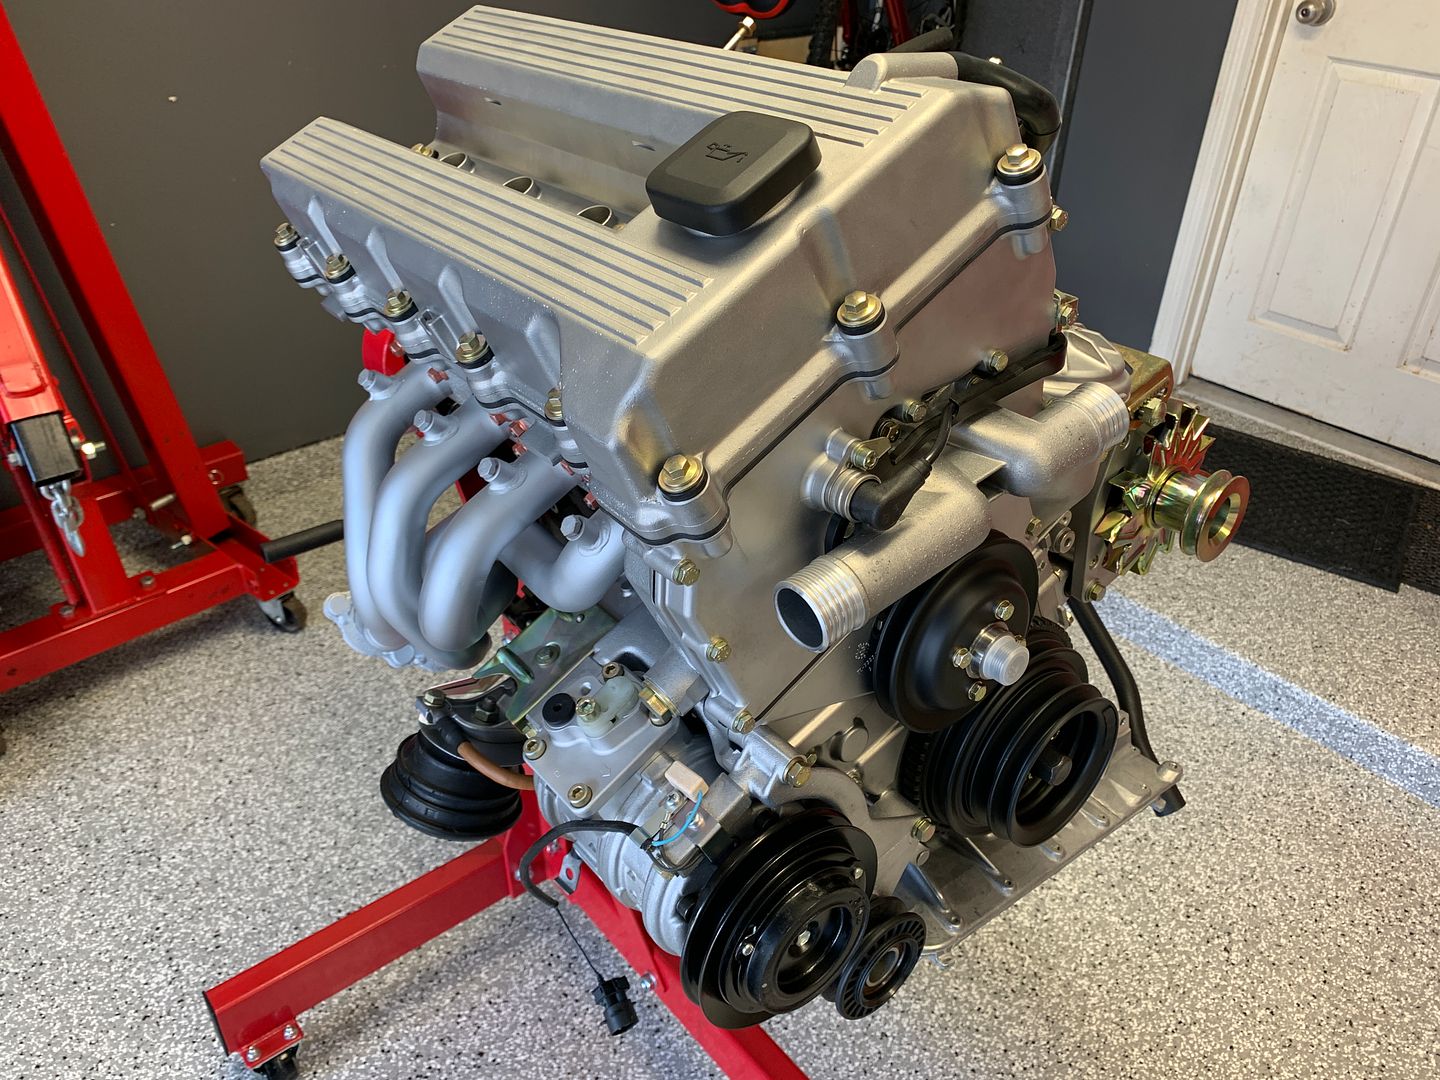
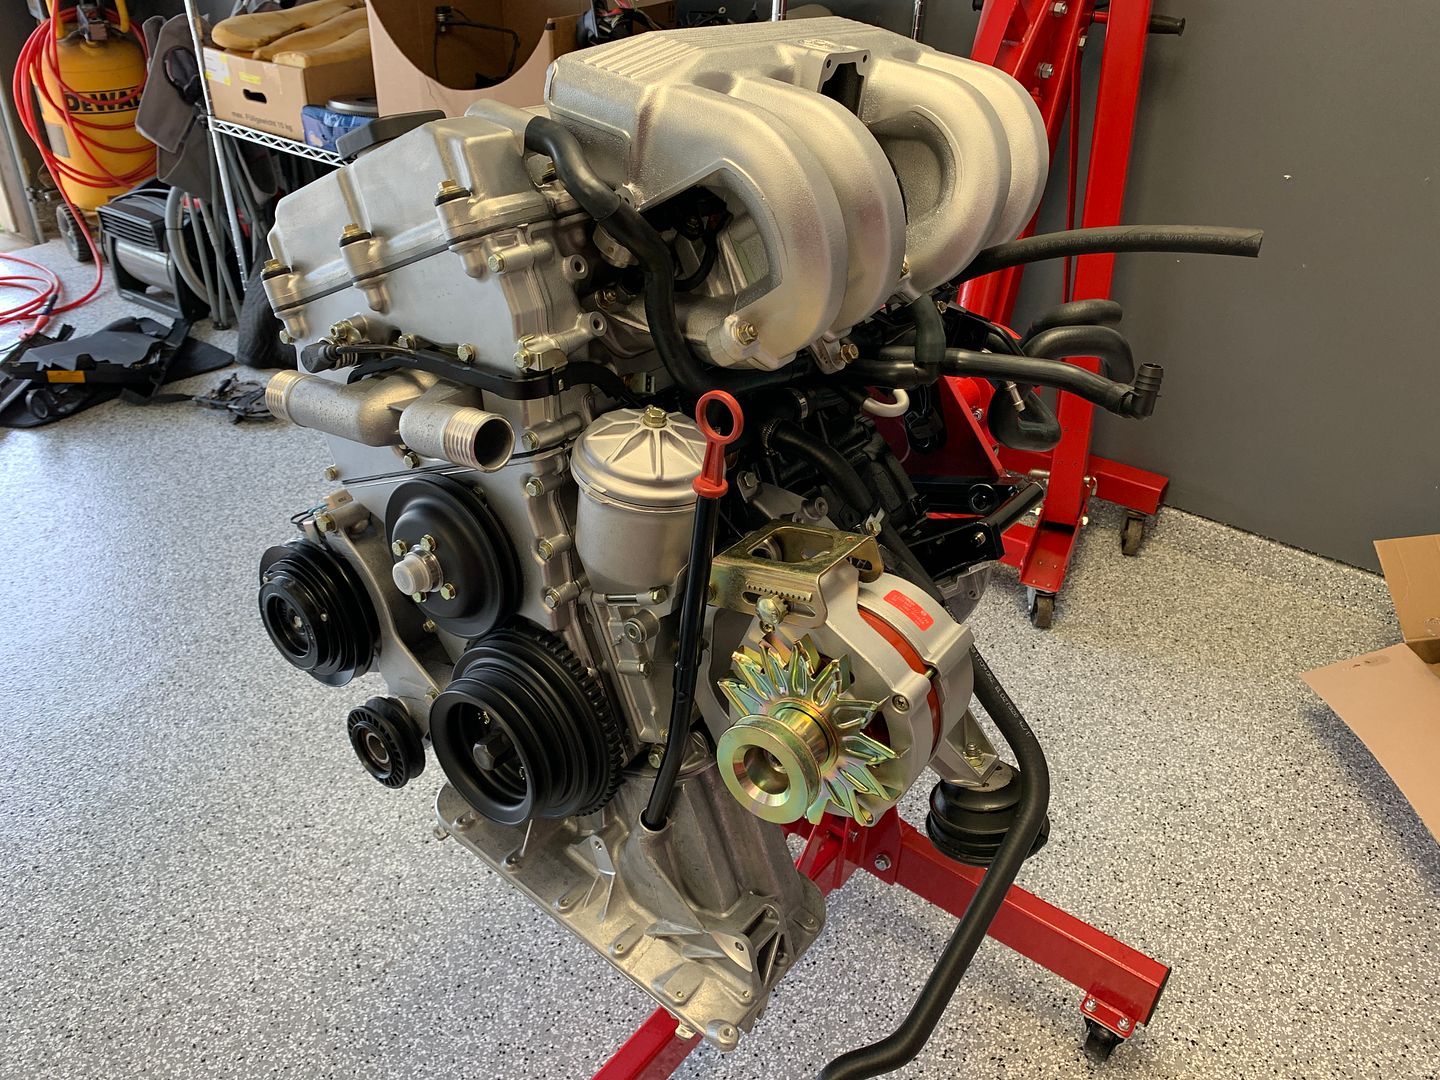
Upper intake manifold, dipstick rube
Throttle body heater plates, again with Oetiker clamps to keep it tidy
Throttle body installed
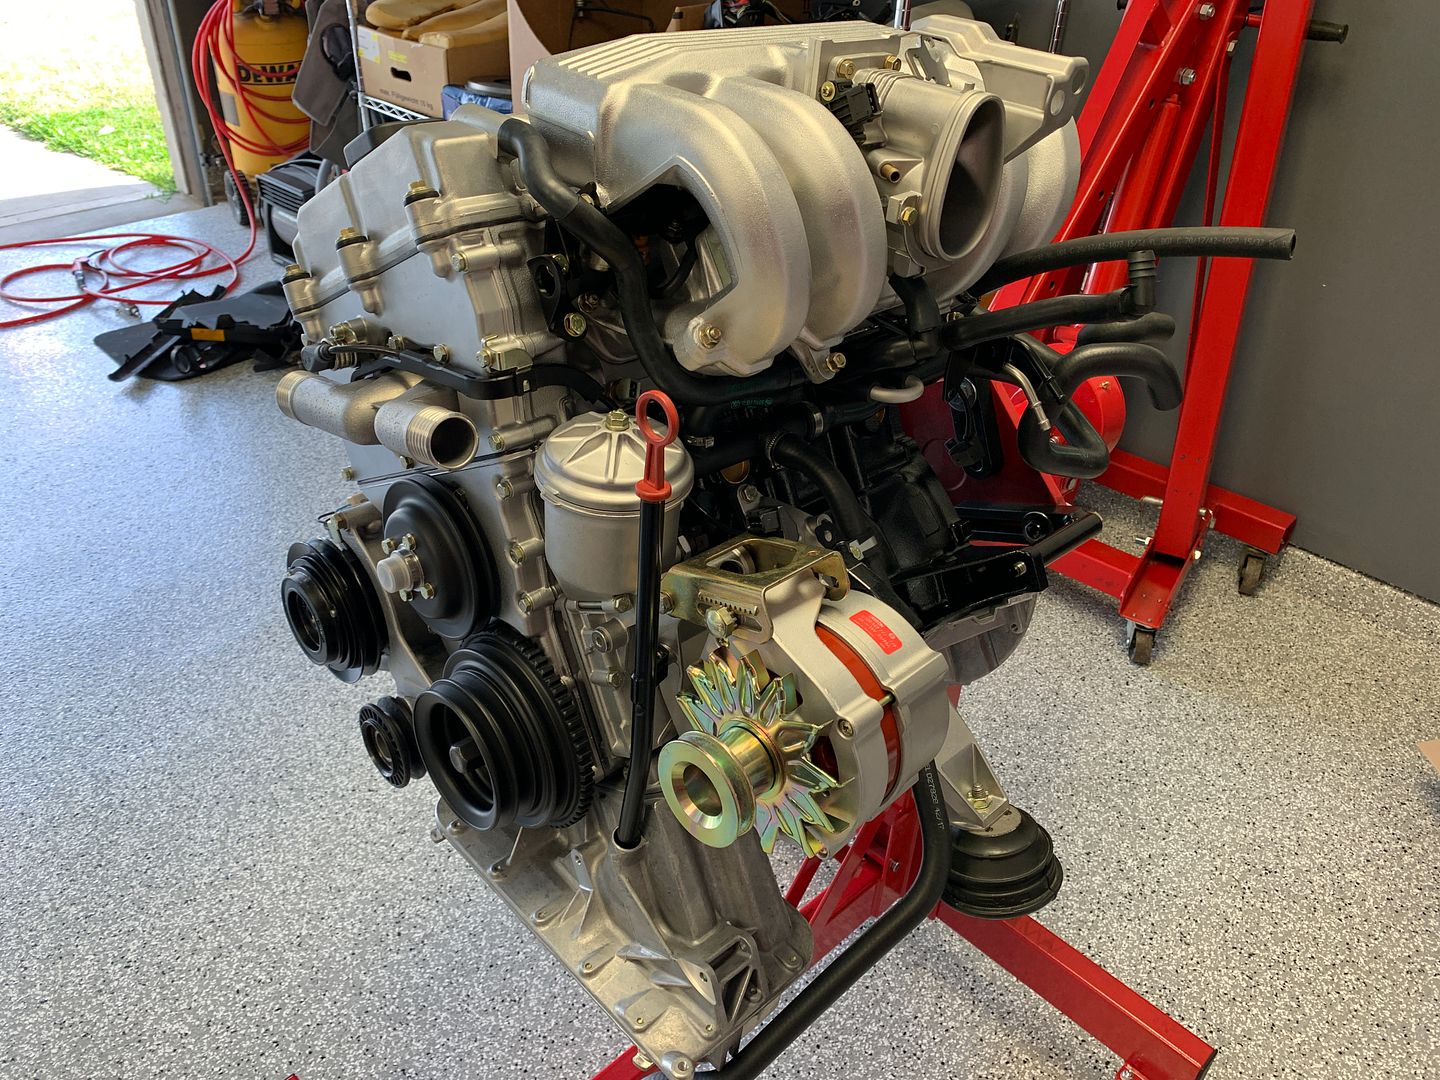
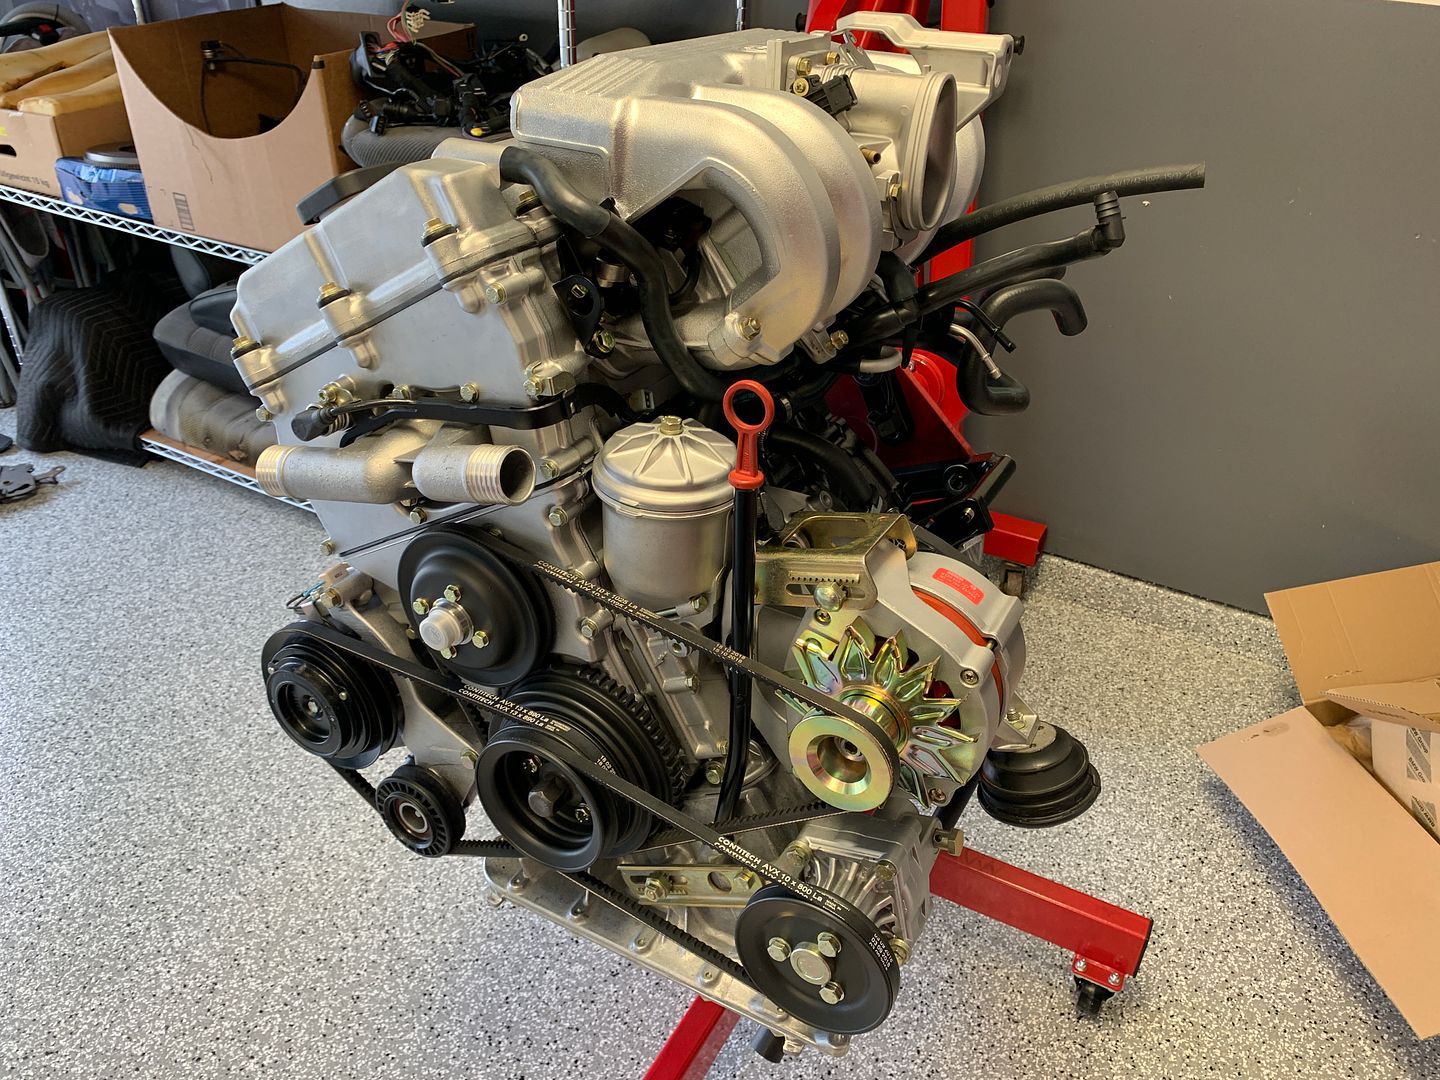
All three drive belts
Ignition wires with guide tray, rail and ceramic coated heatshield
New cover plate

New idle control valve (Barf at the cost of this little shit) and VIN tag.

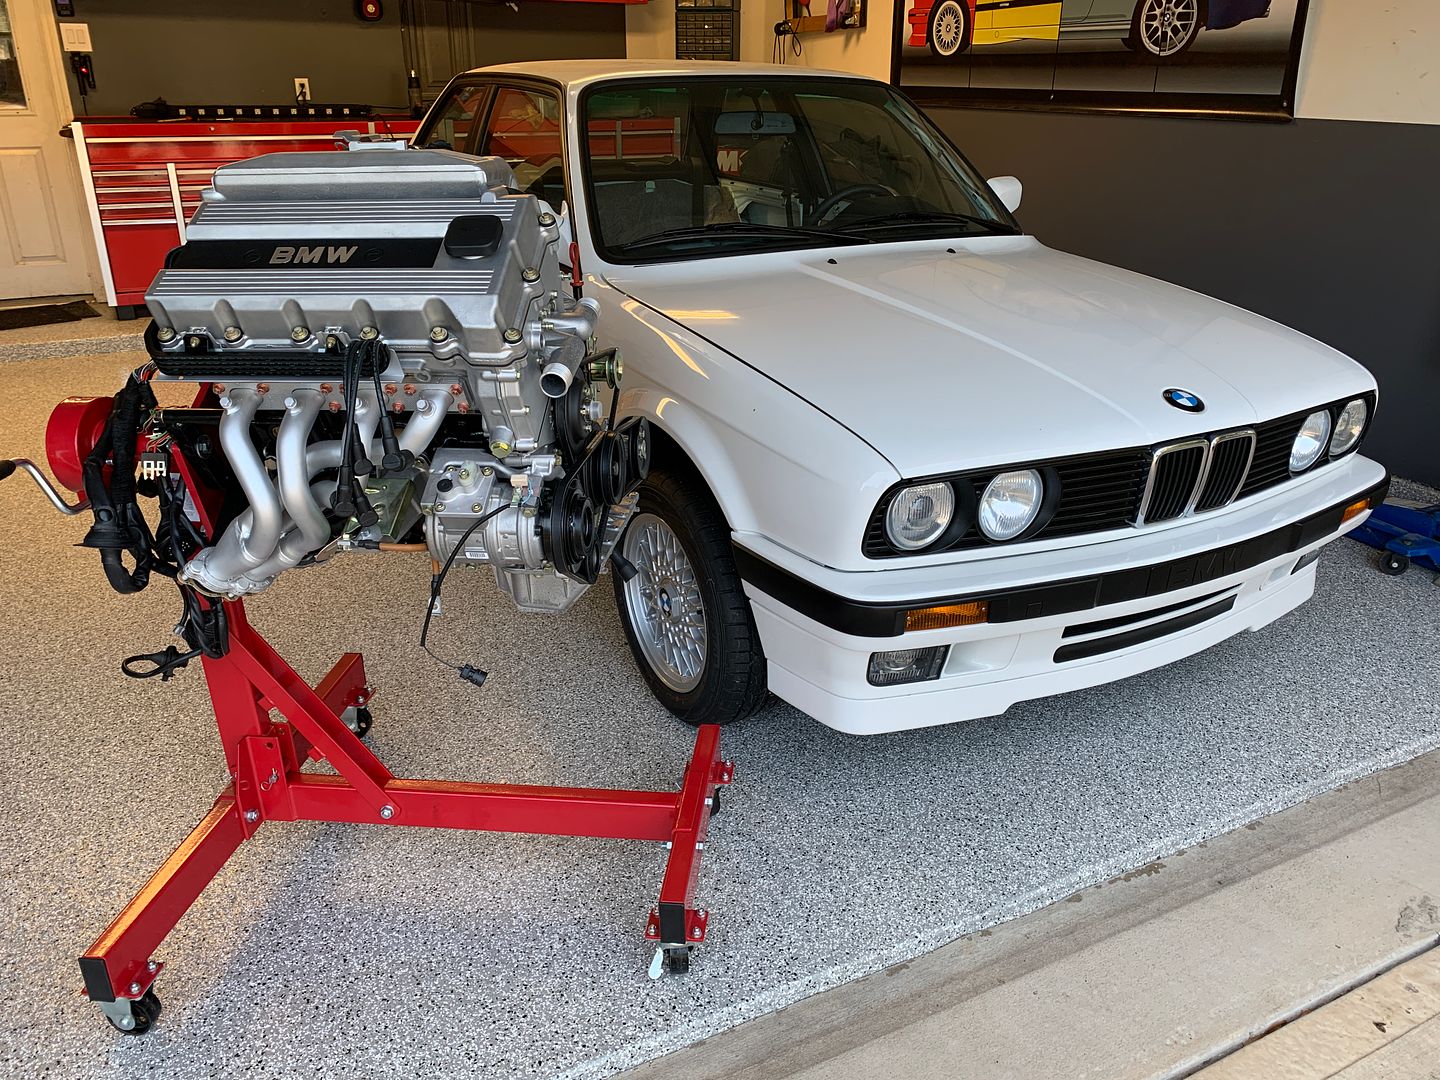
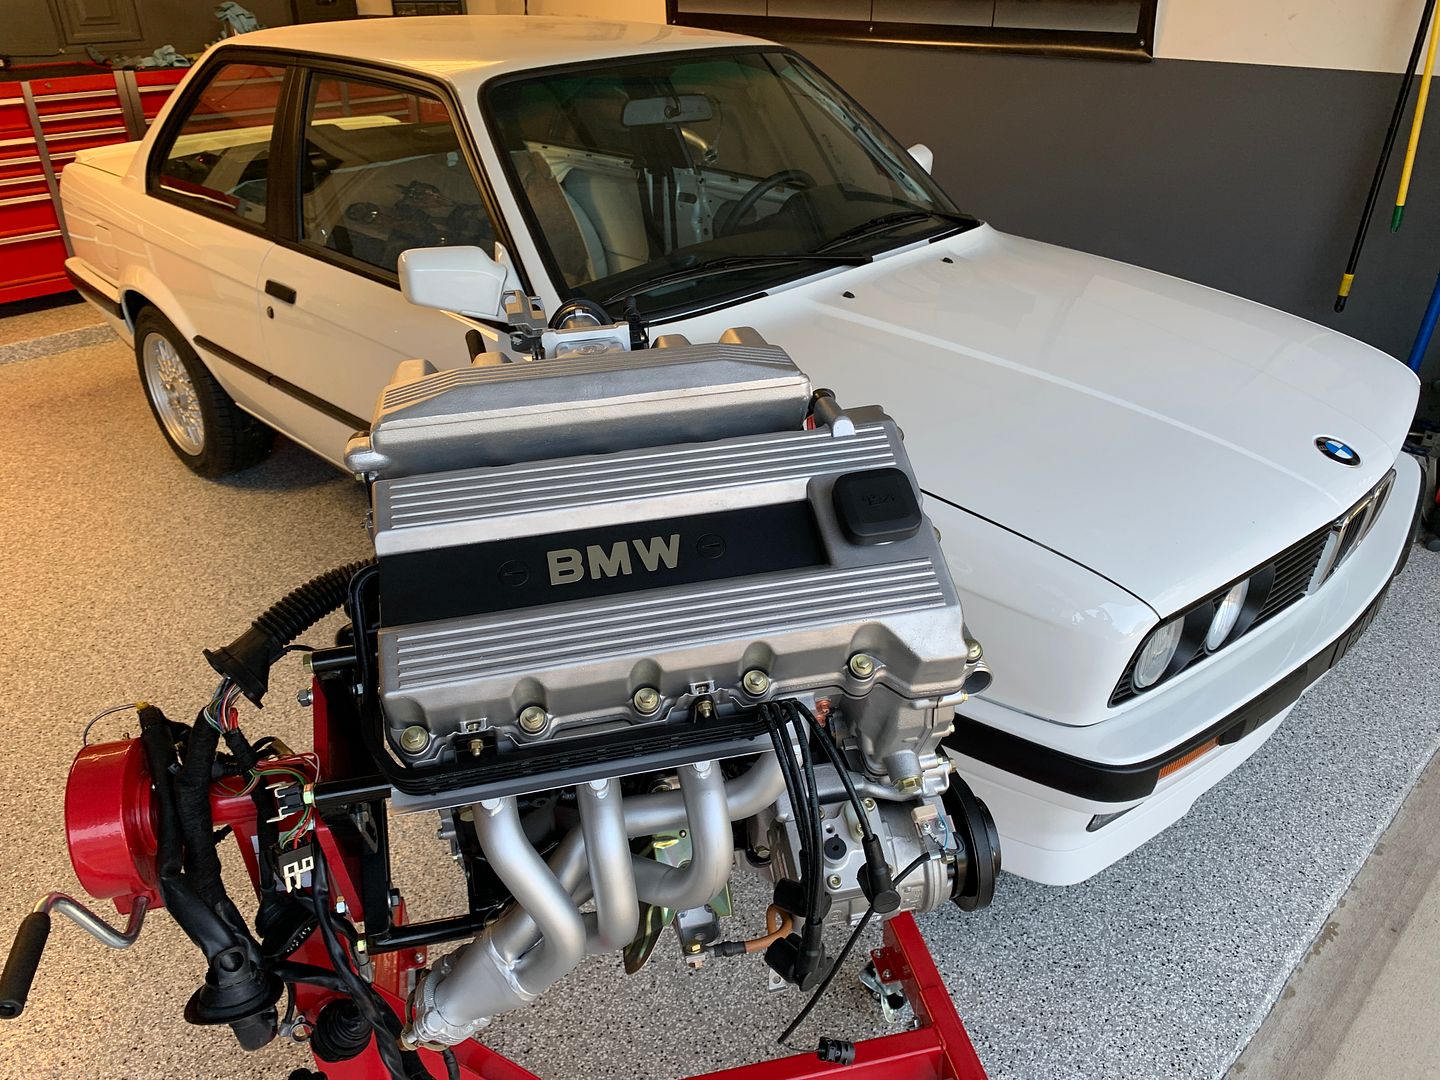
Awaiting a few more small items to arrive from the dealer tomorrow, as of now its essentially ready to drop in the car. Tomorrow is the big day.
Leave a comment:
-
Even though I all my e30s are gone I still like checking in here just to see progress on this. Great work as always and a good source of info for anybody undertaking a restoration like this.Leave a comment:
-
-
Jordan - thanks for posting the vapor barrier part number. I've been following along with all of the updates and enjoying each one. Keep up the great work!
MJLeave a comment:
-
-
looks like e30 came with two different types of the moisture barrier....my 90s e30 has gray plastic with some felt fabric and it was attached by butyl cord. 89 e30 had clear glued plastic as in this thread.Leave a comment:
-
What adhesive do you use for the vapor barrier? I've never actually seen one look so clear and clean lolLeave a comment:
-
And yeah, lock rods are a pain when they been out the car for monthsLeave a comment:
-
Having difficulty sourcing the fabric right now, no real progress to speak of.
Thank you, I do intend for this car to likely be my magnum opus, and while I'll surely take part in Jon's New M3 shell build I likely won't take on another of this scale myself.
Door plastic sheeting 51951924961
lol, that slow today?
Leave a comment:
-


Leave a comment: