
I've found eBay to be a great source of small parts like that.
Sucks about the mirror plastics, I know I had one of those, but threw out the original mirrors.
-
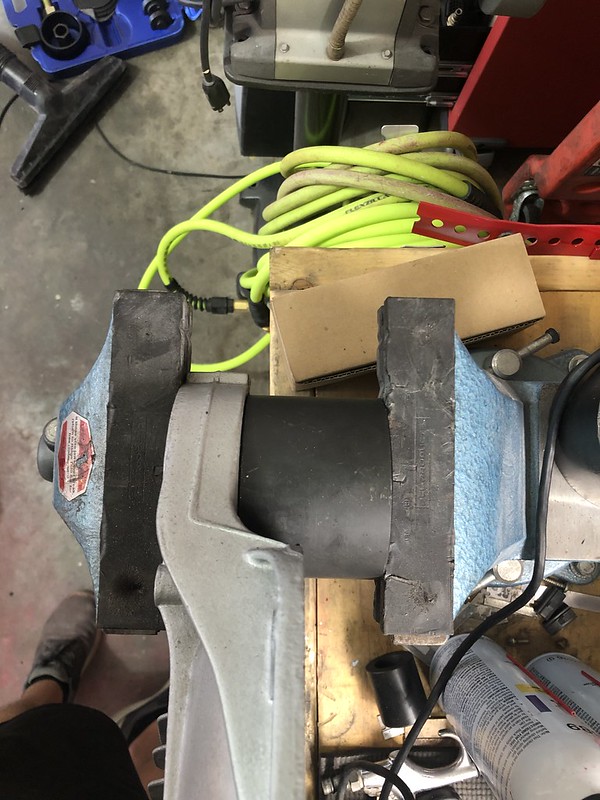
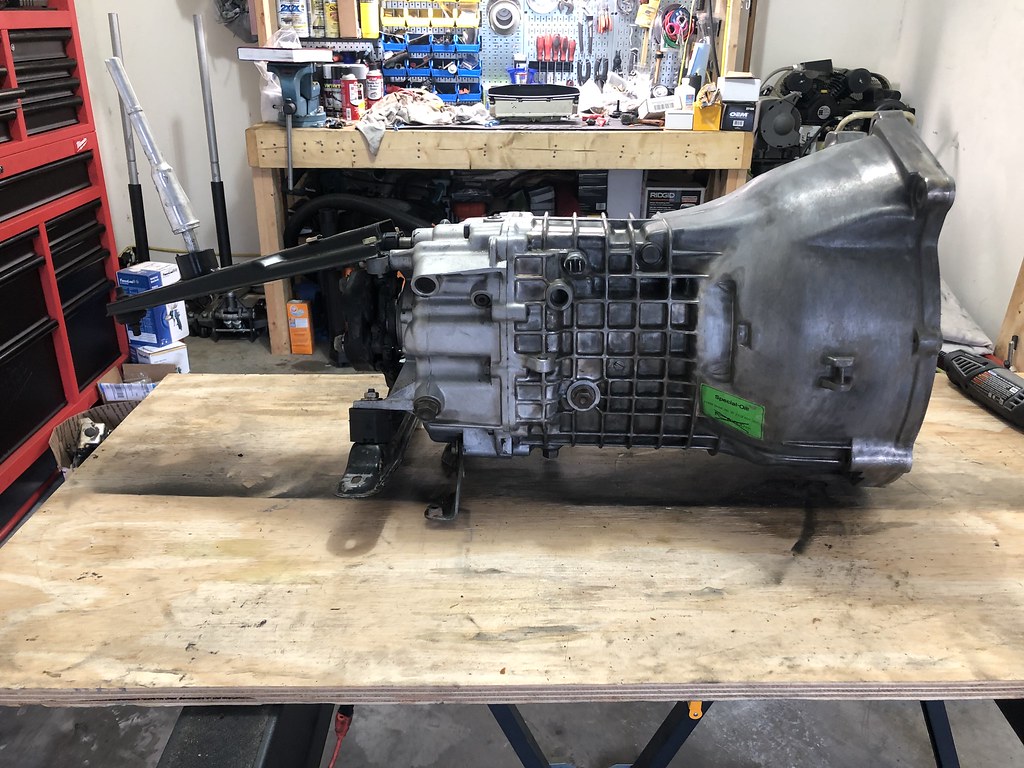
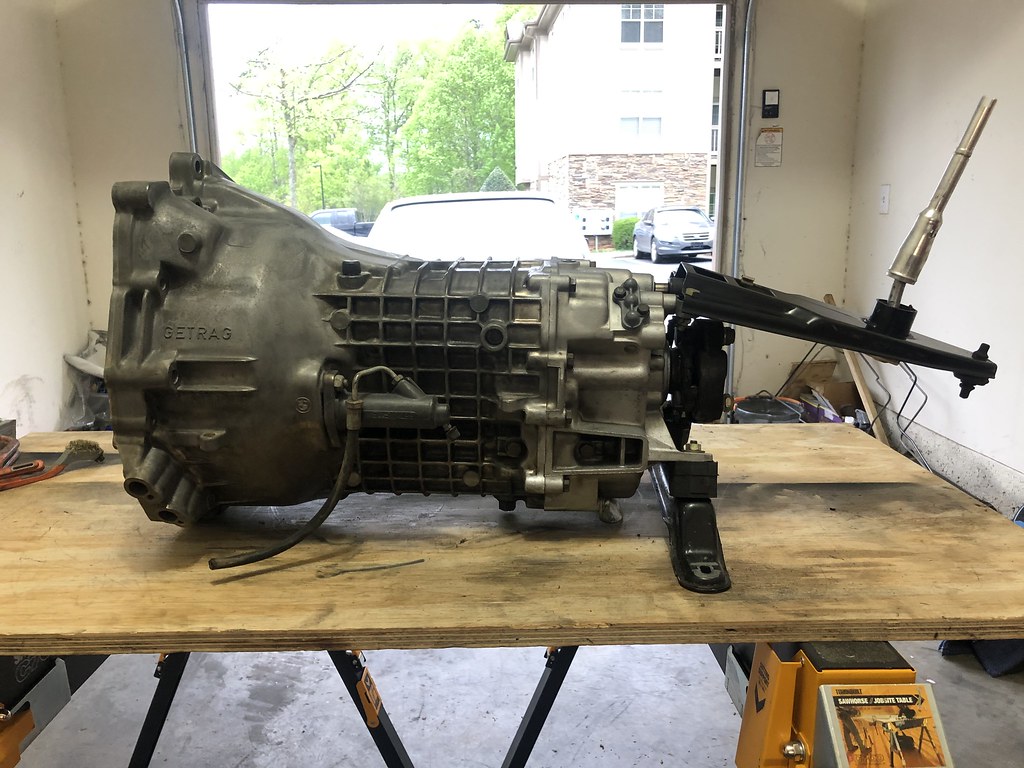
Ended up getting the diff bushing swapped out, was super easy with the bench vice.
Drilled out the rubber section:

Then used a dremmel to cut the metal band:
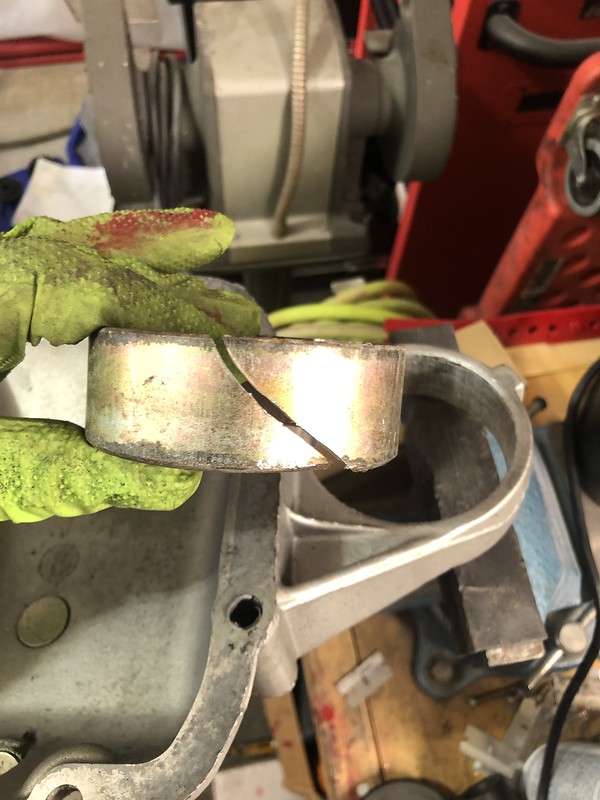
Pressed in the new bushing, luckily I had one on hand:

Ended up re-installing with the paper gasket instead of the RTV, we'll see how it goes:

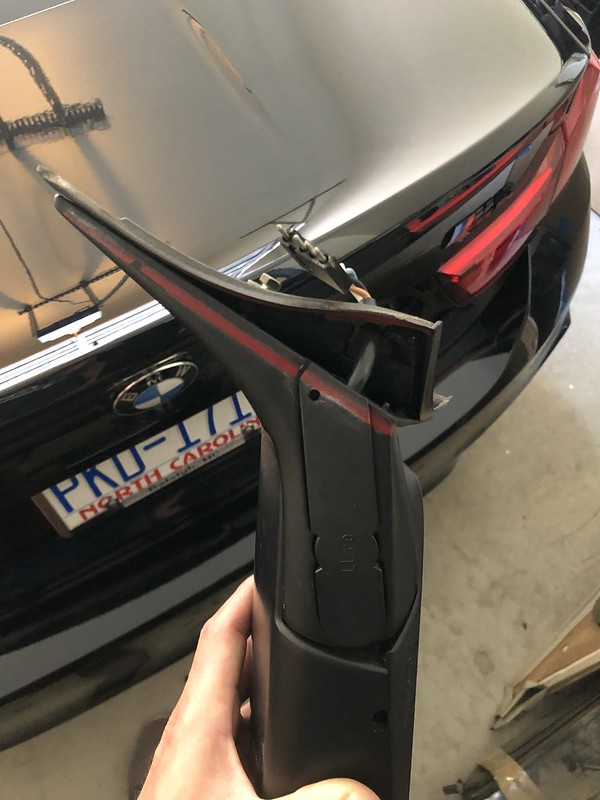
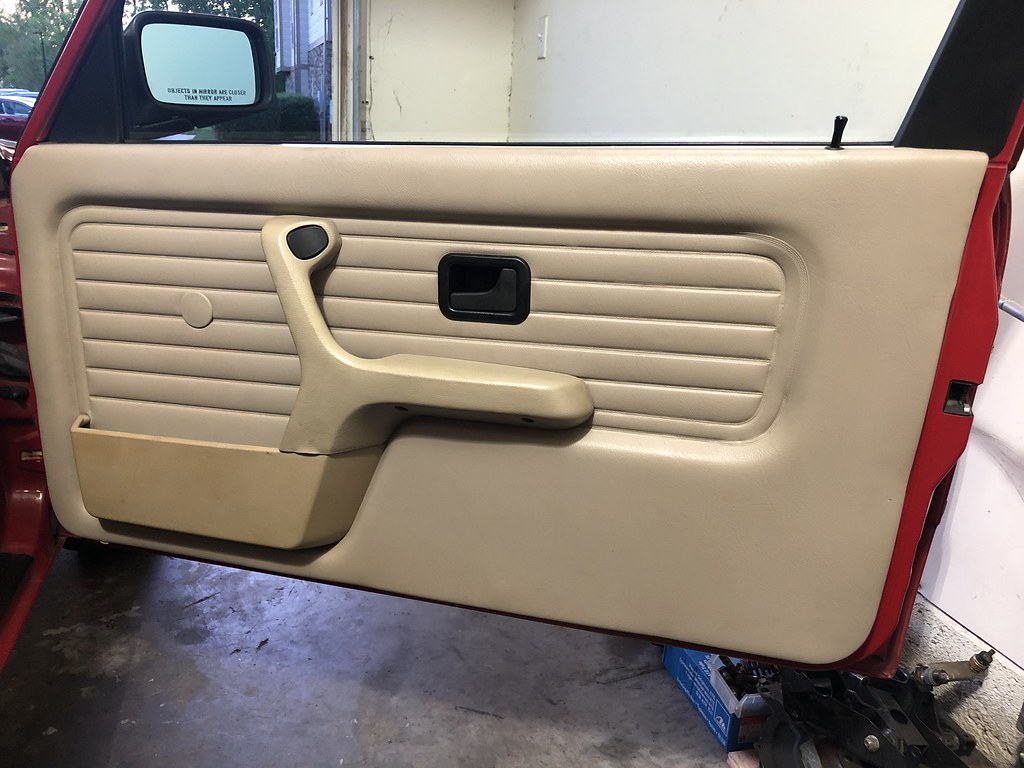
Also, I realized that the passenger side-view mirror cover has a broken clip, and is NLA. Anyone have an extra? This is what I'm talking about:


Last, anyone have a part number or a suitable replacement for this electrical terminal boot:


This is the differential speedo sensor boot, but there is also the same boot for the pressure sensor on the receiver/drier as well as one of the temp sensors on the radiator. Mine are starting to crumble and I'd like to replace them, but haven't had much luck finding a replacement.Leave a comment:
-
Yah I'm figuring on having to cut out most of the bottom of the fender, basically about to where the black rocker meats the red paint on the fender. When I remove the fender I'll take some pics but I've looked through the hole and poked around a bit and there's no damage to the body or door, just the fender from what I can see.Originally posted by luckybk
The valance was included with the MTech kit I bought and the stickers had already been scratched off, it's brand new with the E-coat still on it. I believe it to be an aftermarket part but honestly it's just as heavy/sturdy as my original one and appears to be very high quality. All the vents and holes lined up perfectly, I was pleasantly surprised. I was totally prepared to have to re-drill holes and bend/tweak here and there before I got it looking all pretty.Originally posted by GlaedeLeave a comment:
-
-
My pinch welds are crushed on both sides. It was only one until I had a dumbass moment while swapping wheels on Saturday.
Sigh.
Car looks good man, seems to be mostly paint issues, very little rust.Leave a comment:
-
Man, it is crazy how similar our cars are in regards to paint and few other body related things.
Insurance repairs from the mid-90s appear to have been consistent. I don’t have much rust on Linda, but I have that exact spot on my fender as well.
cant wait to see this paint project take shape!Leave a comment:
-
Thanks brother, long way to go...Originally posted by Melon
Anyway, I got the car all nice and clean, probably the last time for a while it will be a complete car. Over the weekend I went from this:

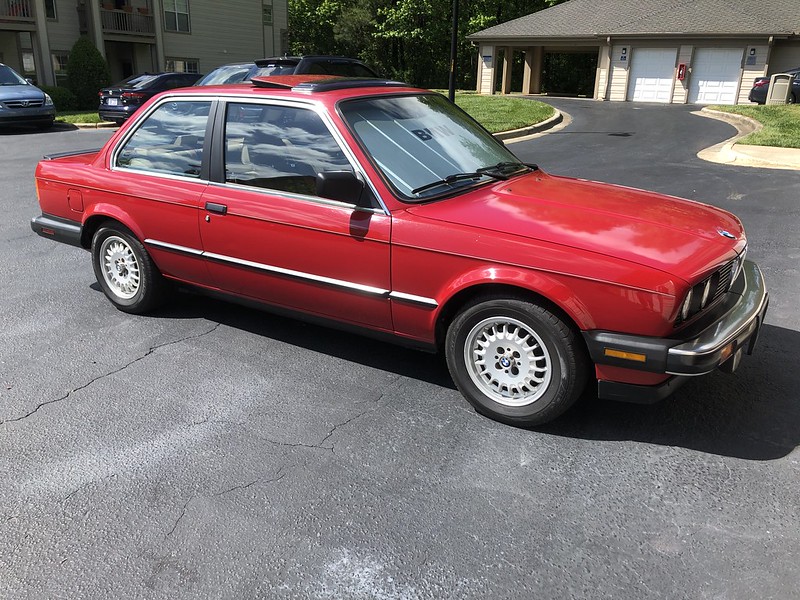
To this:


Went over the car and took some pics of the more glaring issues with the current paint:
The hood, which was hit by a baseball at one point in its life and was repainted, wasn't prepped well and aside from being a shade or two off from the rest of the car was starting to chip:

Took the hideous bubble off the sunroof for the first time, well, ever:

Underneath, the sunroof panel has a few small spots of (hopefully) surface rust:

The roof, sunroof panel, and the tail panel are the only sections with original paint left on the car. The remainder was blended in and the clear is starting to peel on the C-pillar:
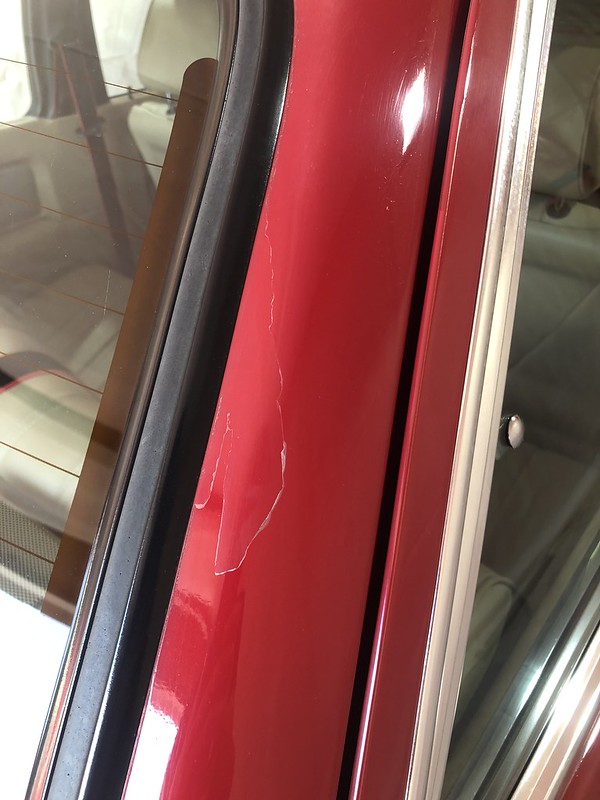
And unfortunately, the poorly prepped paint theme continues throughout the rest of the car, should make sanding it off a little easier at least.
Under the side mouldings:


All along the door jambs (ran the whole length of the side and bottom):
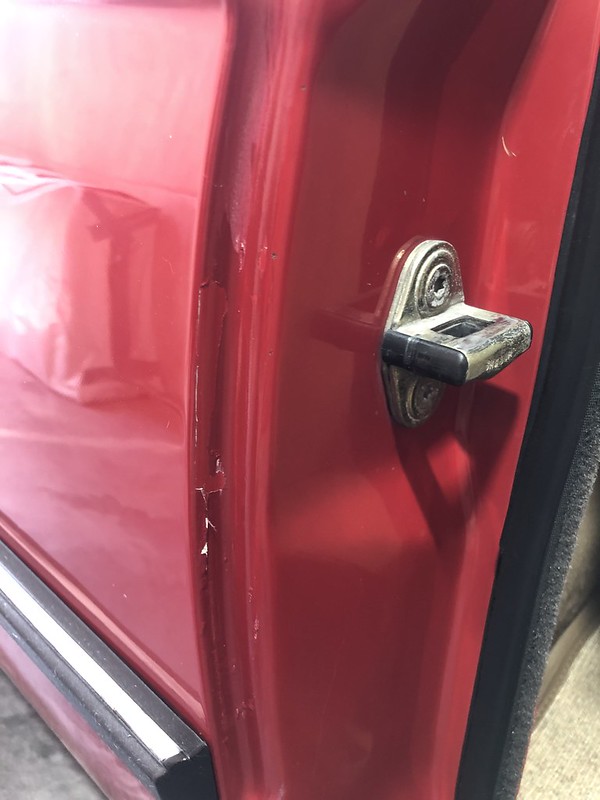
Looks like they basically just painted base/clear right over the original single stage without sanding it, it just chips right off and is still glossy underneath.
Realized that when they painted the trunk, they never removed the spoiler and basically painted up to the spoiler and left the rear section where the emblem is original:

Rust spot under the diver fender:
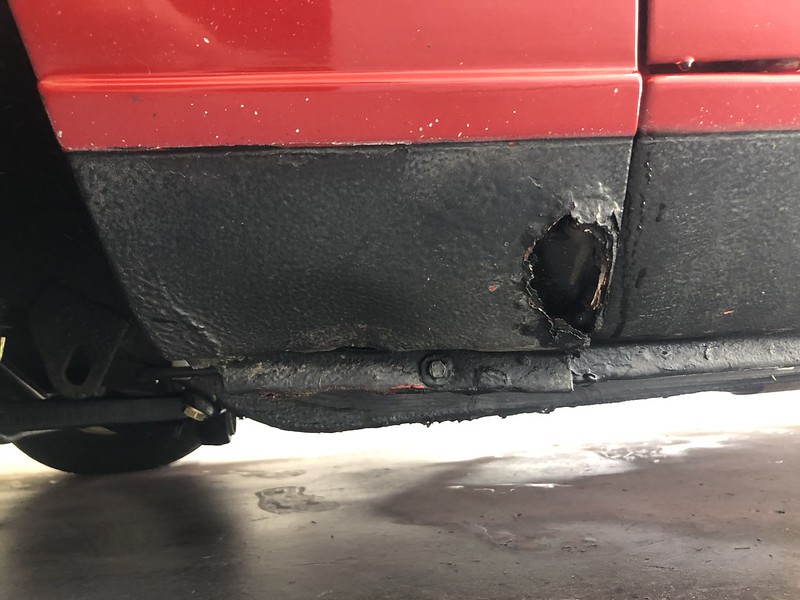
And a crushed pinch weld:

The good news is that aside from some small dings/dents here and there the body panels are very straight and overall devoid of rust. I'll need to look someone up to weld a patch in the driver fender, if anyone knows anyone local to Raleigh let me know, I have no idea what type of shop would waste their time on such a small piece.
Ended up also getting all the chrome trim off (thankfully) without destroying anything:

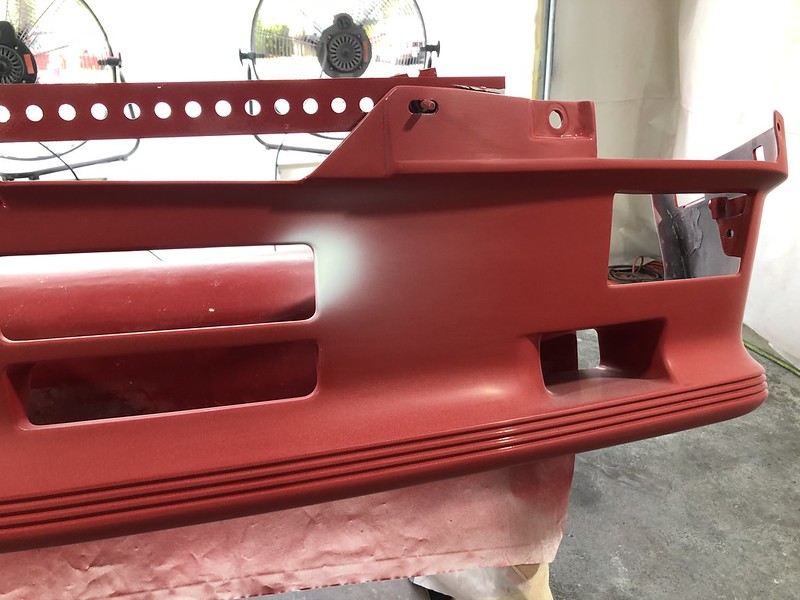
And test fit the 772 euro valance, wanted to make sure I didn't need to bend/tweak anything before getting it painted. It ended up fitting perfectly, no adjustment needed:

The only bummer of the whole weekend was getting under the car and seeing this:
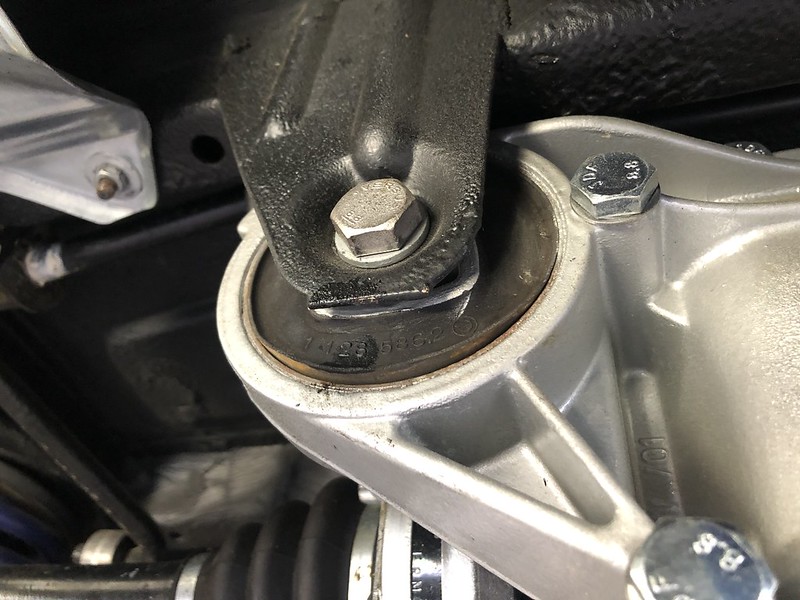
The diff bushing was starting to separate. Ugh, I had foregone this when I did the suspension overhaul because it looked to be in great shape. Now I'll have to drain the diff and remove the cover again. At least I have a new bushing and paper gasket on hand, I sealed it with RTV high-temp and I'm not 100% happy with it, it leaks albeit very slowly. Will get to that this week hopefully as I want this done before the car is prepped and there's sanding dust everywhere
Leave a comment:
-
Thanks guys,hope to keep the updates coming. Got the car washed today and will be tearing it down once I have a free minuteLeave a comment:
-
-
gnmzl good point, thanks for the advice!
Ended up fixing my boo boo yesterday. I think it actually came out better the second time around as I'm starting to get the hang of using the spray gun.

And got the rear done too:
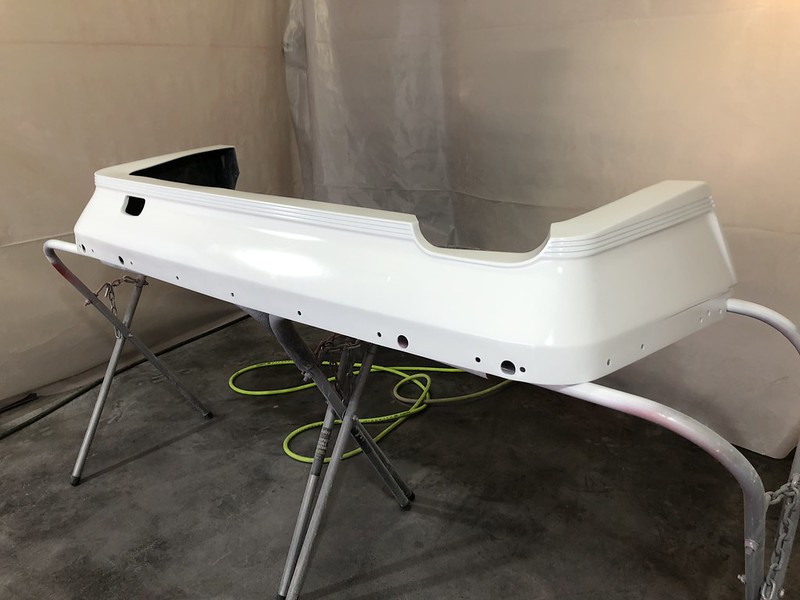
All in base:

And done:


I'll let everything cure for a bit (WON'T be making that mistake again) then start the work of polishing out the dust nibs. Now I need to wash the car down well and start breaking it down, wish me luck!Leave a comment:
-
Looking good, that's a small spot and should be easy to cover up.
A tip : don't do my mistake and install the fog lights onto the apron while it's off the car.. Take out the retaining clip for the adjustment screw and take your time installing the fog light with the screw unscrewed to the point the thread isn't showing. Then screw it into it's location on the apron itself. Should be easy doing it off car, I did it with the apron installed and hate myself for scratching it up because of that.Leave a comment:


Leave a comment: