
Originally posted by gnmzl
Originally posted by mike.bmw
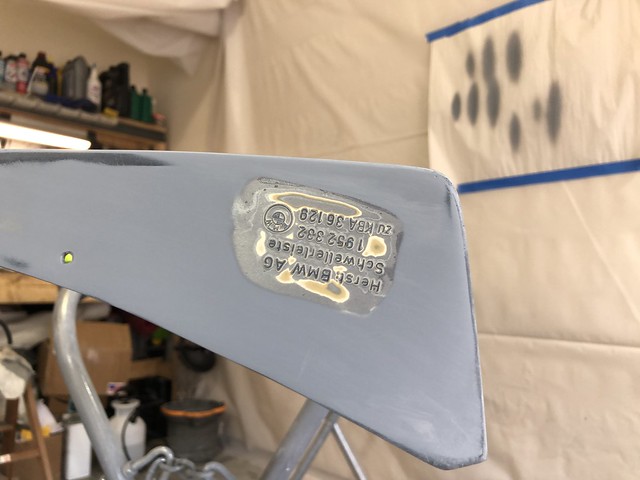
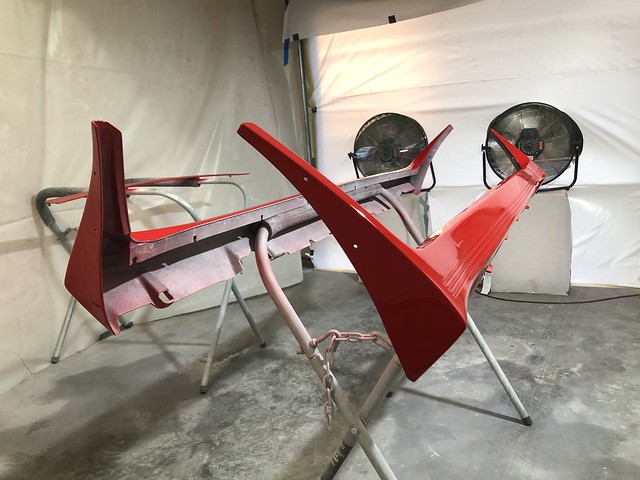
Got off work early yesterday and knocked out a few more parts:
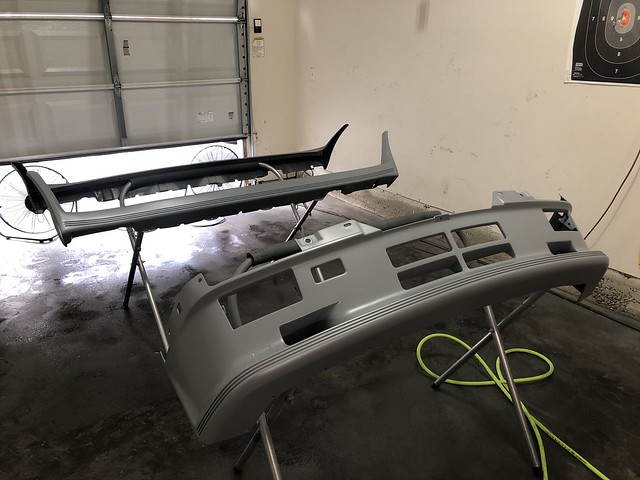
Fabbed up a painting rack for the front air dam:
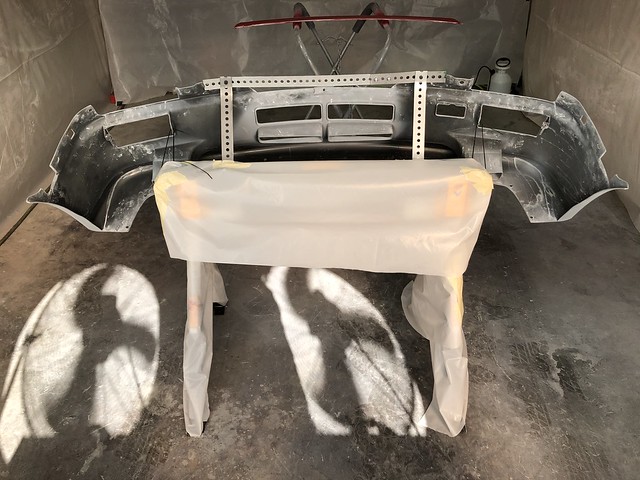

Ended up working out pretty well!
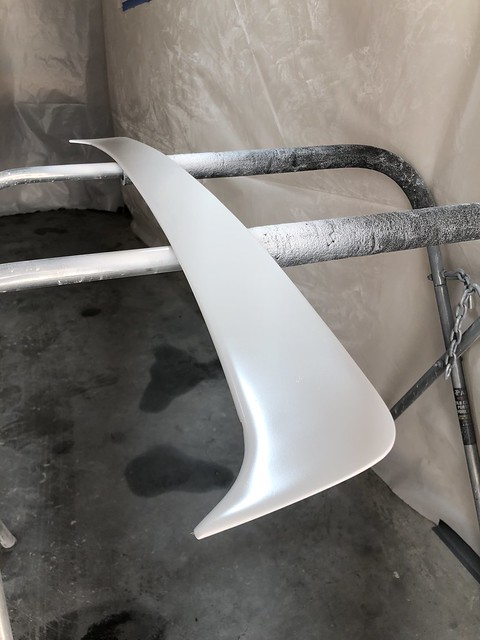
Got the spoiler insert resealed:

Along with the front:
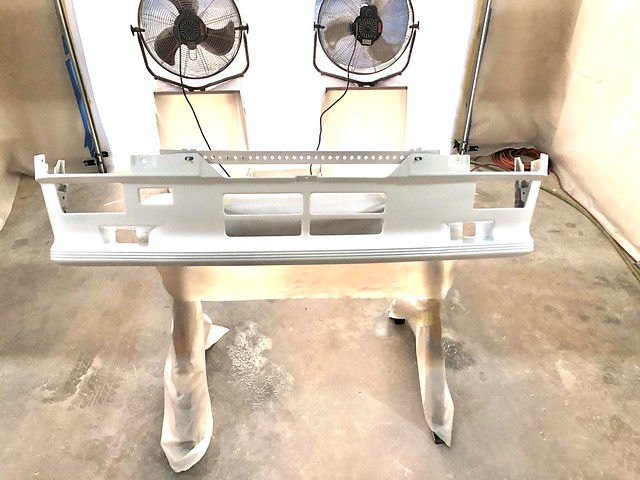

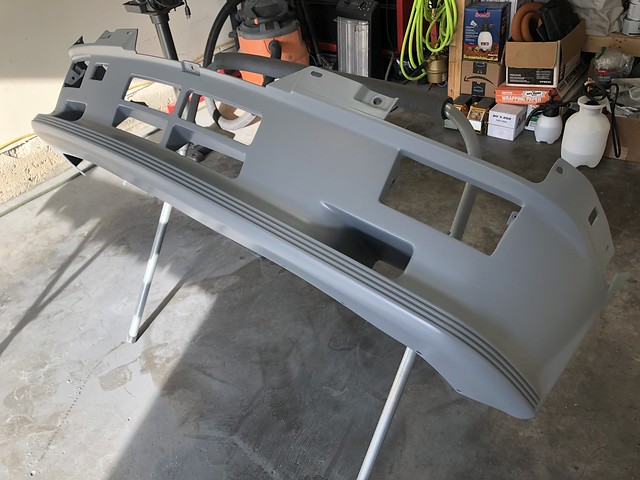
Base:

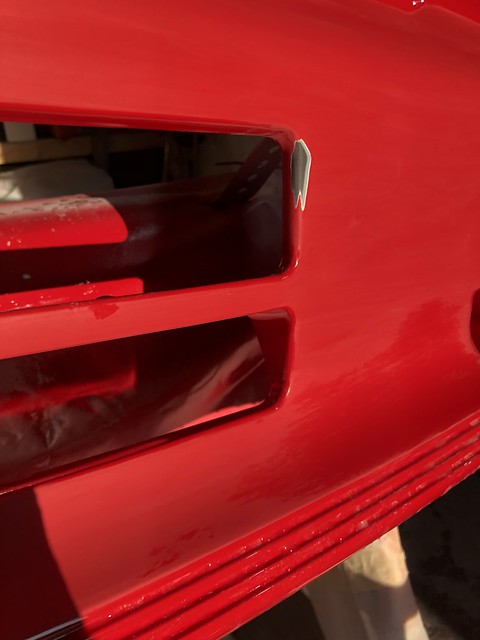
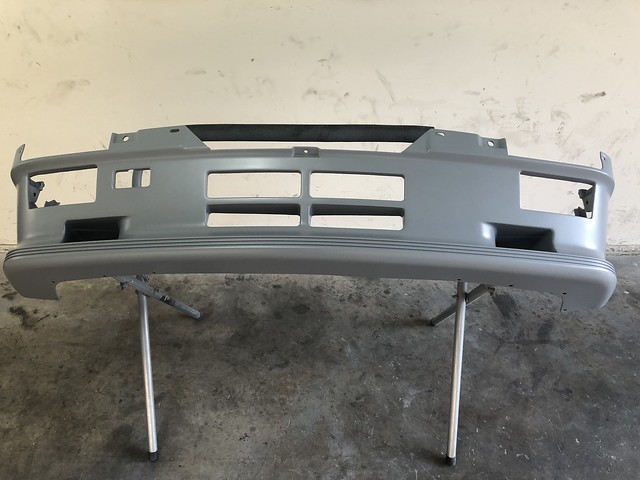
All done in clear:


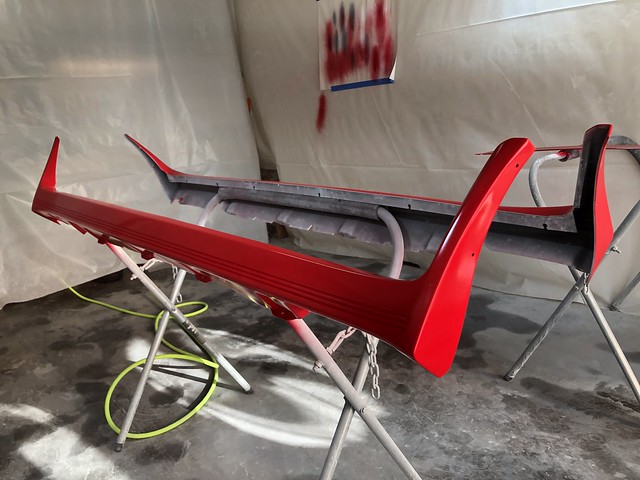
The front came out AWESOME except for a couple small runs:


Was absolutely pumped with how everything came out.
Building on last night's success, today I (of course) got a little overzealous and tried sanding out the 1-2 runs I had in the front before I got ready to paint the rear. I should have given the paint more time to cure beforehand but I was on a mission get things done, made an OOPS:
I tried using a razor to shave down the run but the clear was still a little too soft. The razor hung up in the run and pulled the paint up, ugh. This is a learning process after all, and it's not the end of the world.. Spent the next few hours wet sanding the whole thing down in 1000 grit and feathering my mistake into it. Plan to recolor the spot and reclear the whole thing, should come out looking great. Will do that along with the rear apron tomorrow, updates to follow


Leave a comment: