
The last of the MTech bits that had to go on was the spoiler, got it installed with the proper foam gaskets over the studs:


I used 3M double sided foam tape for the leading edge, I had the OEM tape as well as the two "foils" for each end however they were 30 years old and hard as a rock and no longer worked. I got the spoiler installed but may go back and add some double sided tape to each end to get the edges seated more snuggly against the trunk:

The section I had to repair came out as best as I could have hoped, it's noticeable to me but not all that bad to those not looking for it:


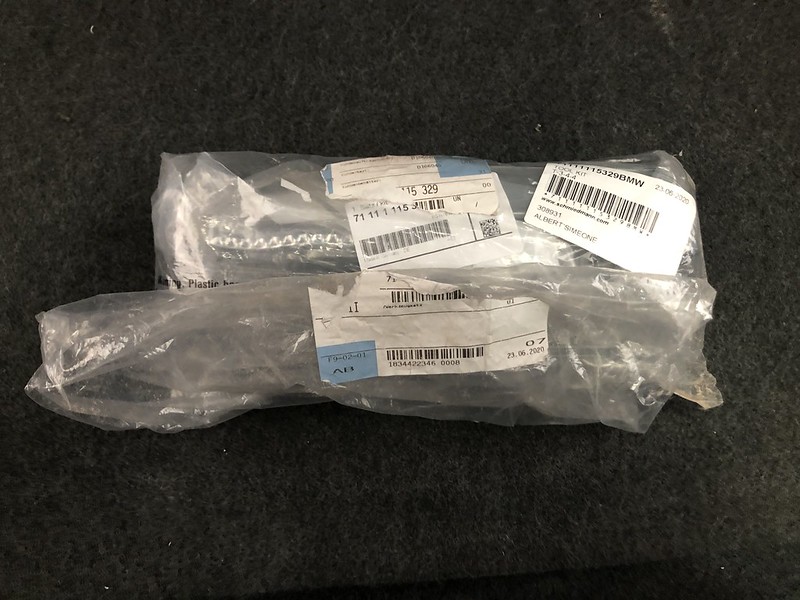
Now that the spoiler was installed and I didn't need access to the mounting studs, i was able to get the trunk lid cover and tool box installed. You can still buy a new OEM large tool kit, however some of the tools are marked simply "Germany." I was able to find replacements online for a few of the box end wrenches with the "W. Germany" markings:

The little white plastic window crank piece was not included, I bought from a seller who makes new reproductions on Ebay.
W. German goodness:

All installed:

Installed brand new door sill trim:

And got the antenna cleaned, lubed, and installed:

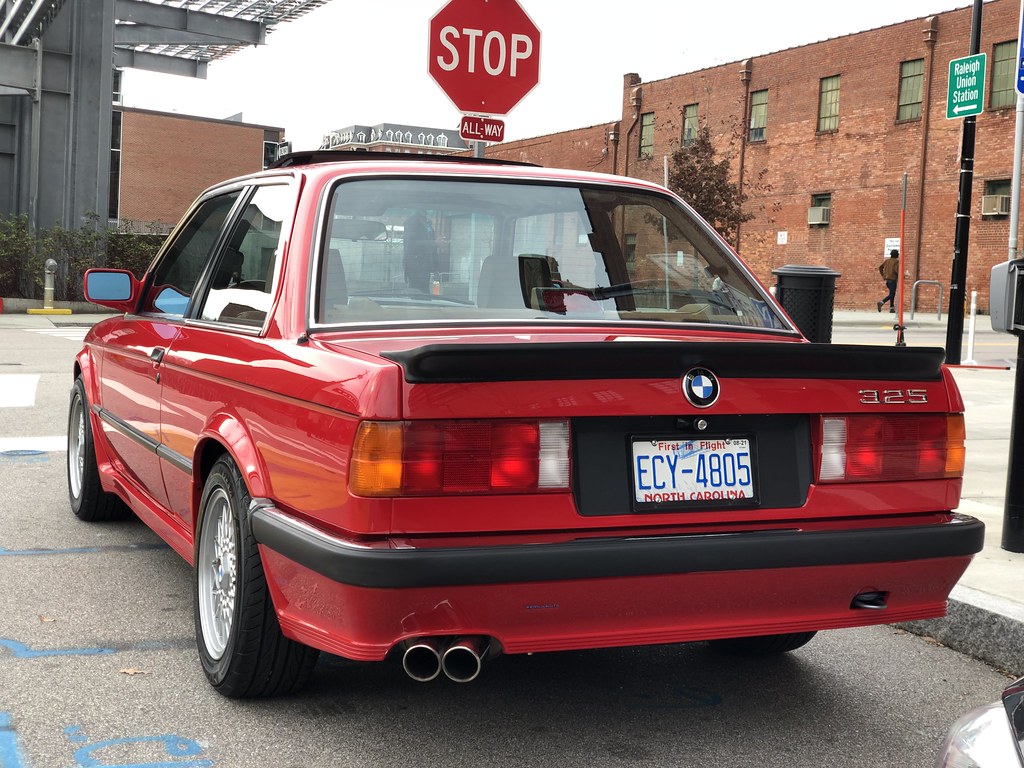
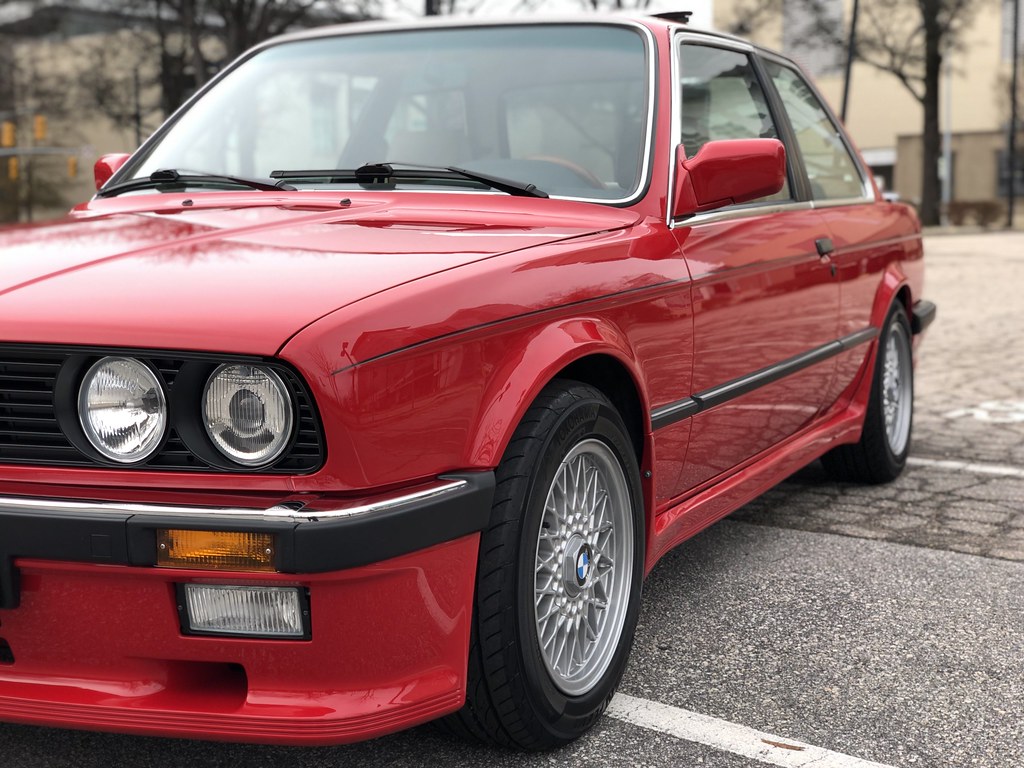
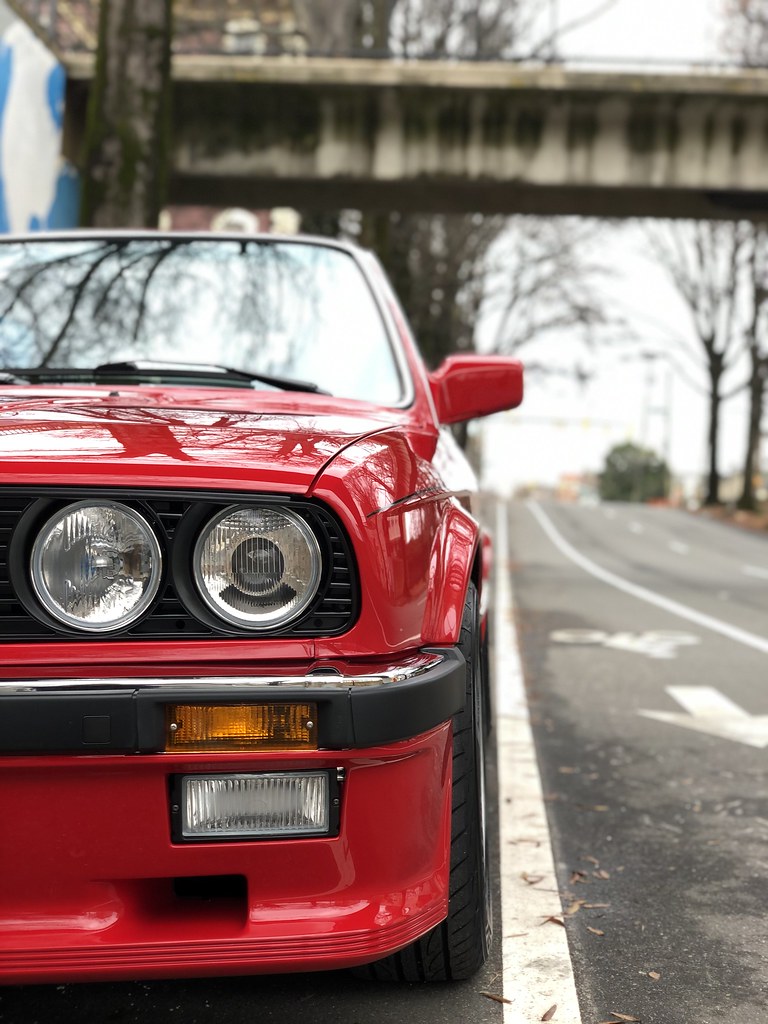
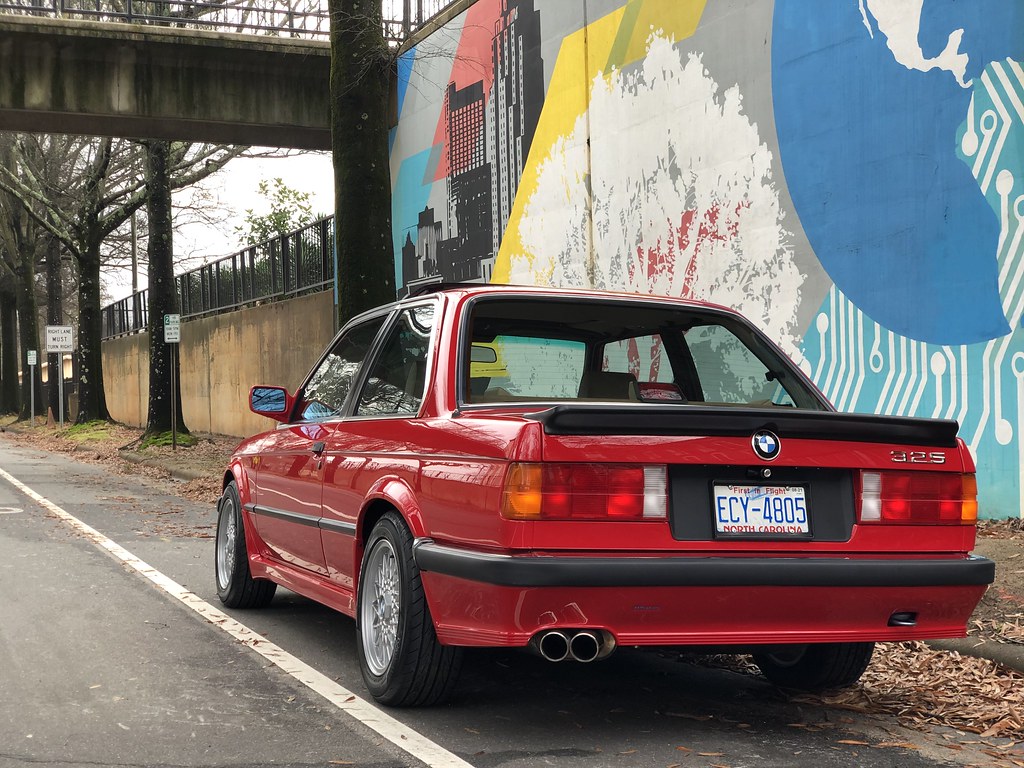
I then got the wheels mounted and pulled the car out for a first true look:


Pretty sweet!
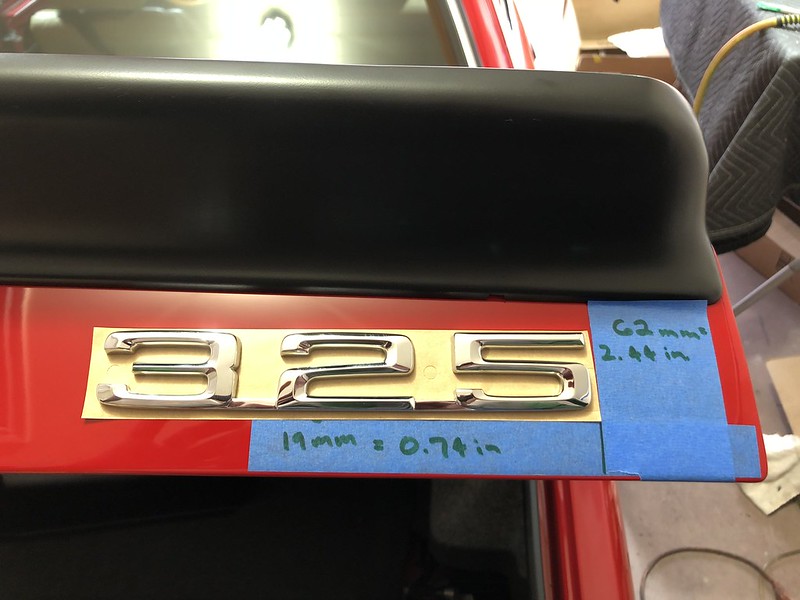
Then it was time to mount the 325 badge:

The distances for the edges for the "325" badge were listed online, I wrote them in here. If you have the "e" or "is" at the end the spacing will be slightly different:

Followed by new roundels:

The car was looking great, and I considered just leaving it as-is however I felt that it was just missing a little something. I debated back and forth about adding a pinstripe, the car originally had a black/silver stripe that looked pretty sharp. I decided to go with it:

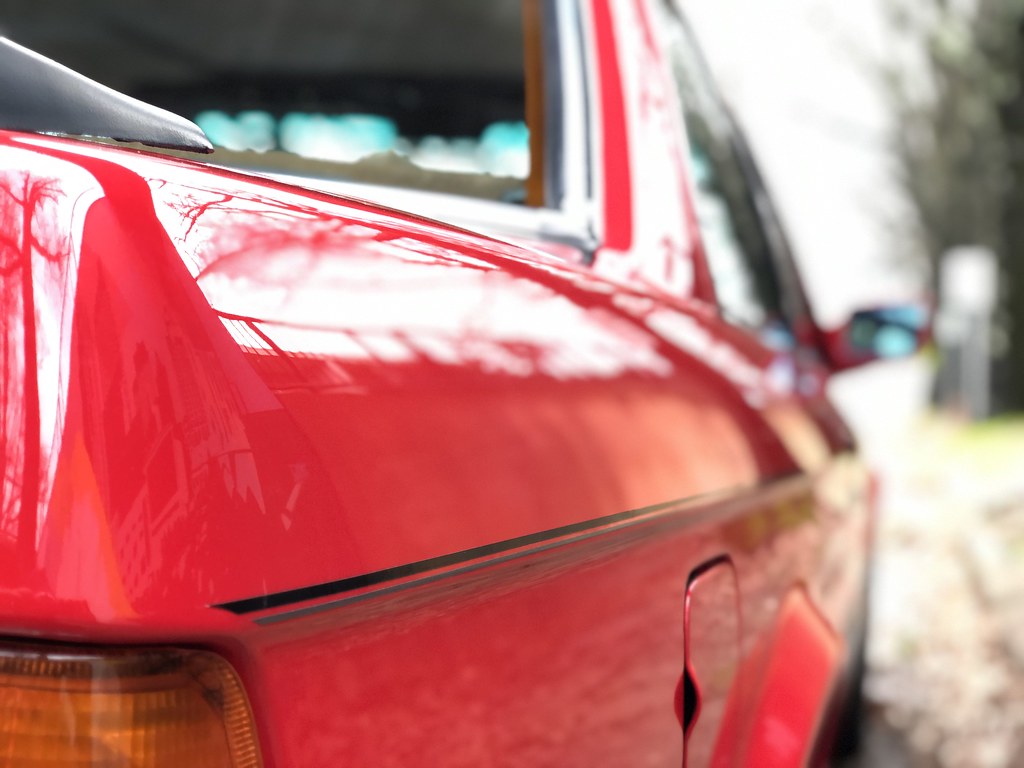
Here's how it looked with the plain red paint:


Nice, but lacked a little definition to the top body line. Getting the stripe installed was actually not too bad but took a couple tries to get it done right. I couldn't really take pics of the process as you have to lay the stripe in one continuous piece from the front fender all the way to the tail light and with that much length flapping in the breeze it's a little tricky. Once I was happy that it was nice and straight, I had to trim the excess with a sharp blade:


For the front edge, I tapered it so that the black line overlaid the silver one:

In the light that day it was hard to capture the final result, but as you'll see in some later pics it really came out great and totally adds that extra little pop of detail I was looking for:

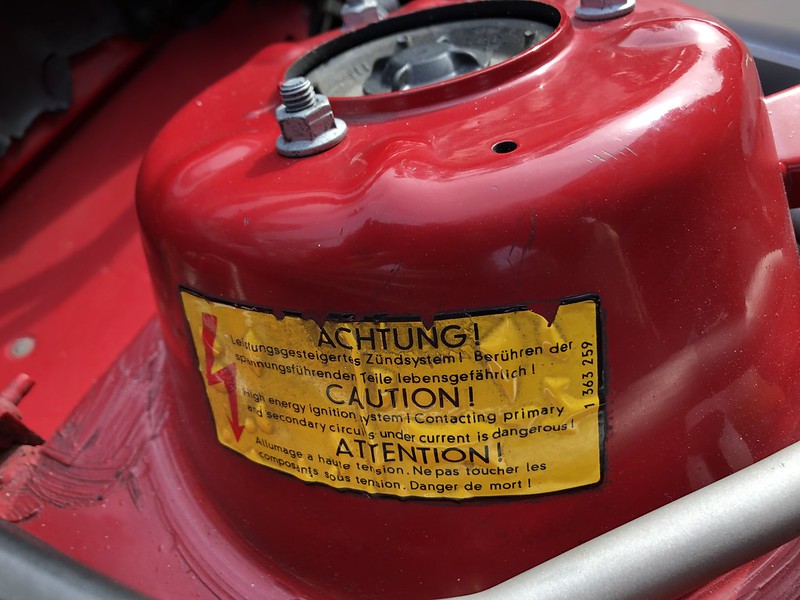
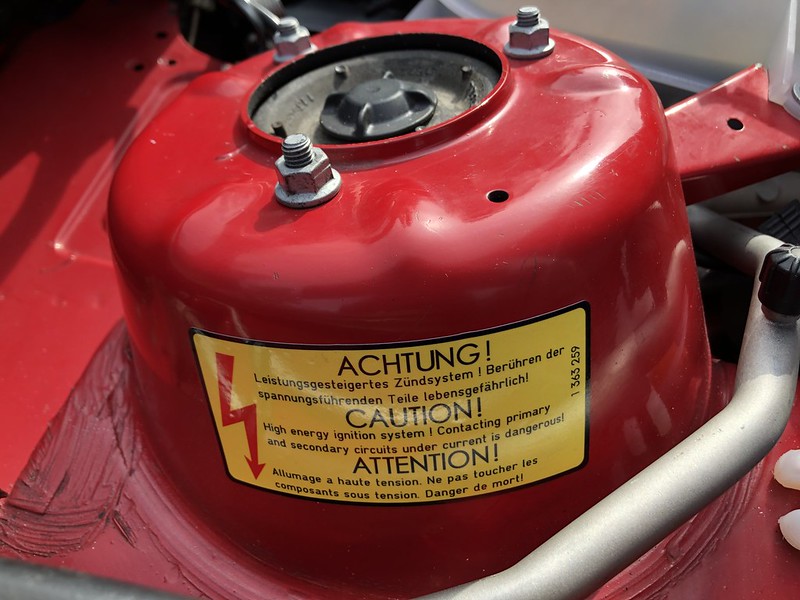
The last thing left to do was to get all my engine bay decals installed/replaced. I ordered these from Pukar Designs like two years ago and FINALLY was at the point to get them on the car:

Some of the originals were still in good shape so I left them, but a few were wrinkled and peeling pretty badly:


Out with the old, in with the new:


And lastly, the new VIN stickers:

I know many have already seen the finished product, however my next post will be a photo dump of the car all buttoned up!
I used 3M double sided foam tape for the leading edge, I had the OEM tape as well as the two "foils" for each end however they were 30 years old and hard as a rock and no longer worked. I got the spoiler installed but may go back and add some double sided tape to each end to get the edges seated more snuggly against the trunk:
The section I had to repair came out as best as I could have hoped, it's noticeable to me but not all that bad to those not looking for it:
Now that the spoiler was installed and I didn't need access to the mounting studs, i was able to get the trunk lid cover and tool box installed. You can still buy a new OEM large tool kit, however some of the tools are marked simply "Germany." I was able to find replacements online for a few of the box end wrenches with the "W. Germany" markings:
The little white plastic window crank piece was not included, I bought from a seller who makes new reproductions on Ebay.
W. German goodness:
All installed:
Installed brand new door sill trim:
And got the antenna cleaned, lubed, and installed:
I then got the wheels mounted and pulled the car out for a first true look:
Pretty sweet!
Then it was time to mount the 325 badge:
The distances for the edges for the "325" badge were listed online, I wrote them in here. If you have the "e" or "is" at the end the spacing will be slightly different:
Followed by new roundels:
The car was looking great, and I considered just leaving it as-is however I felt that it was just missing a little something. I debated back and forth about adding a pinstripe, the car originally had a black/silver stripe that looked pretty sharp. I decided to go with it:
Here's how it looked with the plain red paint:
Nice, but lacked a little definition to the top body line. Getting the stripe installed was actually not too bad but took a couple tries to get it done right. I couldn't really take pics of the process as you have to lay the stripe in one continuous piece from the front fender all the way to the tail light and with that much length flapping in the breeze it's a little tricky. Once I was happy that it was nice and straight, I had to trim the excess with a sharp blade:
For the front edge, I tapered it so that the black line overlaid the silver one:
In the light that day it was hard to capture the final result, but as you'll see in some later pics it really came out great and totally adds that extra little pop of detail I was looking for:
The last thing left to do was to get all my engine bay decals installed/replaced. I ordered these from Pukar Designs like two years ago and FINALLY was at the point to get them on the car:
Some of the originals were still in good shape so I left them, but a few were wrinkled and peeling pretty badly:
Out with the old, in with the new:
And lastly, the new VIN stickers:
I know many have already seen the finished product, however my next post will be a photo dump of the car all buttoned up!


Comment