
...
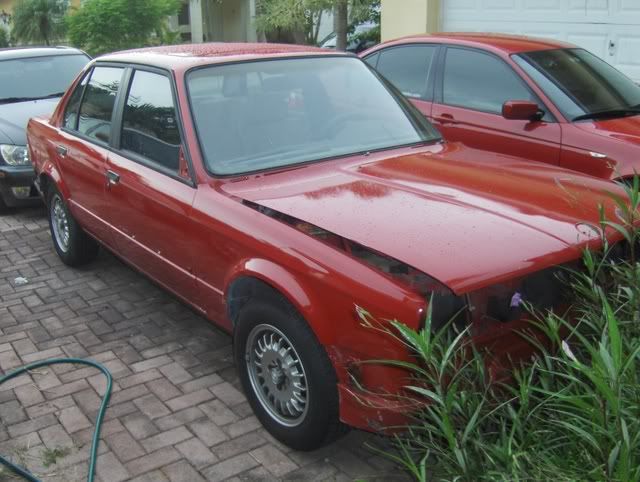
Okay so i did little work with what i had. I dont have the car, and at this point i am getting really tired of that. This week this dude is going to hear it.
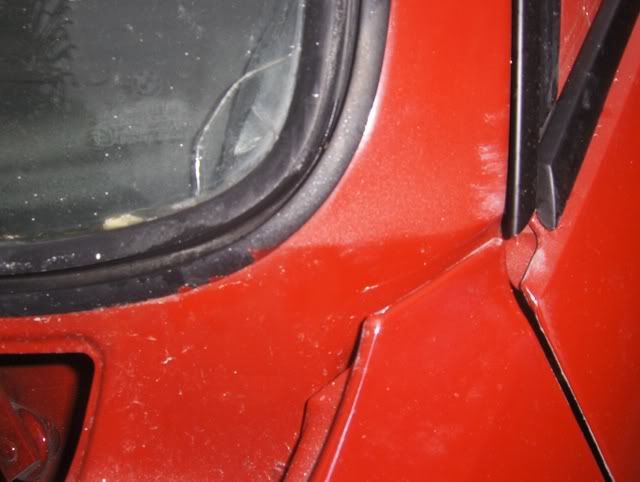
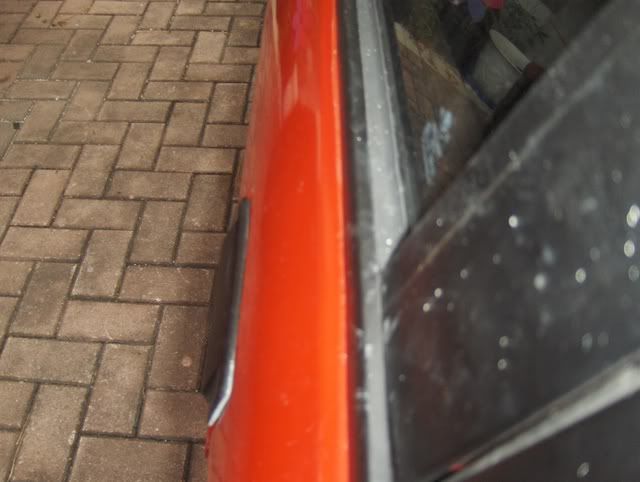
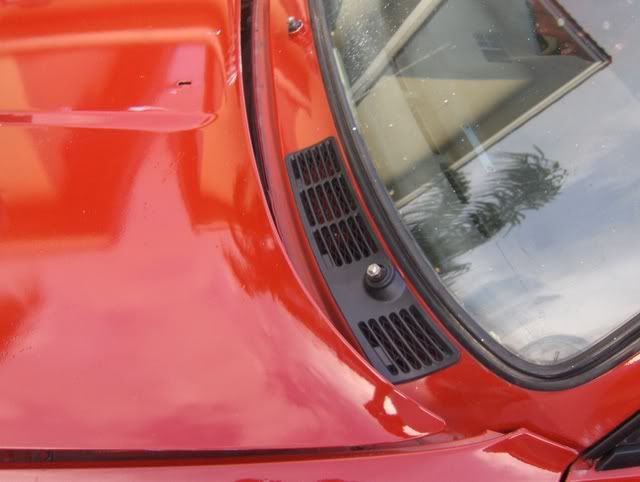
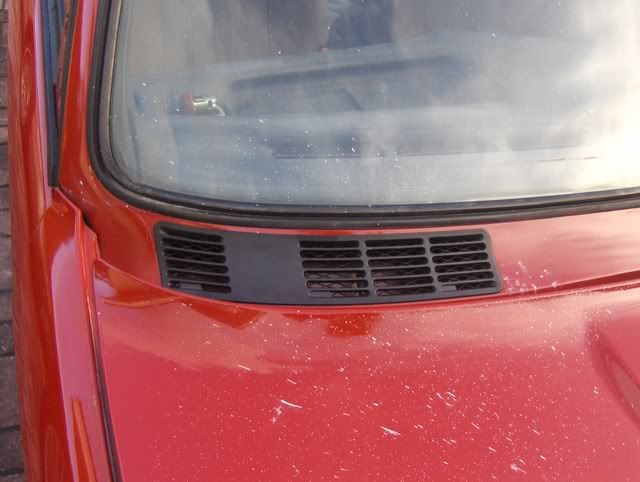
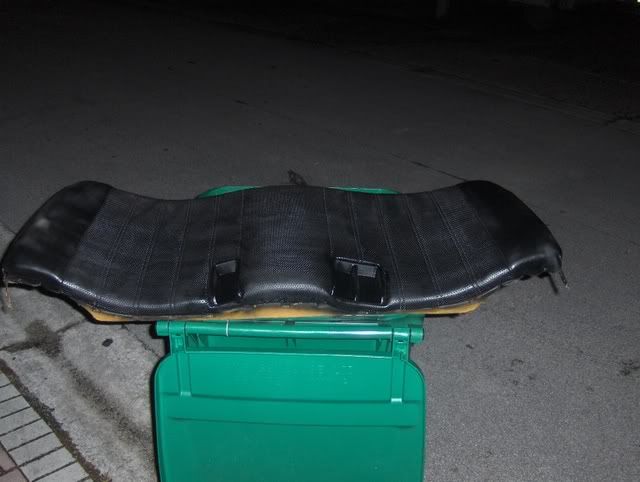
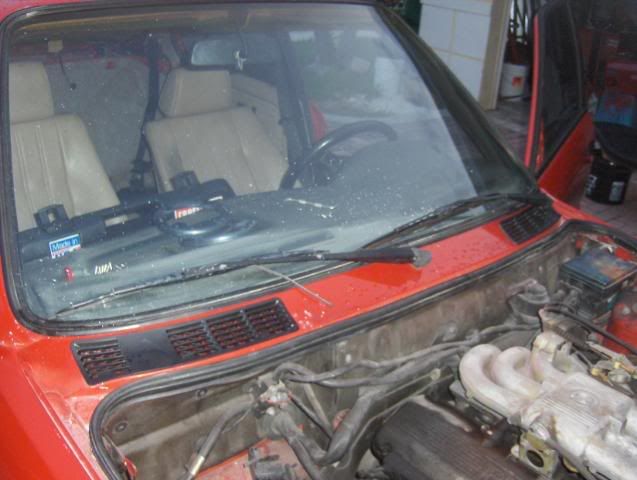
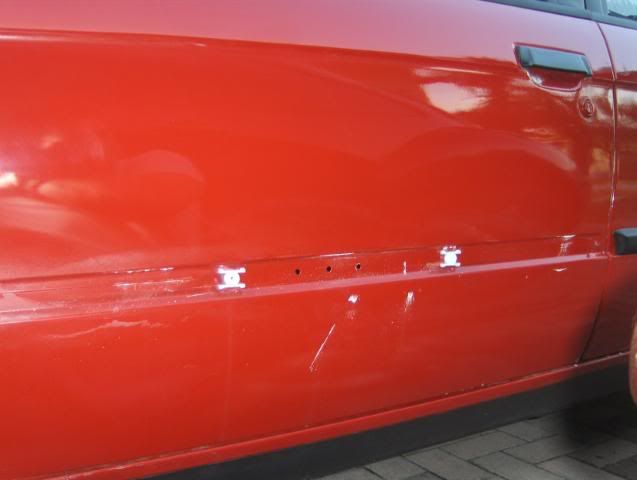
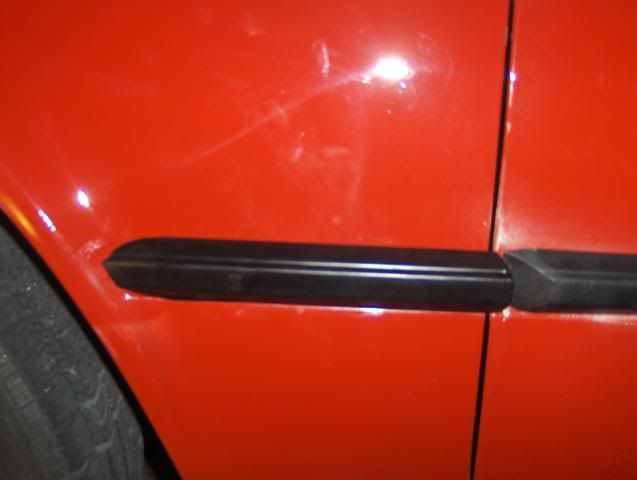
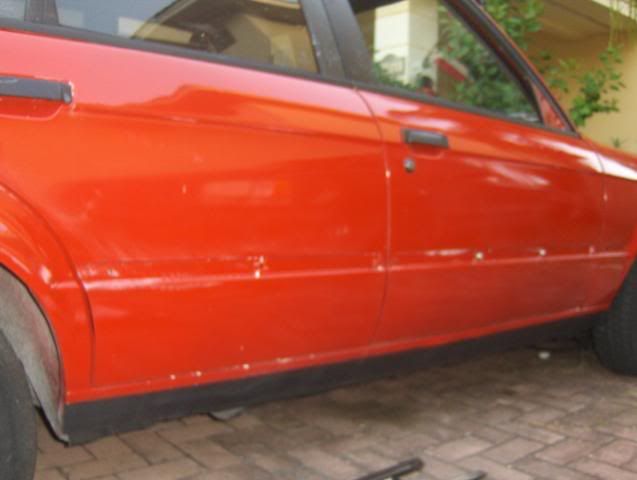
I decided to redo my widow trim:

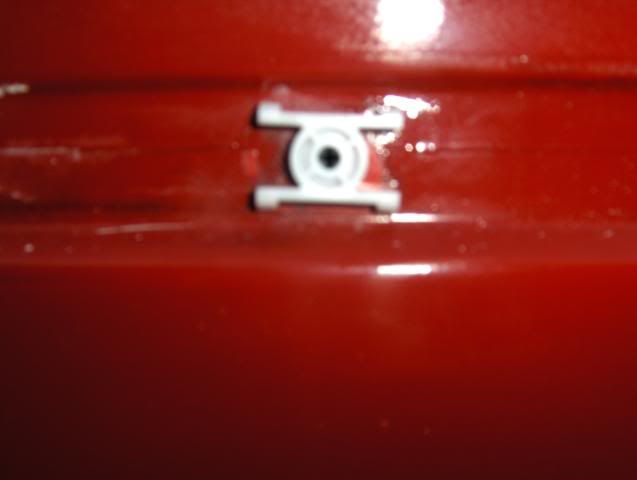
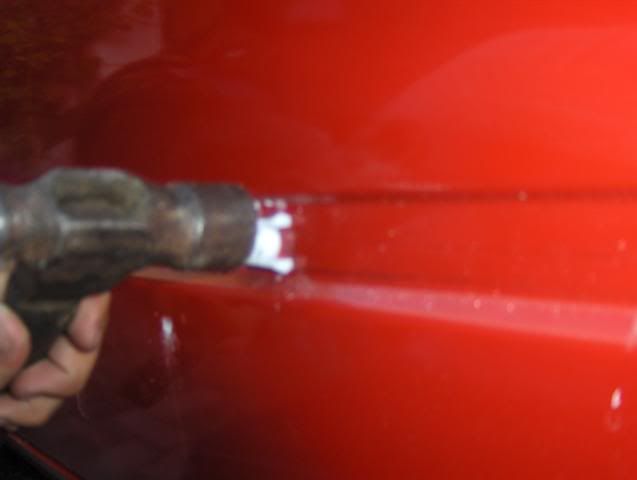
After a lot of sanding


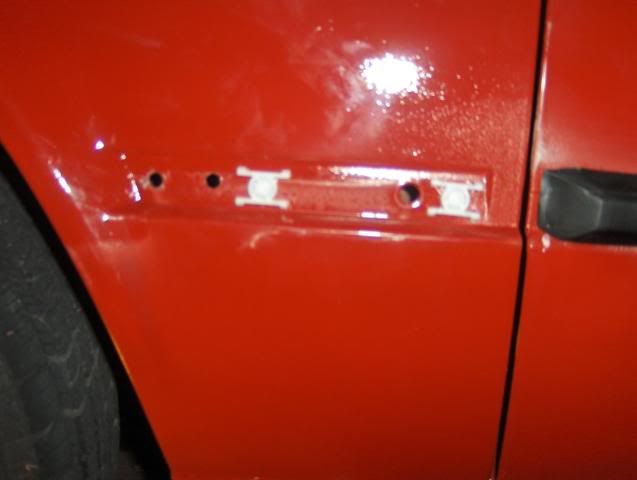
All of them are done: At this point my arms were going crazy due to te vibrating from the sander.


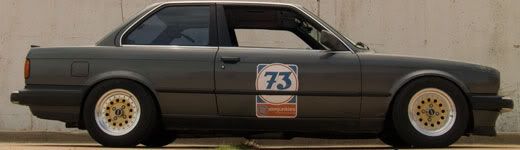
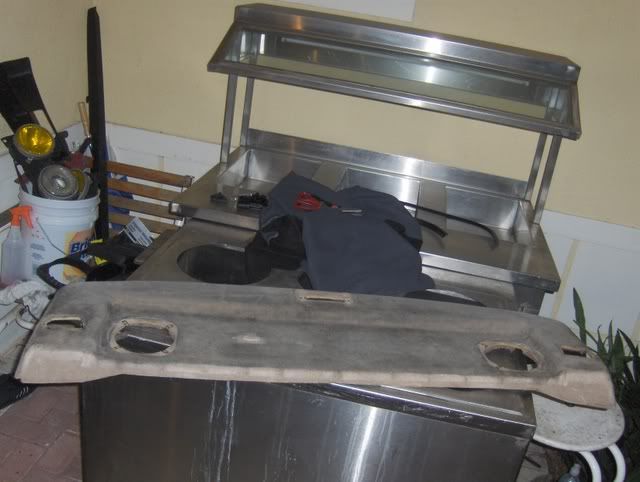
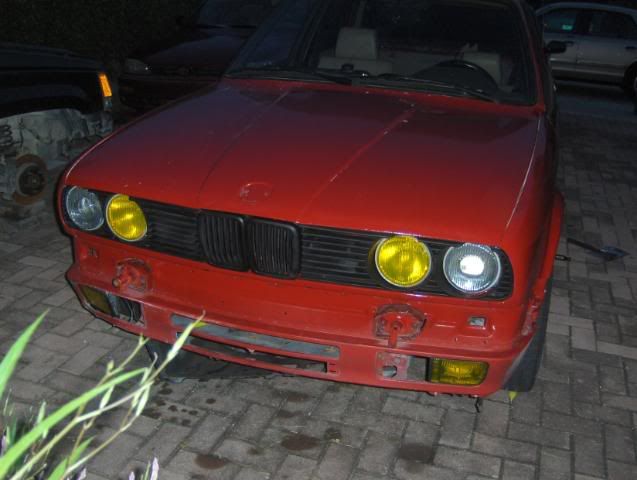
Painted flat black again:

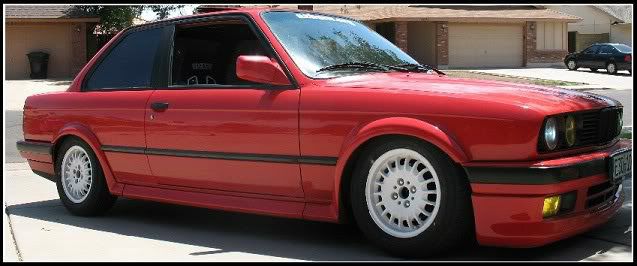
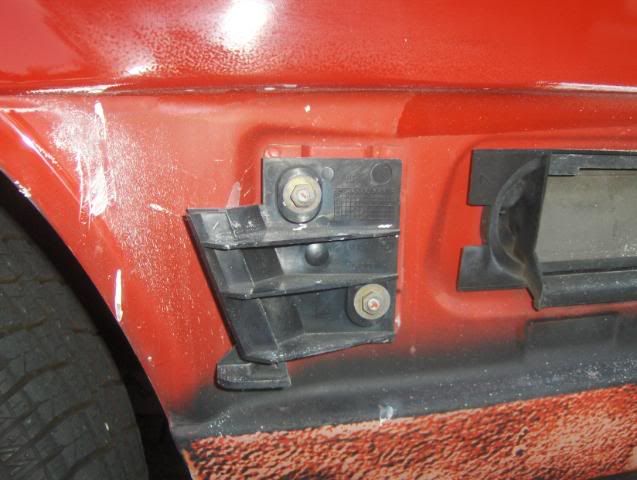
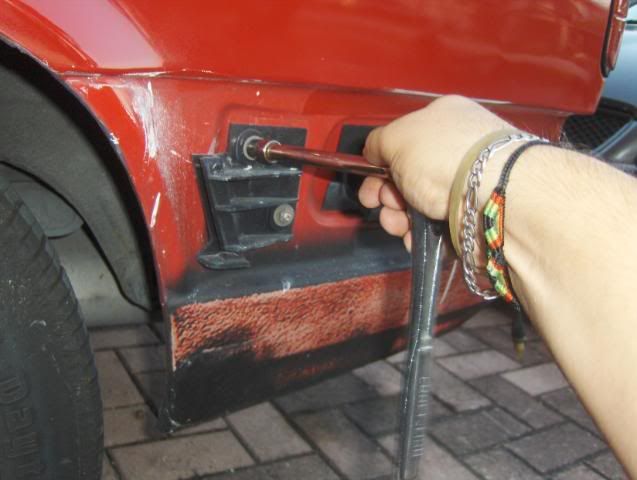
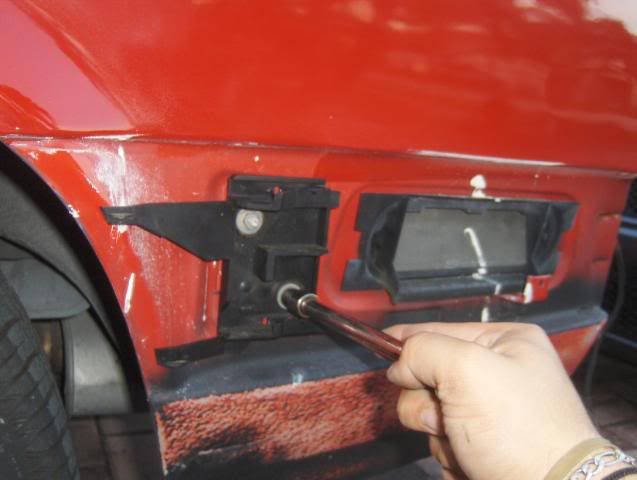
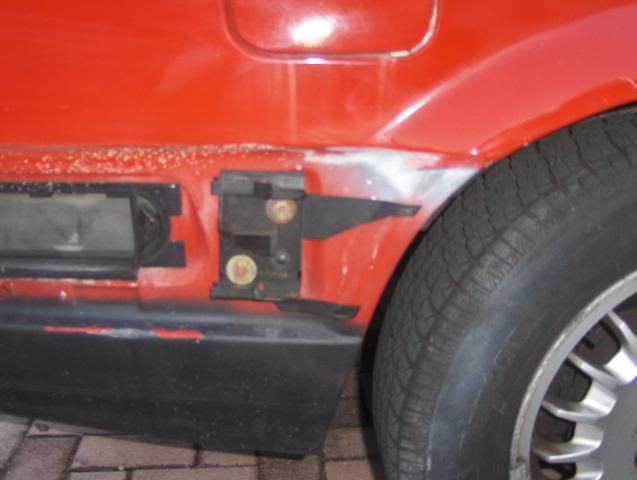
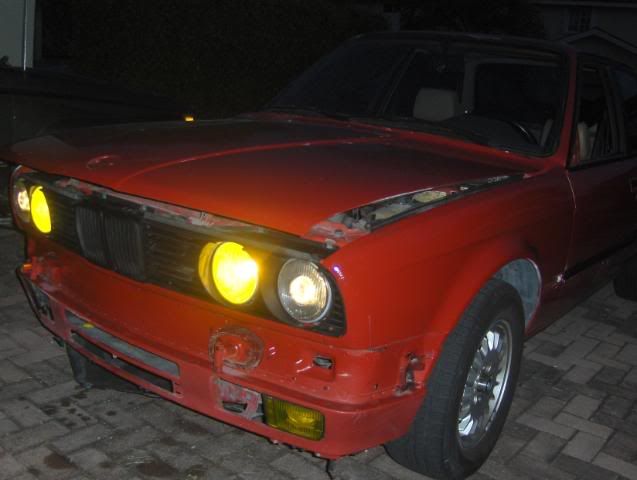
Yellow fogs and high beams:
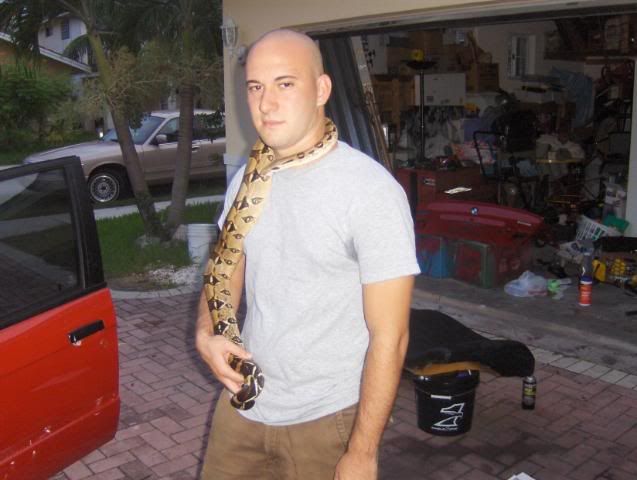
Karey helping

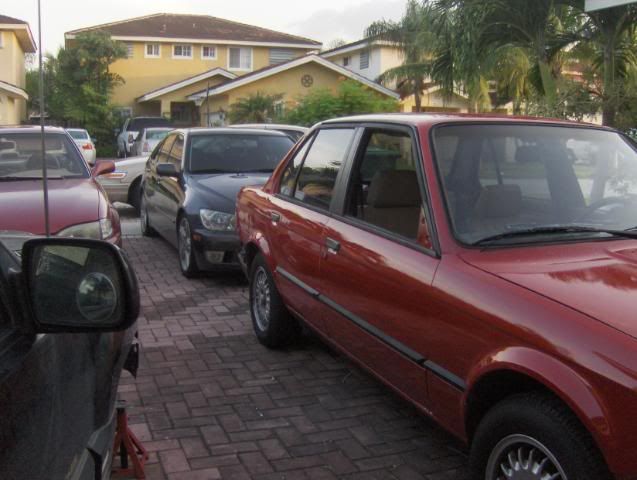
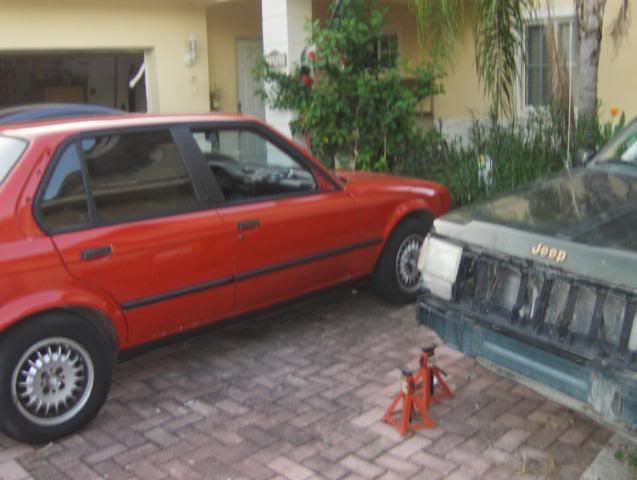
Almost finished product:

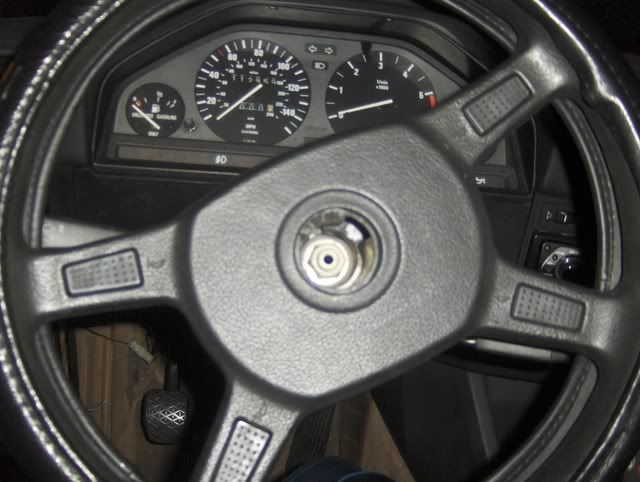
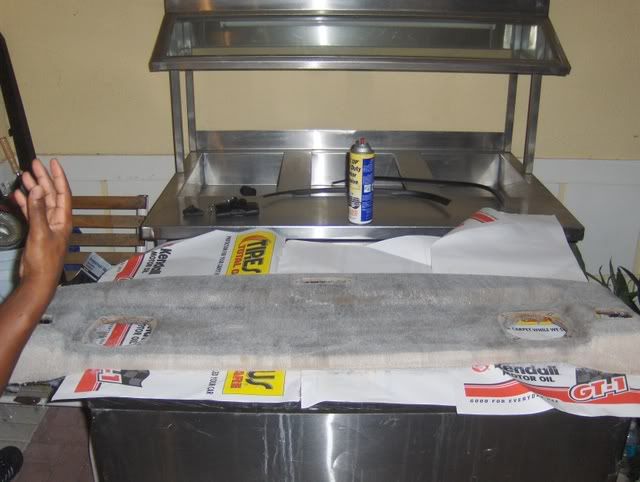
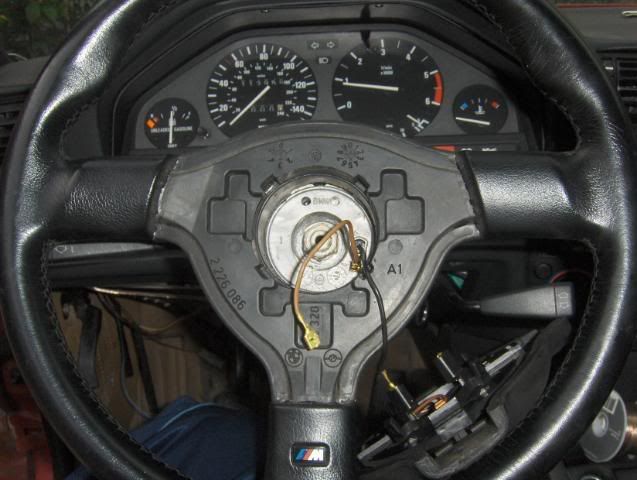
Made a suede steering shift boot. I forgot to take pics of the first few parts.

Puting it around the trim

Mcking it up:


Using a little glue, to get the idea:


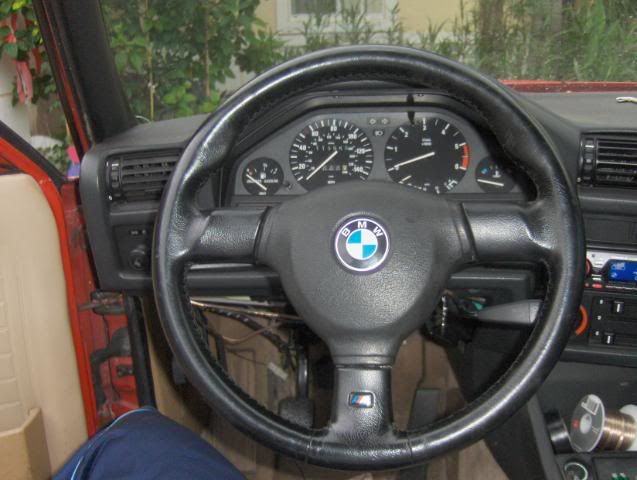
All finished: The purple does not match the "M" purple perfect, but not bad for doing it myself. It looks better now. Once the glue fully dried i stuck it better to the trim peice. Now it looks factory


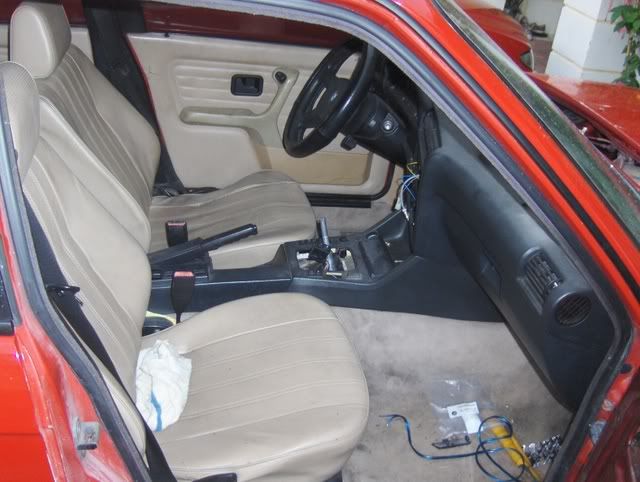
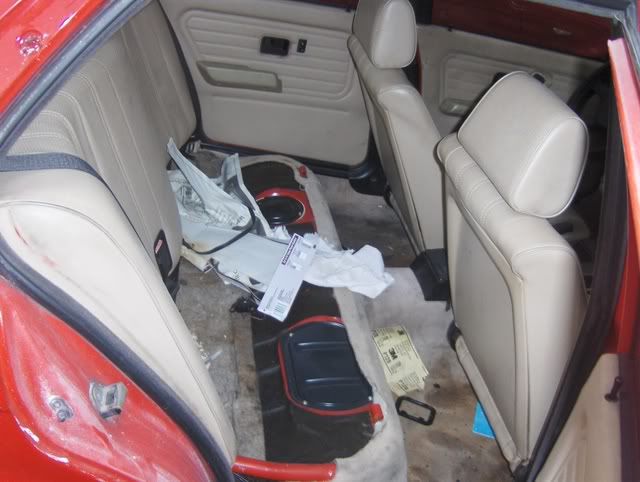
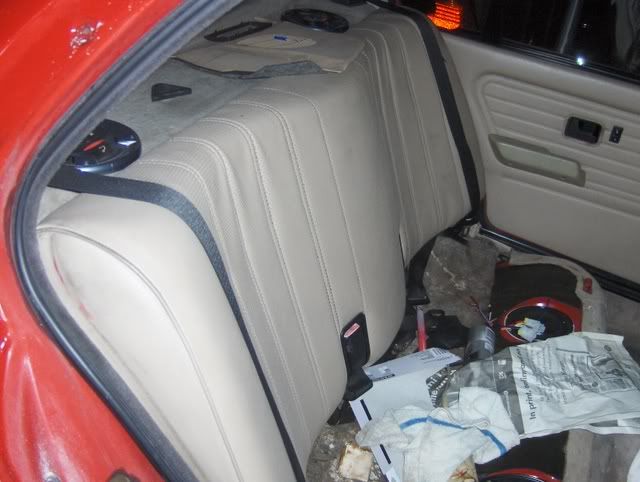
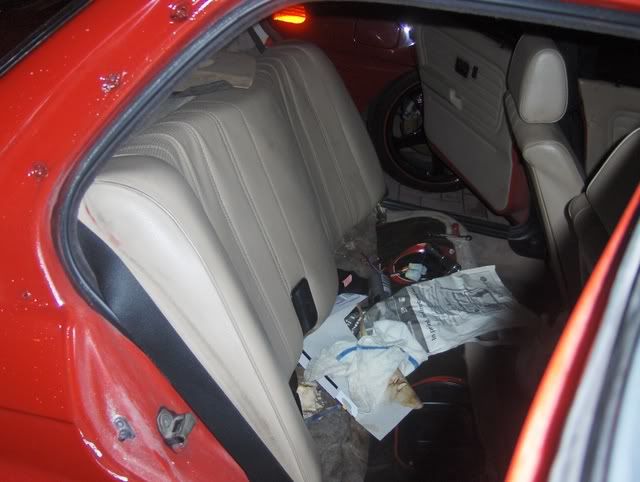
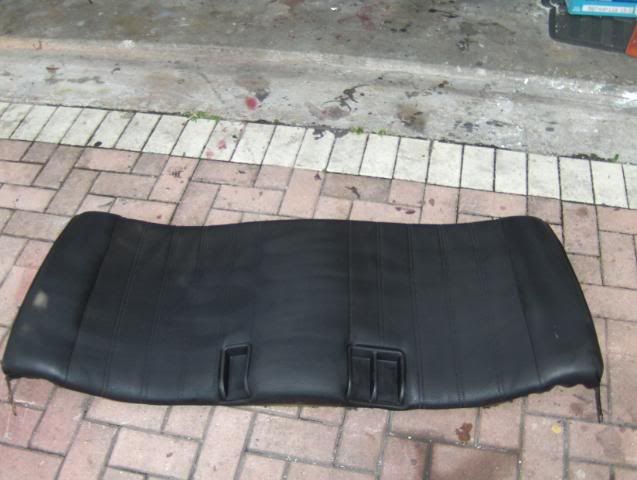
Bought some seats finally.
Since I have no car to test the comfort in Karey is mocking up the e30.


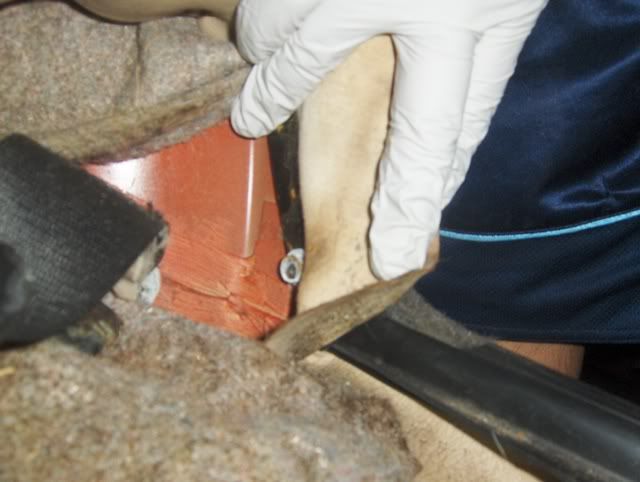
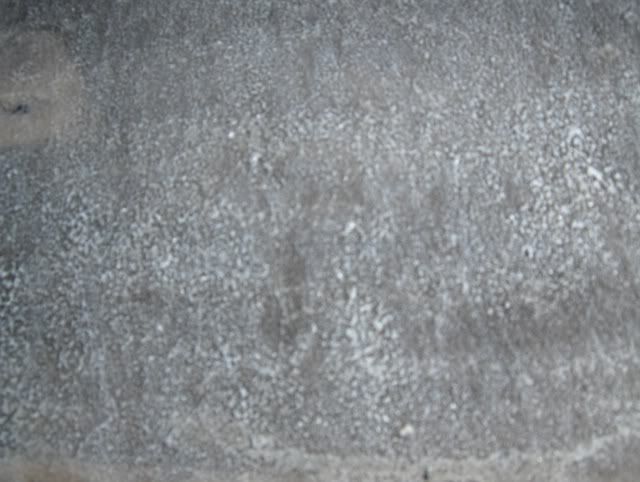
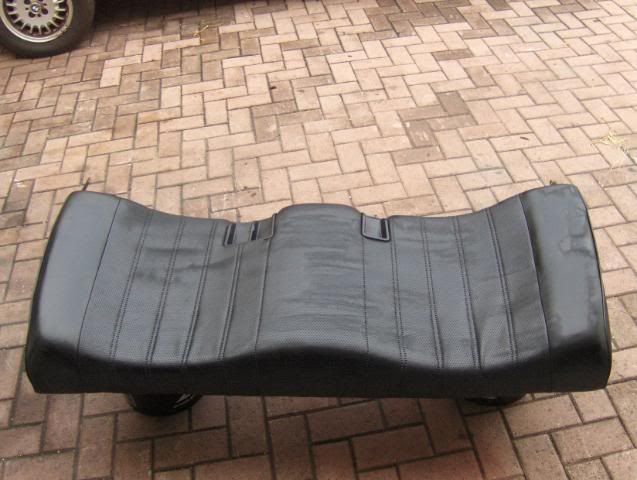
I just picked them up today for $250.00. They are in perfect condition except for these two small holes pictured below. All mechanics work, and they are leather not leatherette.


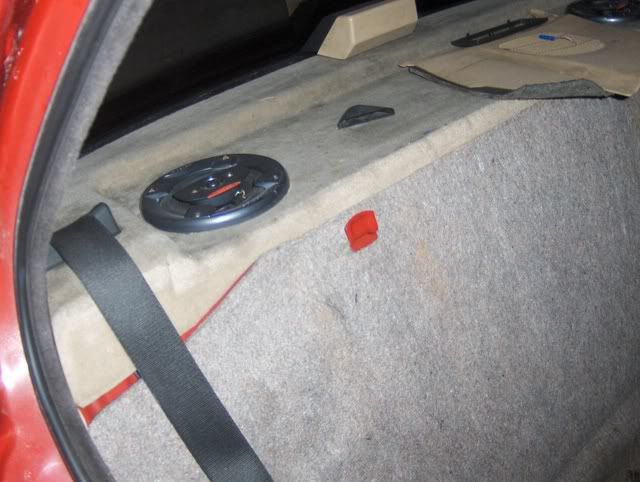
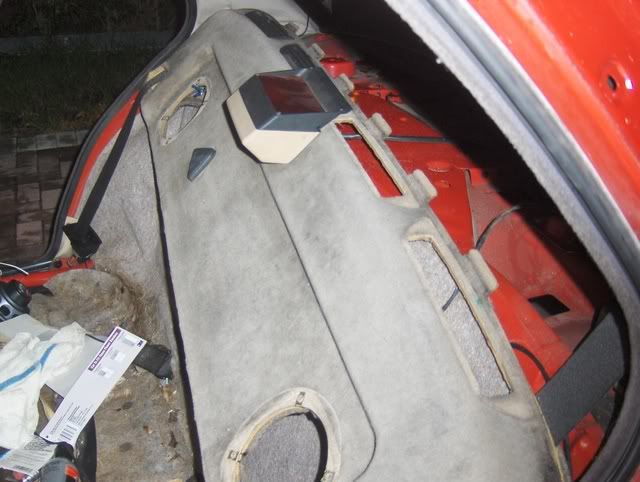
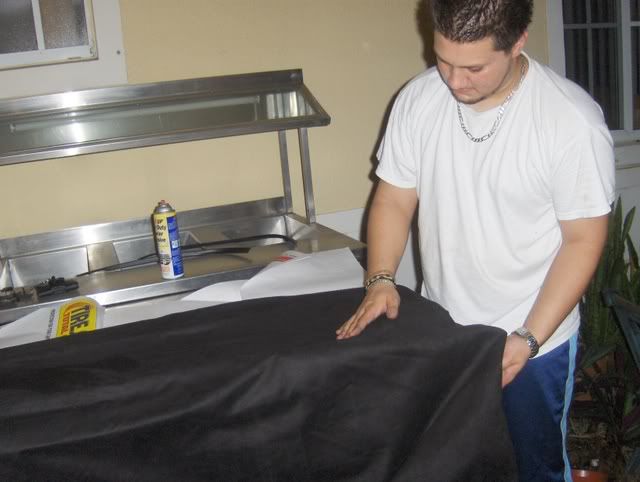
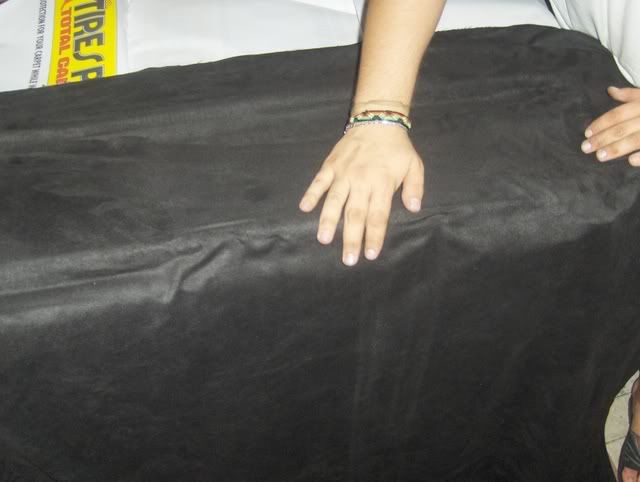
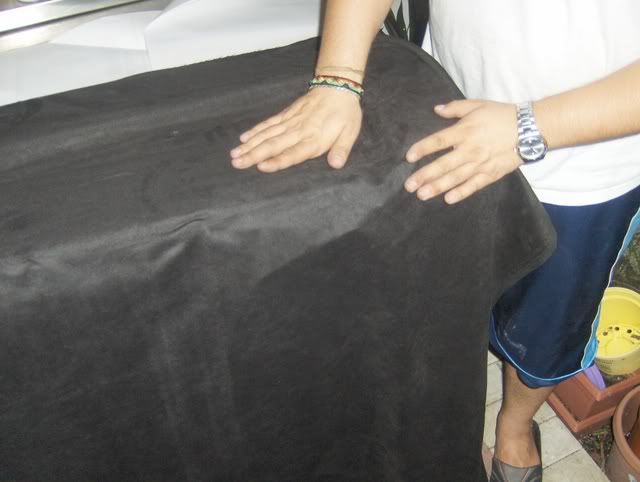
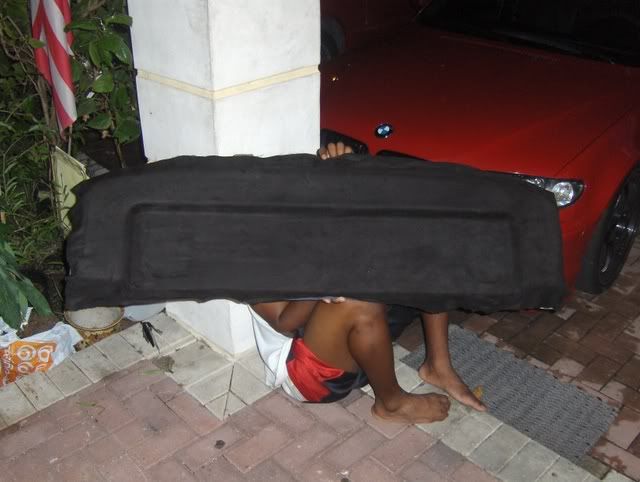
I think i am going to do the seat backs in suede and the rear deck, If i could find ou how to take it off, the roof liner too.
Sorry for the delay, untill next time...
I will post pics of the final turnouts of these three mini jobs tommorow.
Okay so i did little work with what i had. I dont have the car, and at this point i am getting really tired of that. This week this dude is going to hear it.
I decided to redo my widow trim:
After a lot of sanding
All of them are done: At this point my arms were going crazy due to te vibrating from the sander.
Painted flat black again:
Yellow fogs and high beams:
Karey helping
Almost finished product:
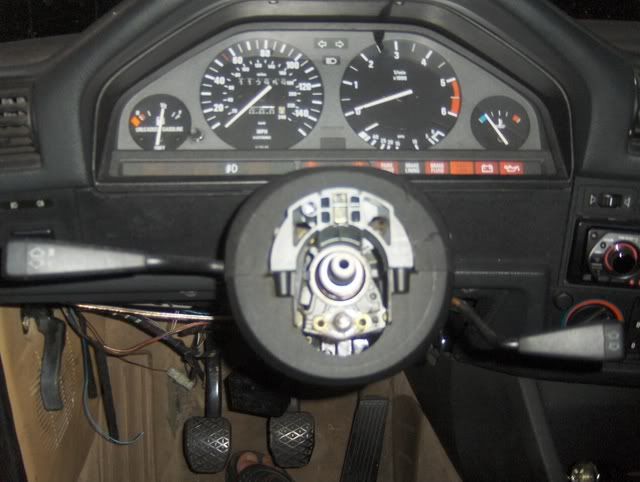
Made a suede steering shift boot. I forgot to take pics of the first few parts.
Puting it around the trim
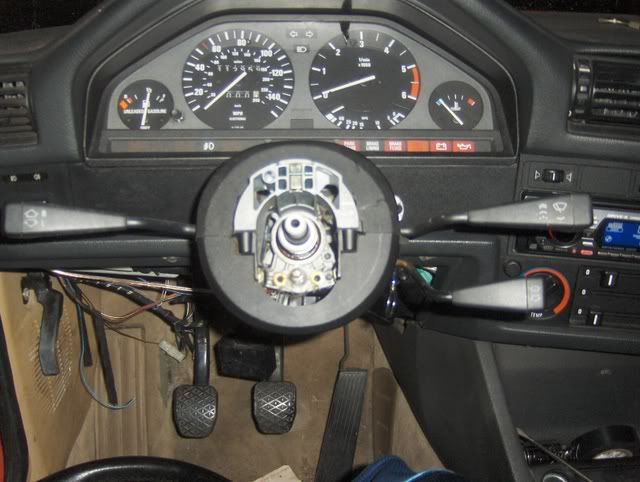
Mcking it up:
Using a little glue, to get the idea:
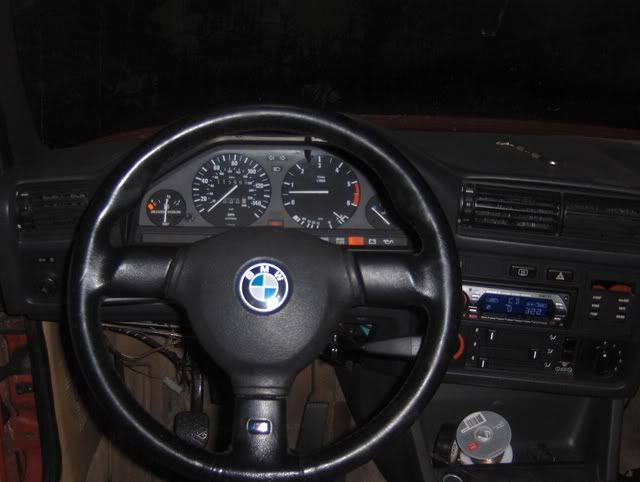
All finished: The purple does not match the "M" purple perfect, but not bad for doing it myself. It looks better now. Once the glue fully dried i stuck it better to the trim peice. Now it looks factory
Bought some seats finally.
Since I have no car to test the comfort in Karey is mocking up the e30.
I just picked them up today for $250.00. They are in perfect condition except for these two small holes pictured below. All mechanics work, and they are leather not leatherette.
I think i am going to do the seat backs in suede and the rear deck, If i could find ou how to take it off, the roof liner too.
Sorry for the delay, untill next time...
I will post pics of the final turnouts of these three mini jobs tommorow.


Comment