If this is your first visit, be sure to
check out the FAQ by clicking the
link above. You may have to register
before you can post: click the register link above to proceed. To start viewing messages,
select the forum that you want to visit from the selection below.
You can recycle the front lower lip, they do fit late style valence, see pics.
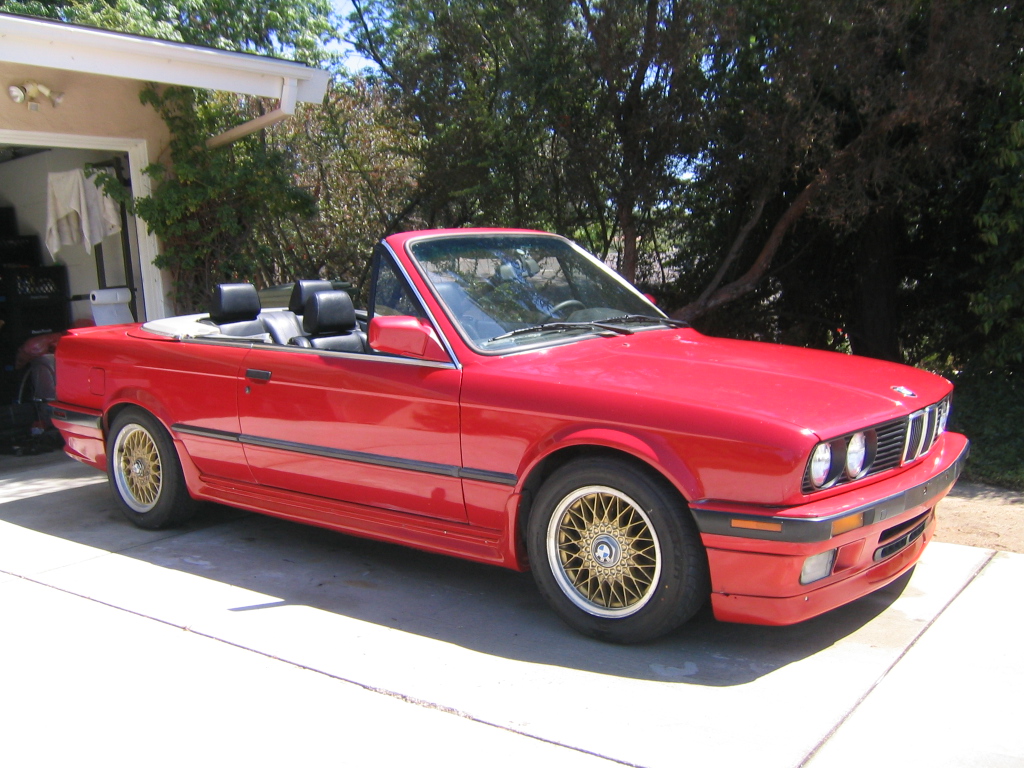
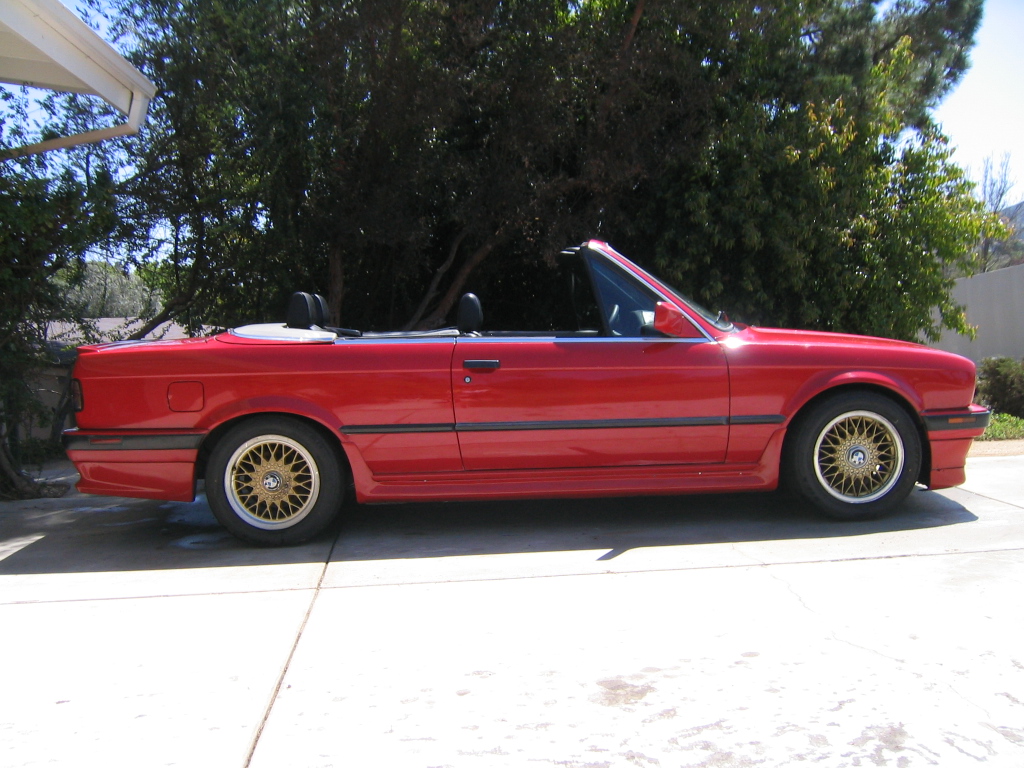
Here's my 2/87 325iC,
before oem & 195/?/15 after with m3 & 225/50/15
Compare by placing a sheet of paper over lower edge of side trim, look at where it meets the rims.
As far as ride difference, ohhg mang...
a bit firmer but not harsh at all,
ride height is speed bump safe too :)
I also installed a m3 rear swaybar with urethane bushings (14.5mm)
and updated oem front swaybar bushings with urethane ones.
Bilstein shocks.
Thanks for the pics frank....I can't wait until the ride height is fixed...but I still need to do CAs and all the bushings....it never stops...and my touring decided that yesterday was a great day to let the water pump die.
Wow that really is quite a difference between spring height.
Yes it is,
oukunar,
You can recycle the front lower lip, they do fit late style valence, see pics.
Here's my 2/87 325iC,
before oem & 195/?/15 after with m3 & 225/50/15
Compare by placing a sheet of paper over lower edge of side trim, look at where it meets the rims.
As far as ride difference, ohhg mang...
a bit firmer but not harsh at all,
ride height is speed bump safe too :)
I also installed a m3 rear swaybar with urethane bushings (14.5mm)
and updated oem front swaybar bushings with urethane ones.
Bilstein shocks.
I just put my M3 springs in last night, along with some Billy Sport inserts. It's a big improvement in feel, and the stance looks much better than the stock Cabby "chin up" look.
The bottlecaps look good with the black centers. Not sure how well it would work with my Mauritiusblau-metallic car, though.
Cool, i need a report once you put those M3 springs in, i have a set for mine, but i've been leaning toward stock lately. Doing just the fronts, or front and back?
Jeff,
I'm doing both the front and rears...just only got the pictures of the fronts...I'll get some more tonight
Cool, i need a report once you put those M3 springs in, i have a set for mine, but i've been leaning toward stock lately. Doing just the fronts, or front and back?
The first of the suspension parts are here and I've began the dismantling of the suspension...should have ordered the CAs and tierods last week...seems I'll have to wait.
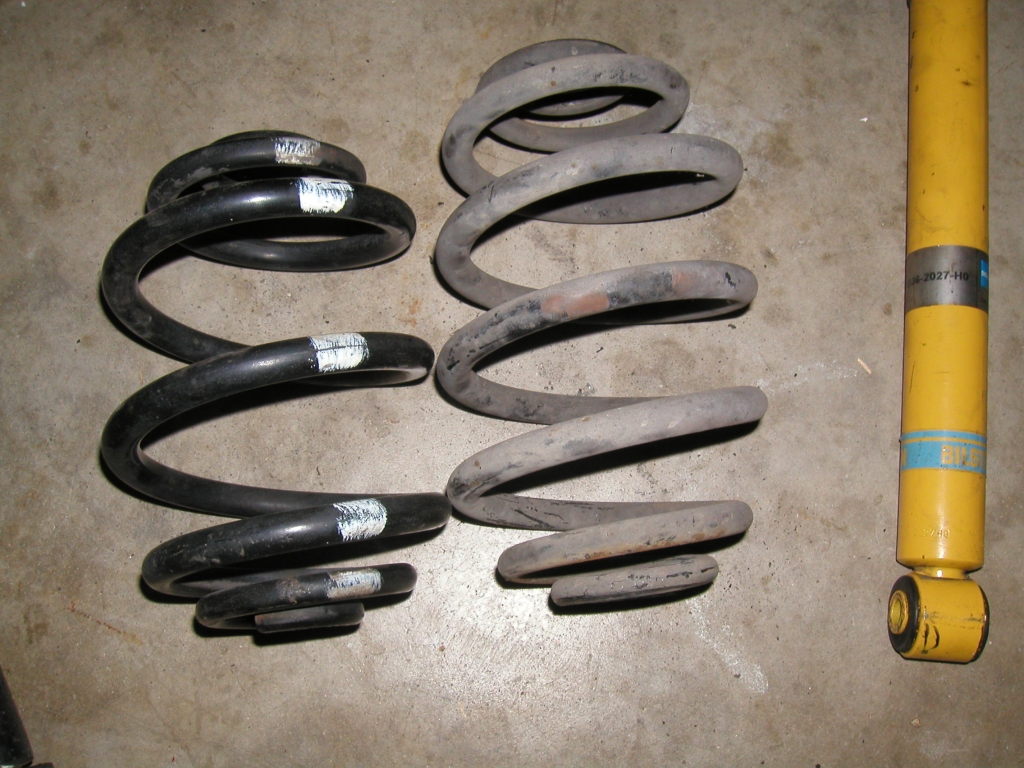
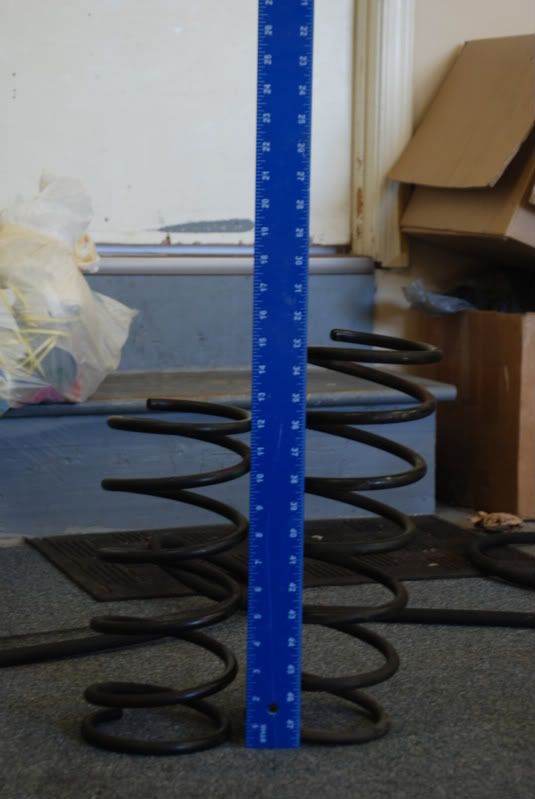
Anyways...here is the comparison of the stock Cabrio front springs to the stock M3 stock fronts:
Who would have thought there was that much of a difference.
Update Central...so I've clearly been slacking on this car, but I had to move it out of the garage to detail a car, so here are some recent shots.
I actually finally installed my maplight mirror and I went with a unit from a Toyota (YIKES) ;) But hey...it looks good and the lights work!
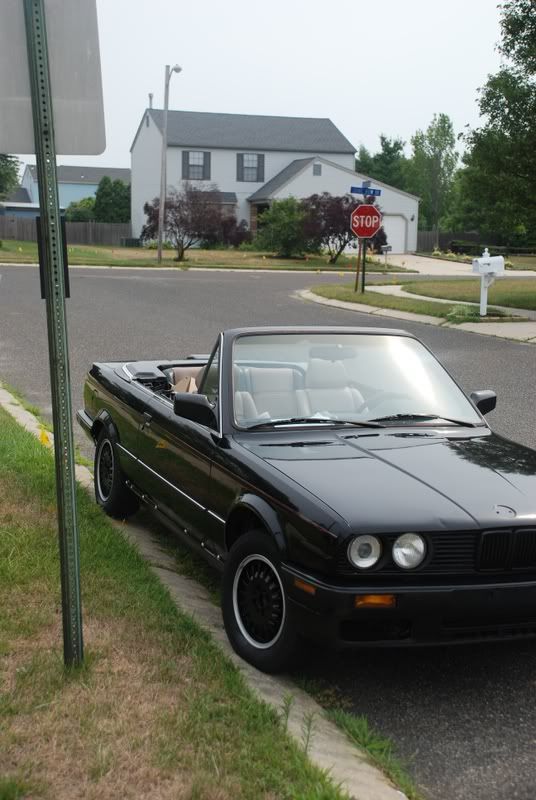
Here are shots of the complete car:
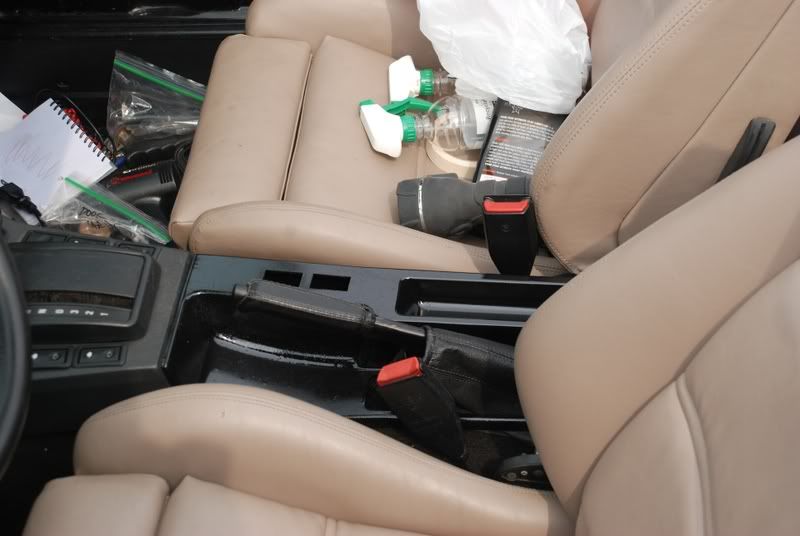
Also in working my interior panels I'm thinking of going a painted gloss look...in fact I'm so leaning towards it...yea I know its not the norm, but with my tonneau lid in gloss black it would flow nicely...anyways..here's the center console not sanded or cleared...just tested.
You'll also notice the e34 leather ebrake handle in the picture...nice subtle upgrade.
Until the next episode...which could include the suspension and brakes...calipers are shot...BOOOO!
I have been following thread since you started since I have an 89 vert as well. I took my cover off last night and how did you get the glue residue off? I used 3M Sticker and Label Remover to get a lot of it off but the heavy residue was not budging.
Also since my car was repainted (rather poorly and looks dry) the color (Bronzit) is pretty far off so that was a bummer but the original color looks nice.
I decided to take some wet sand paper to it...after which I hit it with my buffer. I still have some work to do with regards to it, but it looks ok for now.
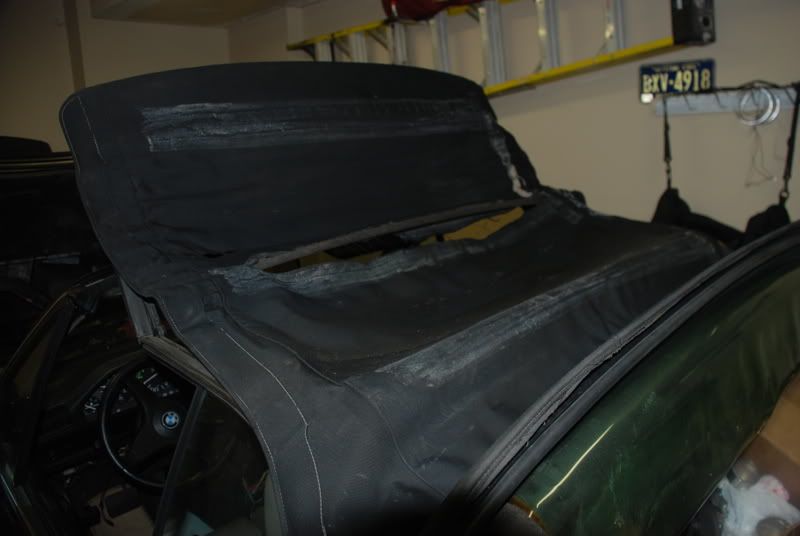
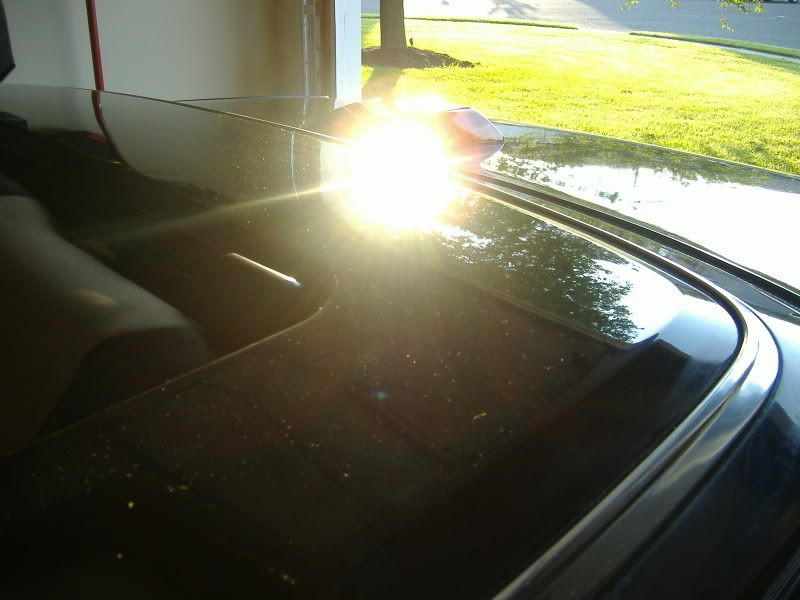
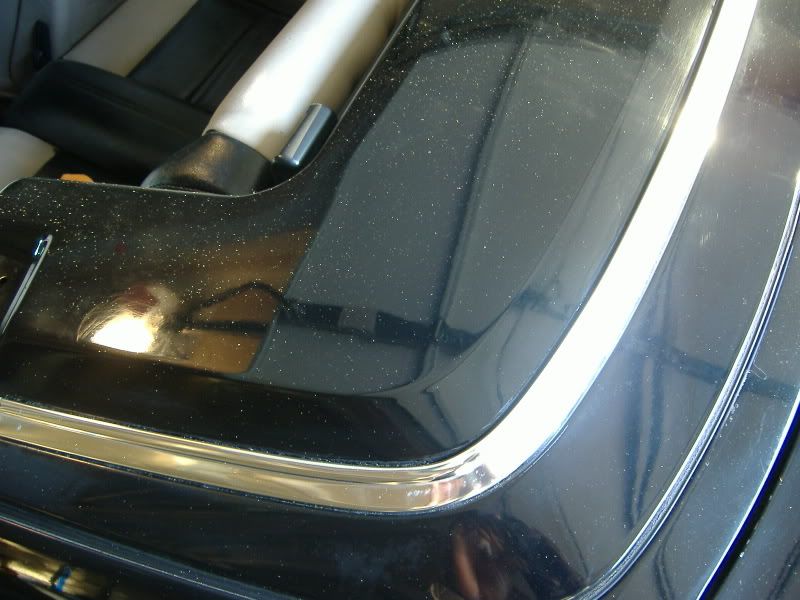
So yesterday I'm getting ready to put the car up on jack stands as its time to start tackling the brakes/suspension and before I get to it...I notice that the tan vinyl on the tonneau/convertible top cover doesn't match my interior....I knew this before...but for some reason it just bothered me today...so it was time to get to work...here is the end result....I still need to properly tackle/buff this area....
Ok...so then finally she's up on jack stands...and I was only able to get one wheel off...didn't want to wake the baby...oh...rusty hubs FTL.
more to come....slowly but surely she'll get there.
I have been following thread since you started since I have an 89 vert as well. I took my cover off last night and how did you get the glue residue off? I used 3M Sticker and Label Remover to get a lot of it off but the heavy residue was not budging.
Also since my car was repainted (rather poorly and looks dry) the color (Bronzit) is pretty far off so that was a bummer but the original color looks nice.
It would be painted the same color as your car. I am tempted to do it, but I'm also concerned with how the trim will look w/o the vinyl there on the inside edges. Do you have any closeups of the joint between the chrome trim/paint?
i'd like to take the vinyl off mine and polish the paint underneath...i'm just wondering if it's painted white or black though. If it's white underneath i think it'd look like crap...but black would make it sexy..
do it first CorvallisBMW and lemme know what color you got :D
It would be painted the same color as your car. I am tempted to do it, but I'm also concerned with how the trim will look w/o the vinyl there on the inside edges. Do you have any closeups of the joint between the chrome trim/paint?









Leave a comment: