
Its been a while since I updated this with the holidays and everything. After getting the brake line together, I found one of the brake lines was clogged so we had to find new fittings and fab up a new brake line which was eventually done but not complete because the stores were closed due to the holidays when I was working on it.
So we had to run a new line to the brake proportioning line and ultimately got it put together and bled. With that done the next hurdle was the steering column. Since the later steering column and steering shaft were used to allow for the regular ignition switch and setup, we had to mount the steering differently. I had grabbed the later style steering column support bar that mounts on the transmission tunnel but there was not a mounting boss for in the early chassis. A friend came over with his welder and we modified the steering column to make that work but also to allow it to be removable.
I forgot to grab photos of that but that has been mounted and now the steering column is solid. It just might need some padding to prevent any sort of knee bang hazard on the right side.
With that done, I was informed the momo seat was on back order until february. I decided to keep pressing forward and found a decent deal on a sparco pro 200 qrt and pulled the trigger. That came in and an older 2004 model sparco pro 2000 came up on facebook marketplace for $100 so I got that for the passenger side. You can buy seat covers for old models so eventually I will probably get it in black for that seat, but for now it is ok as is and I still need another harness for the passenger but don't want to spend the money on a really nice one. I set about mounting those in the car. I got the passenger side pretty easily but the driver side has been tough with space limitation and proximity to the roll bar. I also had to mount the seat slider for the driver side. I have it installed but have mixed feelings about the setup depending on the height of our drivers.
 20210123_173042 by t sz, on Flickr
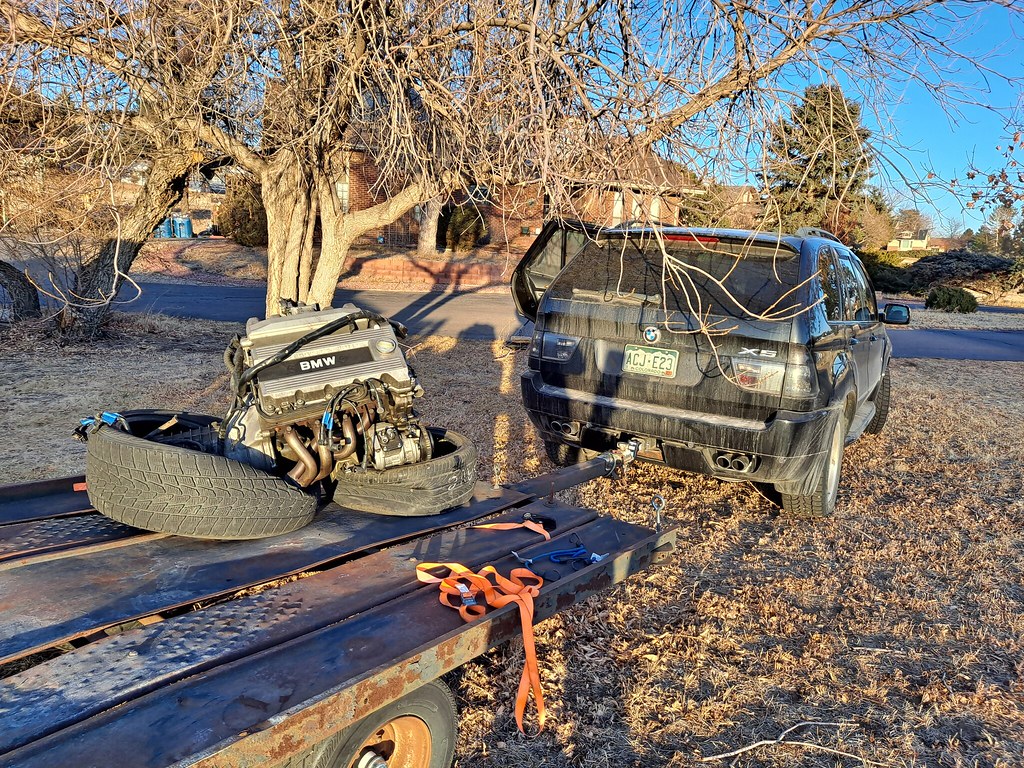
I also was able to score another M42 right after the new year. For $400 that government stimulus was great for a 120k mile engine, trans, ecu, exhaust, and driveshaft.
 20210114_162536 by t sz, on Flickr
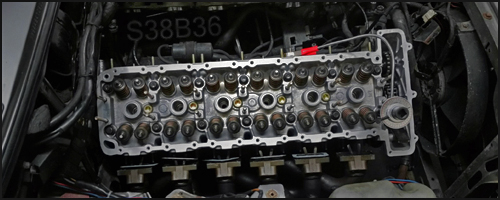
With that and the correct m42 fan blade and clutch, I finally got to work mounting the radiator. The early cars have lower radiator mounting points by about an inch so it couldnt mount like the later cars with the rubber bar on top. My solution to this was a pair of rubber swaybar bushings I had been incorrectly sent a few years back. I believe they were e36 size and too big for the e30 so I cut them in half and turned them sideways. This allowed the bushing to wrap about the original rubber radiator mount, set in place, and lift the lower radiator support by a half inch. No pictures but with that I could mount the radiator and drill a second hole for the top support piece. I do need to fina another rubber as there is only one now, but with 2 the radiaot rwont move and I installed the fan and shroud.
 20210123_173048 by t sz, on Flickr
 20210123_173058 by t sz, on Flickr
The car is almost ready to drive now, just need another hole drilled in the seat and we can start to get the roll cage welded up to meet safety. I am planning to work on it next weekend and do a test drive. We had our first team meeting about the race and are planning to run the 2021 September Lemons race at HPR. I still don't know if it will be a two day race of a 24 hour race, but either way we are tentatatively planning to make it to that race. That leaves about 7 months of preparation from the race.
Until then, I updated the list of things to do:
- Install rear axle nuts
- Mount relays on firewall in engine bay
- Repair headlight switch (currently is not working right)
- Replace/ install windsheild seal
- Check steering alignment
- Mount battery hold down
- heatshrink/insulate the exposed master power cutoff switch metal
- Get a rearview mirror
- install roll bar padding
- Install fire suppression
- Weld floorboards/ add spreader plates to roll bar main hoops
- Install rear swaybar
- install front swaybar mount
- install driver seat racing harness
- finish mounting blower motor/ cover plate on firewall
- weld gas pedal to floor board
- patch all holes in firewall
optional
- install skid plate
- Install z3 steering rack
- Install Power steering
That's all for now, test drive next weekend I think.
So we had to run a new line to the brake proportioning line and ultimately got it put together and bled. With that done the next hurdle was the steering column. Since the later steering column and steering shaft were used to allow for the regular ignition switch and setup, we had to mount the steering differently. I had grabbed the later style steering column support bar that mounts on the transmission tunnel but there was not a mounting boss for in the early chassis. A friend came over with his welder and we modified the steering column to make that work but also to allow it to be removable.
I forgot to grab photos of that but that has been mounted and now the steering column is solid. It just might need some padding to prevent any sort of knee bang hazard on the right side.
With that done, I was informed the momo seat was on back order until february. I decided to keep pressing forward and found a decent deal on a sparco pro 200 qrt and pulled the trigger. That came in and an older 2004 model sparco pro 2000 came up on facebook marketplace for $100 so I got that for the passenger side. You can buy seat covers for old models so eventually I will probably get it in black for that seat, but for now it is ok as is and I still need another harness for the passenger but don't want to spend the money on a really nice one. I set about mounting those in the car. I got the passenger side pretty easily but the driver side has been tough with space limitation and proximity to the roll bar. I also had to mount the seat slider for the driver side. I have it installed but have mixed feelings about the setup depending on the height of our drivers.
20210123_173042 by t sz, on FlickrI also was able to score another M42 right after the new year. For $400 that government stimulus was great for a 120k mile engine, trans, ecu, exhaust, and driveshaft.
20210114_162536 by t sz, on FlickrWith that and the correct m42 fan blade and clutch, I finally got to work mounting the radiator. The early cars have lower radiator mounting points by about an inch so it couldnt mount like the later cars with the rubber bar on top. My solution to this was a pair of rubber swaybar bushings I had been incorrectly sent a few years back. I believe they were e36 size and too big for the e30 so I cut them in half and turned them sideways. This allowed the bushing to wrap about the original rubber radiator mount, set in place, and lift the lower radiator support by a half inch. No pictures but with that I could mount the radiator and drill a second hole for the top support piece. I do need to fina another rubber as there is only one now, but with 2 the radiaot rwont move and I installed the fan and shroud.
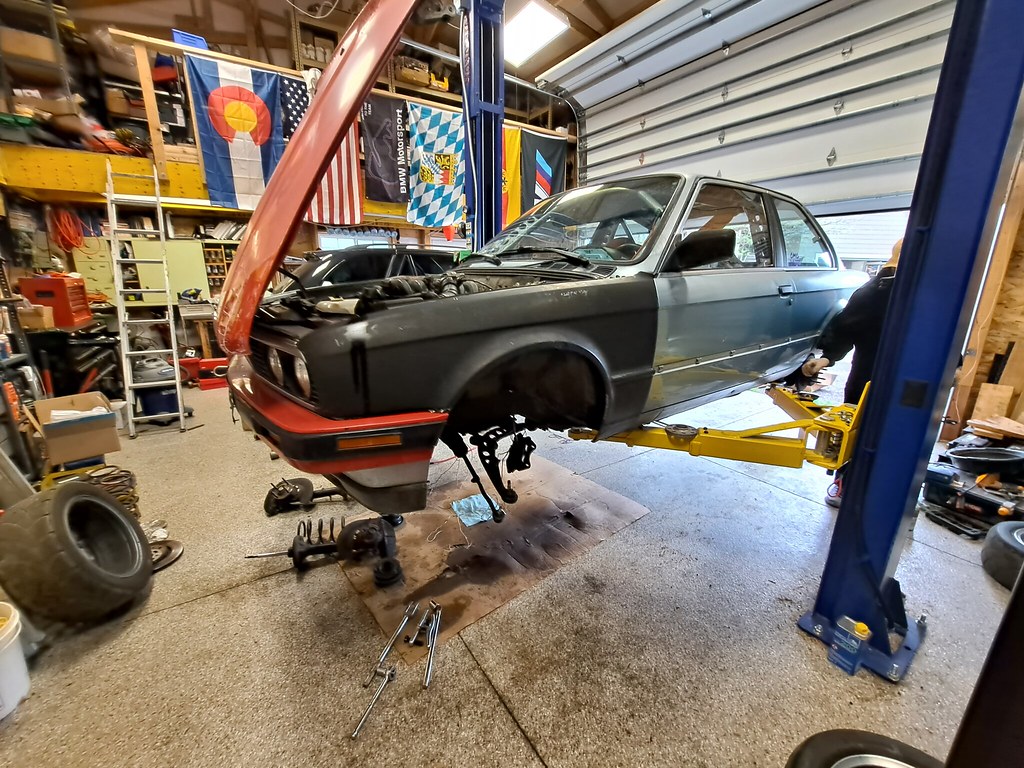
20210123_173048 by t sz, on Flickr20210123_173058 by t sz, on FlickrThe car is almost ready to drive now, just need another hole drilled in the seat and we can start to get the roll cage welded up to meet safety. I am planning to work on it next weekend and do a test drive. We had our first team meeting about the race and are planning to run the 2021 September Lemons race at HPR. I still don't know if it will be a two day race of a 24 hour race, but either way we are tentatatively planning to make it to that race. That leaves about 7 months of preparation from the race.
Until then, I updated the list of things to do:
- Install rear axle nuts
- Mount relays on firewall in engine bay
- Repair headlight switch (currently is not working right)
- Replace/ install windsheild seal
- Check steering alignment
- Mount battery hold down
- heatshrink/insulate the exposed master power cutoff switch metal
- Get a rearview mirror
- install roll bar padding
- Install fire suppression
- Weld floorboards/ add spreader plates to roll bar main hoops
- Install rear swaybar
- install front swaybar mount
- install driver seat racing harness
- finish mounting blower motor/ cover plate on firewall
- weld gas pedal to floor board
- patch all holes in firewall
optional
- install skid plate
- Install z3 steering rack
- Install Power steering
That's all for now, test drive next weekend I think.


Comment