
Finished installing the rear seats today:  Starting to look more and more like a real car. I cleaned up the passenger side Natur Beige rear interior panel I had:
 Just another firm reminder as to how bad the interior was, and to how long the car actually sat. Will be calling a local shop tomorrow to get a quote on a new top and leather for all four seats tomorrow.
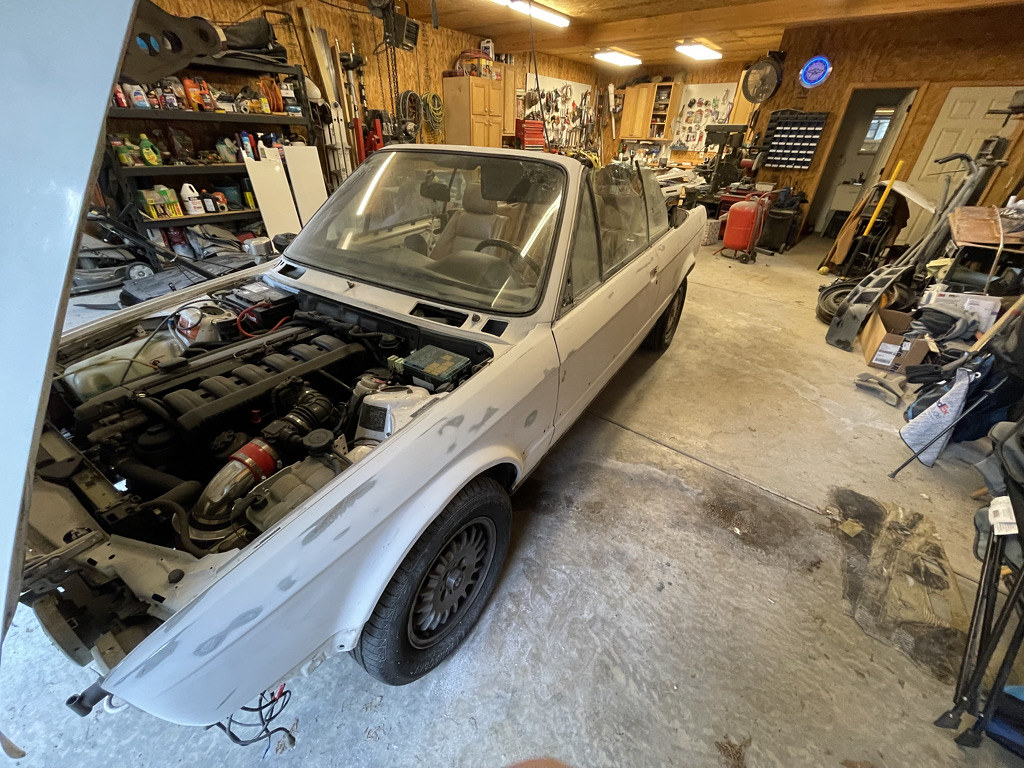
  It’s so close. I got the exhaust wrapped up, sounds pretty good being as it’s still a stock E30 325i exhaust from the cat to the muffler. Forgot to snap a pic, but it’s on. Need to tighten the O2 sensors a bit more.
  Check panel shows progress. An ivory driver’s side panel was painted to see how close it could get to Natur Beige
 Waiting on a bunch of crap from FCP to ship. Major things that still need to be addressed: Speedometer (used cluster shipping tomorrow) Accelerator cable (E36 cable coming soon?) Driver’s side seatbelt (shipped coming soon) Sent from my iPhone using Tapatalk
Starting to look more and more like a real car. I cleaned up the passenger side Natur Beige rear interior panel I had: Just another firm reminder as to how bad the interior was, and to how long the car actually sat. Will be calling a local shop tomorrow to get a quote on a new top and leather for all four seats tomorrow. It’s so close. I got the exhaust wrapped up, sounds pretty good being as it’s still a stock E30 325i exhaust from the cat to the muffler. Forgot to snap a pic, but it’s on. Need to tighten the O2 sensors a bit more. Check panel shows progress. An ivory driver’s side panel was painted to see how close it could get to Natur Beige Waiting on a bunch of crap from FCP to ship. Major things that still need to be addressed: Speedometer (used cluster shipping tomorrow) Accelerator cable (E36 cable coming soon?) Driver’s side seatbelt (shipped coming soon) Sent from my iPhone using Tapatalk
 I received a plastic dash cap, thought it looked pretty good. This is a pic of it just sitting on top.
  Bled the brakes and I am currently getting the clutch bled. Sent from my iPhone using Tapatalk


 Well I drove it 2.5hrs to visit a friend for the weekend, with the crap top. Made a temporary rear window with a shower liner and various adhesive. Worked great, aside from the bottom which was just hot glued. Correcting tomorrow and applying some silicone spray for canvas waterproofing. Trip home has a 90 percent chance rain. On the way, over it began to storm and rain, which was planned for, but I didn’t really test the top’s ability to actually shelter me from water beforehand. The ride over wouldn’t have been so bad if the water proofing was more intact and we didn’t get stuck in traffic for 25 minutes during the heaviest part of the storm. Water was pooling in all over the top as the rain just accumulated on the top. Sent from my iPhone using Tapatalk


 Finished the miles of sanding and got the spray booth setup on Sunday. The next day, we spent the whole day spraying and wet sanding, finally wrapping up about 1:00 AM. Here’s a few pics of the primer on the car
 And finally, fresh Alpine White:
 Still have a ton of orange peel to sand and buff out, but that was expected. Clear coat was laid down super thick. Finally, I’m getting new tires mounted on my brand spanking new Euroweaves. Was told this was one of four new sets still available in the US.
  Super excited as well for my IS front air dam and rear spoiler:
  Just for reference, here’s what the front air dam looked when I got it:
  The new brace on the bottom isn’t the prettiest but you won’t ever see it. Plus it’s stiff as all get out. Sent from my iPhone using Tapatalk
Comment