

Next long post to the rescue!!!! Finally got a chance to refinish the dash (not as well as i had hoped) Followed the entire process for if someone wants to try themselves (can be done much better than i did, but it was my first try...o well.)
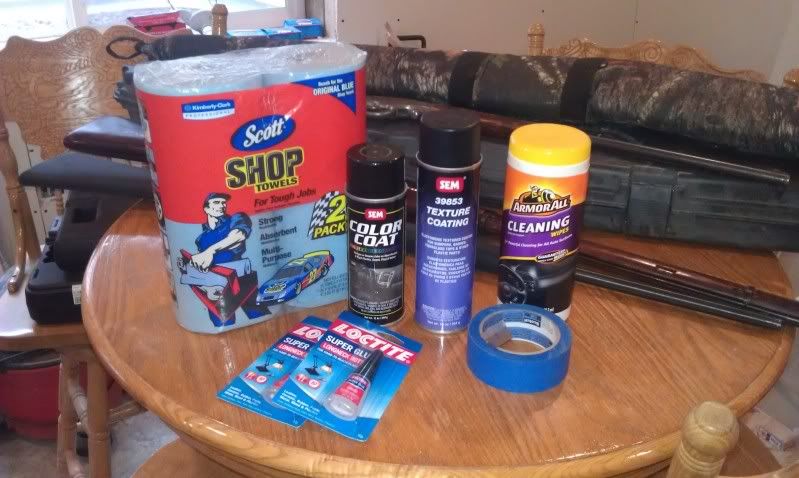
First you must start off with your supplies, I have the majority of them pictured here. (dont mind the guns lol...)
Shop towels
Super glue
Some kind of cleaner (i used armour all wipes)
SEM Texture
SEM Paint (i used Landau black)
Painters tape
Razor blades
Rubbing alcohol (used to clean of the greasy residue of the wipes for final prep)
Baking Soda
Painting mask/respirator
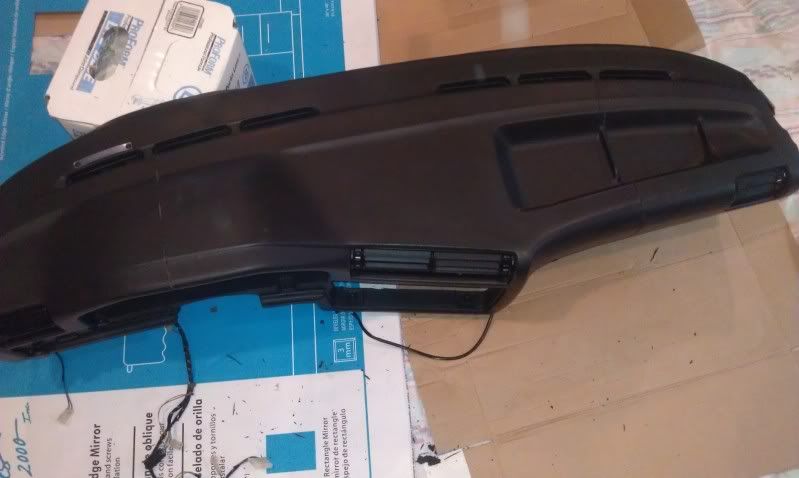
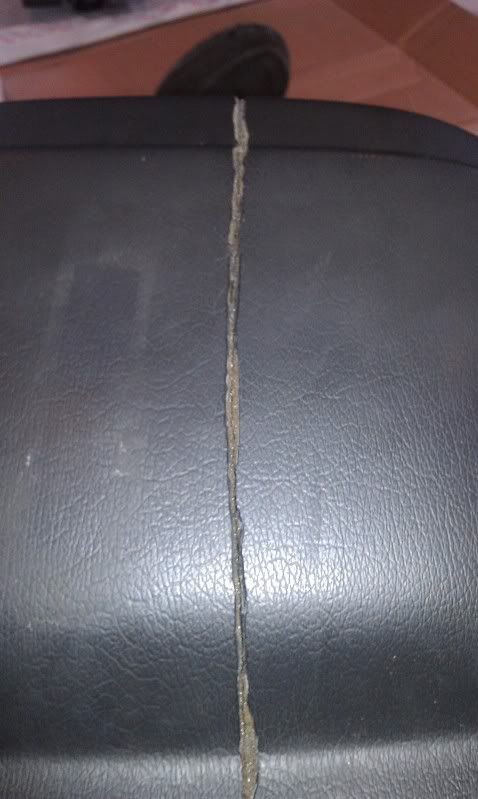
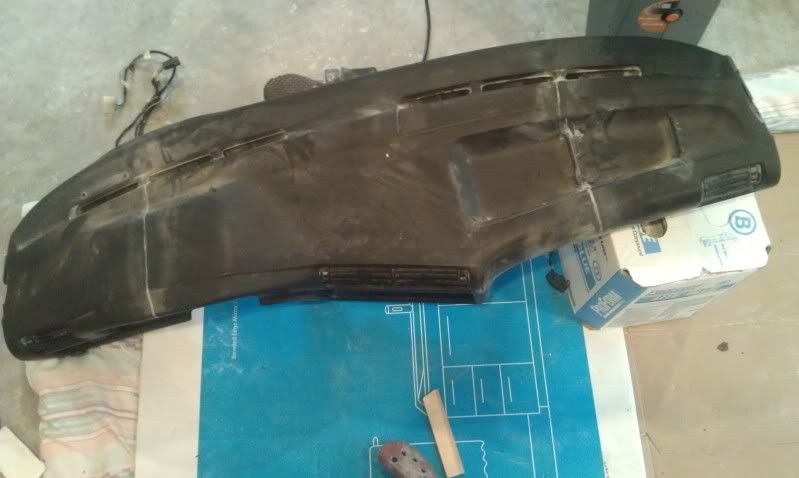
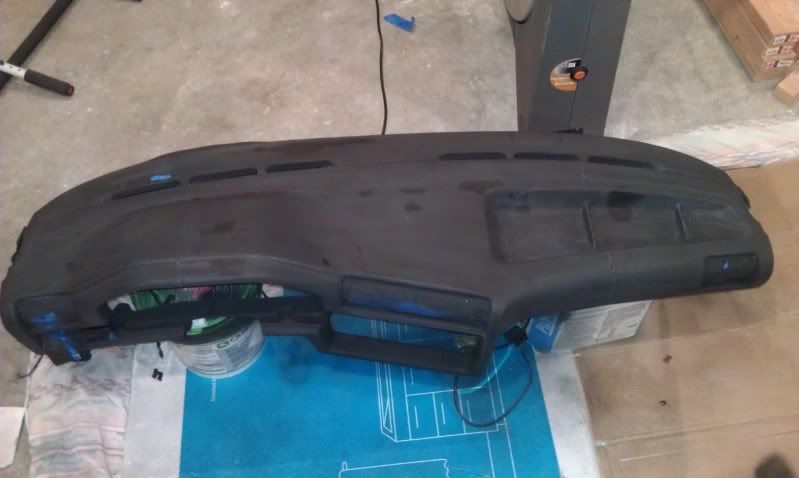
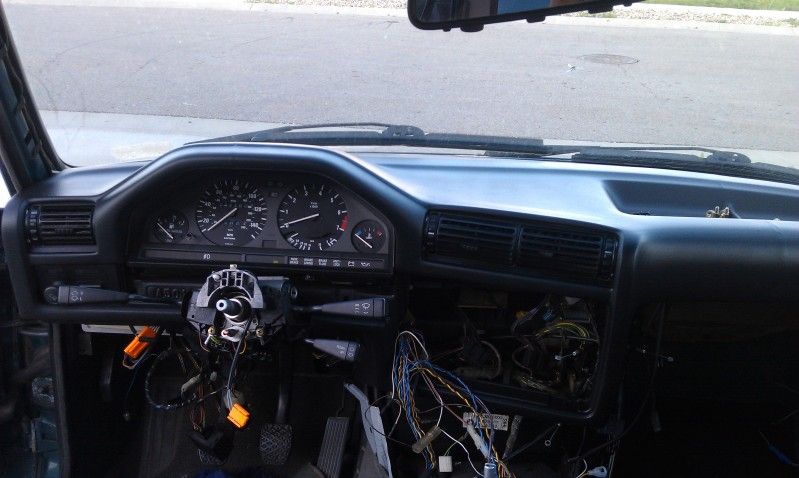
How the dash started.
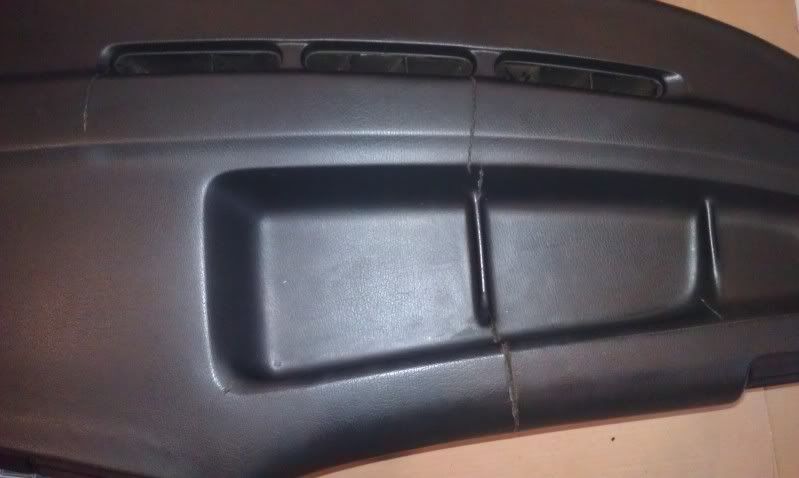
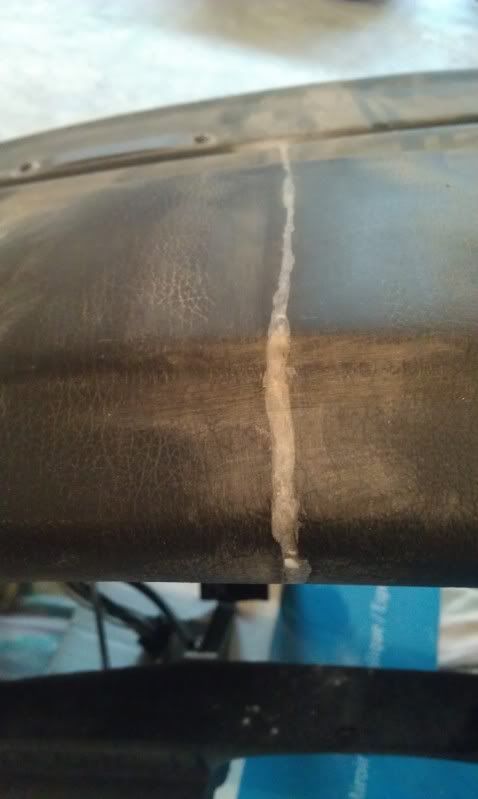
next step is to create a V in the crack so you have more area to add material and to try to get it to smooth out easier when your all done filling.
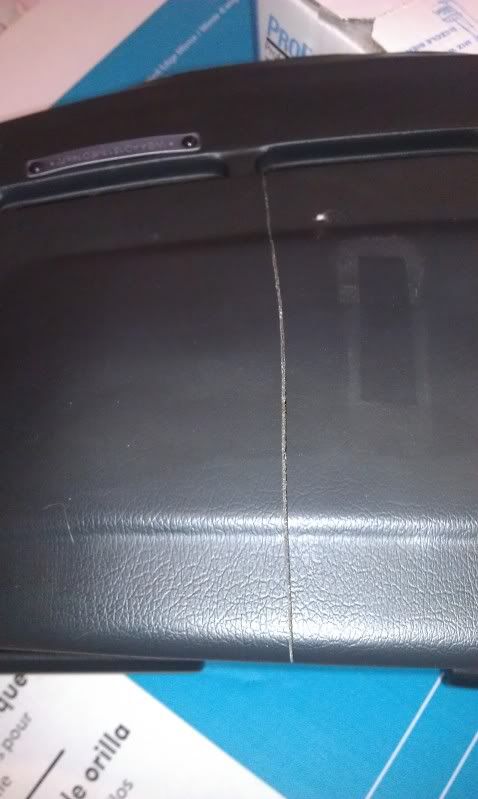
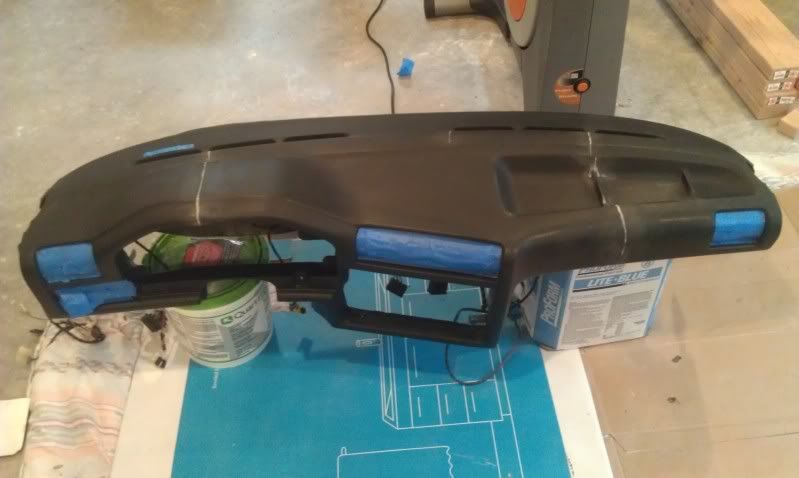
Next tape of the areas so you dont get more than you need to on the dash (here you can see all the little crack spots)
By now everything should have been cleaned well enough (otherwise the painters tape wont stick well)
next, i put a single coat of super glue int he crack as a starting point.
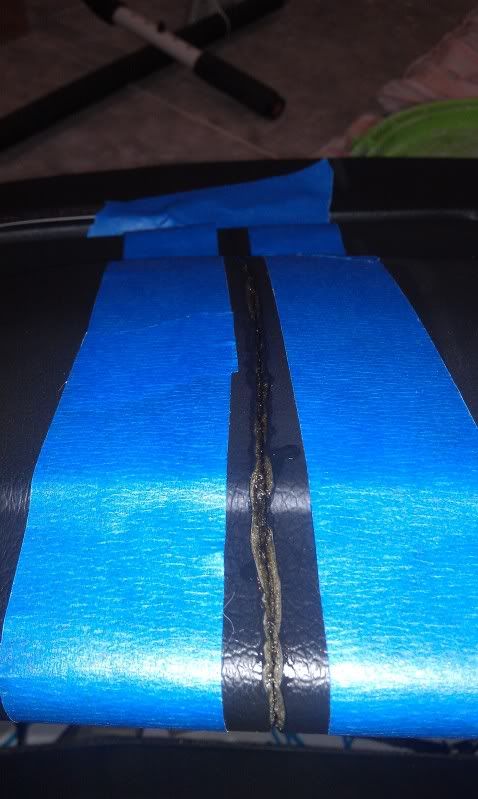
After that dries put another squeeze of super glue in the crack and sprinkle some baking soda in the crack (It builds up and hardens.)
Afters building it up it will look similar to this.
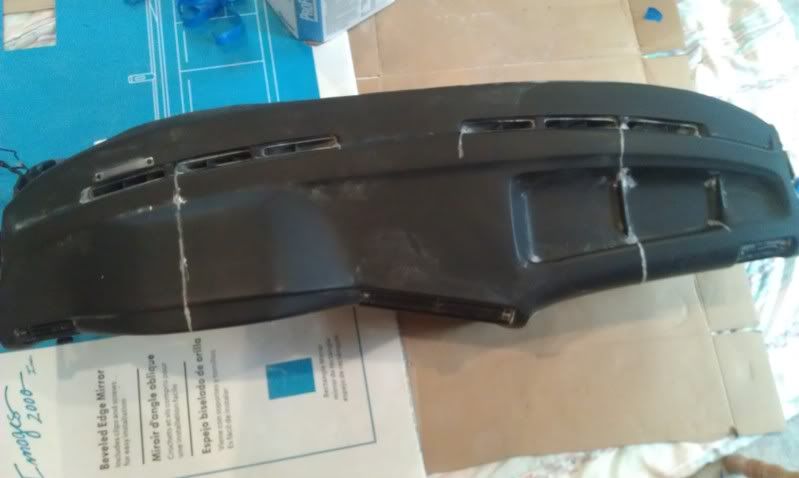
Note: While adding the super glue and baking soda together make sure you have the razor knife handy to scrape the baking soda flat, anything higher than the dash will need to be sanded....and super glue SUCKS to sand.
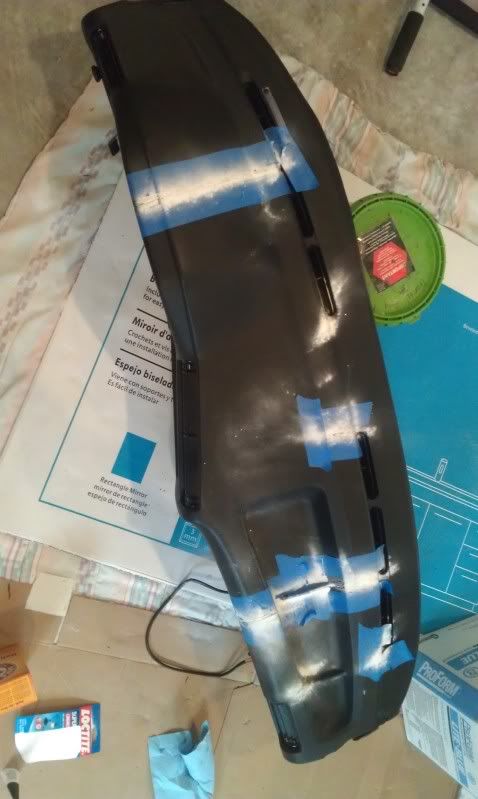
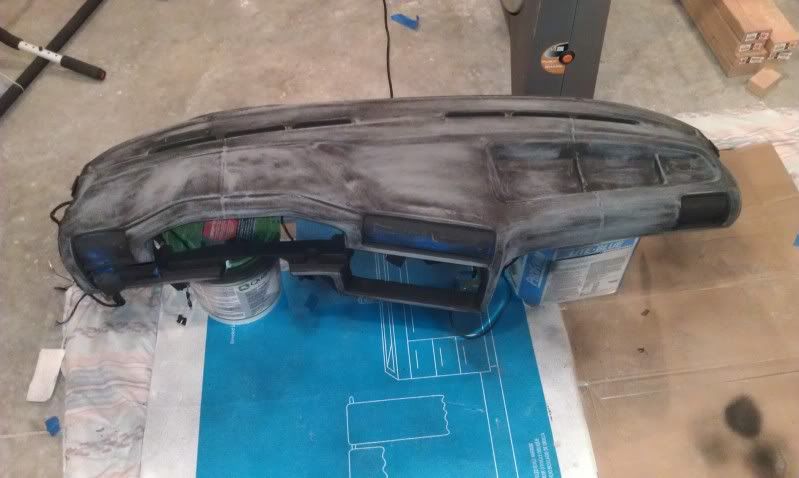
Next comes the sanding once the baking soda and super glue have hardened.
Another Note: Doing a dash repair is VERY much like body work. Even the tiniest bump will show up like a sore thump, so make sure its SMOOTH!
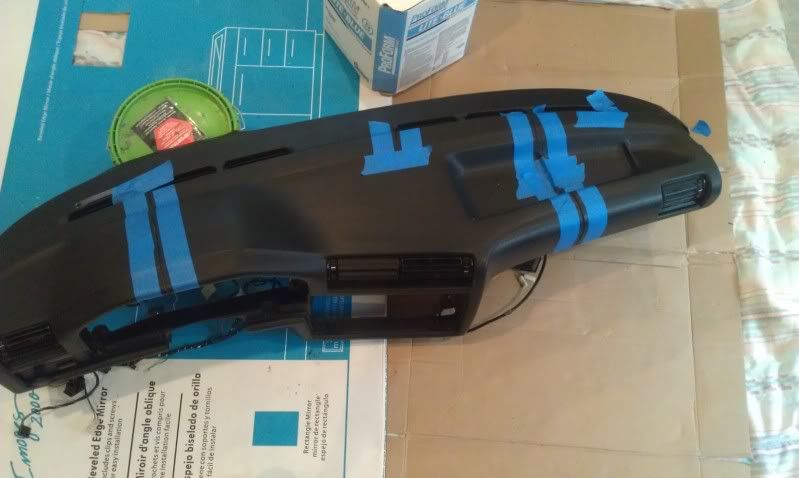
Next give it another really good cleaning and mask everything you didnt take out so it doesnt get painted (unless for some reason you want trim to match your dash.)
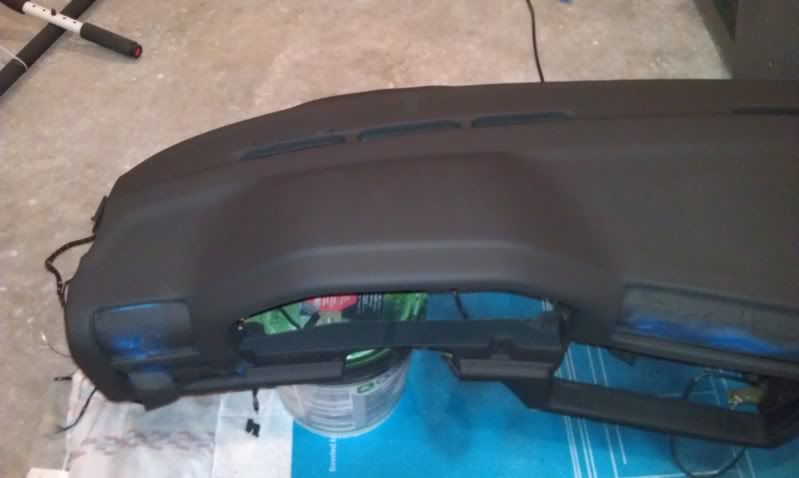
Next comes the spray texture, how much texture you want depends on you, i did 3 coats all about 2 mins apart.
At this point the dash looks flawless (i though it smoothed everything out PERFECT....)
After this coat dries, you need to do a quick sand on the texture to give it an even flattened look. Directions on the can say use 400 grit, however i used some 1000 grit i had laying around.
Clean up the sanding.
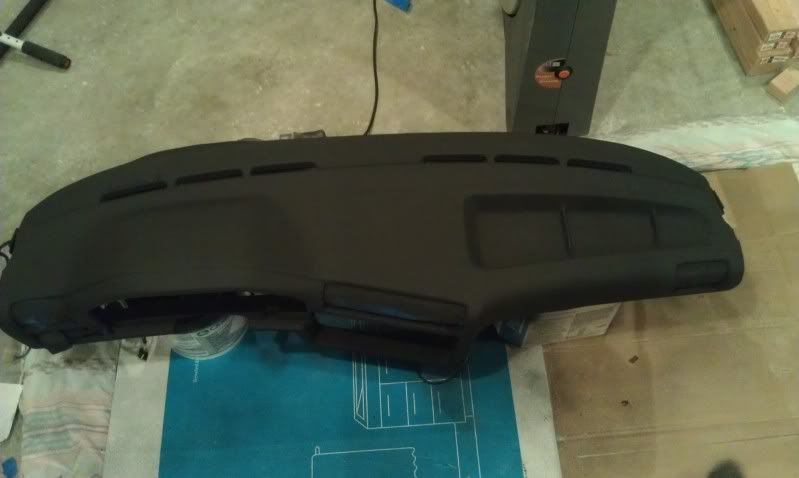
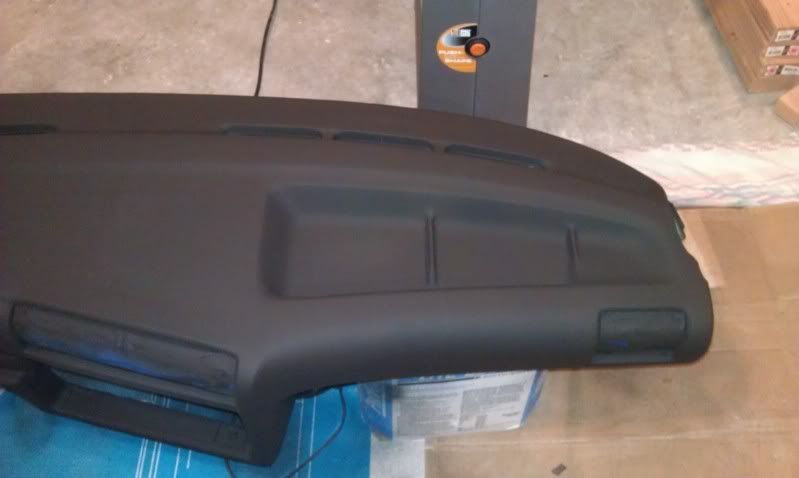
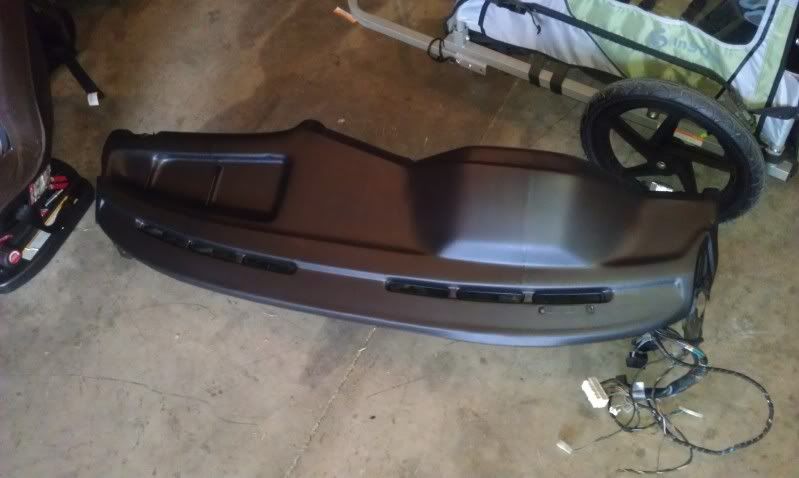
Then next is the paint! Almost done!
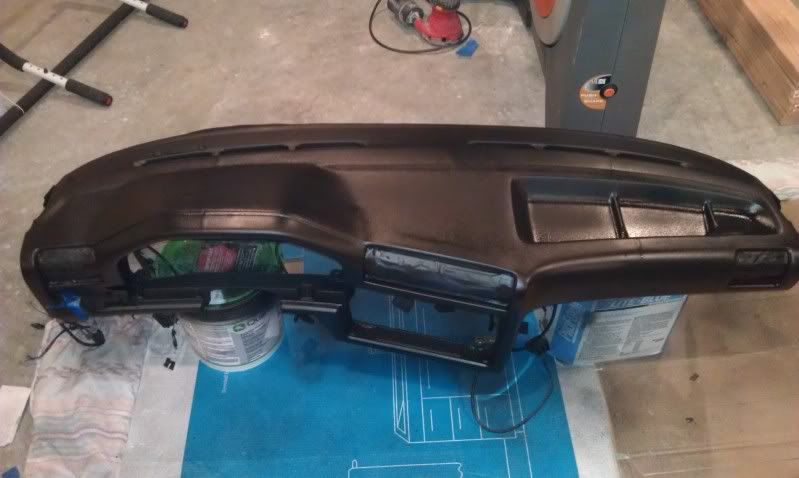
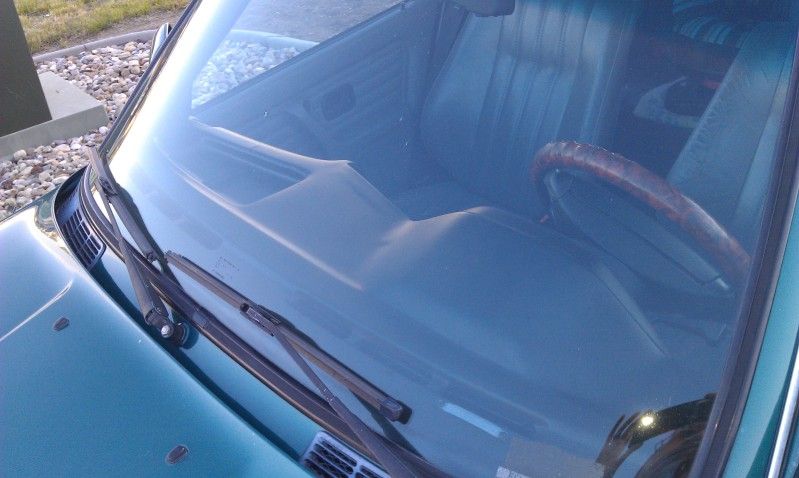
This is what it looks like in the morning cured.
Few Ending notes: If i can do this, anyone can. This was my first attempt, didnt come out perfect but it was worth a shot. As i said previously your sanding is the MOST important thing to making this look good!
It you have a crack that is larger than my cracks you can also used rubberized silicone to fill the crack, paint and texture will still adhere to this (i imagine its easier to work with, but is not sandable, so you must be perfect upon application.
Hope this helps guys!
First you must start off with your supplies, I have the majority of them pictured here. (dont mind the guns lol...)
Shop towels
Super glue
Some kind of cleaner (i used armour all wipes)
SEM Texture
SEM Paint (i used Landau black)
Painters tape
Razor blades
Rubbing alcohol (used to clean of the greasy residue of the wipes for final prep)
Baking Soda
Painting mask/respirator
How the dash started.
next step is to create a V in the crack so you have more area to add material and to try to get it to smooth out easier when your all done filling.
Next tape of the areas so you dont get more than you need to on the dash (here you can see all the little crack spots)
By now everything should have been cleaned well enough (otherwise the painters tape wont stick well)
next, i put a single coat of super glue int he crack as a starting point.
After that dries put another squeeze of super glue in the crack and sprinkle some baking soda in the crack (It builds up and hardens.)
Afters building it up it will look similar to this.
Note: While adding the super glue and baking soda together make sure you have the razor knife handy to scrape the baking soda flat, anything higher than the dash will need to be sanded....and super glue SUCKS to sand.
Next comes the sanding once the baking soda and super glue have hardened.
Another Note: Doing a dash repair is VERY much like body work. Even the tiniest bump will show up like a sore thump, so make sure its SMOOTH!
Next give it another really good cleaning and mask everything you didnt take out so it doesnt get painted (unless for some reason you want trim to match your dash.)
Next comes the spray texture, how much texture you want depends on you, i did 3 coats all about 2 mins apart.
At this point the dash looks flawless (i though it smoothed everything out PERFECT....)
After this coat dries, you need to do a quick sand on the texture to give it an even flattened look. Directions on the can say use 400 grit, however i used some 1000 grit i had laying around.
Clean up the sanding.
Then next is the paint! Almost done!
This is what it looks like in the morning cured.
Few Ending notes: If i can do this, anyone can. This was my first attempt, didnt come out perfect but it was worth a shot. As i said previously your sanding is the MOST important thing to making this look good!
It you have a crack that is larger than my cracks you can also used rubberized silicone to fill the crack, paint and texture will still adhere to this (i imagine its easier to work with, but is not sandable, so you must be perfect upon application.
Hope this helps guys!


Comment