
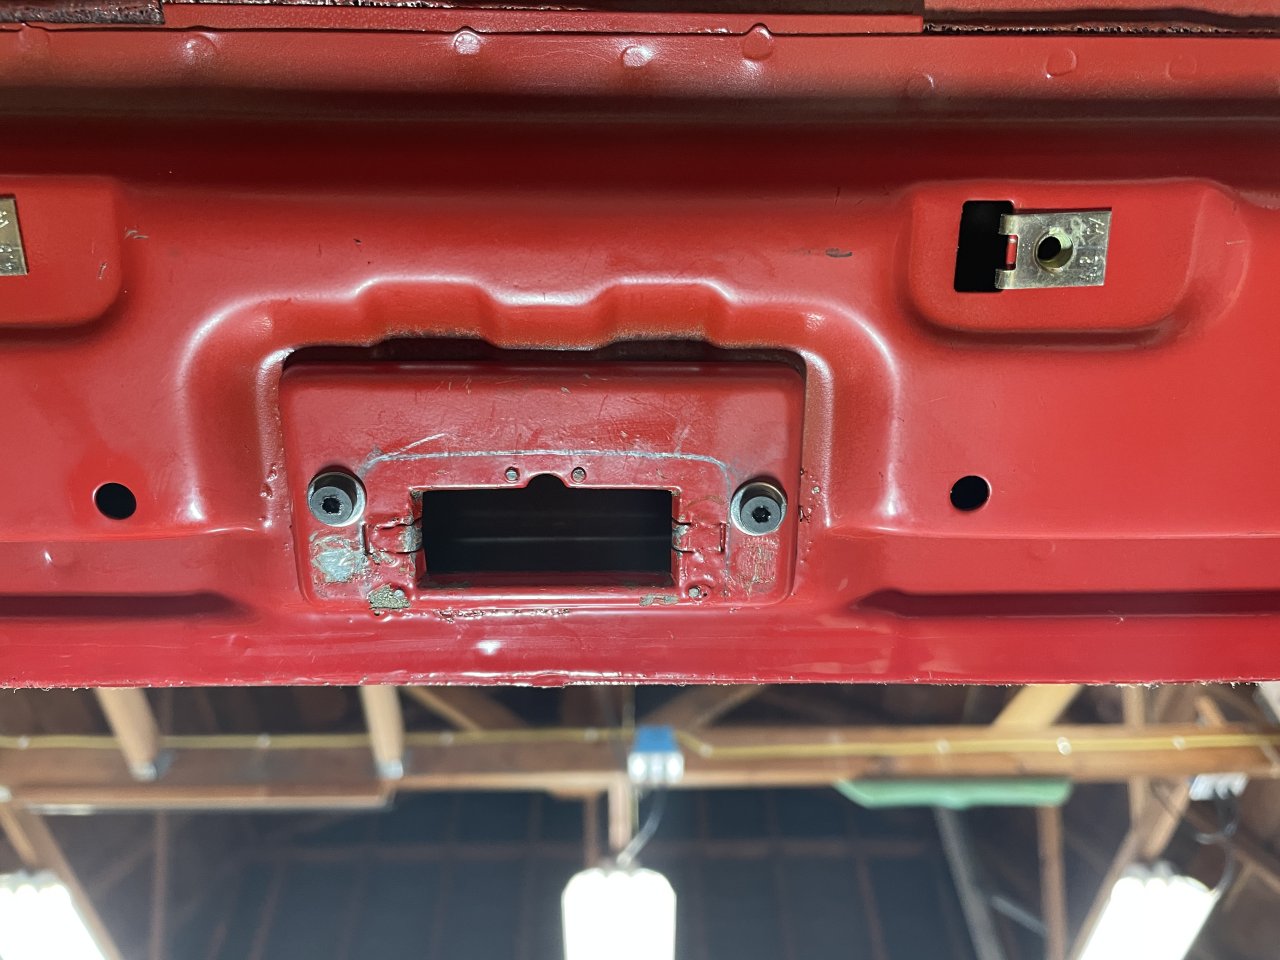
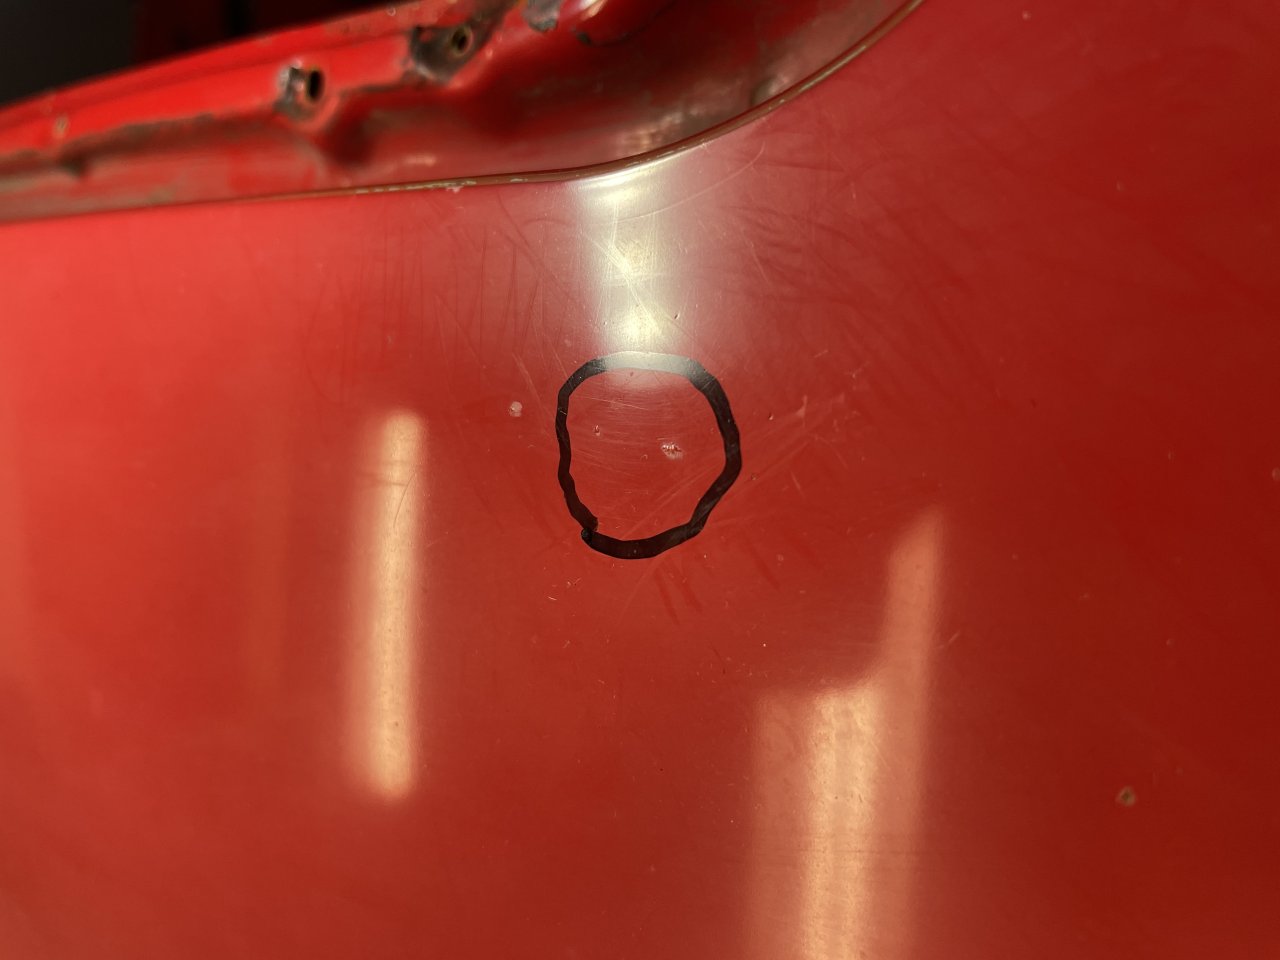
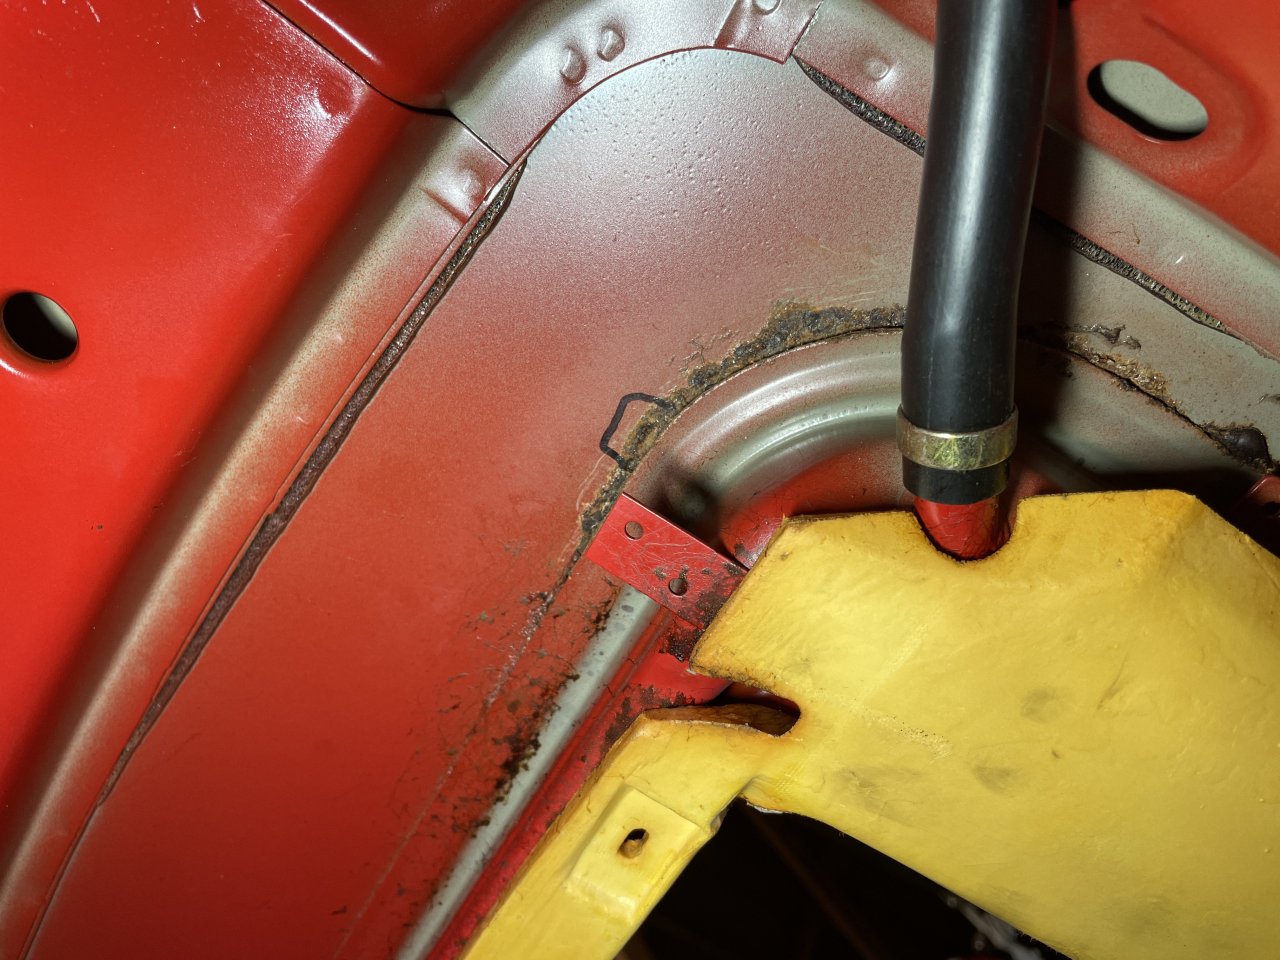
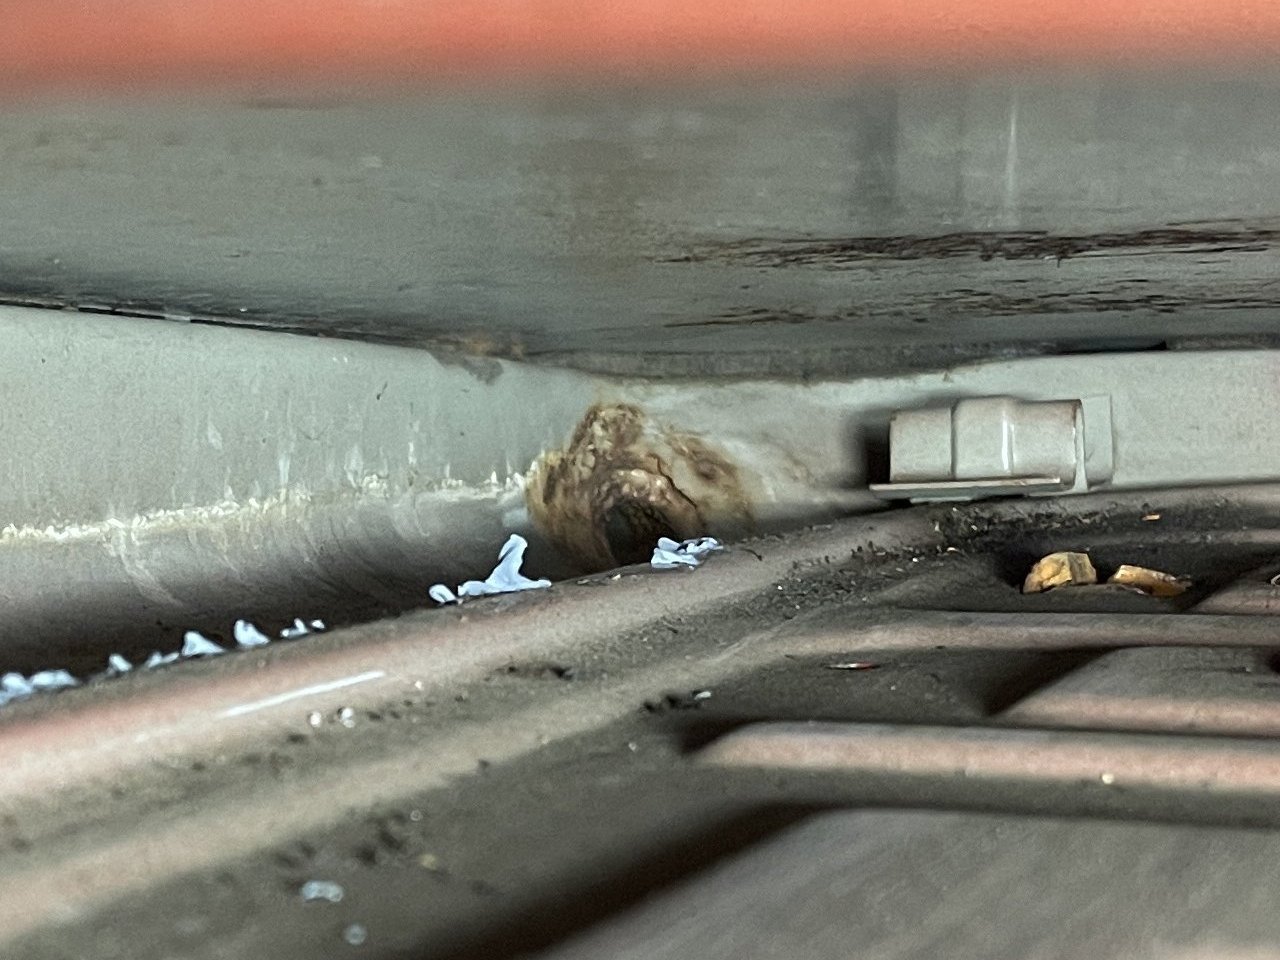
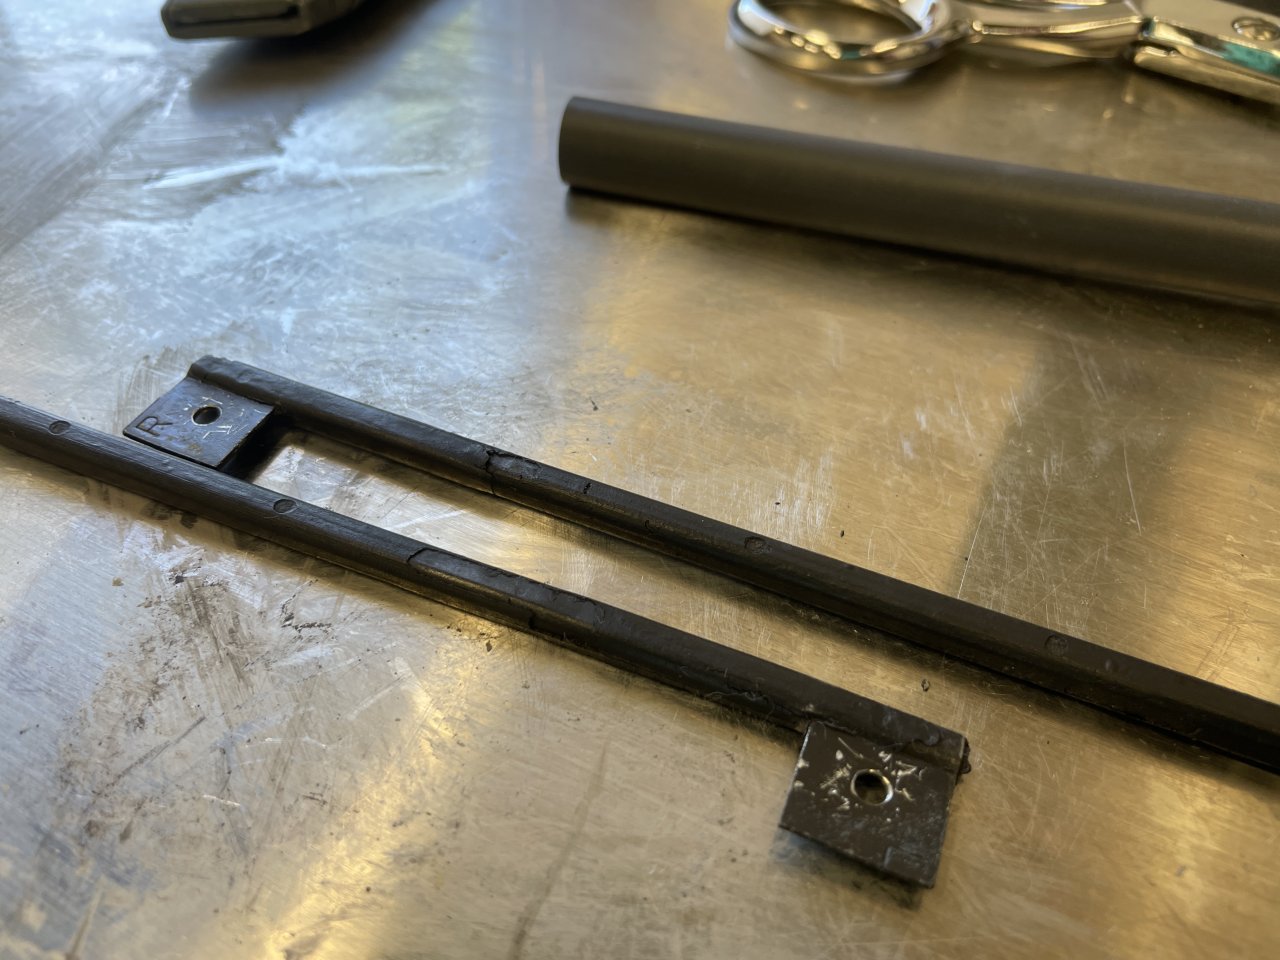
I've replaced the cowl on mine and I would avoid it unless its absolutely essential. The brackets for the wiper motor and blower fan had rust developing under them, tiny dots of corrosion similar to yours on the panel itself. Rust had also
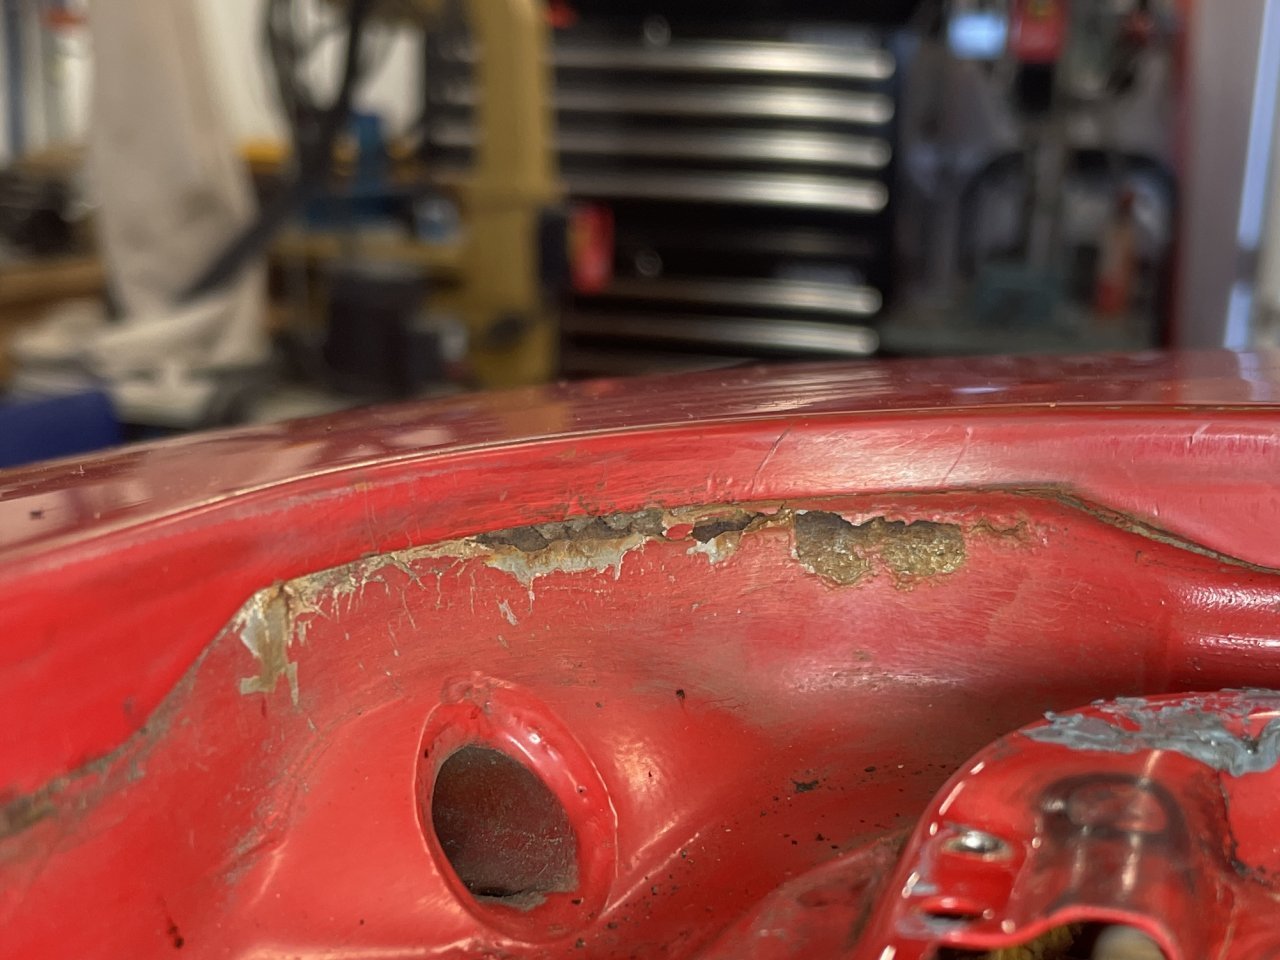
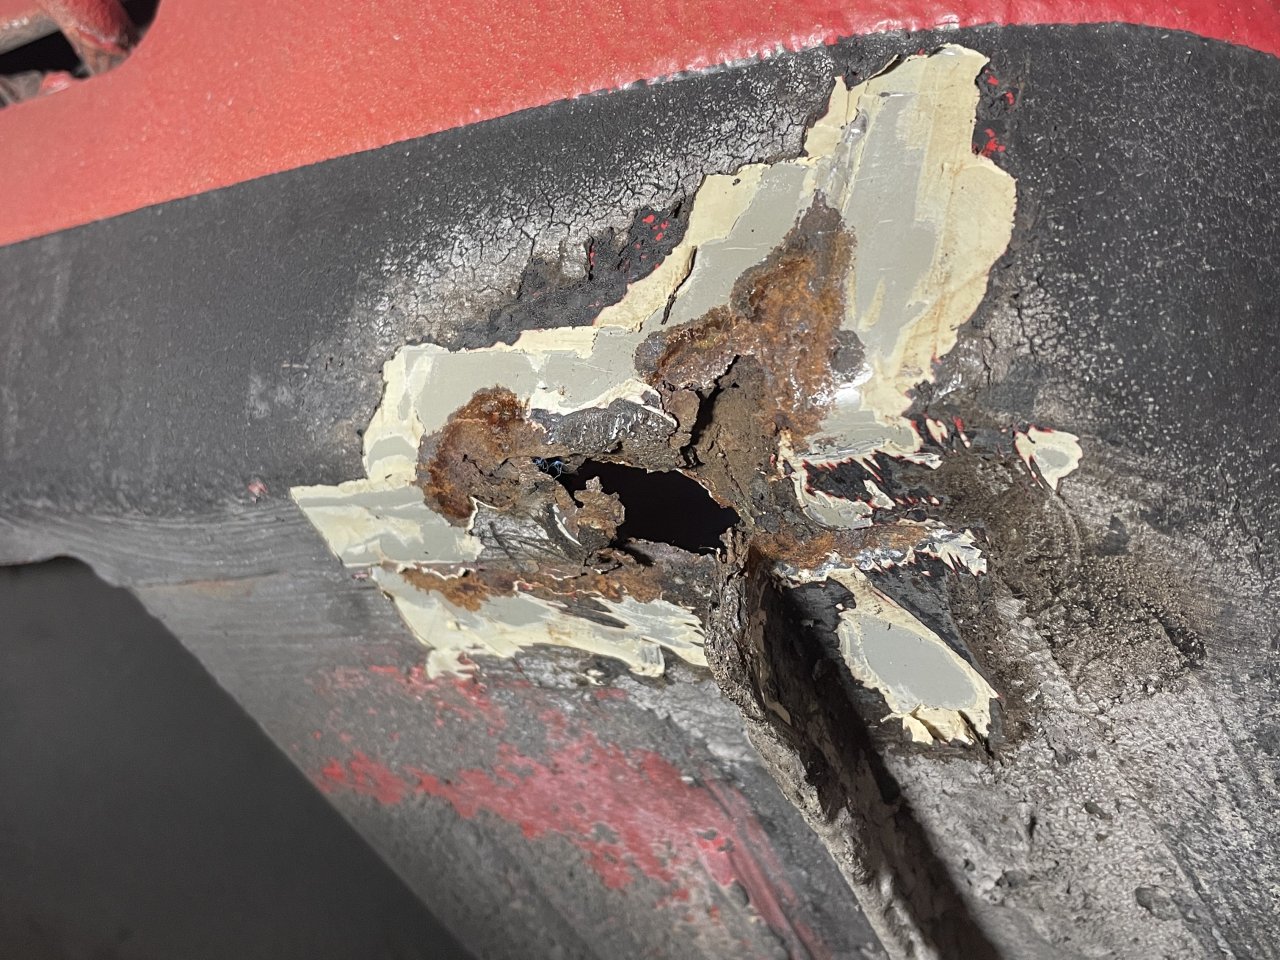
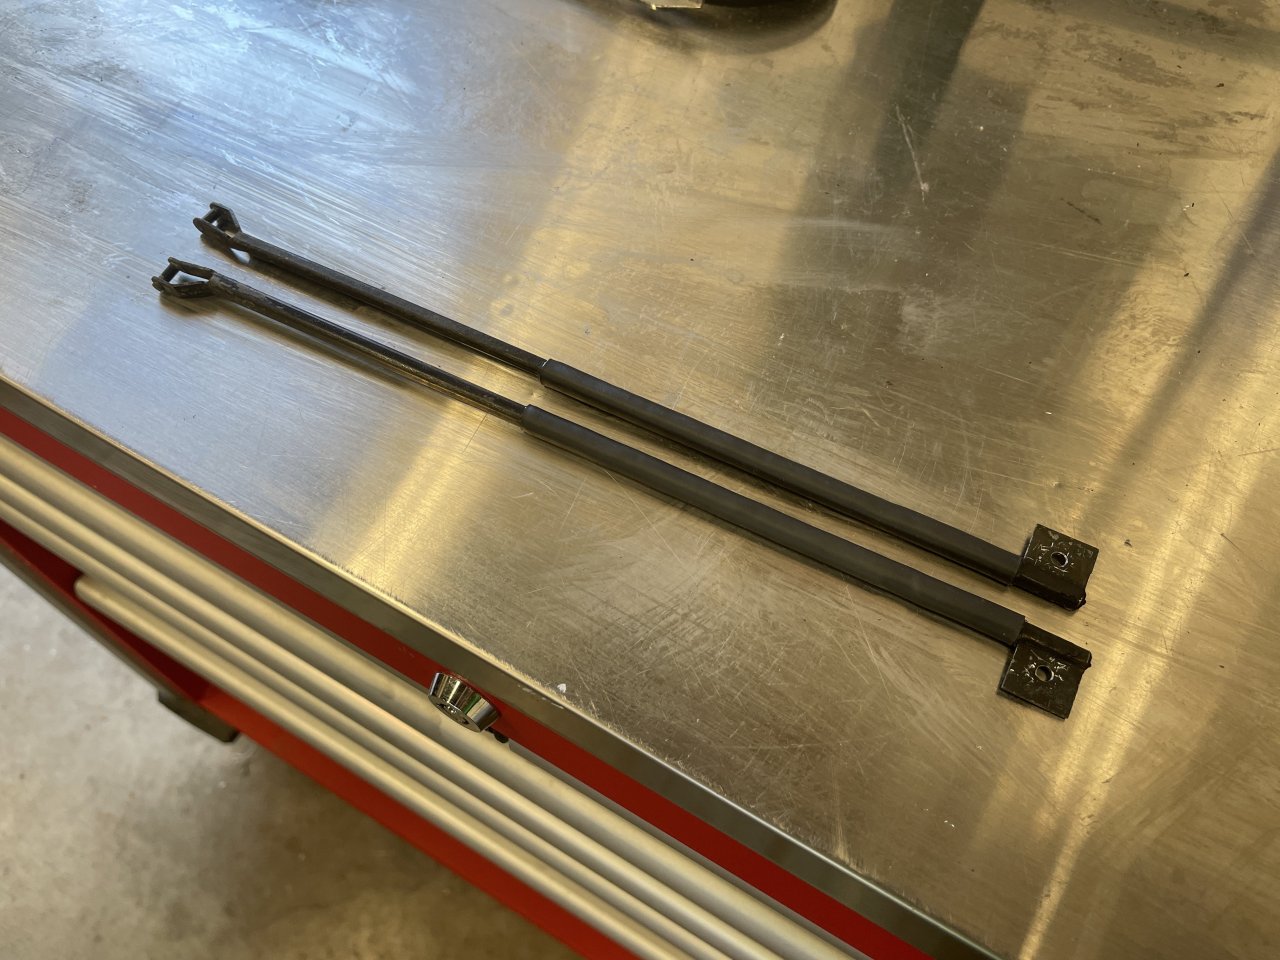
broken through to the fuse box bracket.. So I replaced mine so I could take all the seam sealer out and ensure there was zero rust. Removed all the brackets and rewelded them back on after rust was removed.
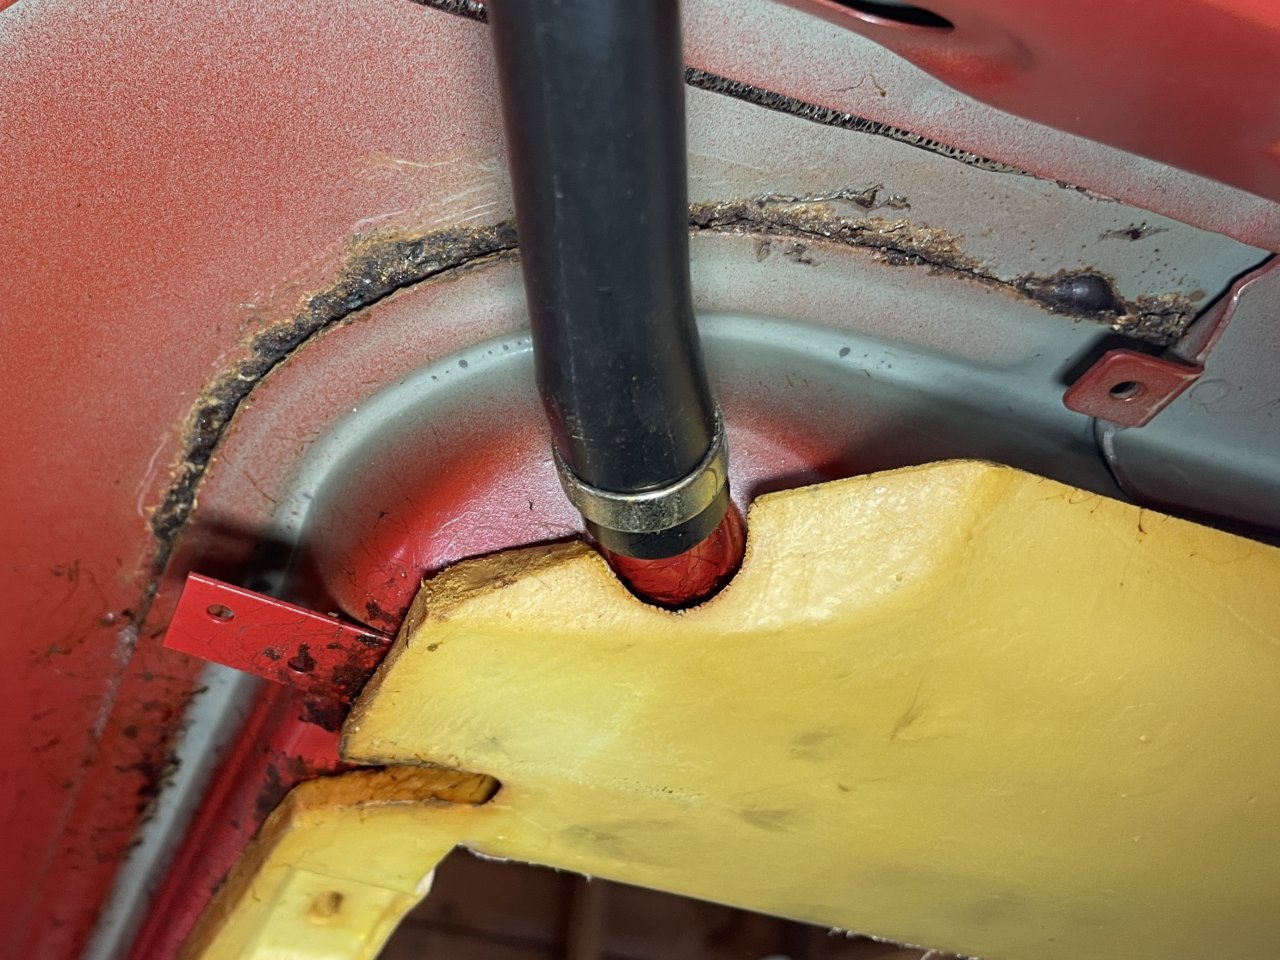
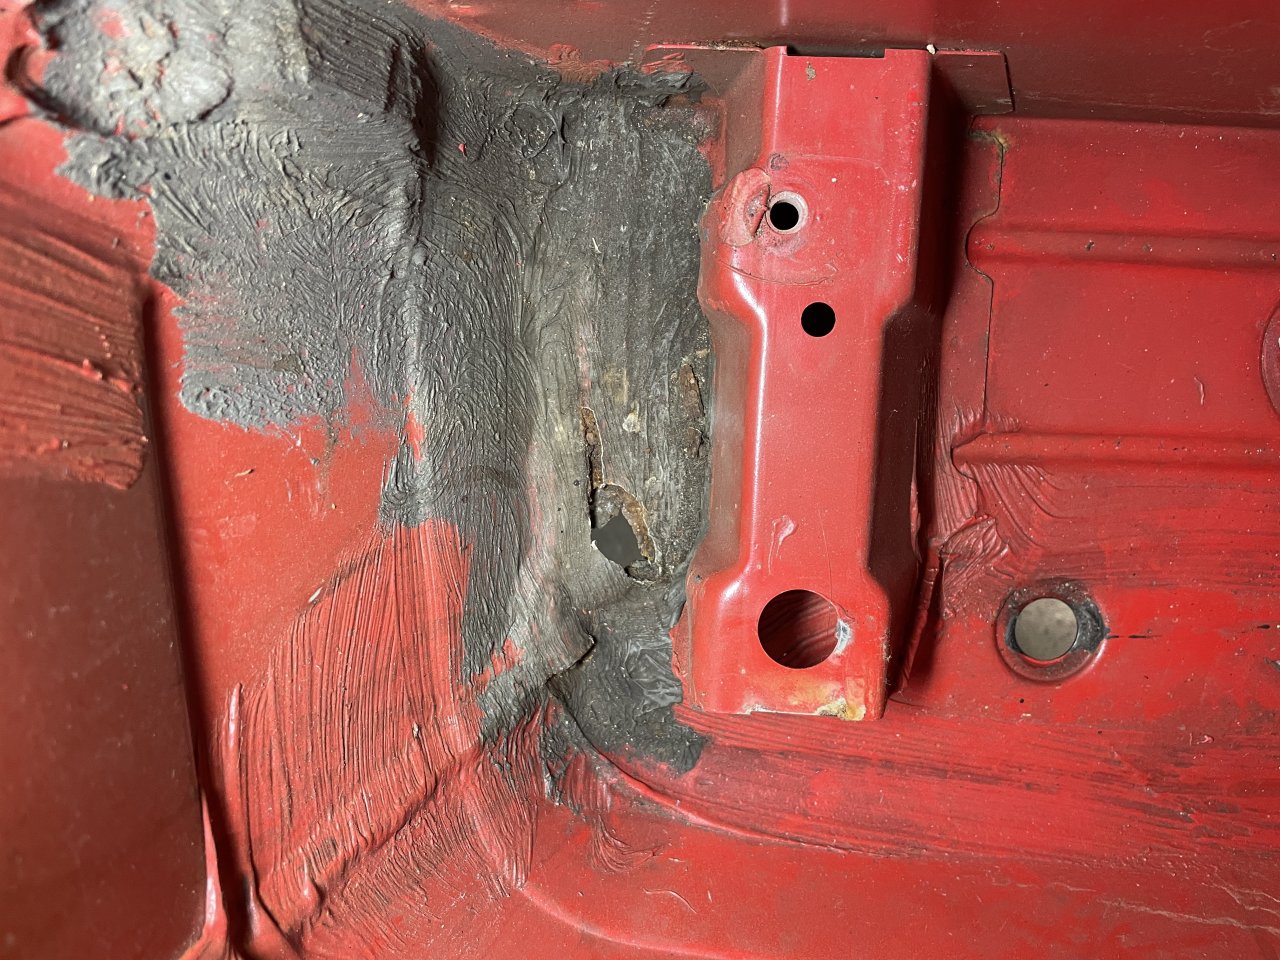
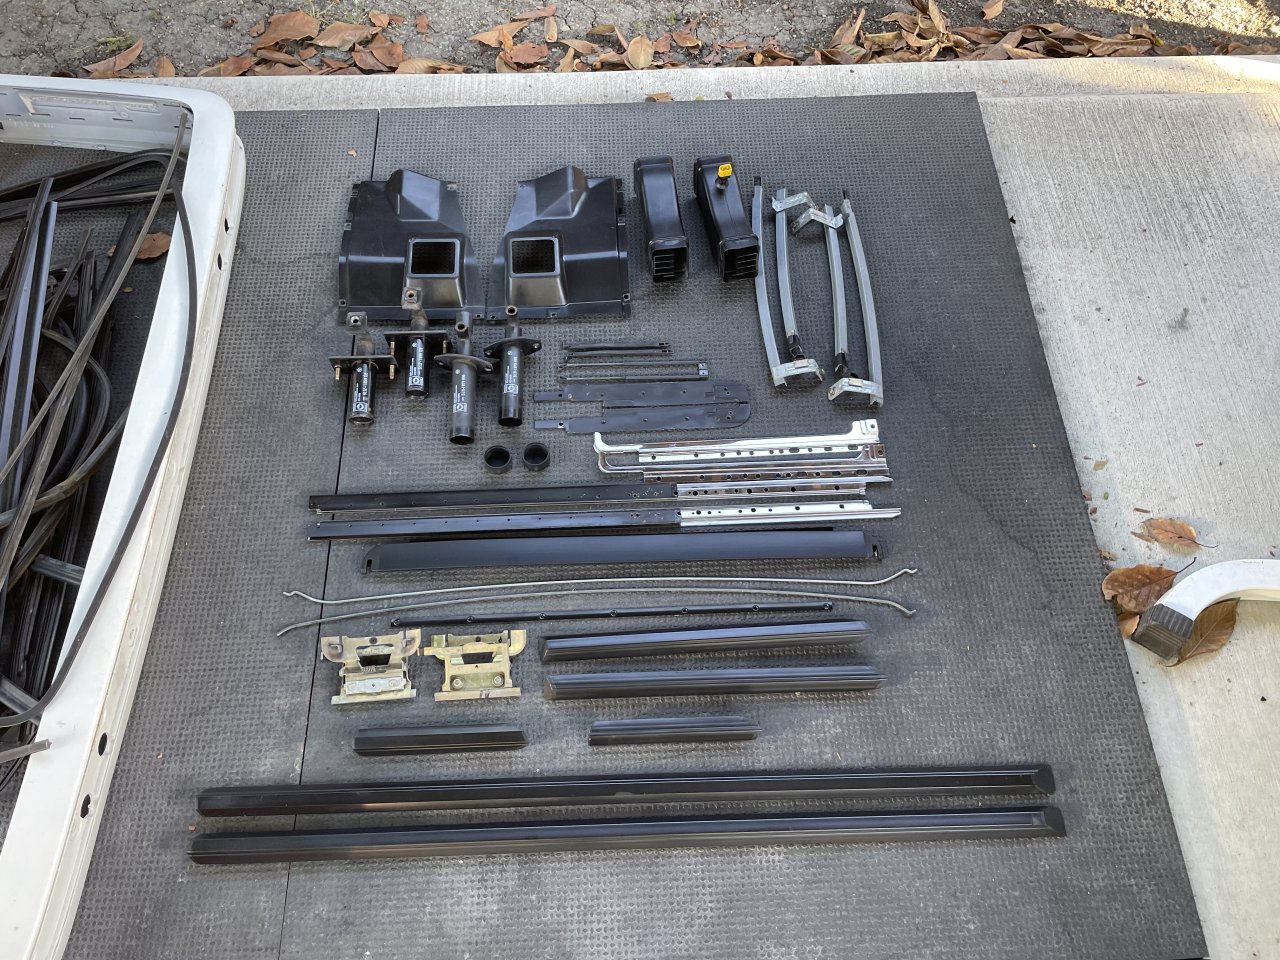
Painted everything up, welded the panel back in, seam sealed all the edges as per factory and hand brushed over the seam sealer up inside the cowl with BC and CC to seal it in. Its a bastard of a job tbh lol.
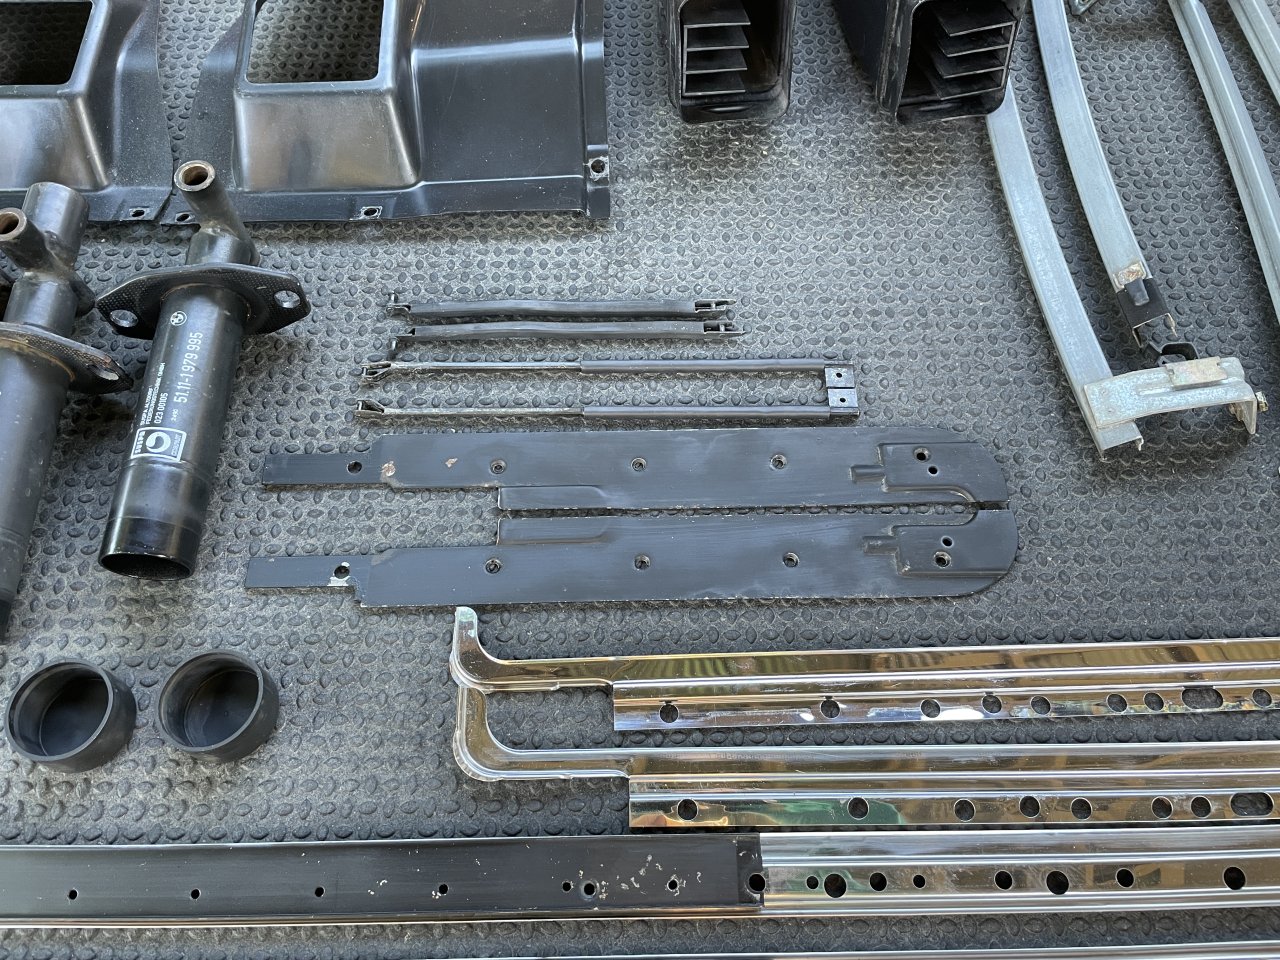
If it was just the brackets that needed attention I would probably just drill out the spot welds from the inside and repair it with the lid still on and rust treat the rest.


broken through to the fuse box bracket.. So I replaced mine so I could take all the seam sealer out and ensure there was zero rust. Removed all the brackets and rewelded them back on after rust was removed.
Painted everything up, welded the panel back in, seam sealed all the edges as per factory and hand brushed over the seam sealer up inside the cowl with BC and CC to seal it in. Its a bastard of a job tbh lol.
If it was just the brackets that needed attention I would probably just drill out the spot welds from the inside and repair it with the lid still on and rust treat the rest.


Comment