
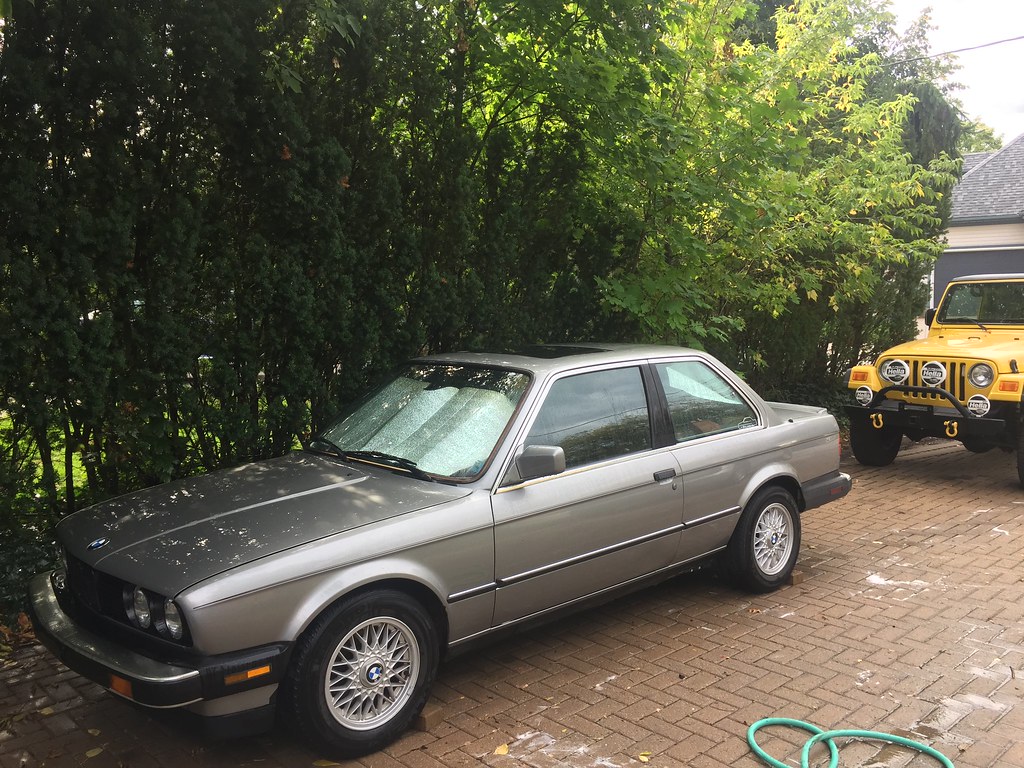
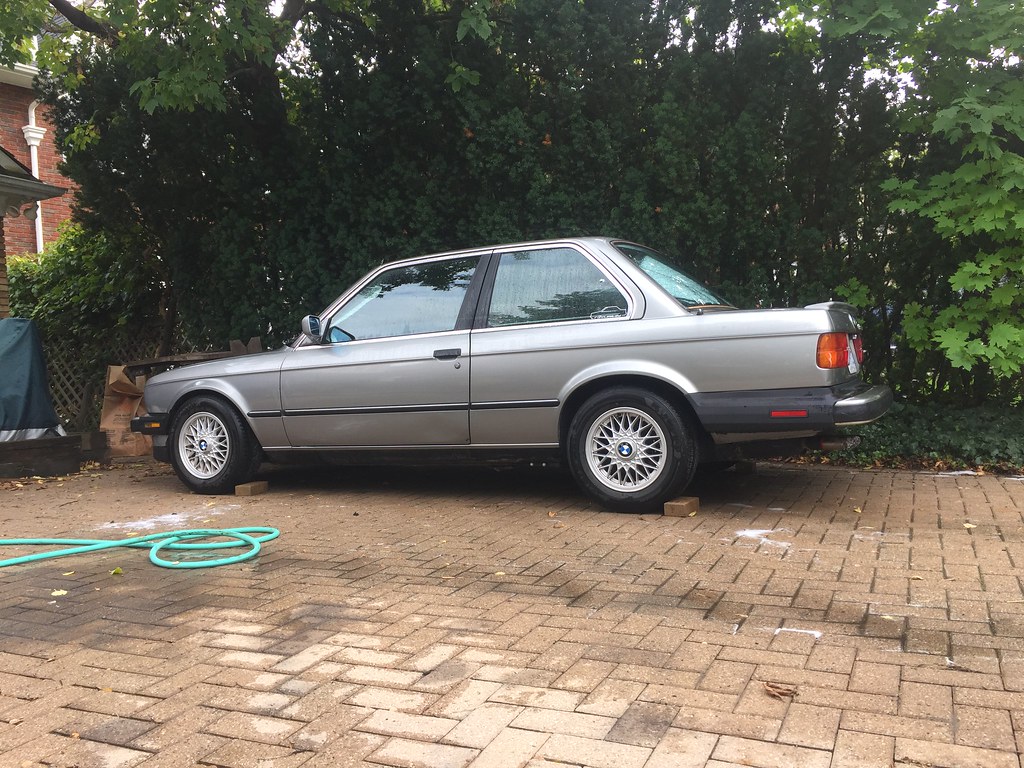
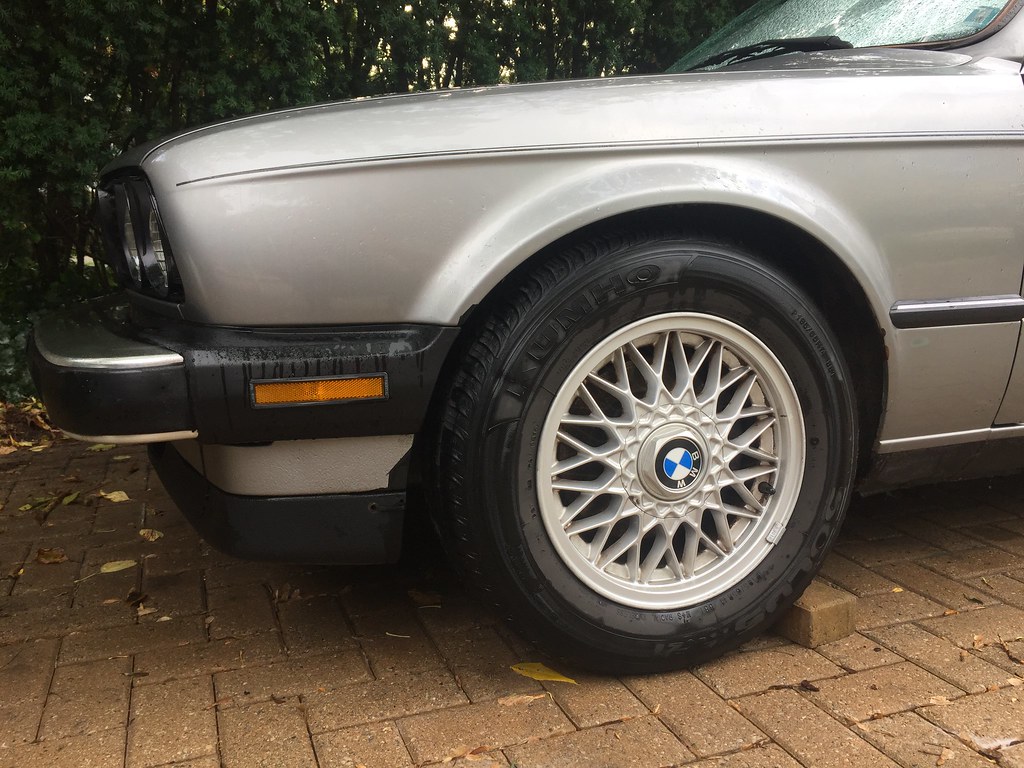
Before the snow flies, I want to finish washing up the last of my 14" bottlecap collection. I got a little past half way through the remaining wheels on the 6th, before my pressure washer ran out of gas. Embarrassingly, all of the jerry cans in the garage were empty!
-
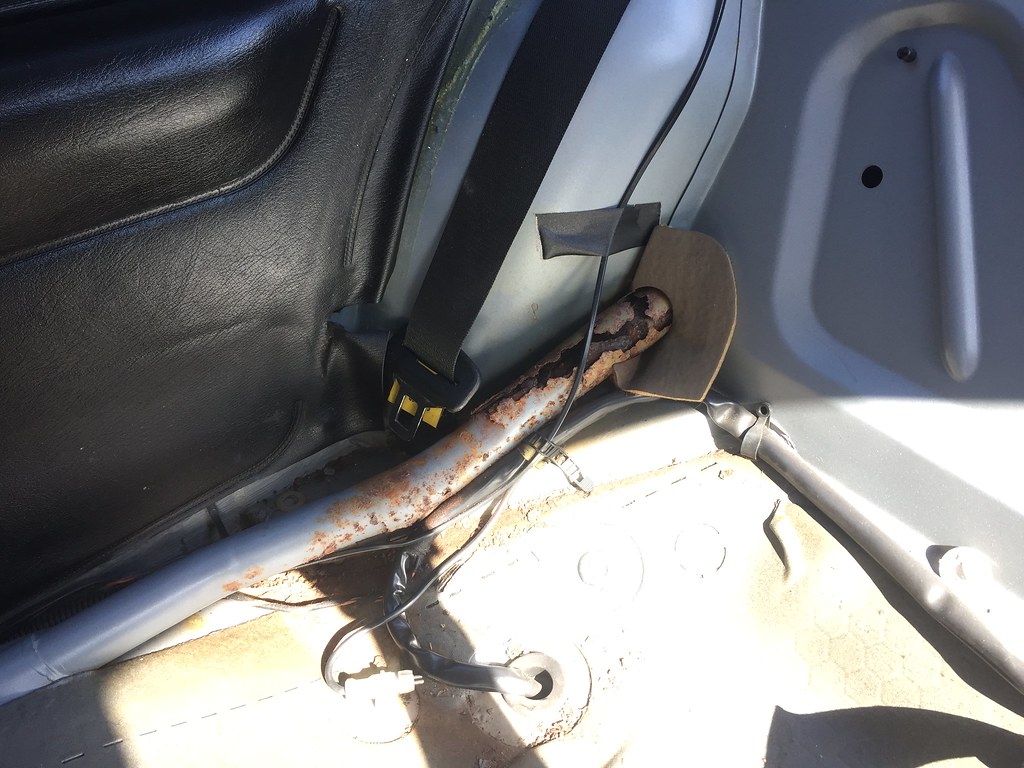
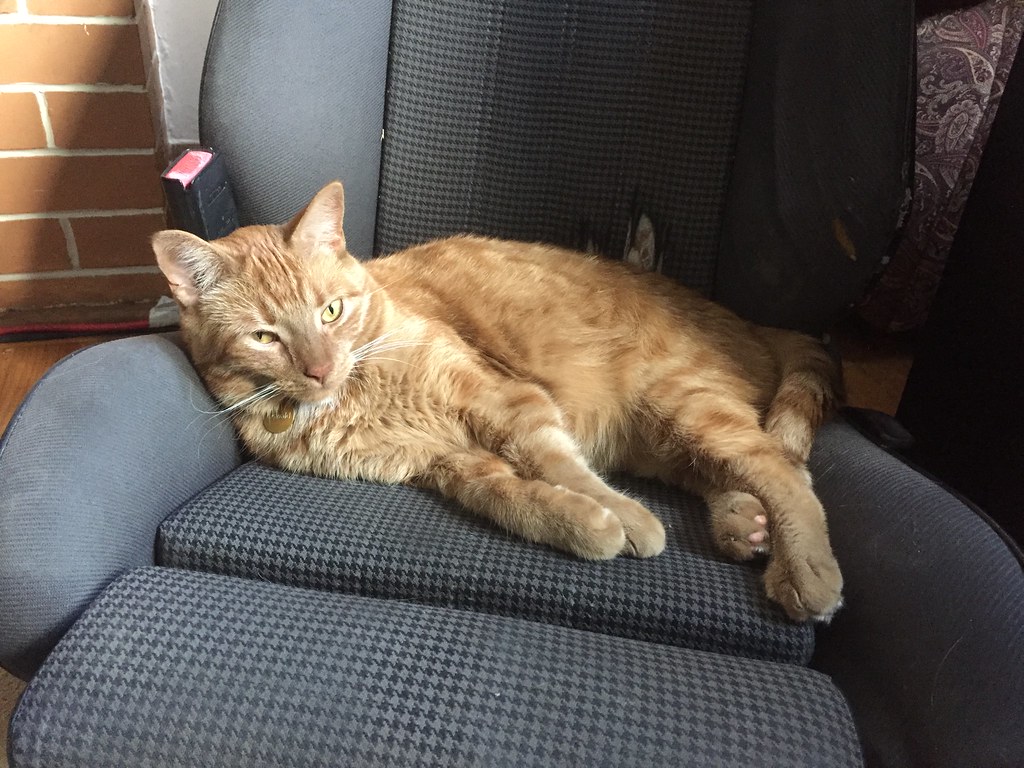
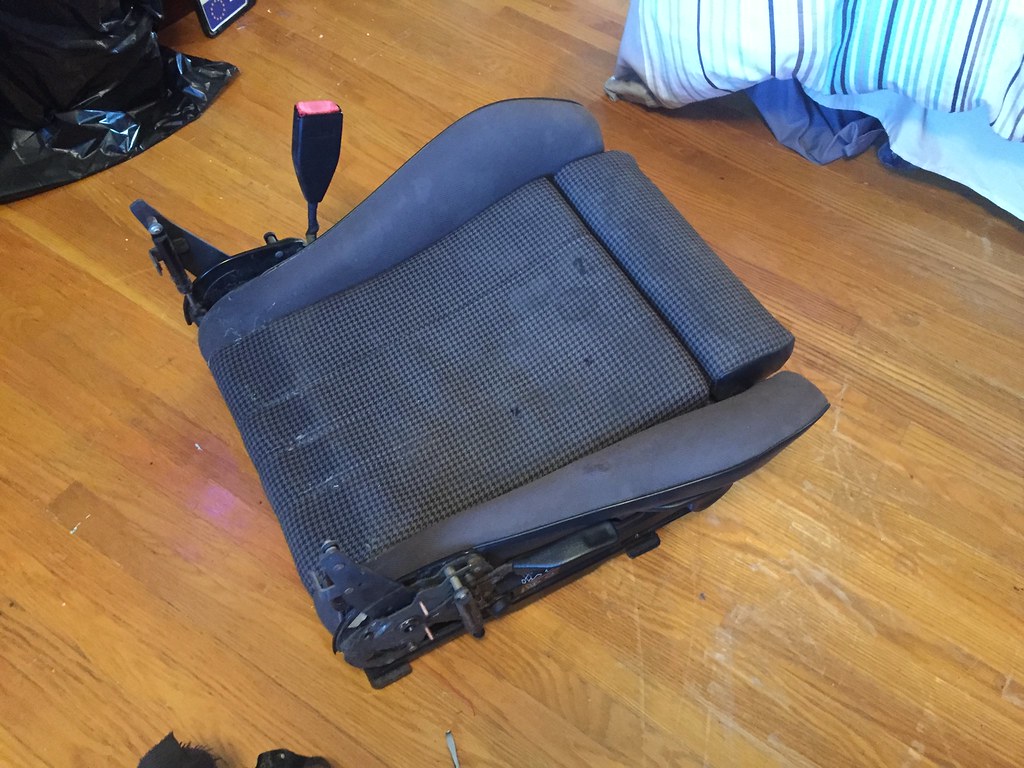
Over the winter, I want to fix my driver's seat (mechanically and visually)
I also want to finish the modification/restoration on the spare set of taillight buckets I have.
-
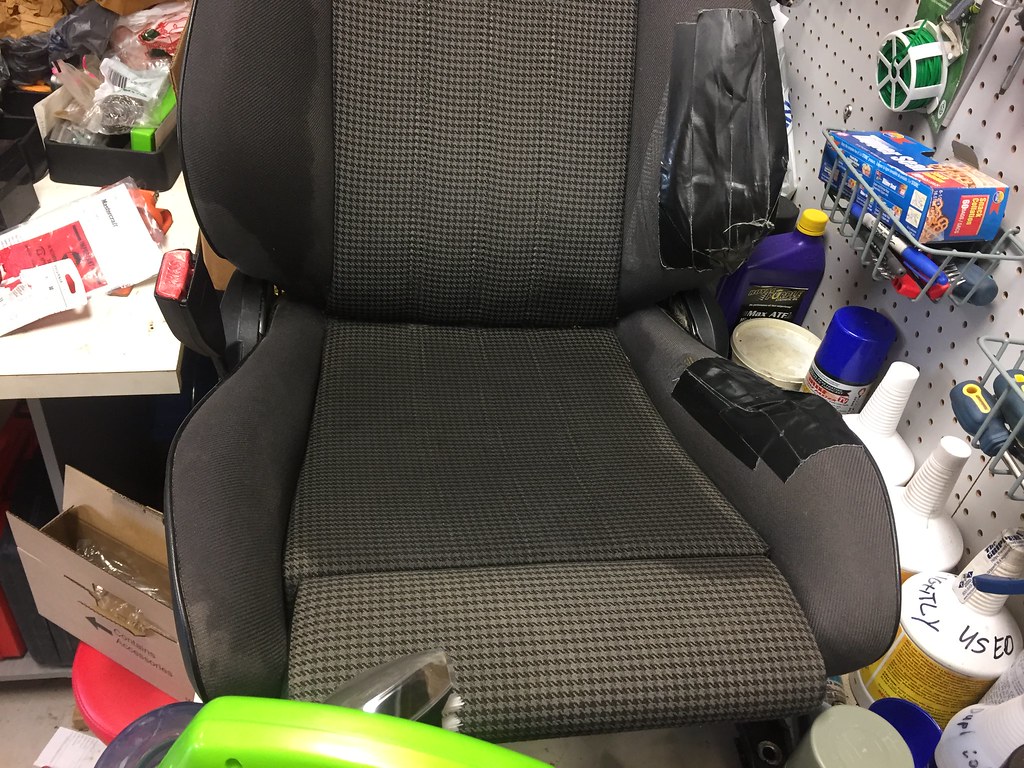
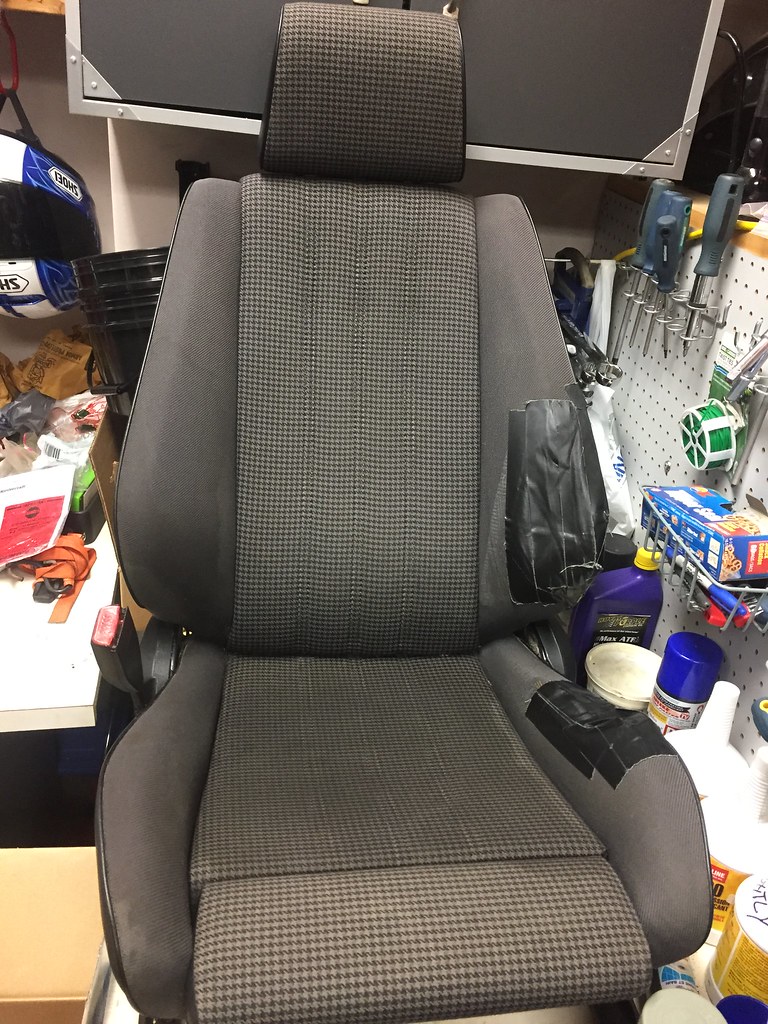
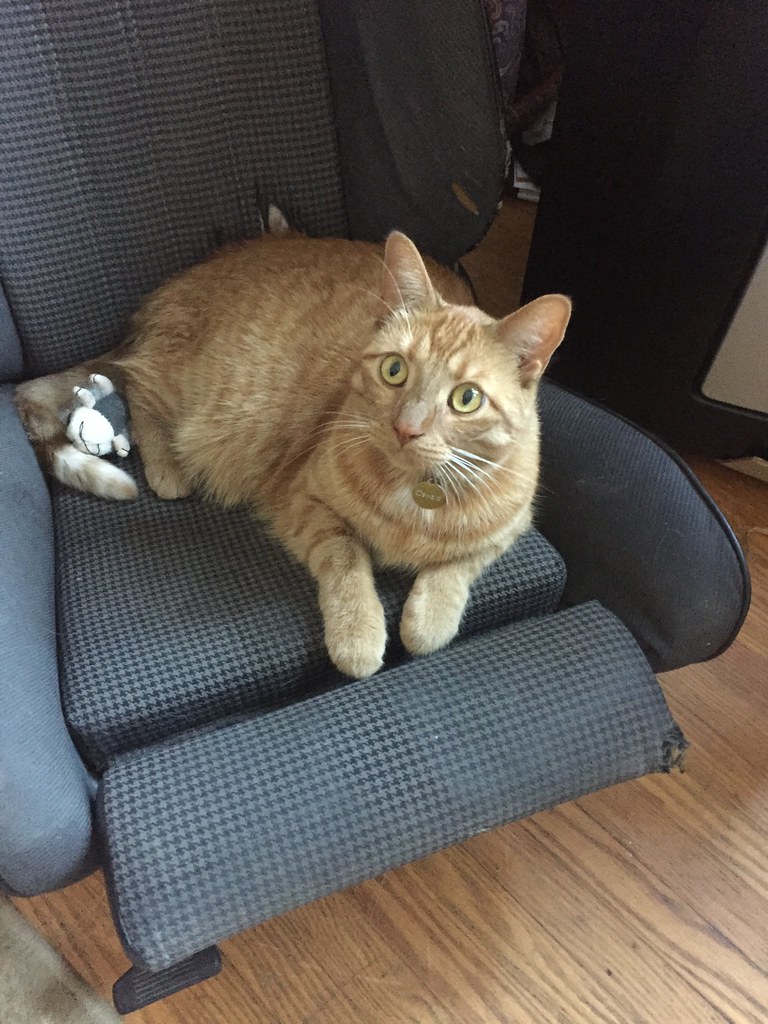
I moved (and stored) the remainder of my spare houndstooth interior at my parents house. I then tried my hand at cleaning up a spare headrest, as well as my original driver's seat.
Using a small carpet cleaning type machine (marketed for cleaning up pet stains), it looks like I was able to get the water marks/stains out of my driver's seat and spare headrest.
I didn't have a chance to see what it looked like when completely dry, so I will update with further pictures in the future.
UPDATE: Water stain is gone from spare headrest, but unfortunately still present on the seat bottom. I will try a second cleaning to see if that helps.


Leave a comment: