
Just read your entire build thread, it's been years since I've seen it.. Glad you still have the car!! Good to see you were able to get the X3 booster to fit, I installed mine a little different and removed the "sandwitch plate" or whatever you want to call it, from the booster. It's held on with those two 13mm nuts. Cool to see it fits both ways, I didn't have to drill my firewall because I removed that plate but I did have to bend my lines pretty far inward towards the firewall, to reach the new master cylinder location.
Anyways good work man,
-Kevin
-
Engine Bay Beauties, Tuning
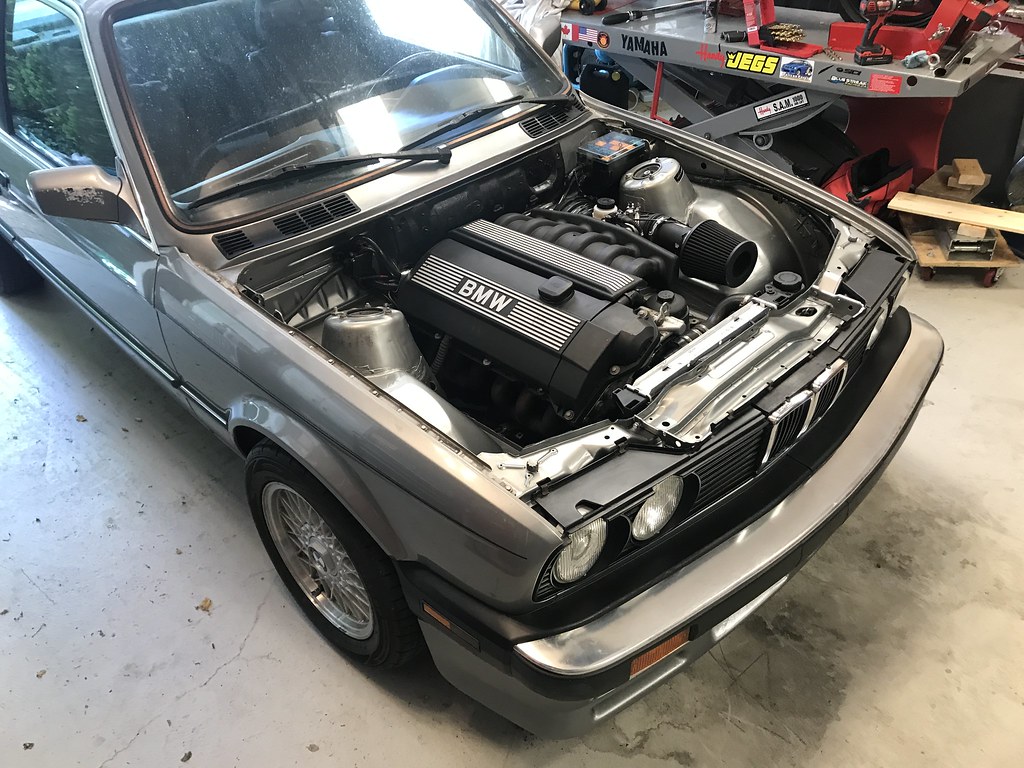
Washed the car this morning, then went for a test & tune drive.
Have the open-loop idle sorted now, and around-town driving pretty close to my AFR targets, which are still very rich as I'm learning the ropes.
Car runs and drives great just cruising around though!
Did some more work on the mid-throttle fuel maps, but need to log more time in this area.
Also did a few WOT runs. Need to pull a bunch of fuel out, but want to sort the timing first. I moved the Vanos engagement point from 4200 to 4800 so that requires some spark changes.


 Last edited by Panici; 06-09-2020, 04:29 PM.
Leave a comment:
-
-
Love the progress, the engine bay looks great! Keep it up. Must be awesome to actually be driving it for the first time in awhileLeave a comment:
-
Finishing Up Motor Swap- Partial wire tuck on the front harness.
- Tucked HID ballasts as well.
- Will need to cut & splice to tuck completely. This will be a good winter project.
- Installed iS Airdam
Now that the car is on the road, I am going to be learning to tune the Standalone MS3X engine management.
Could also use an alignment in the near future.
Here is a few final garage pictures from this afternoon. I'll be washing the car and taking some beauties this weekend!


Leave a comment:
- Partial wire tuck on the front harness.
-
Leave a comment:
-
Reassembly, Test Drive- Made a dash gauge panel out of wood as a temporary measure ( BMW radio delete panel in the mail).
- Installed Chase Bays windshield washer reservoir.
- Installed BMW 2002 brake reservoir.
- Made and installed cruise control throttle cable.
- Bled the brakes & clutch
- Good reference to get the last bit of air out: https://www.youtube.com/watch?v=uj1dMdYgRK4
- Went for a test drive around the block with the radiator just hanging out by the hoses.
- Brakes, clutch, steering all work great!
- Reinstalled the center console, floor mats.
- Reattached the front core support.
- Installed and rewired the SPAL fan.
- Installed the front valance, fenders, headlights, grilles
- Partially tucked the front wiring harness.
Went for a 15 minute drive, starting on the basics of tuning the MS3X.
Hope to have the rest of the front end together by the weekend!


Leave a comment:
-
Motor is Running!- Installed heater hoses (heat not blowing hot now, will need to investigate)
- Added heatsink to LED flasher resistors.
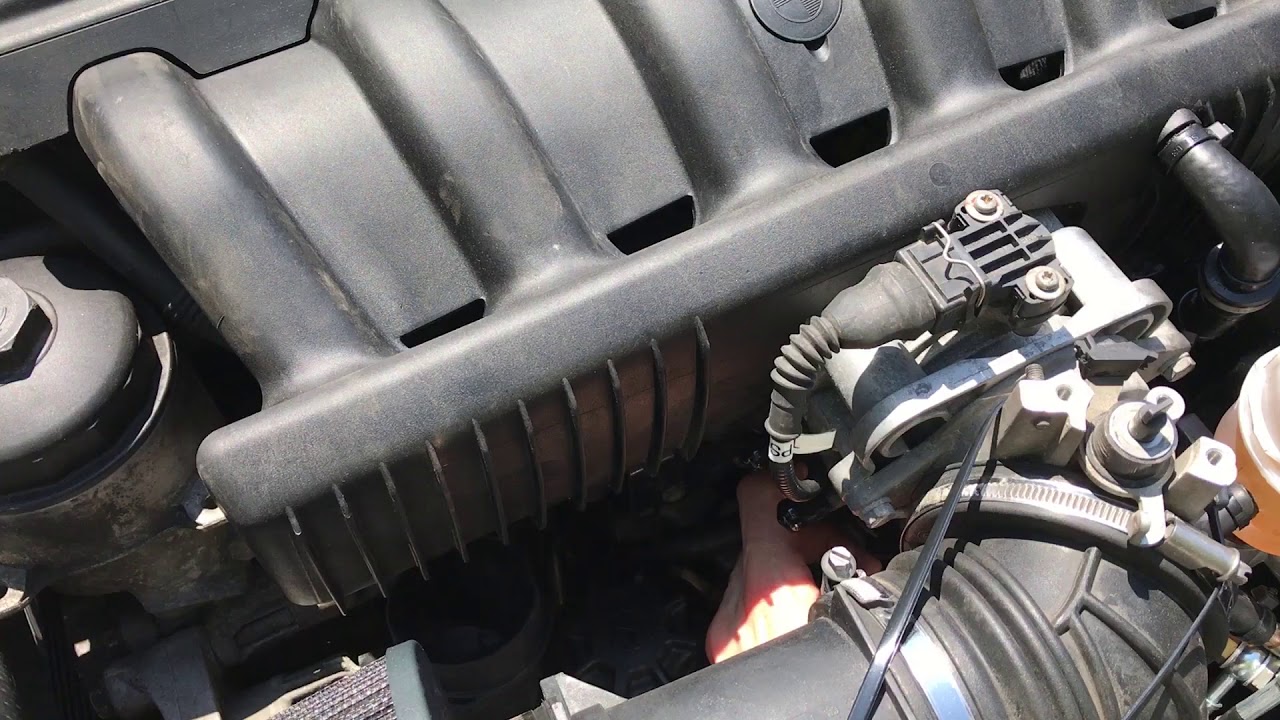
- Sorted out vacuum lines from intake manifold. (Dedicated vac line to ECU)
- Ran vacuum line to ECU through grommet on driver's side.
- Deleted throttle body coolant loop
- Cleaned/degreased/painted removable core support
- Cleaned & mounted intake manifold.
- Test fit M42 radiator & made radiator hoses. (Is there a better/OEM option for these hoses?)
- Heat wrapped custom harness & tucked behind motor.
- Wired and plumbed engine.
- Calibrated Wideband O2 sensor.
- Started. Tuned idle fueling and ICV duty, bled coolant, filled power steering res.
- Fixed coolant leak inside car at heater core.
I found my idle fueling to be quite different then when the motor was on the wood blocks. I'm sure now that the 3/2 way valve (E36 FPR) was not working previously, and needs the +12v I've now supplied to function properly.
Would like to get a fuel pressure gauge mounted on the rail for reference.
Also, I had to give the brake booster a few love taps with a hammer to clear the intake manifold. Hopefully I didn't damage anything. STILL waiting on my 2002 brake resovoir, so I can't bleed/test the brakes.


 Last edited by Panici; 05-31-2020, 03:51 PM.
Leave a comment:
-
-
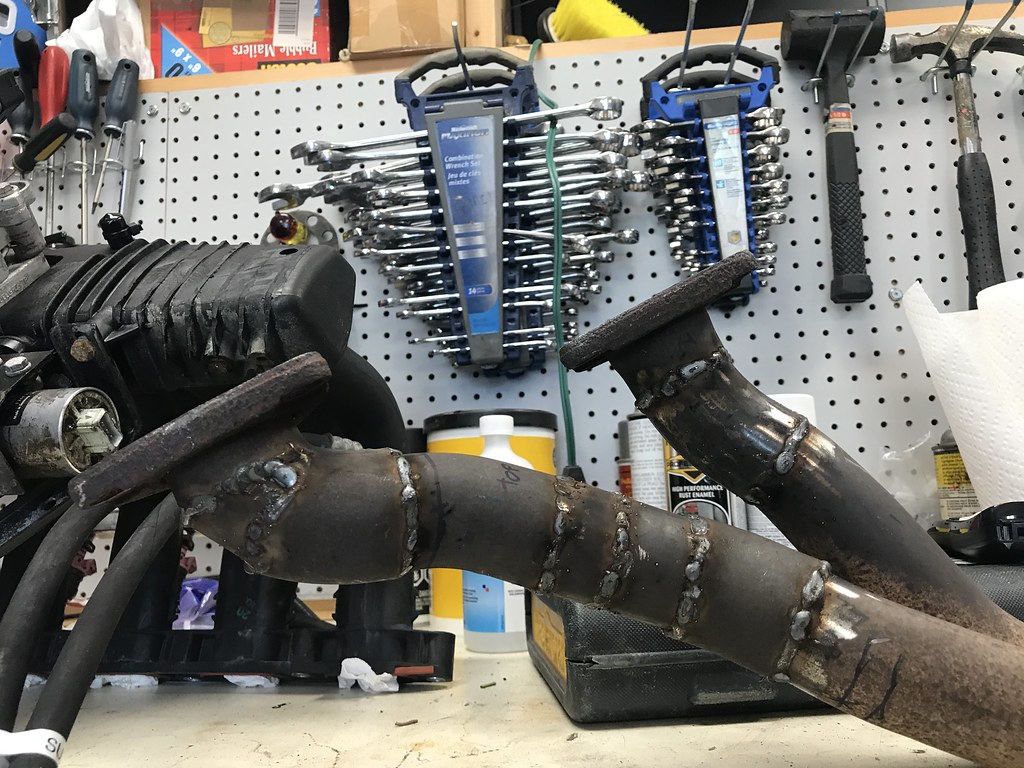
Good job on the exhaust. Don't be too hard on yourself about the welds, I have seen a lot worse. As long as they don't leak you are golden for a NA setup.Leave a comment:
-
Exhaust Fabricated, Power Steering Installed
Cut up both the E30 and E36 exhaust, and made it work with the stainless OBD2 manifolds.
This was my first time doing extensive exhaust fab. It isn't pretty, but it is functional and free!
Could have made it look nicer if I prepped the surface and wasn't filling large gaps in my pieces.
Also knocked out one stud on the front manifold for clearance. Had to settle for trimming the other two, as my vice broke in half!
Finished the exhaust by installing a bung for the wideband O2 sensor.
Installed the Power Steering lines & Reservoir. Front line is touching the oil pan.
Installed VDO oil pressure sender (waiting on fittings to improve that AN line), engine bay VDO gauge wiring.


Leave a comment:


Leave a comment: