-
-
looks like e30 came with two different types of the moisture barrier....my 90s e30 has gray plastic with some felt fabric and it was attached by butyl cord. 89 e30 had clear glued plastic as in this thread.Comment
-
Tenured Automotive Service Professional - Avid BMW Enthusiast
Vapor Honing & E30 ABS Pump Refurbishment Service
https://mtechniqueabs.com/Comment
-
Jordan - thanks for posting the vapor barrier part number. I've been following along with all of the updates and enjoying each one. Keep up the great work!
MJComment
-
1974.5 Jensen Healey : 2003 330i/5Comment
-
Even though I all my e30s are gone I still like checking in here just to see progress on this. Great work as always and a good source of info for anybody undertaking a restoration like this.Comment
-
Alllllright, I've enjoyed an enormous amount of progress over the last few days but I have not been able to share it here as Photobucket has been DOWN. At the moment it is letting me log in so I'm going to try to snatch some photo links. If for some reason you can't see the images just try back later...
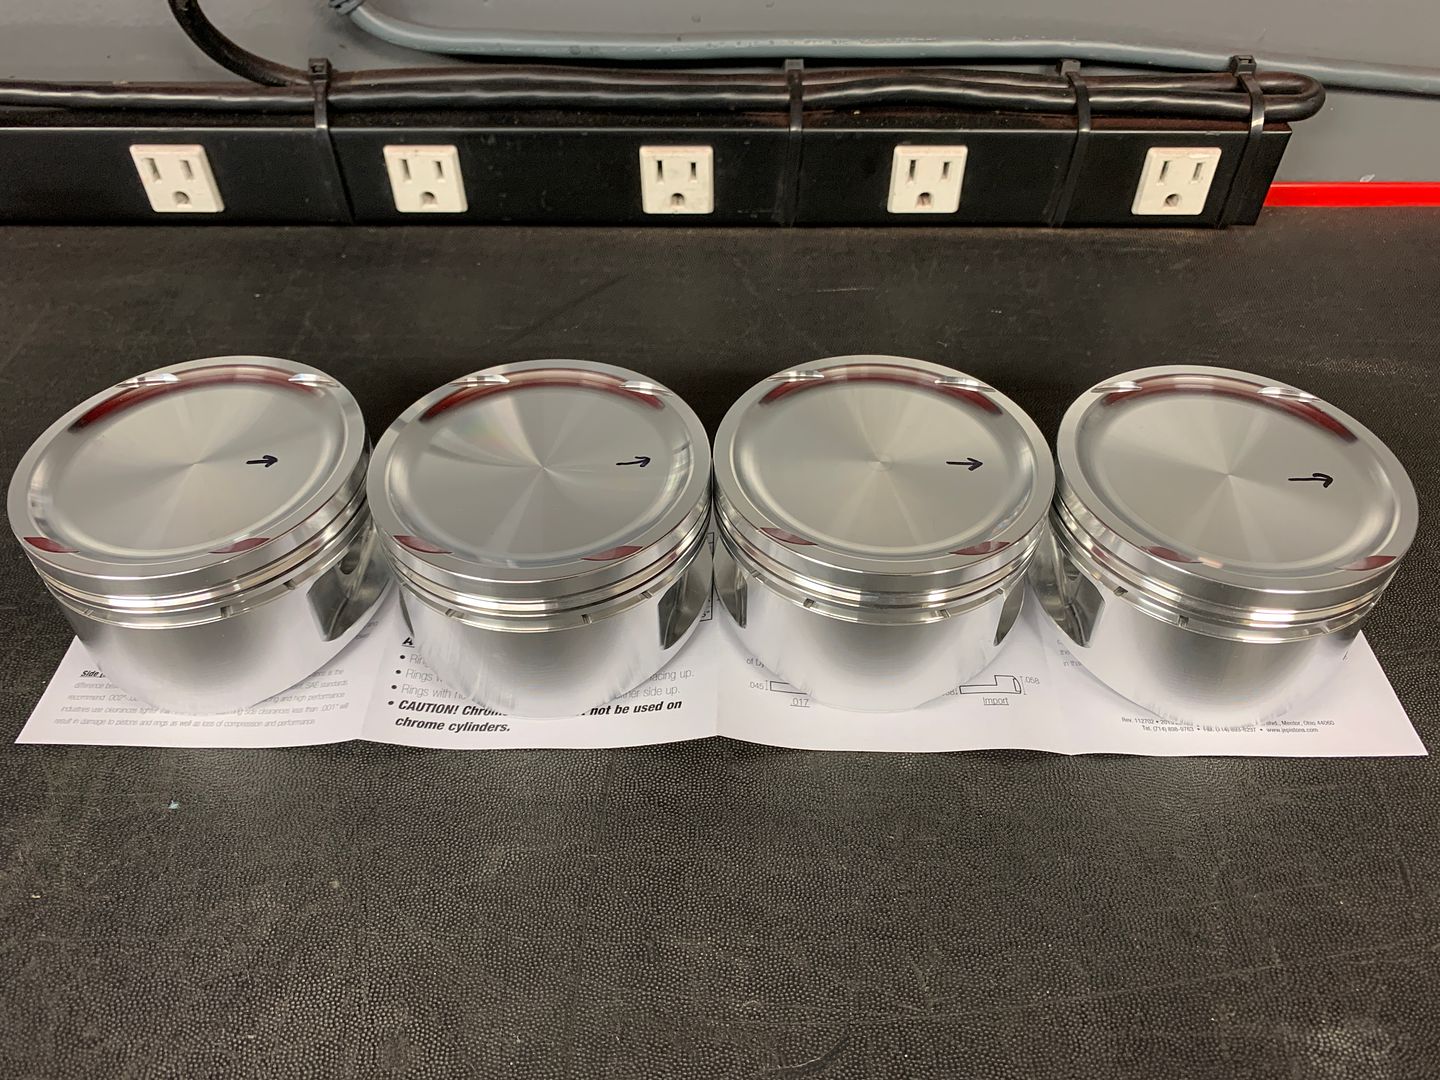
As of 3pm on Christmas Eve my pistons arrived from JE, a Merry Christmas it shall be (well for me anyway, wife is less than thrilled)
Unpacked from the carton, with the pistons marked with a sharpie arrow as the intake and exhaust valve reliefs are different and these only go in one way!
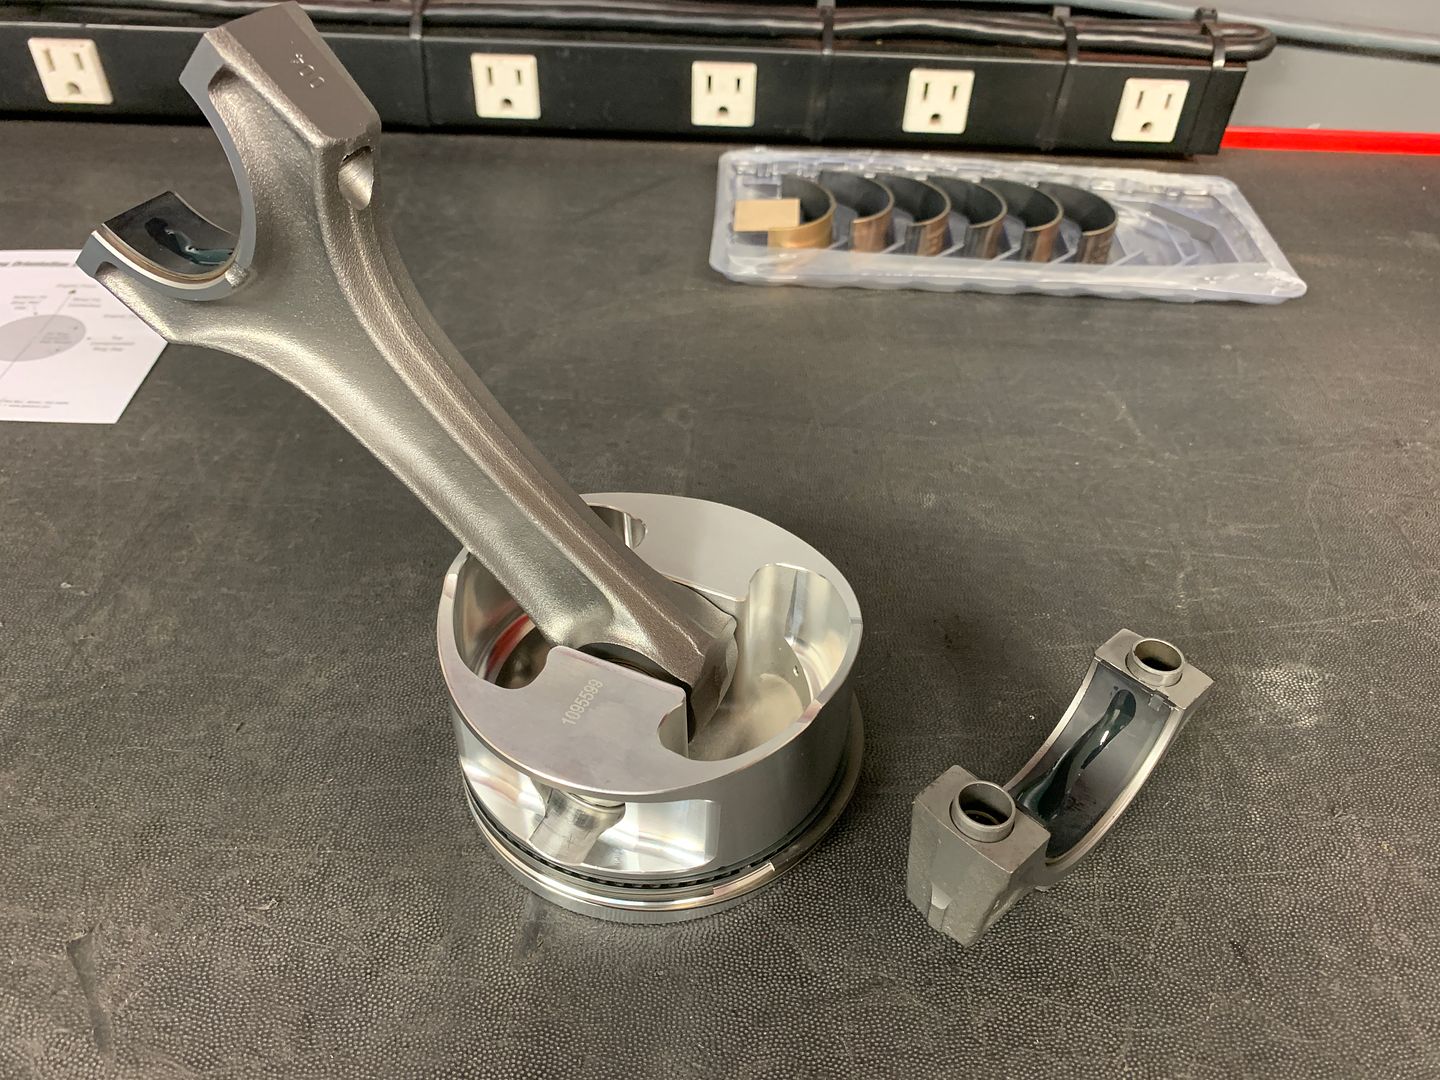
I filed all of the rings to fit and assembled the first ringed piston and rod.
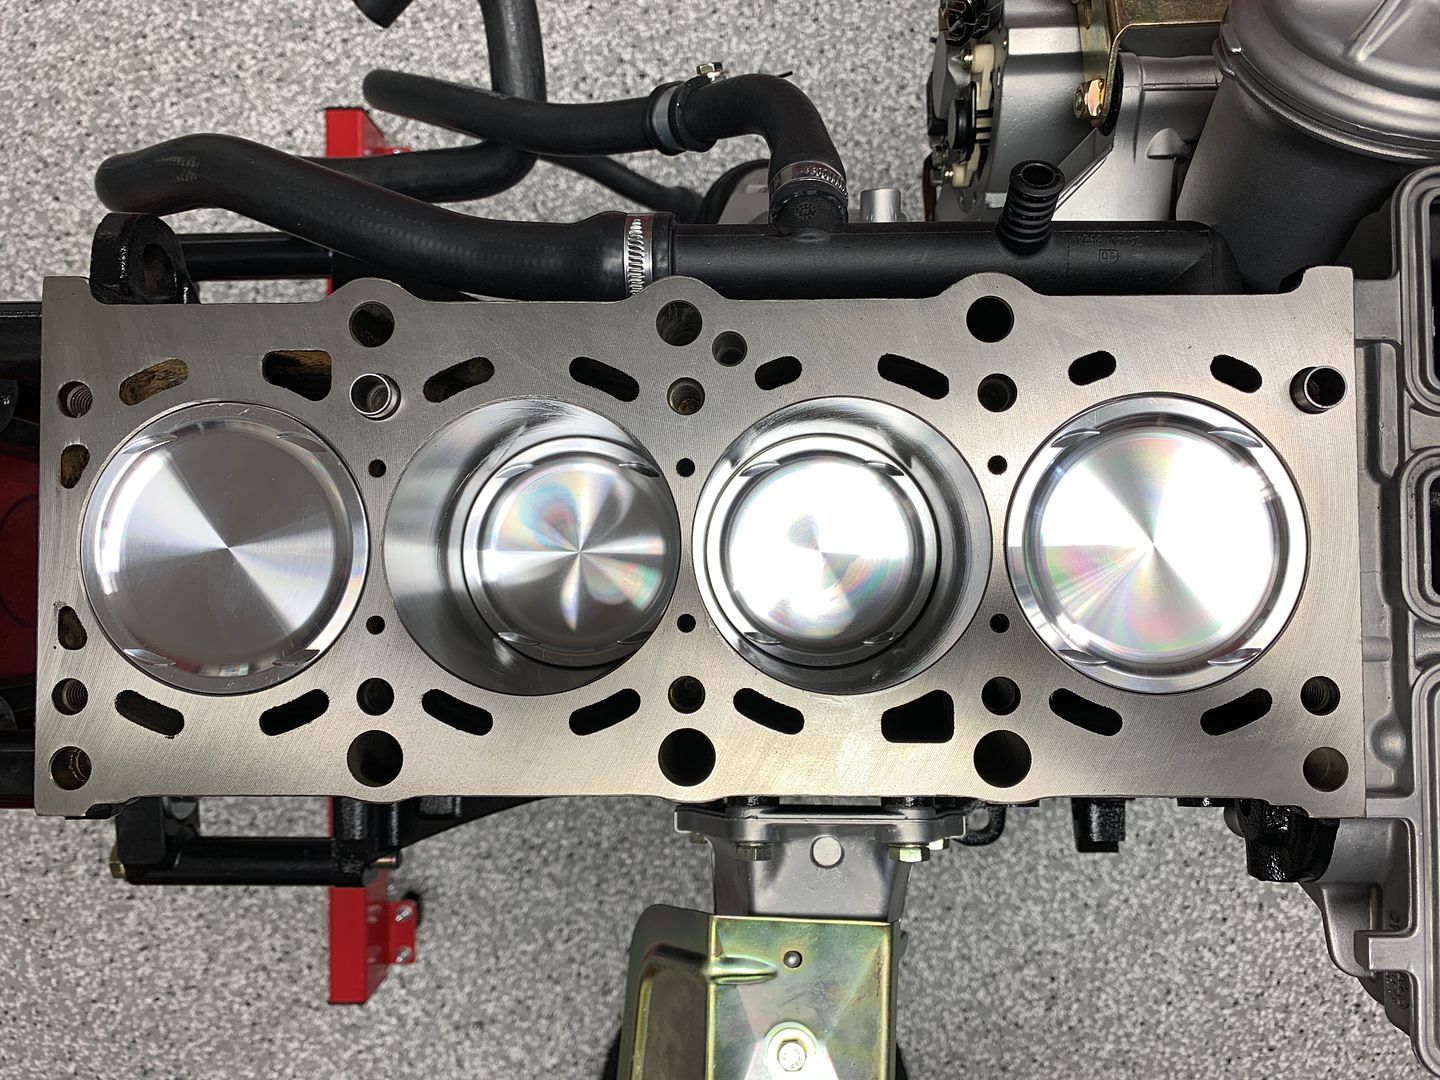
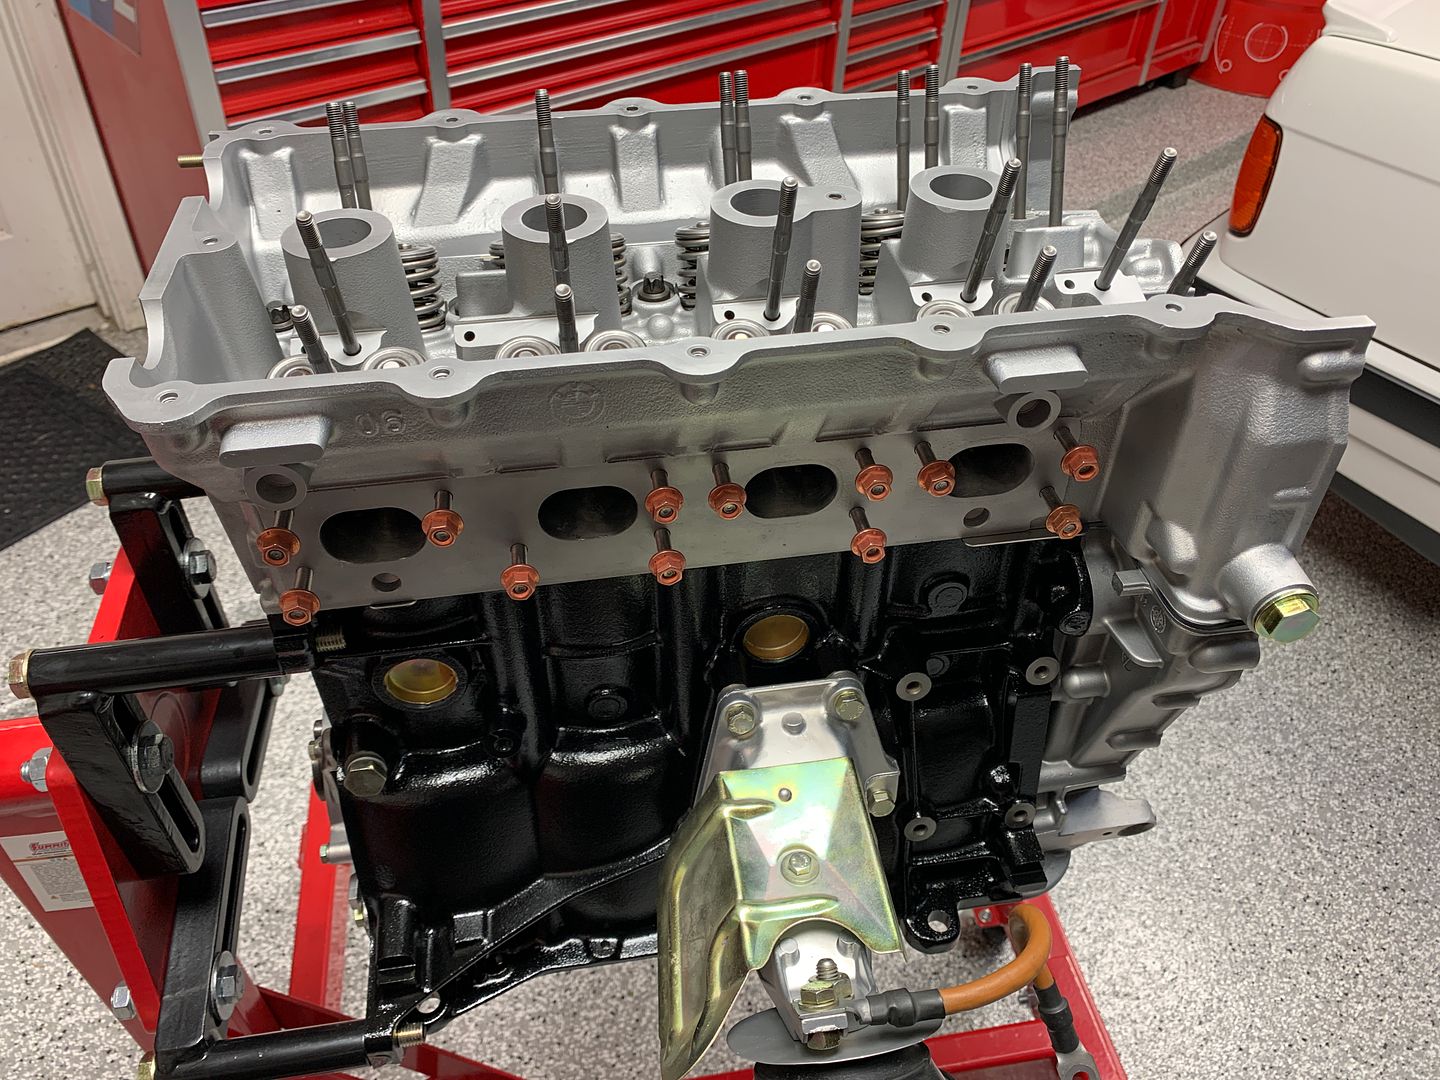
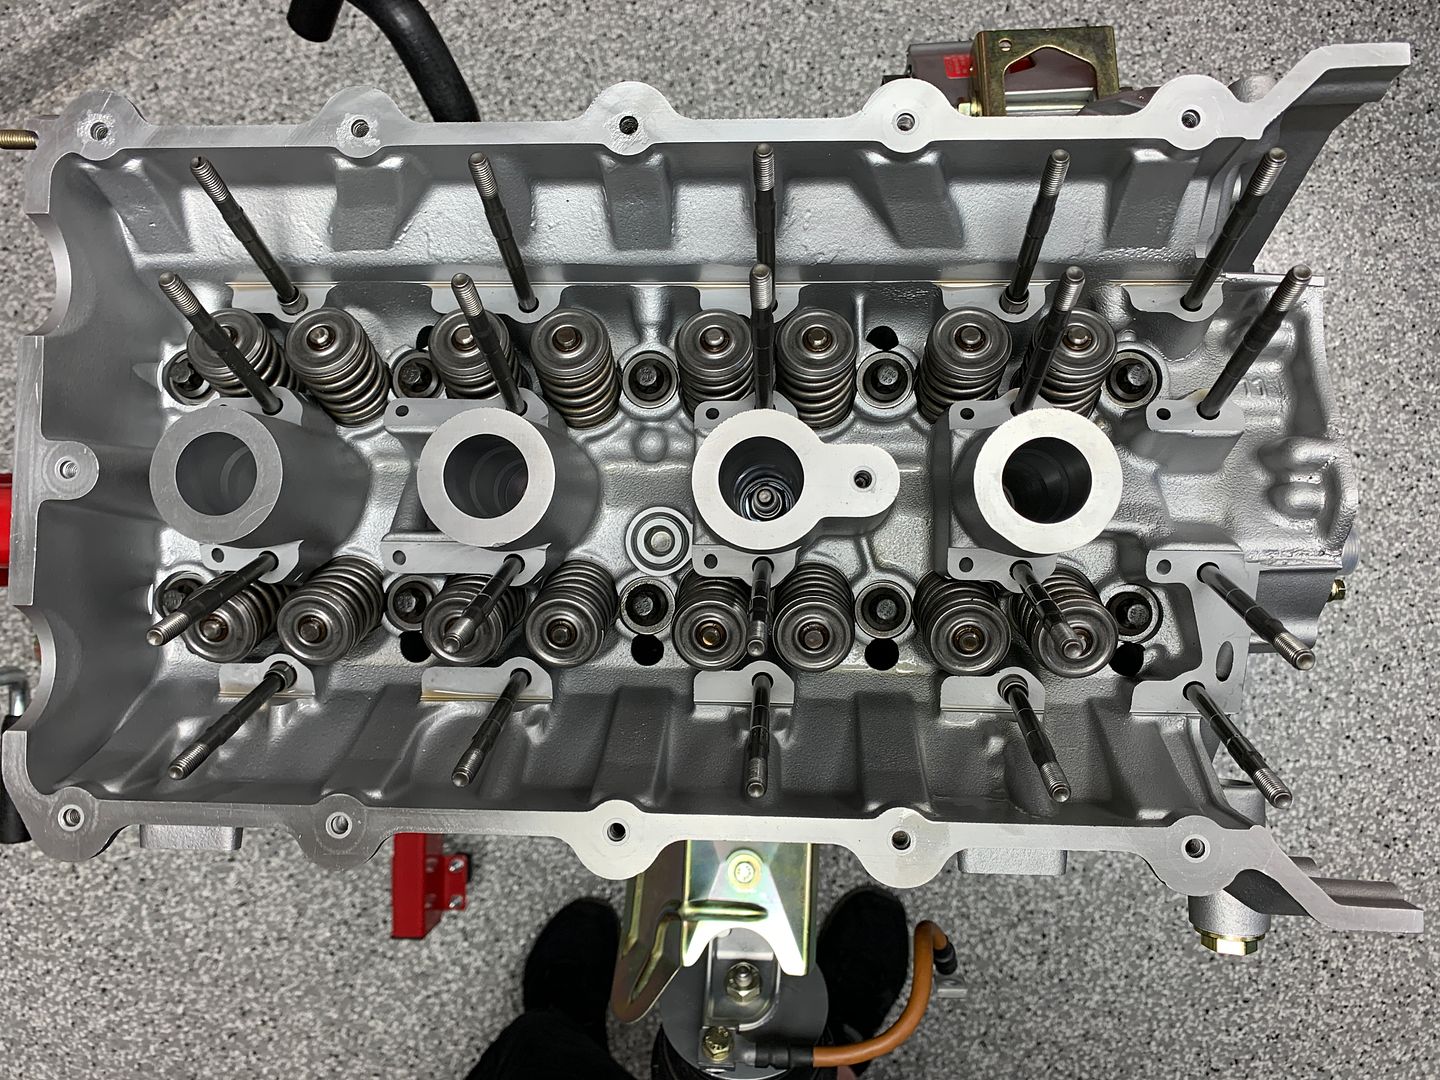
All four pistons, rods installed and rod caps torqued to spec
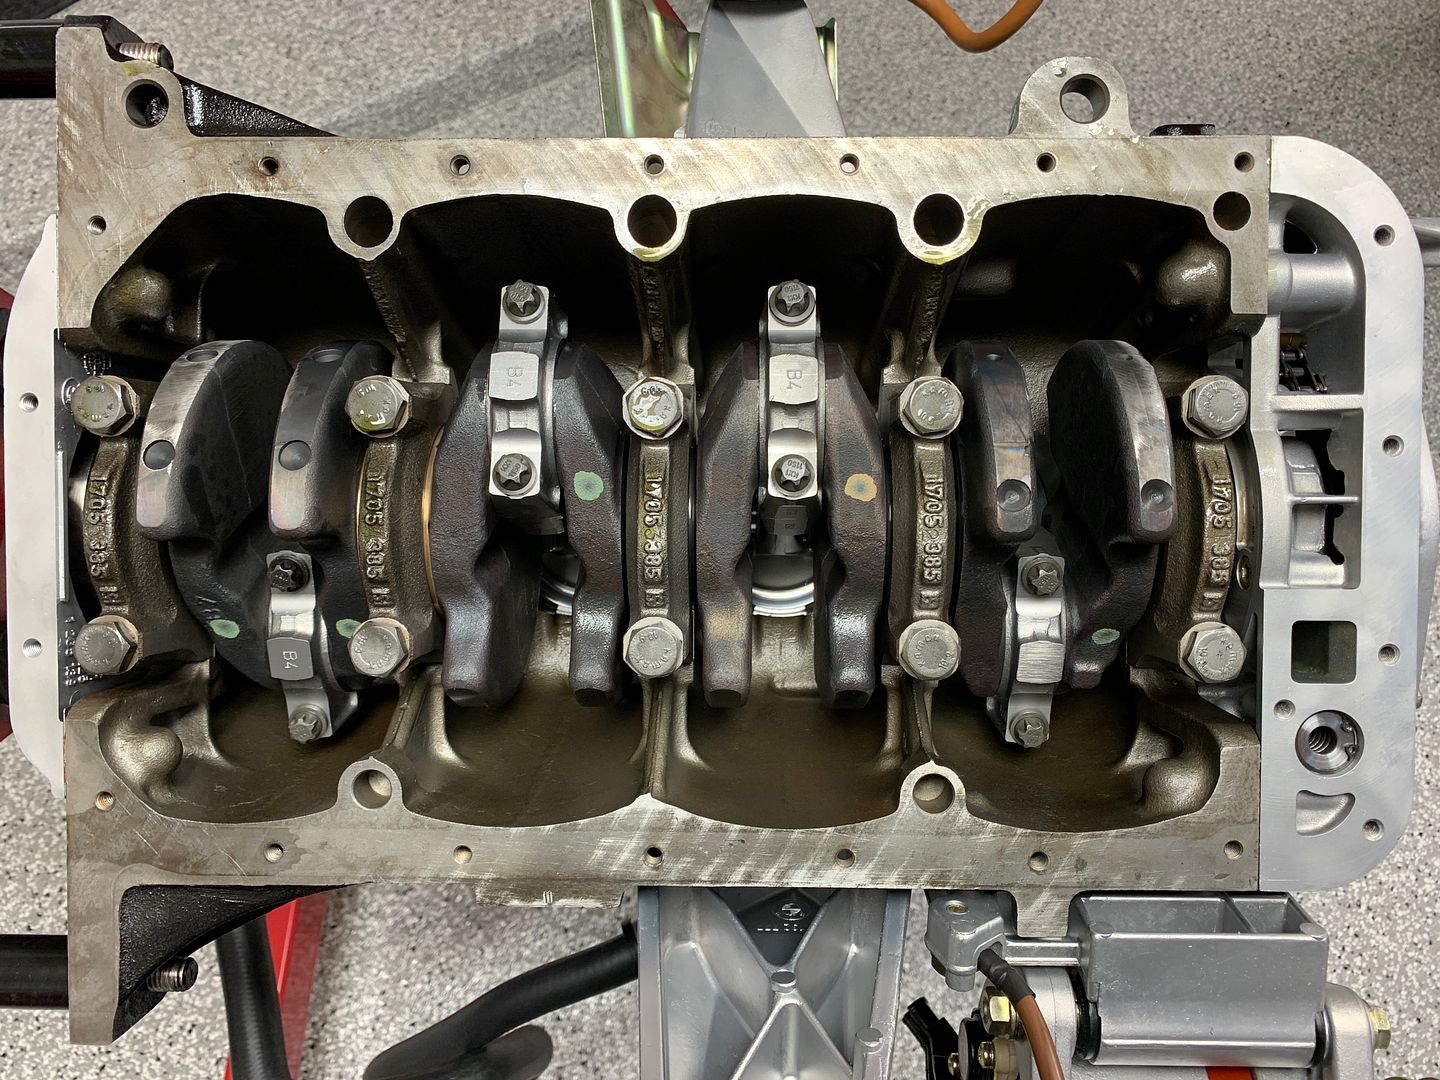
Hello down there
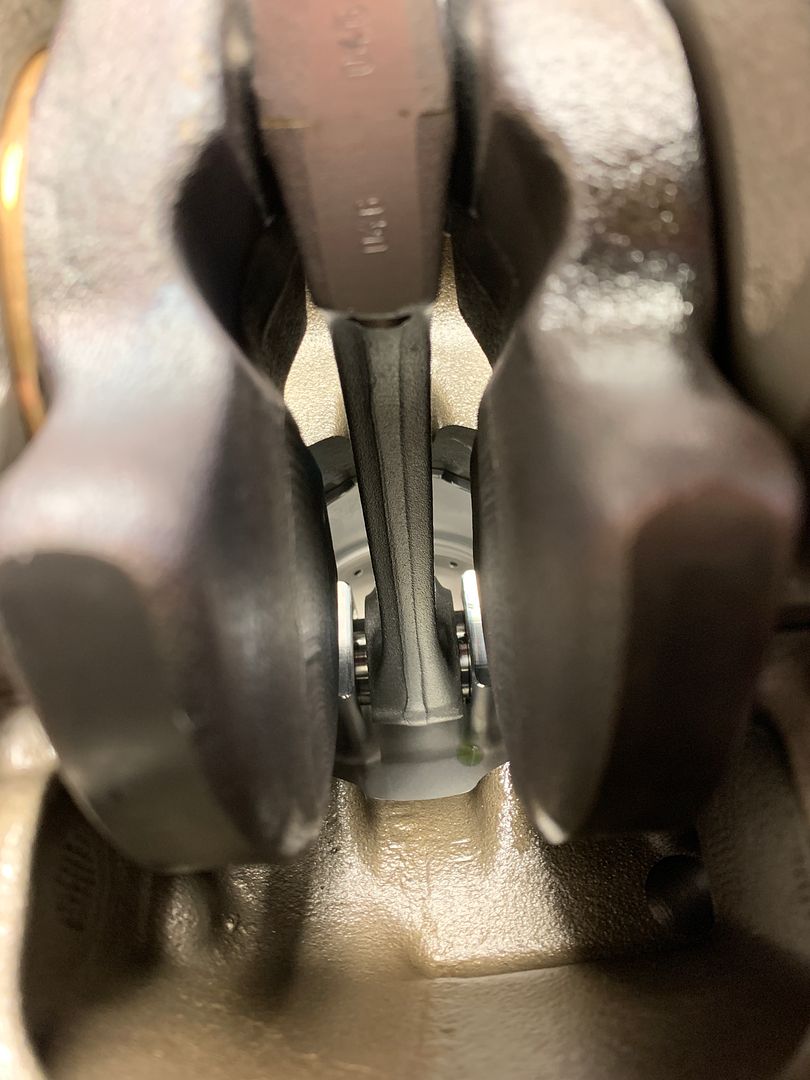
From the top, so pretty. Shame this all gets buried inside.
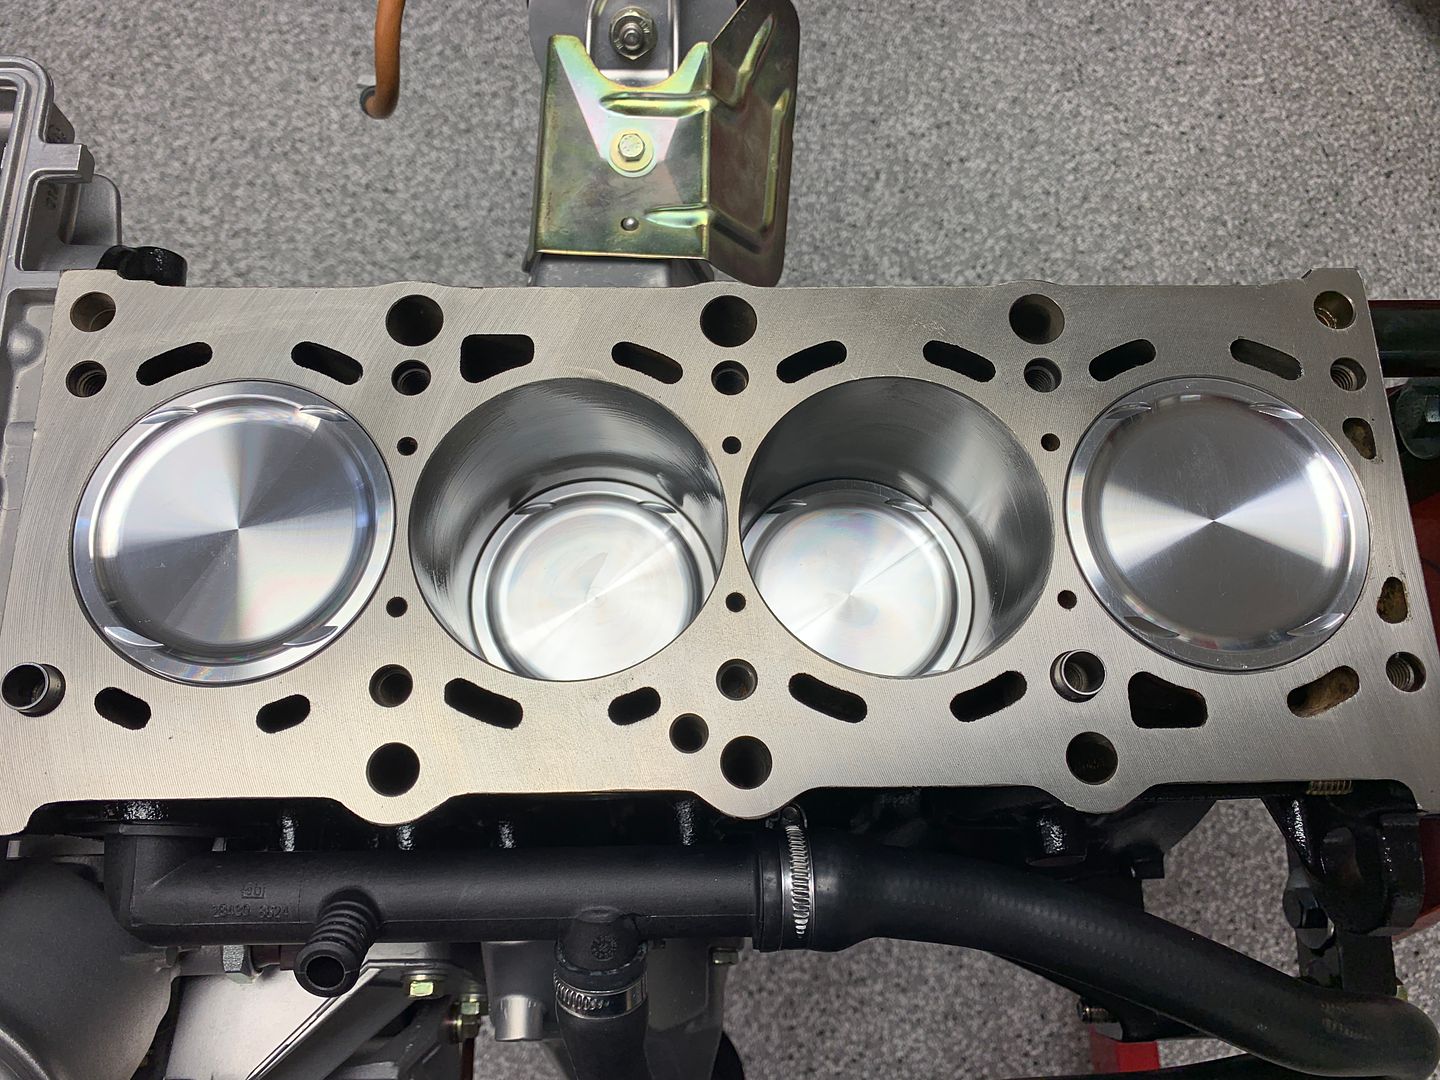
87mm headgasket options are limited. I elected to go with the Athena 87m MLS headgasket.
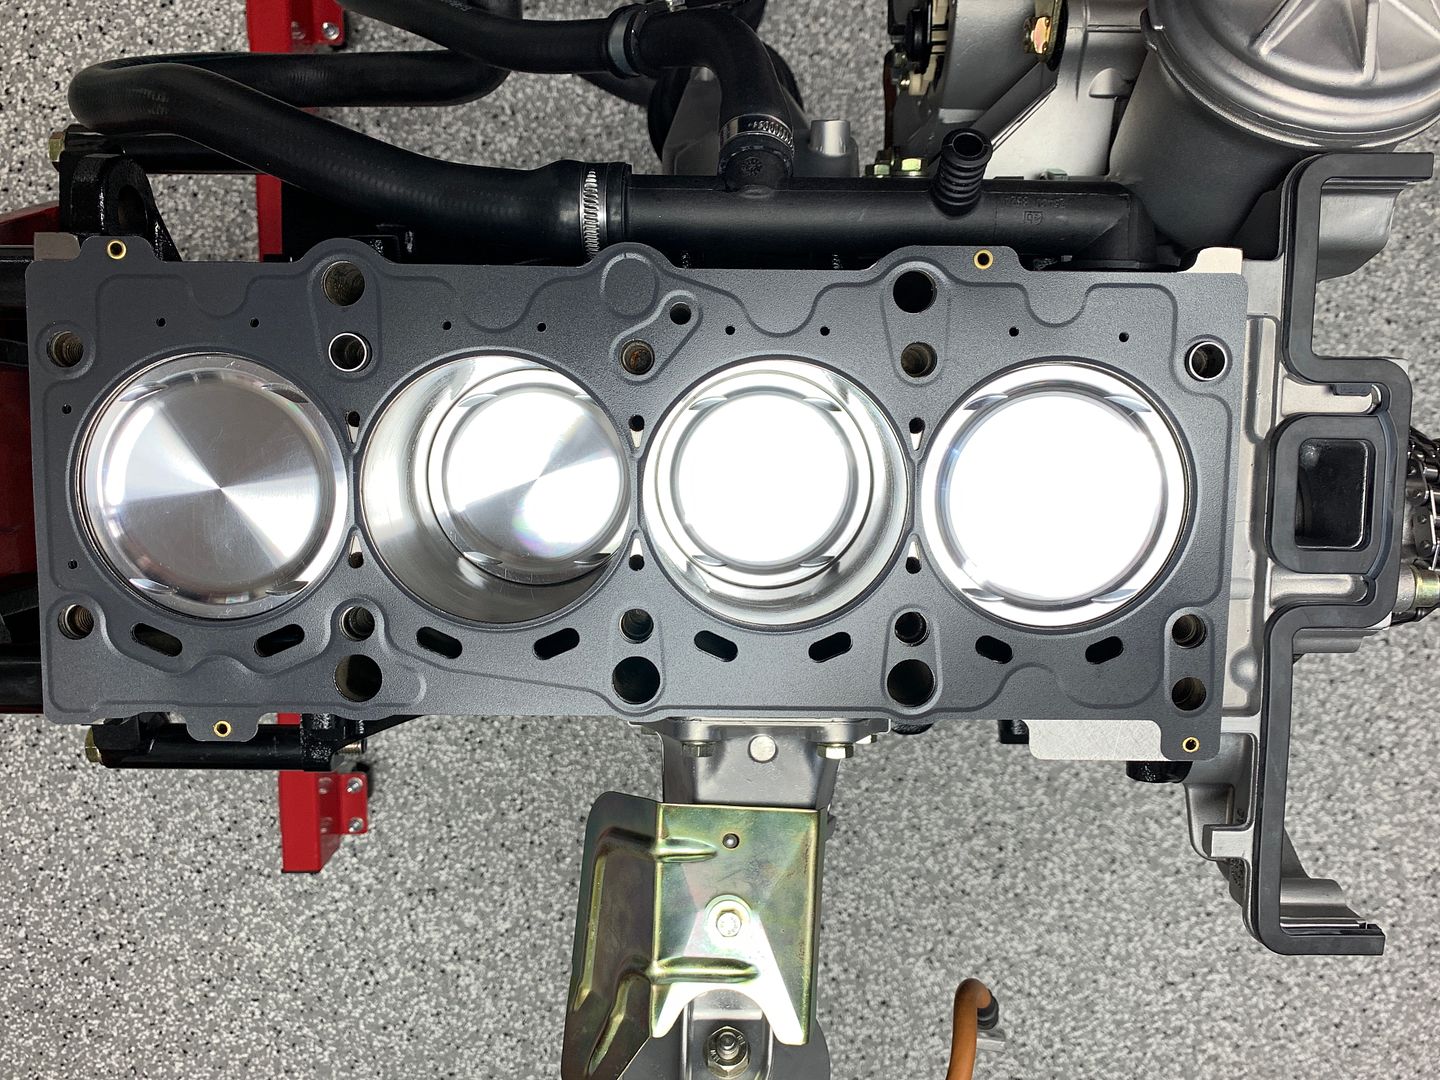
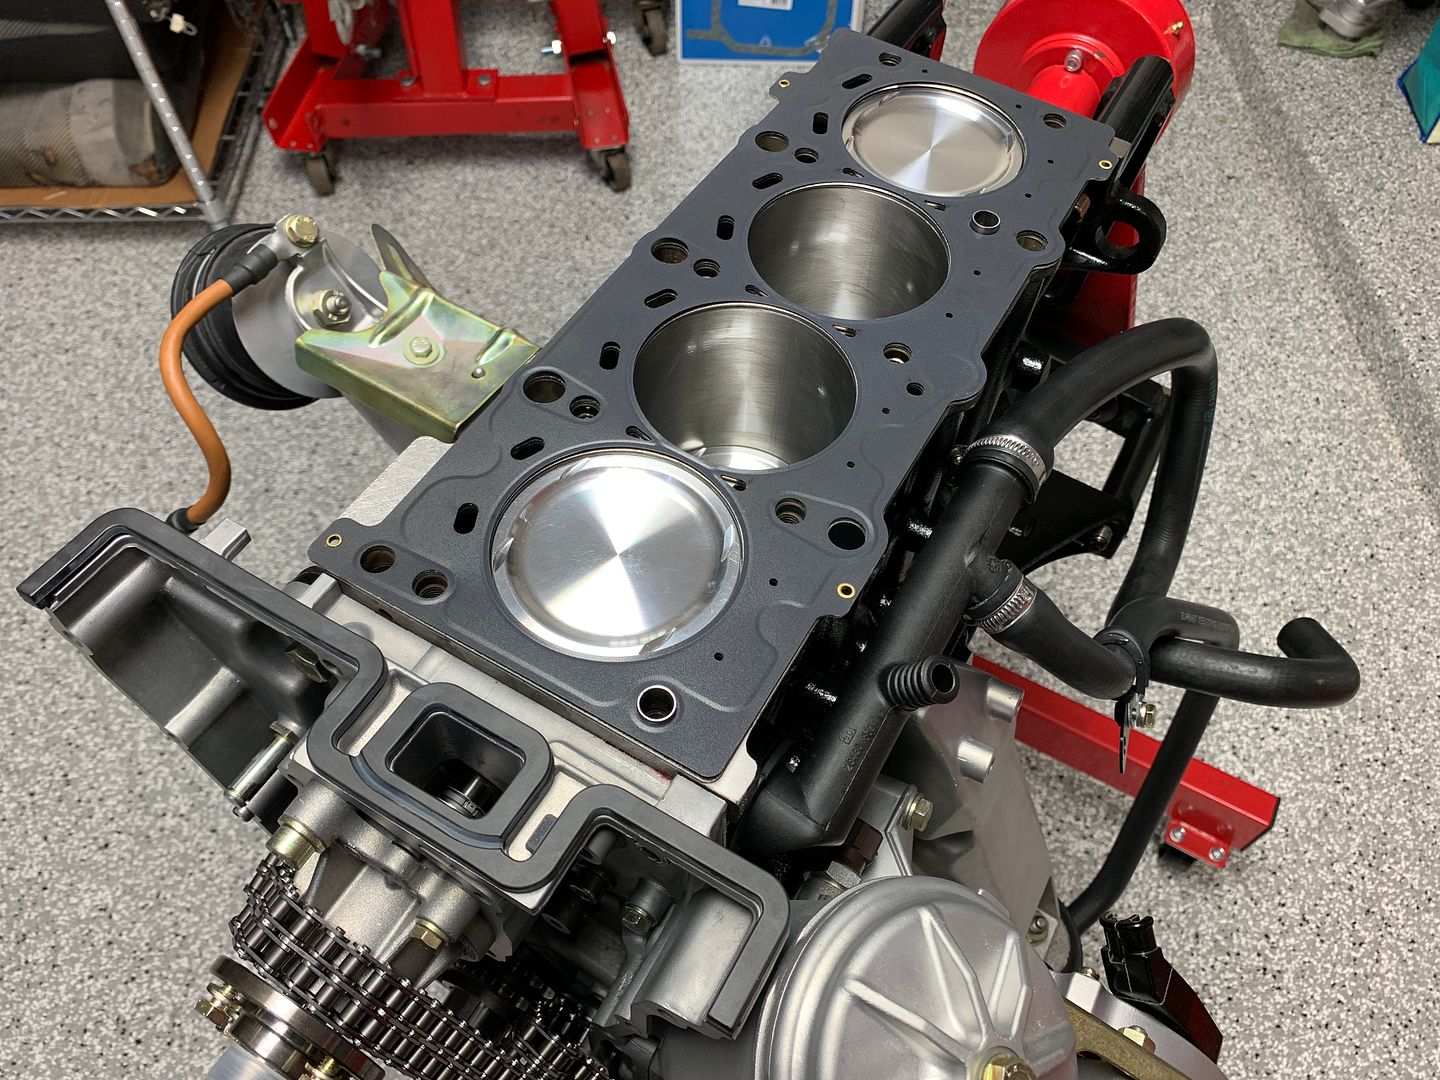
Not taking any chance with the profile gasket leaking.

Cylinder head dropped on, bolts hand tightened.
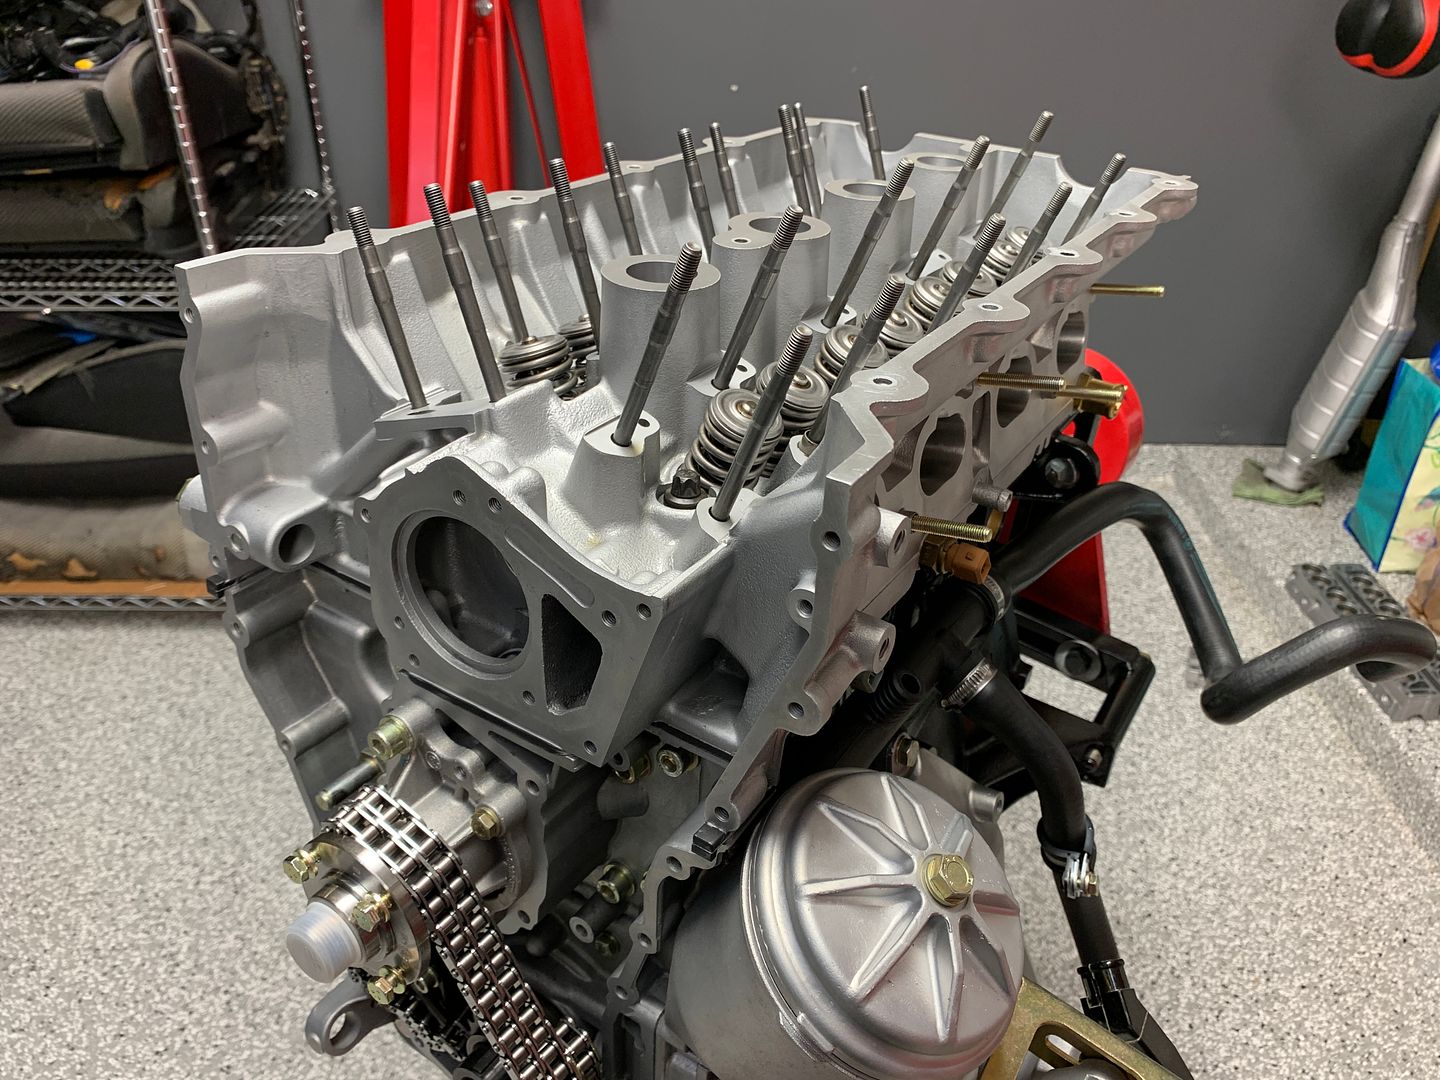
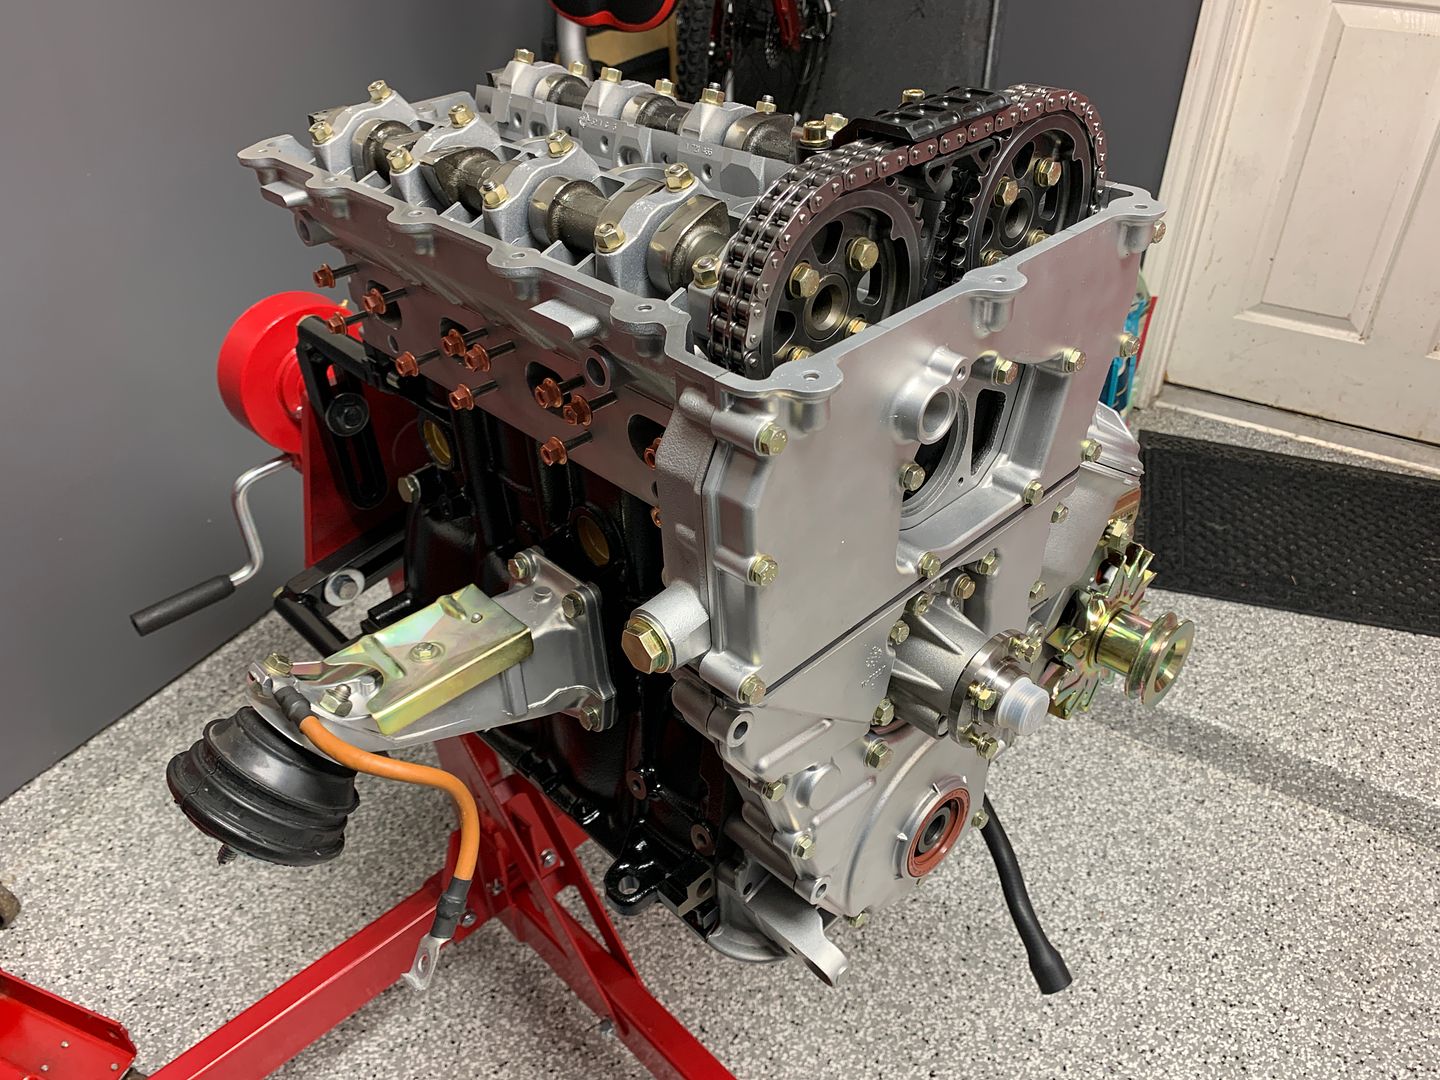
Head bolts torqued to spec, camshafts set in their journals with the caps loosely installed
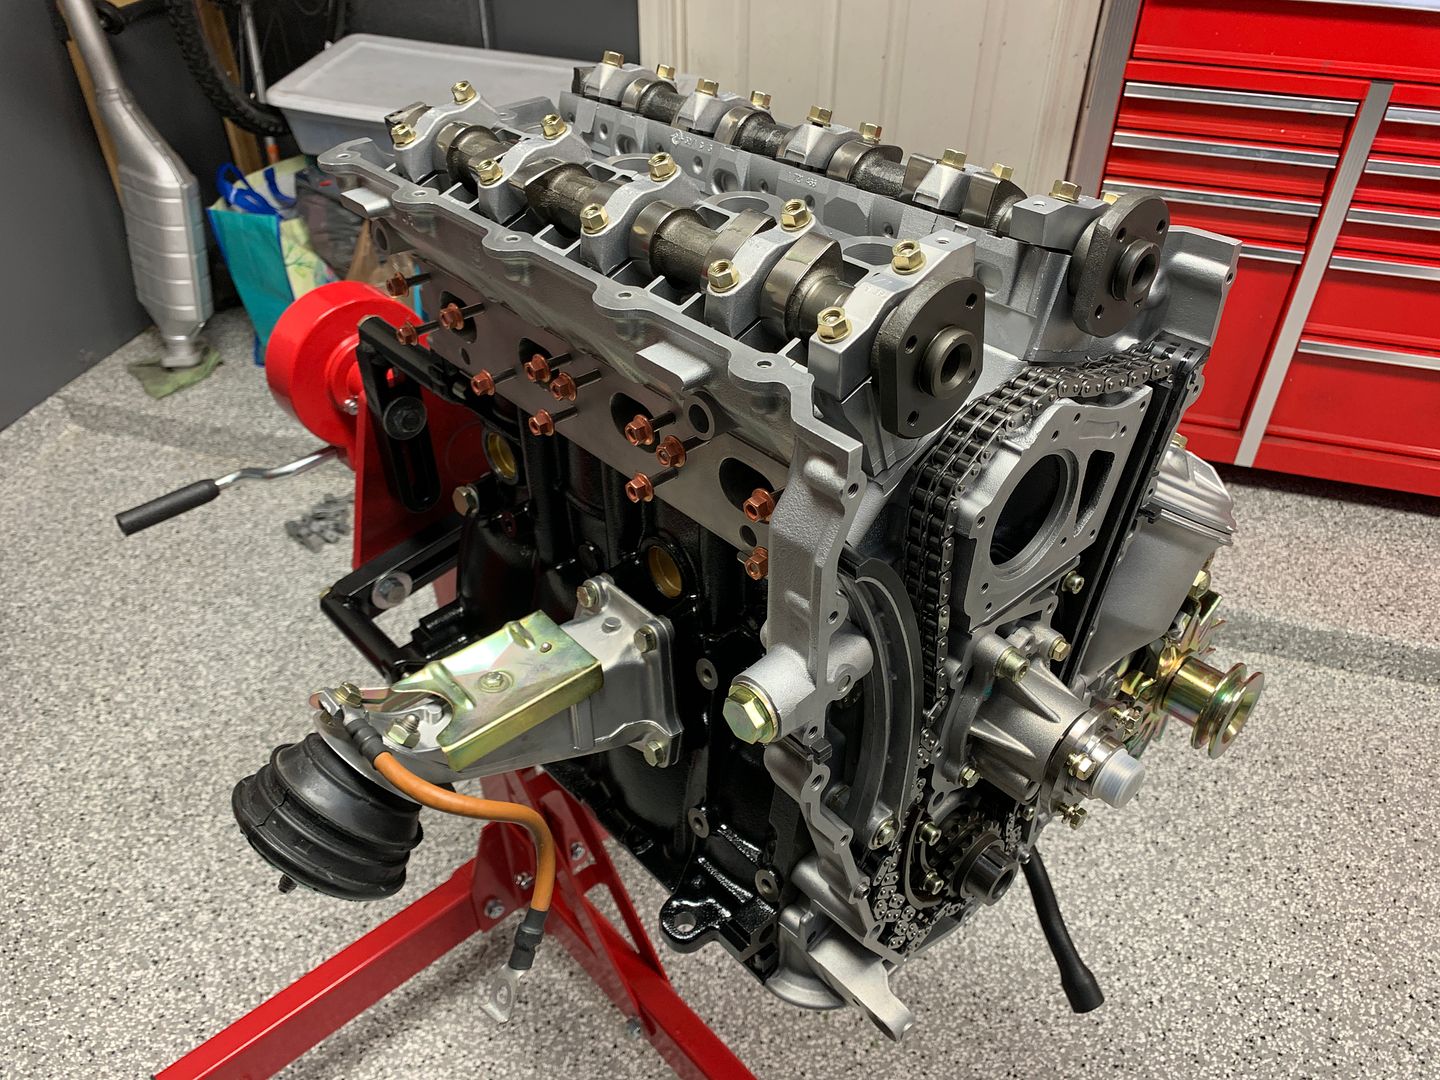


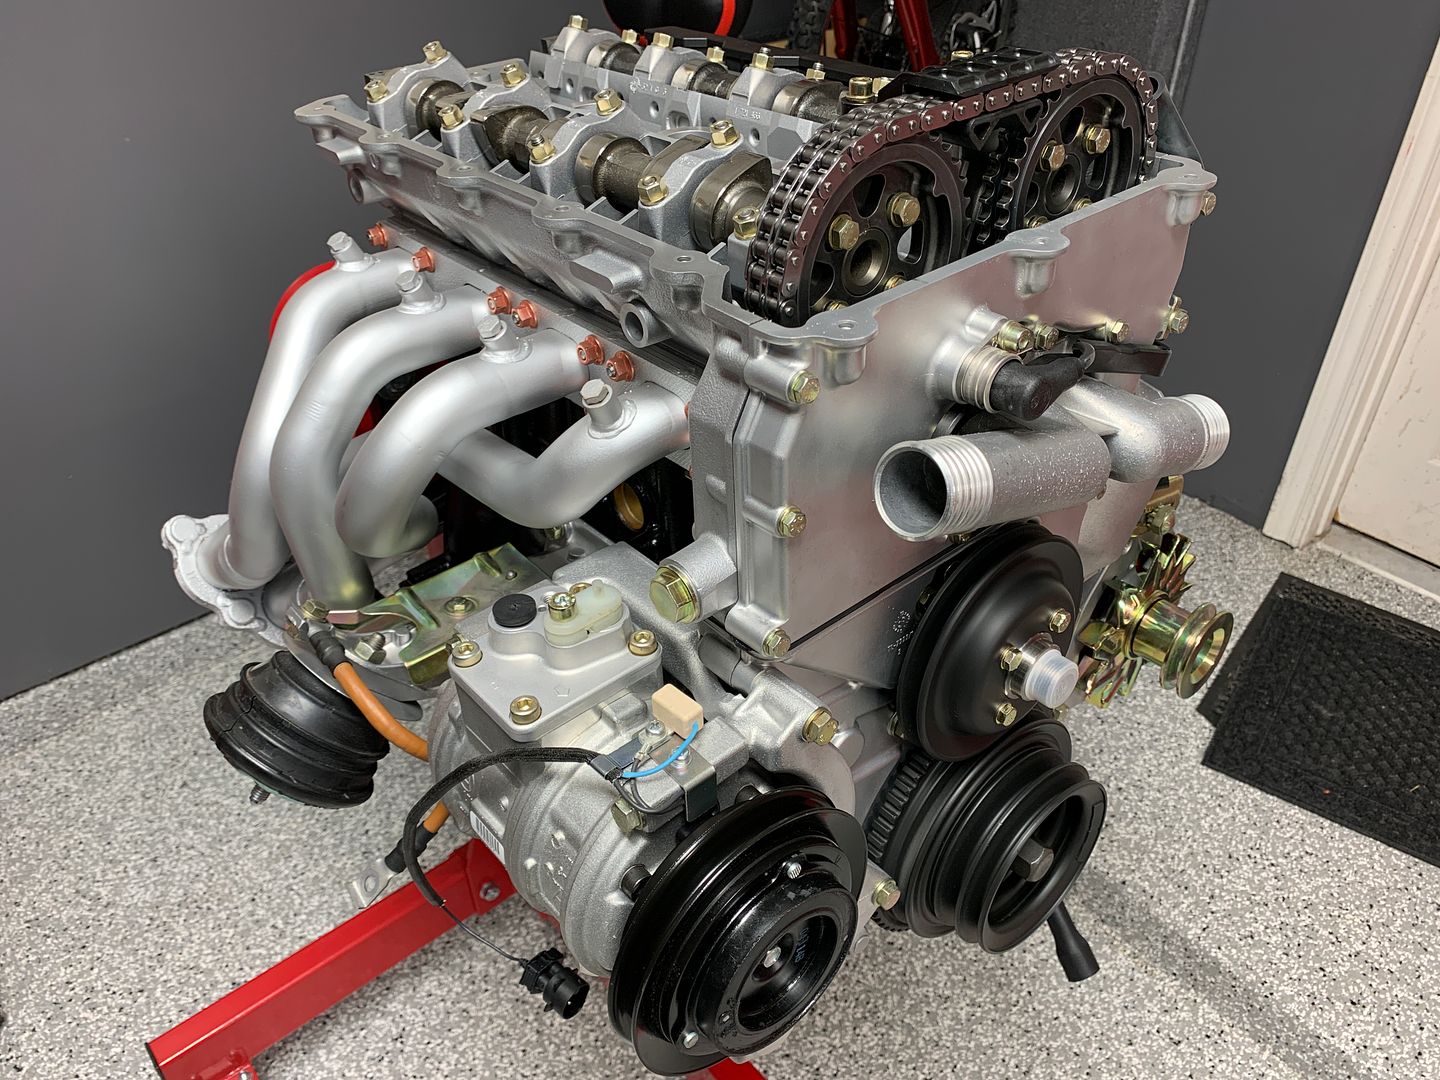
Timing gear all assembled, engine timed.
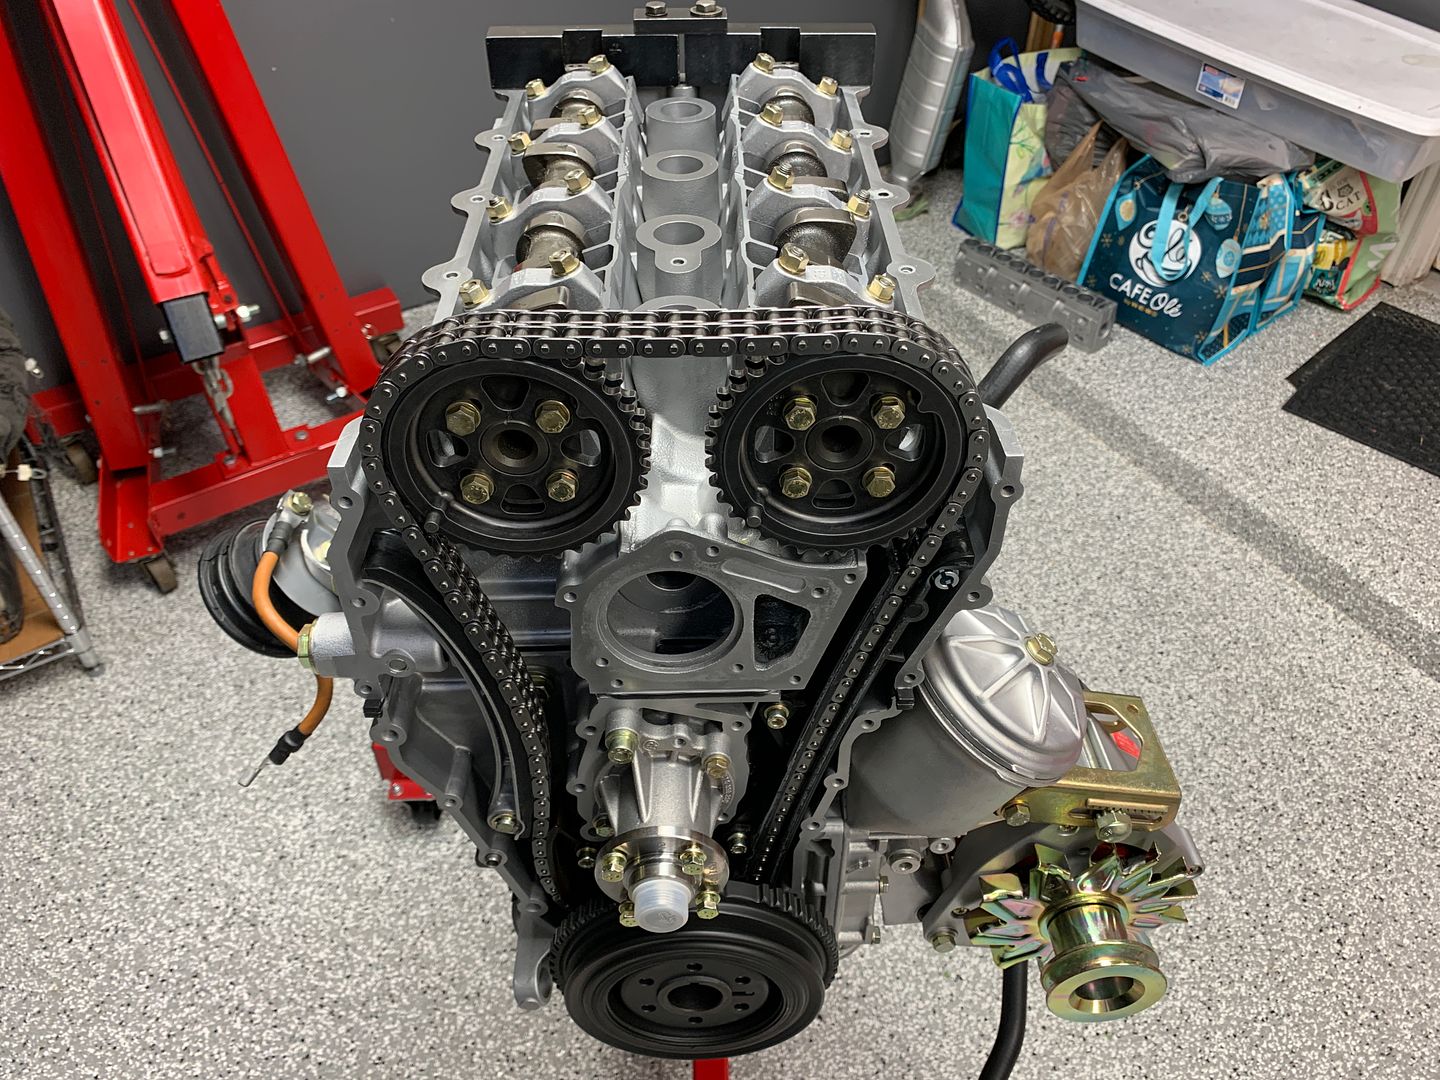
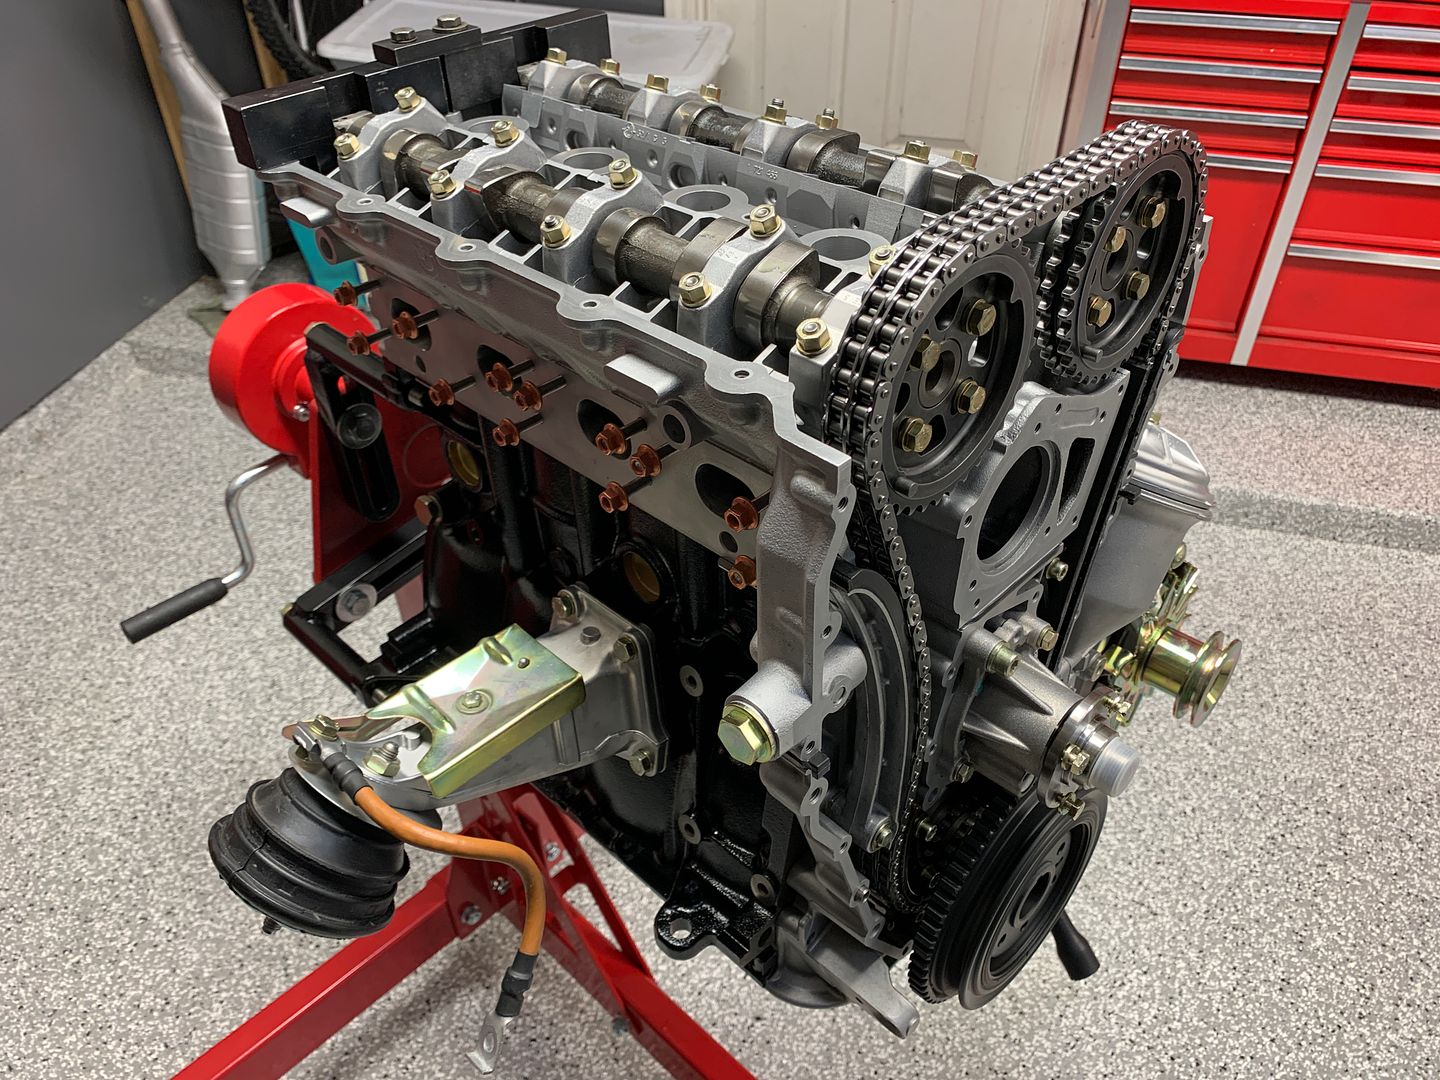
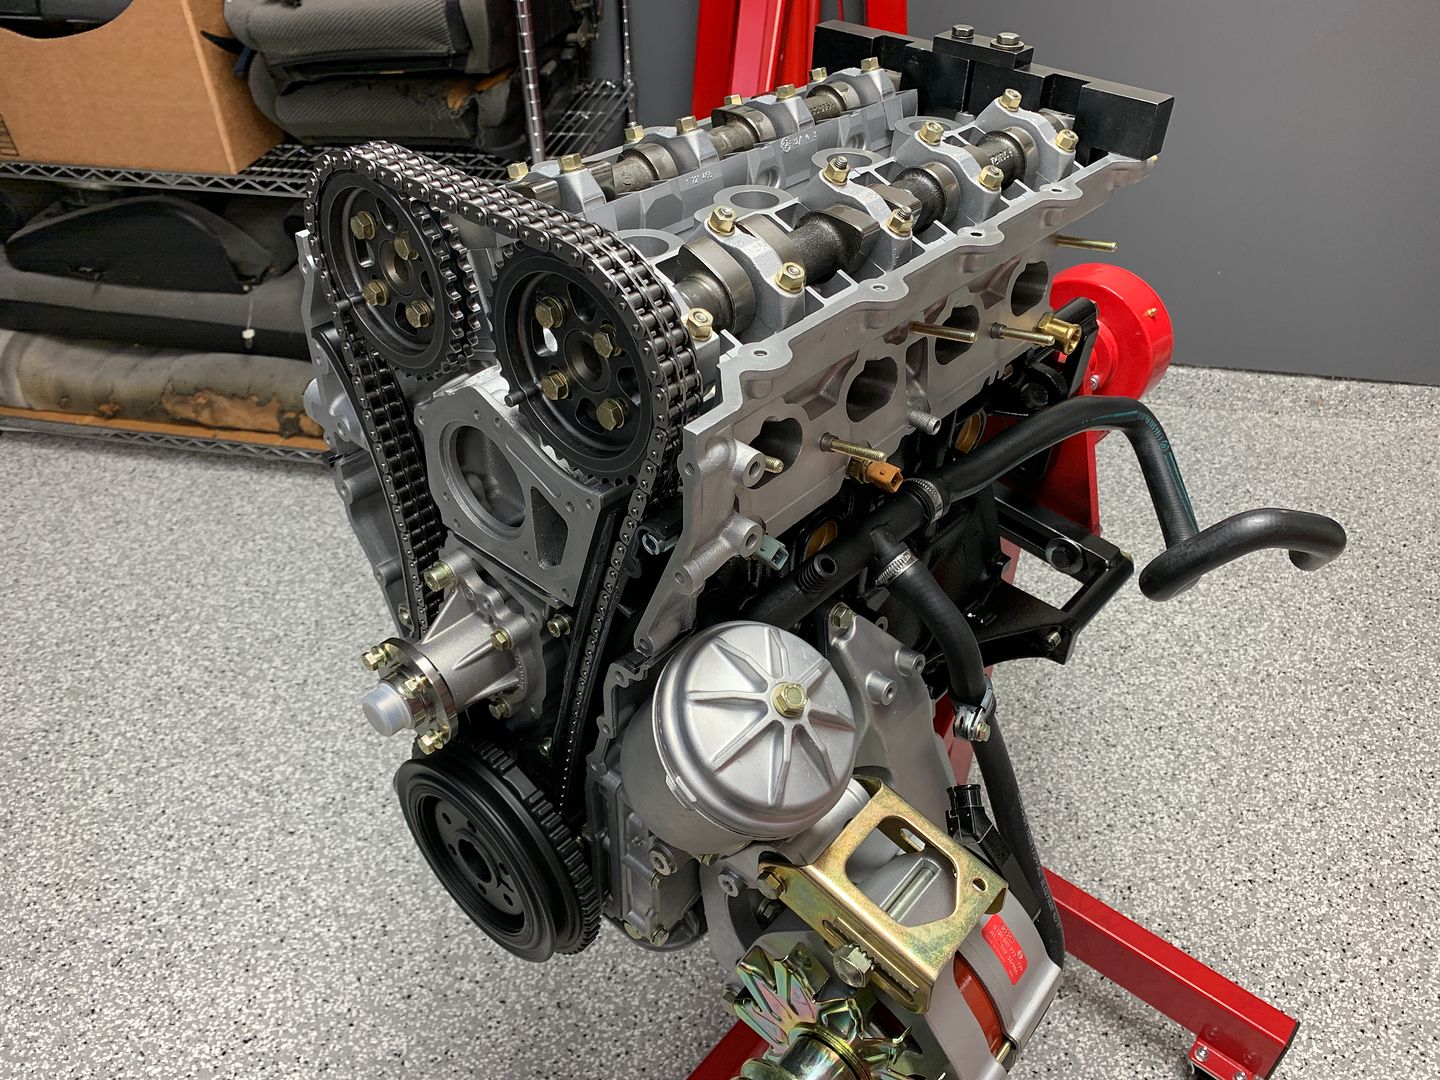
Upper and lower timing case covers installed and torqued to spec

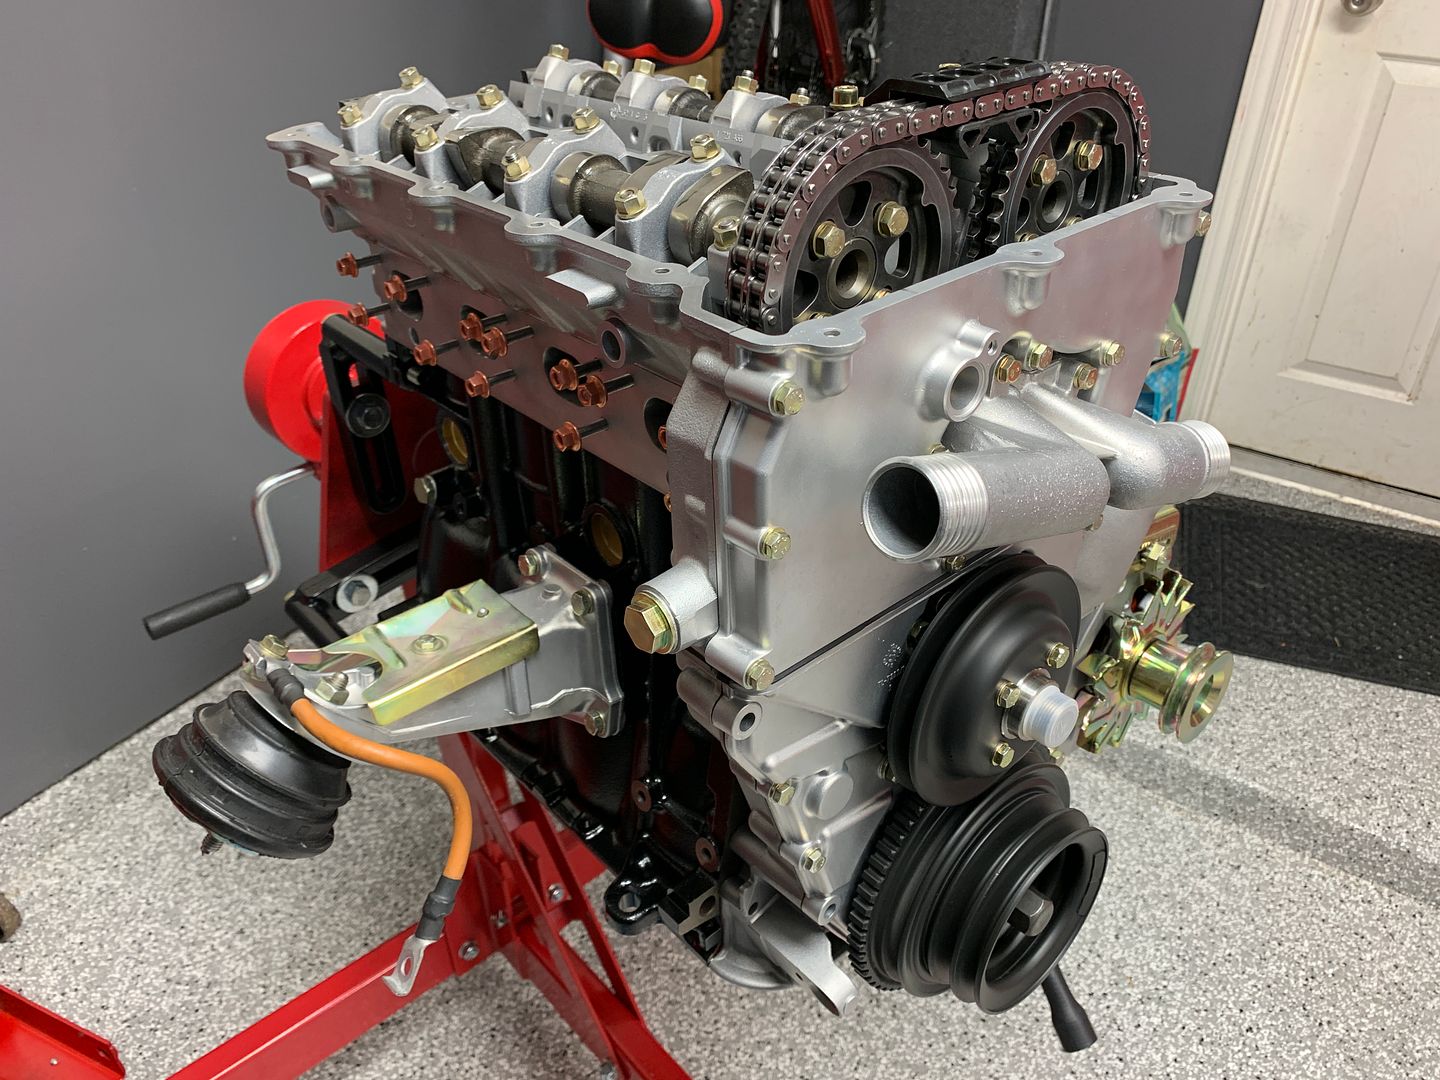
Add new thermostat housing, water pump pulley, and harmonic balancer/main pulley
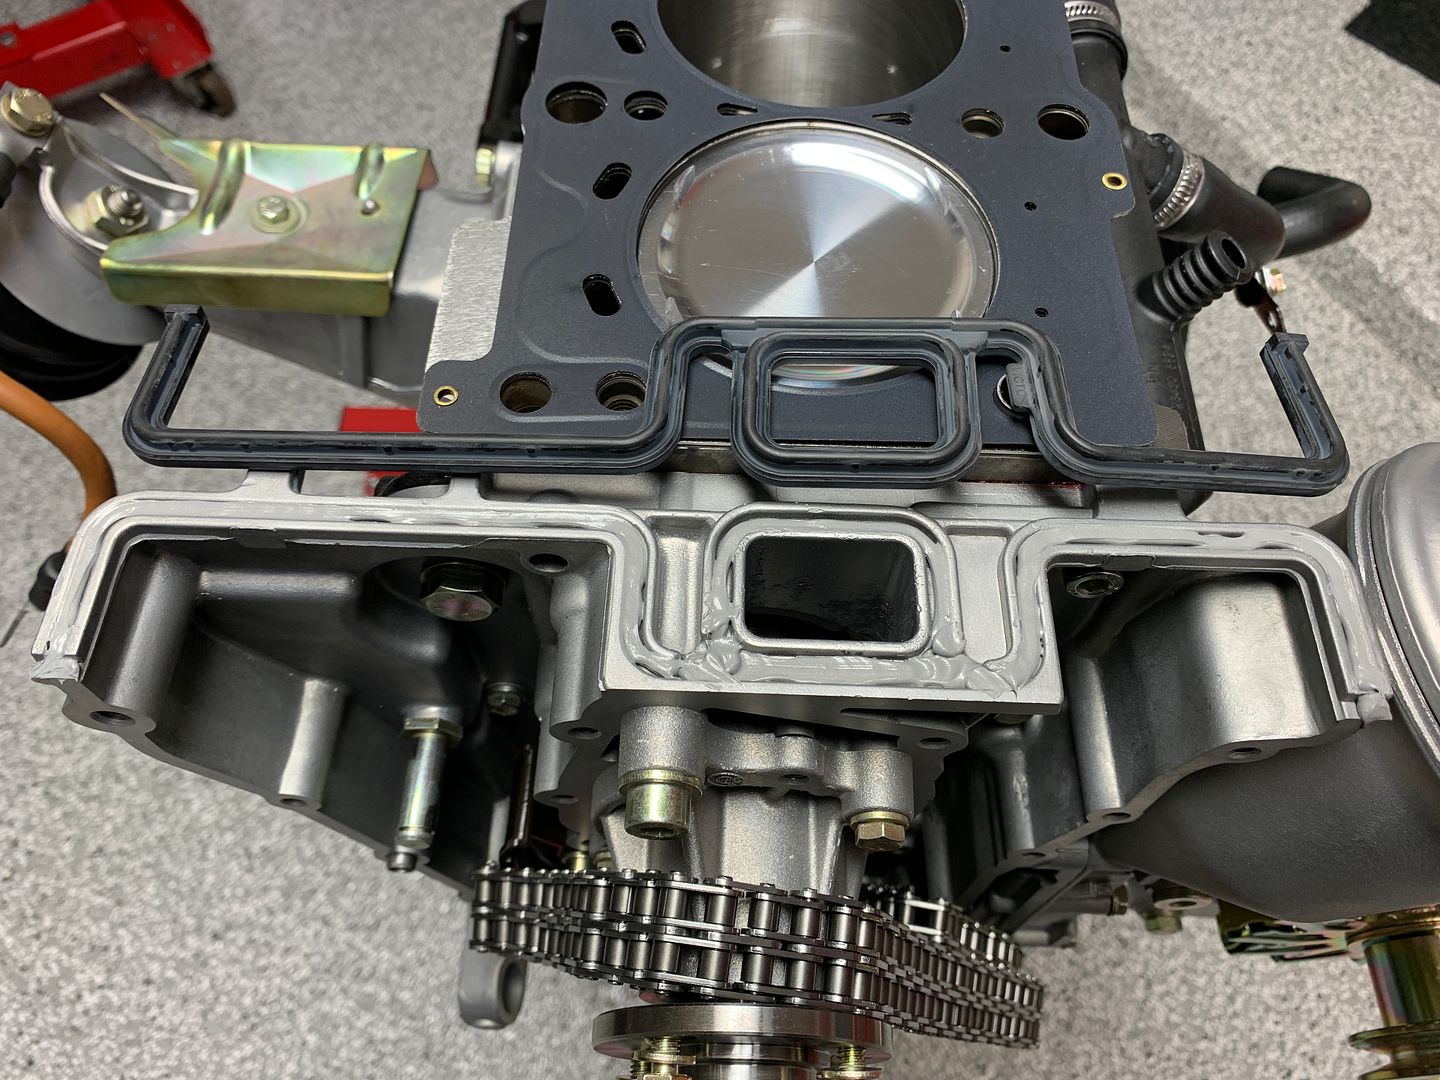
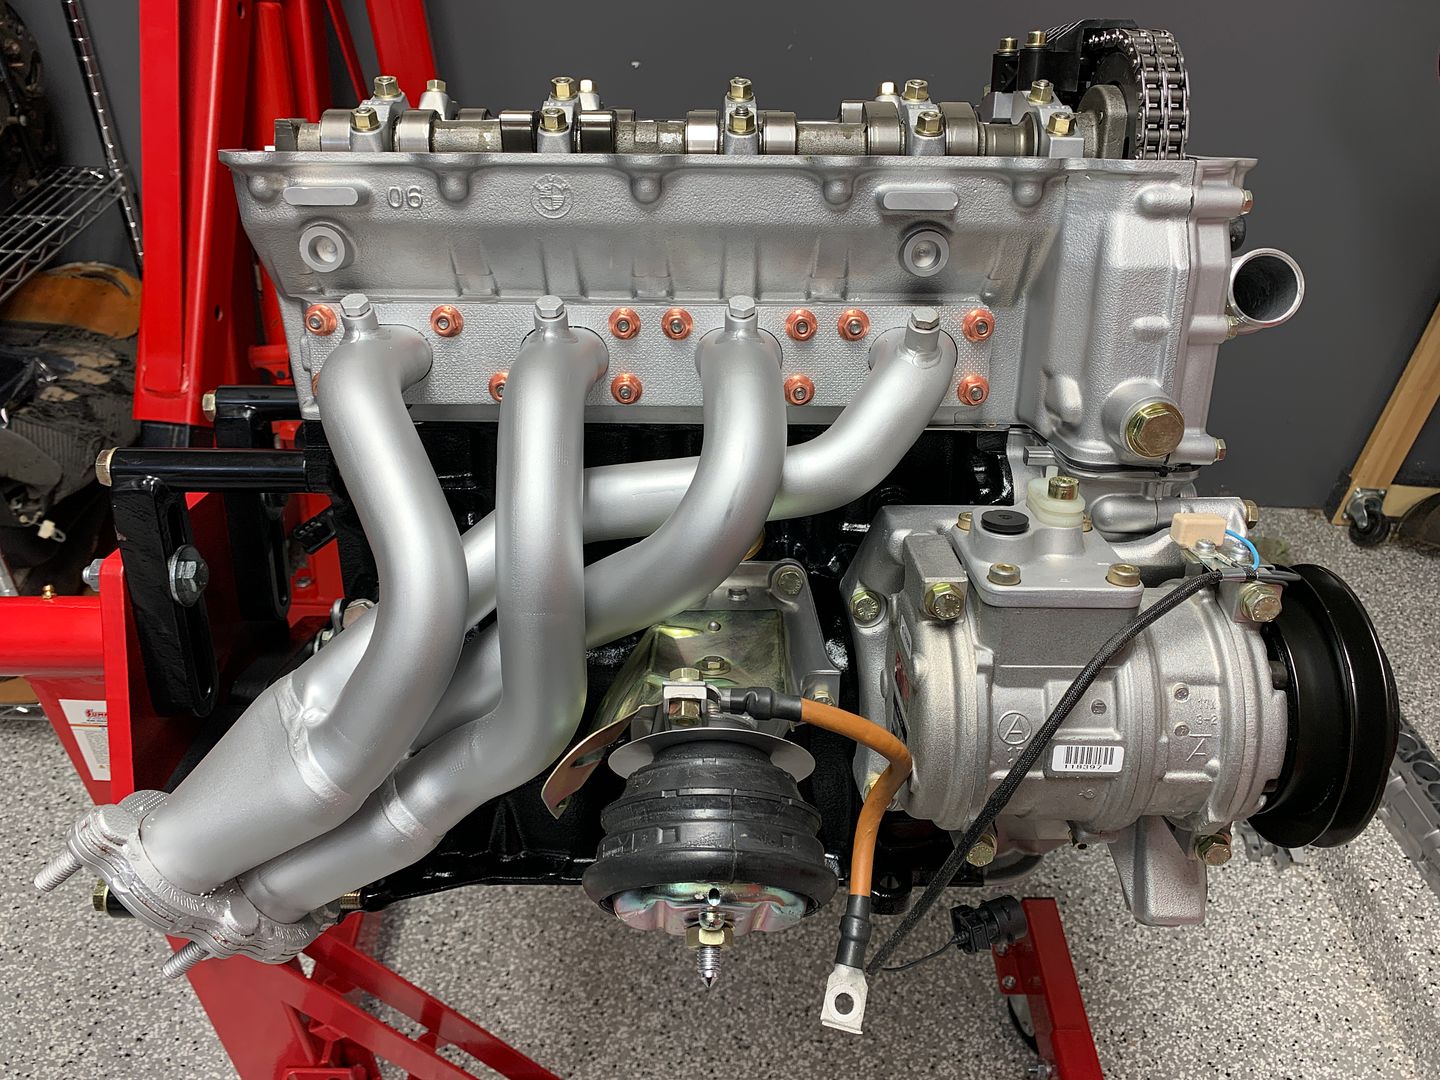
Lower intake manifold assembly installed
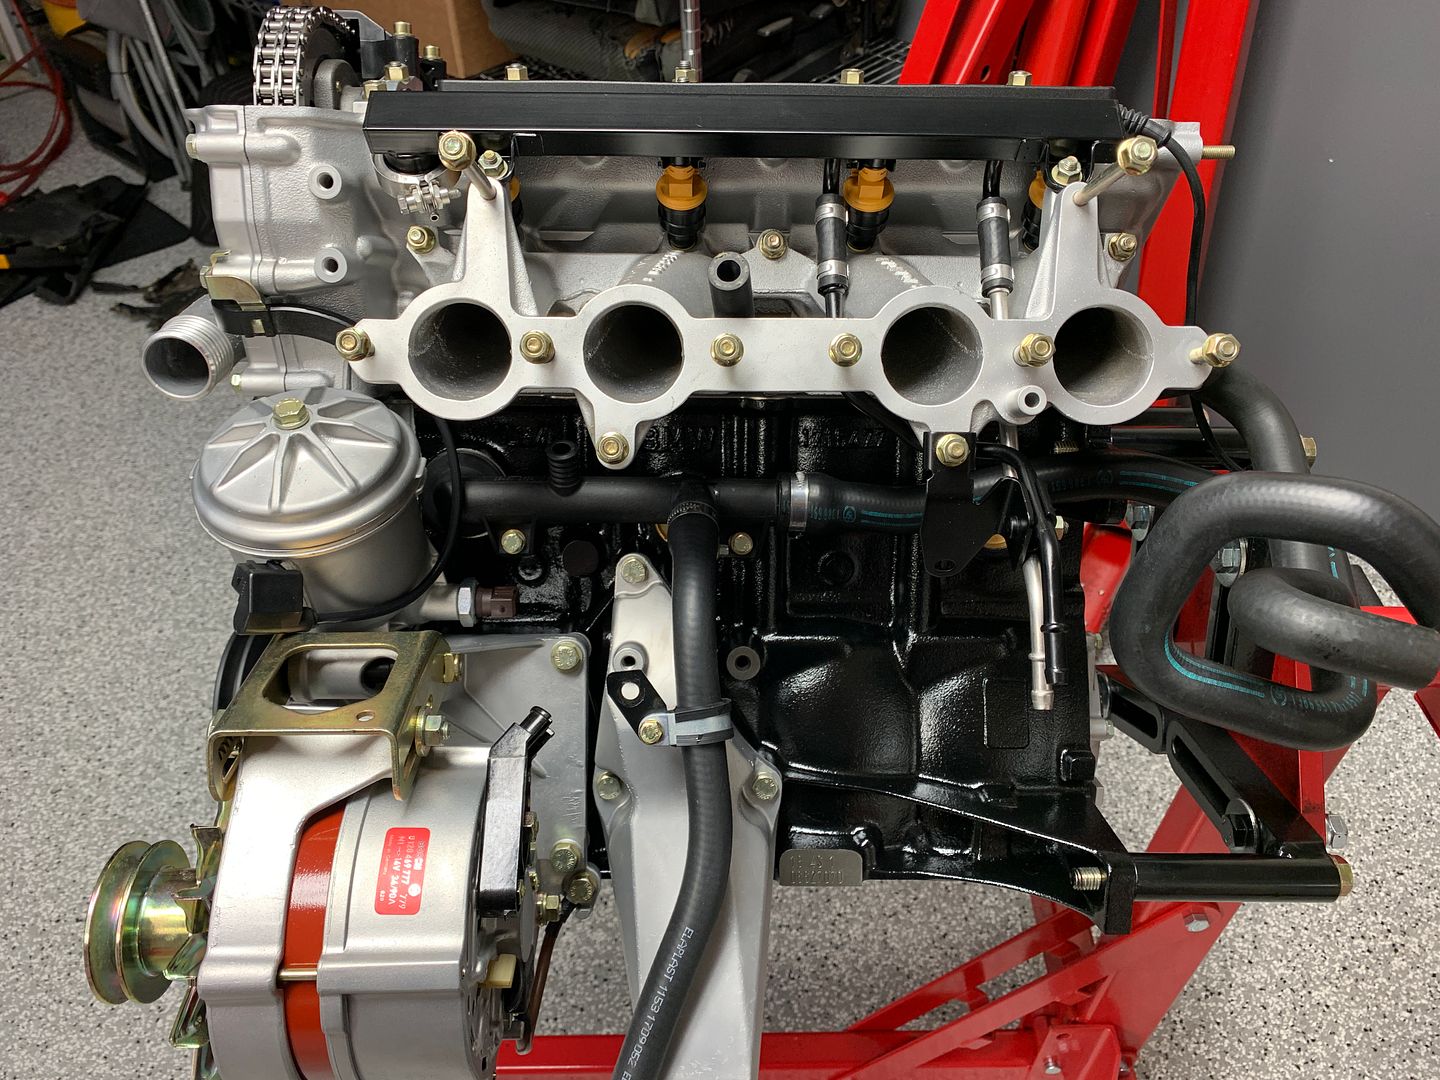
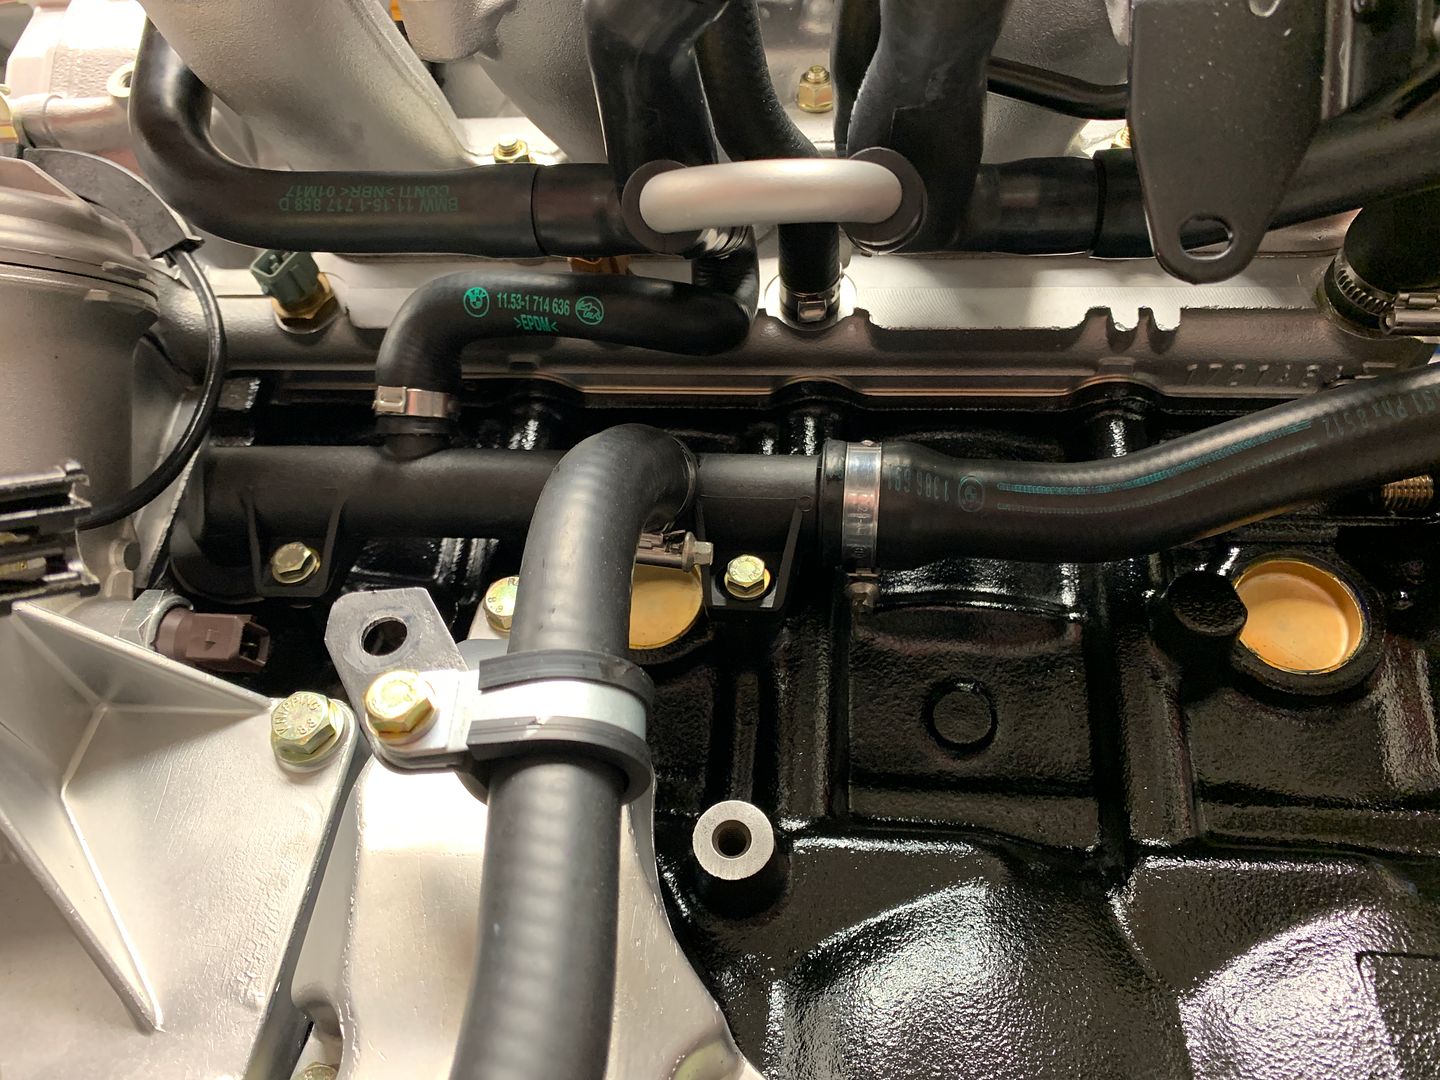
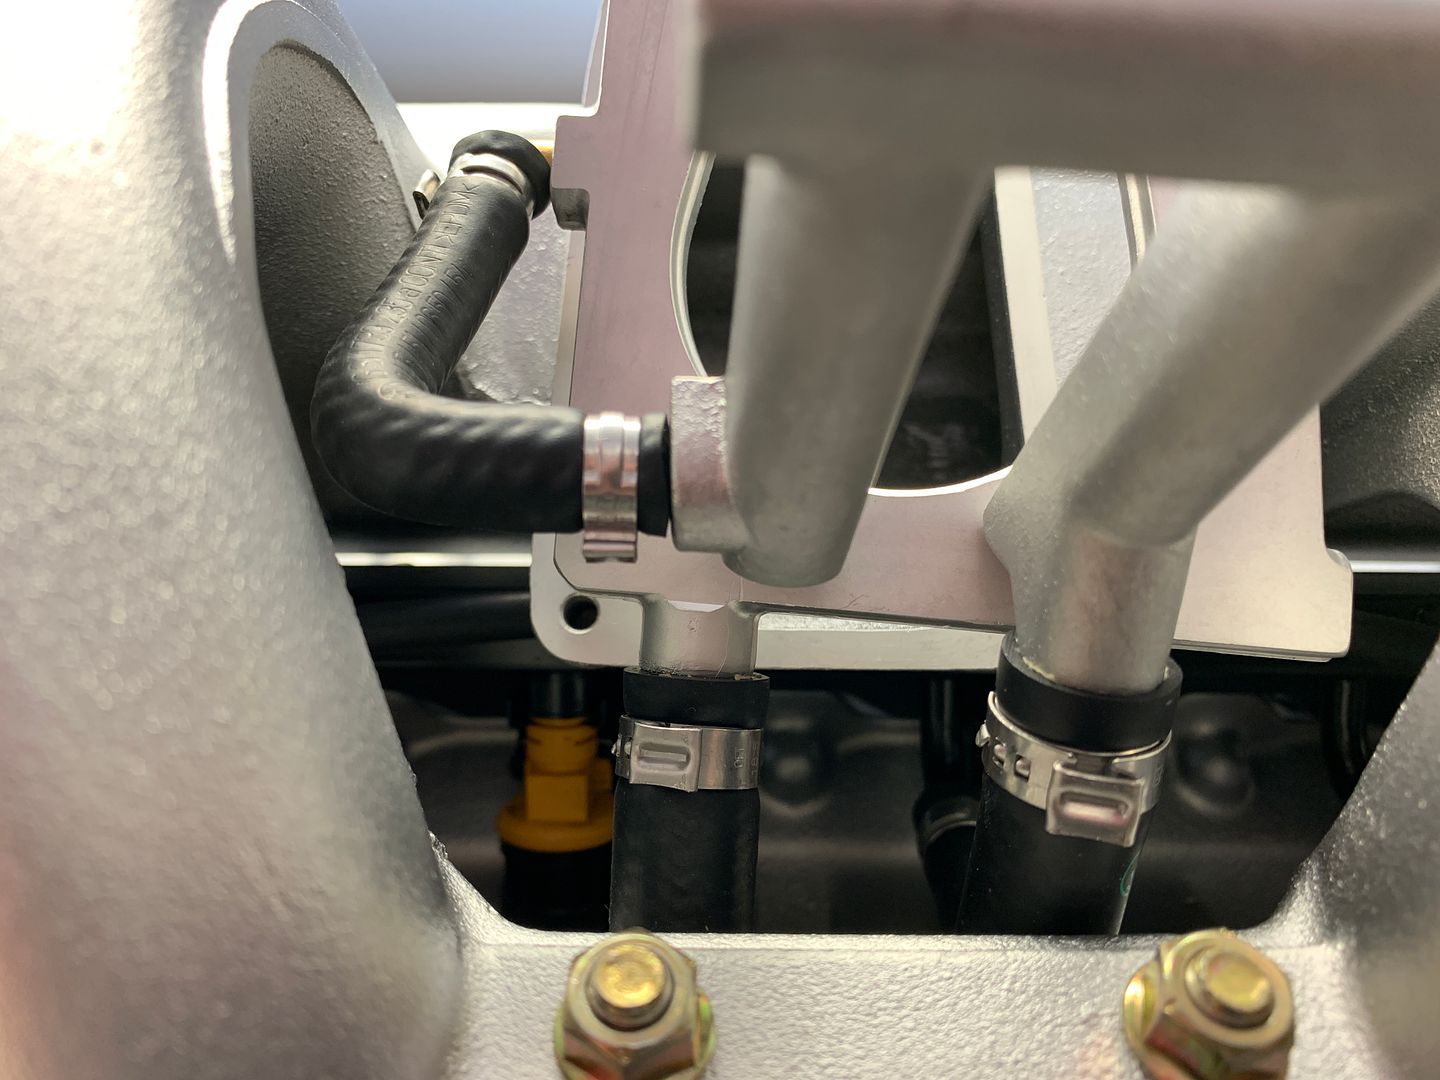
Add some hoses
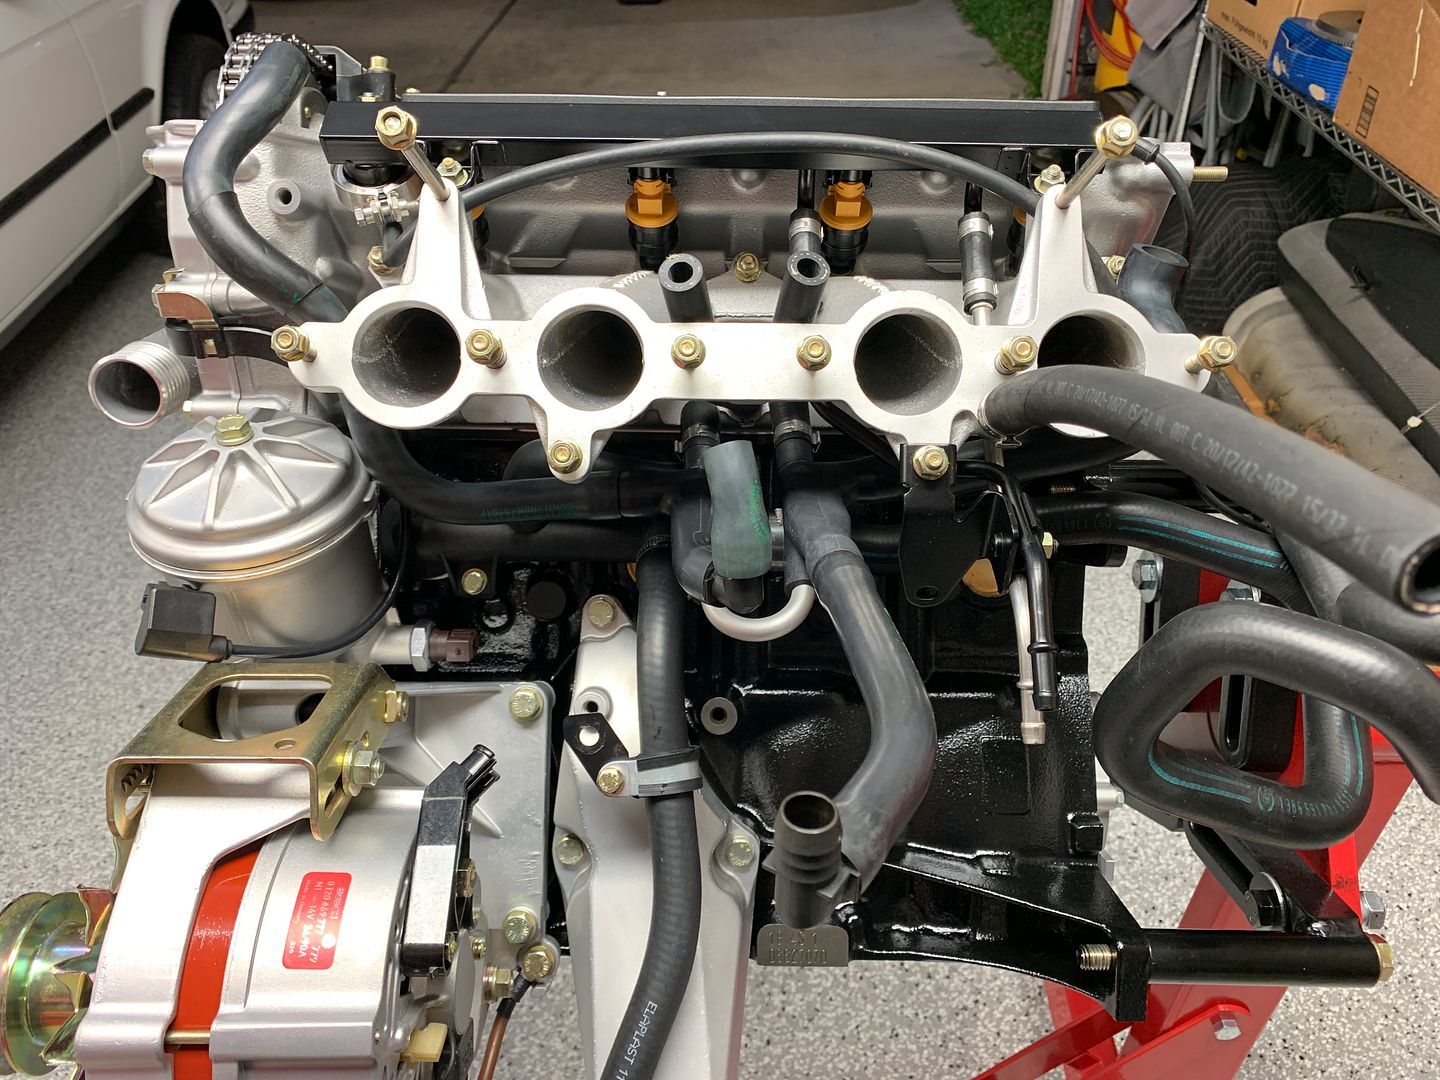
When everything is new and well lit its really not such a mess under the intake. Oetiker clamps used where ever possible.
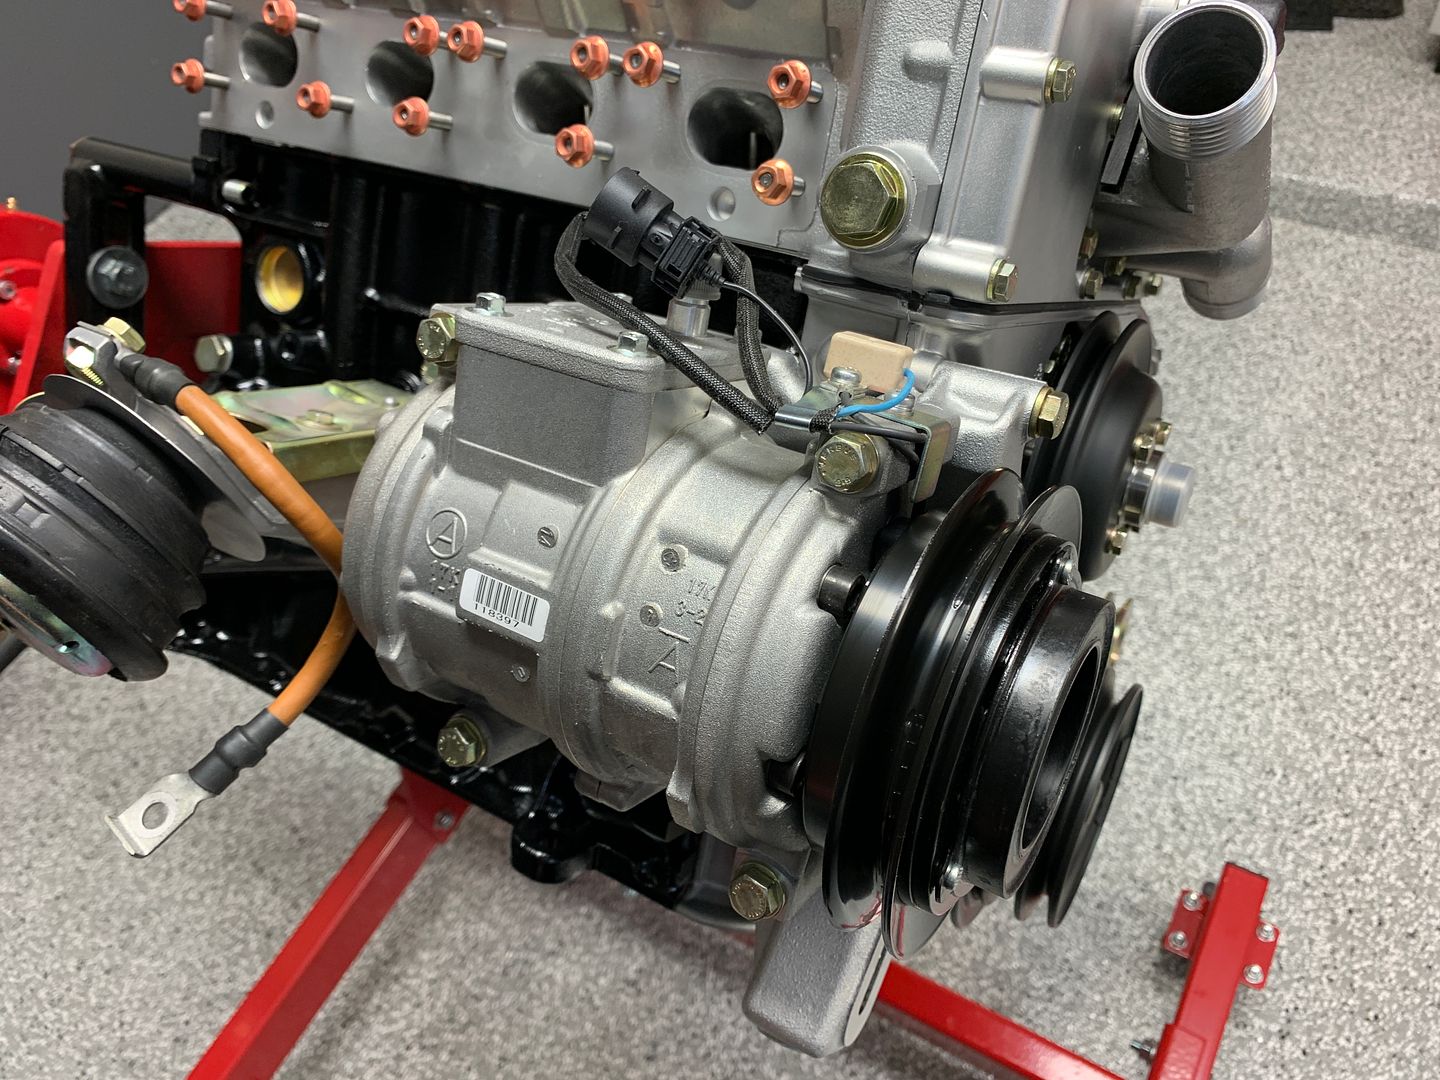
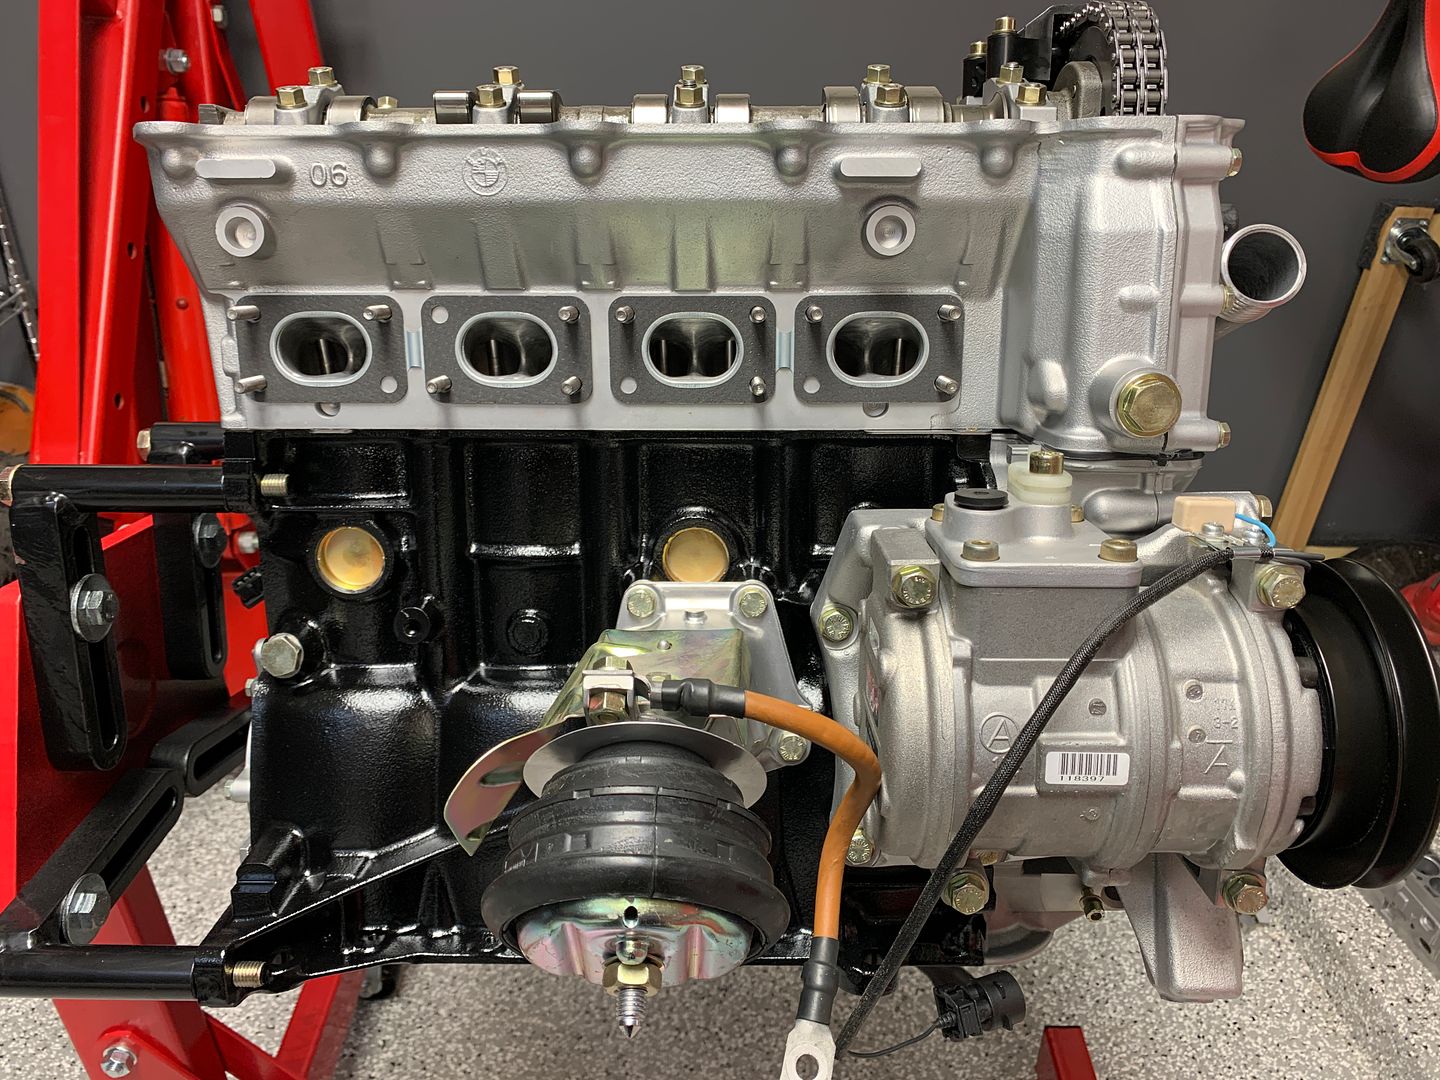
Brand new Nippondenso R134a swashplate compressor, AC should be top notch.
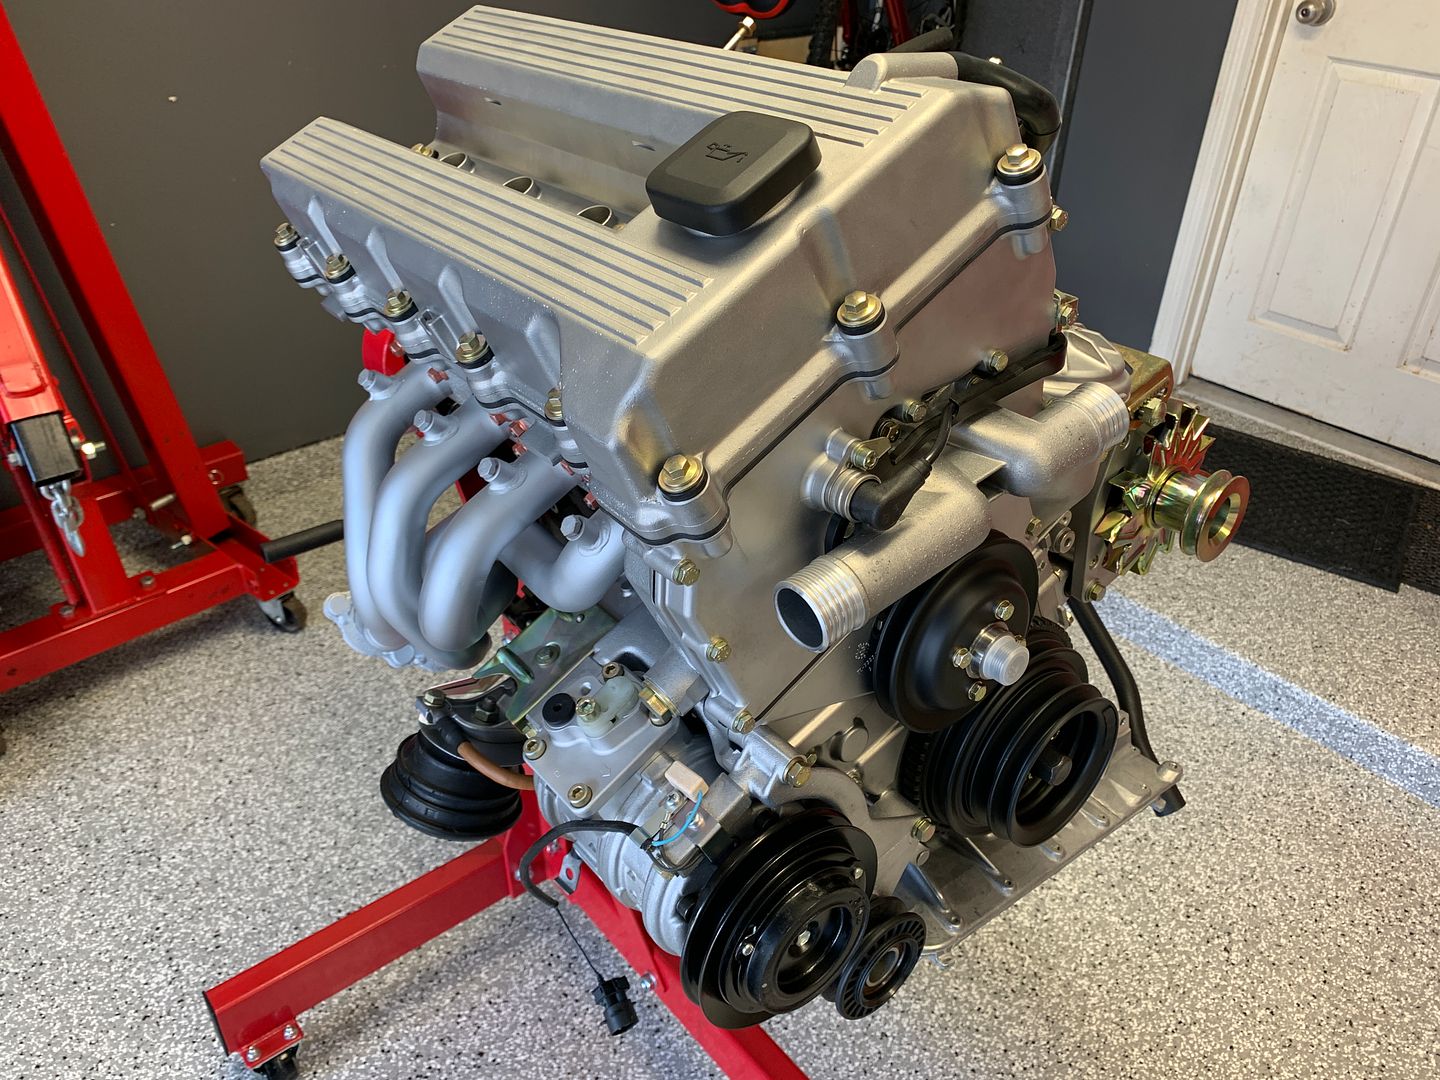
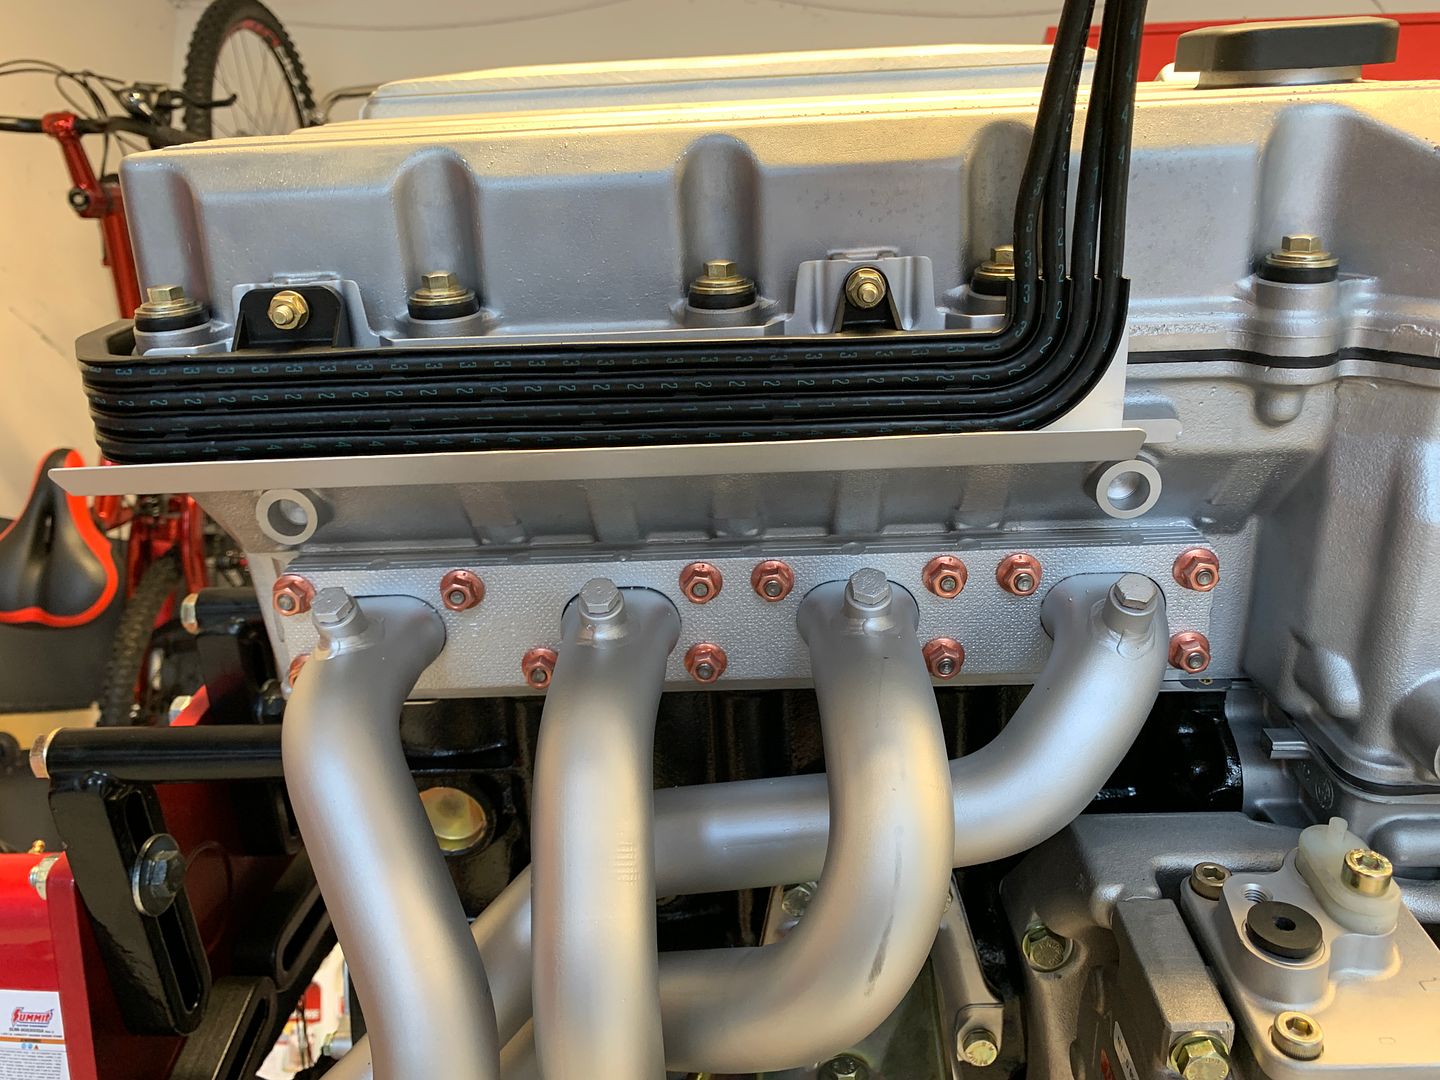
Ready to receive the ceramic coated exhaust manifold
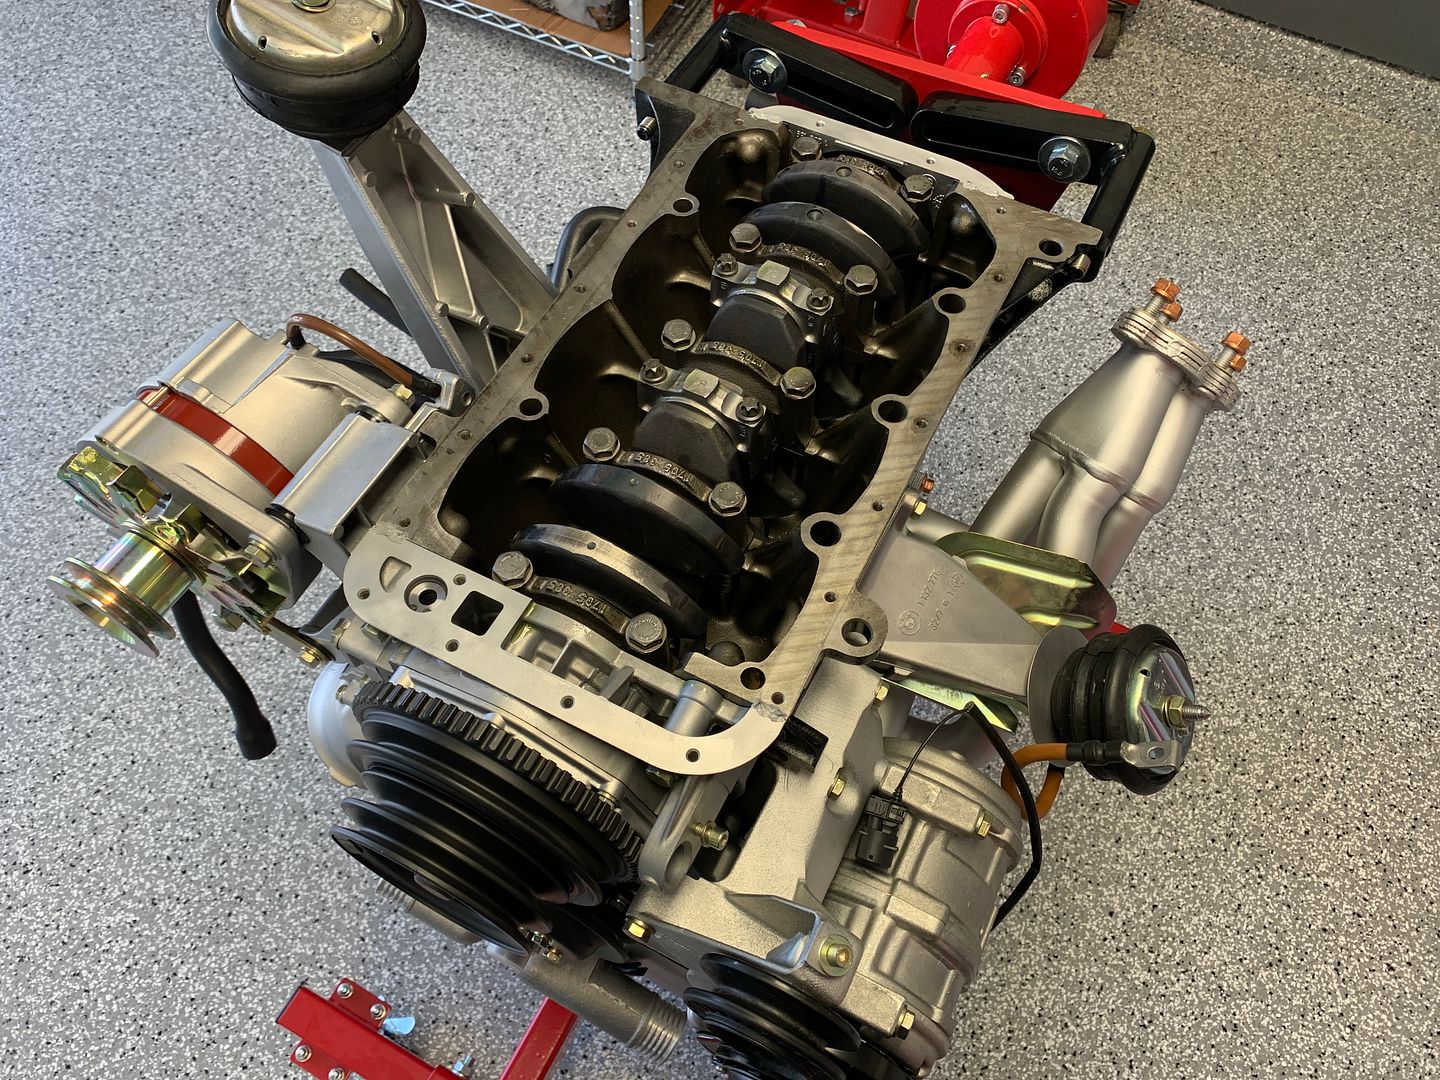
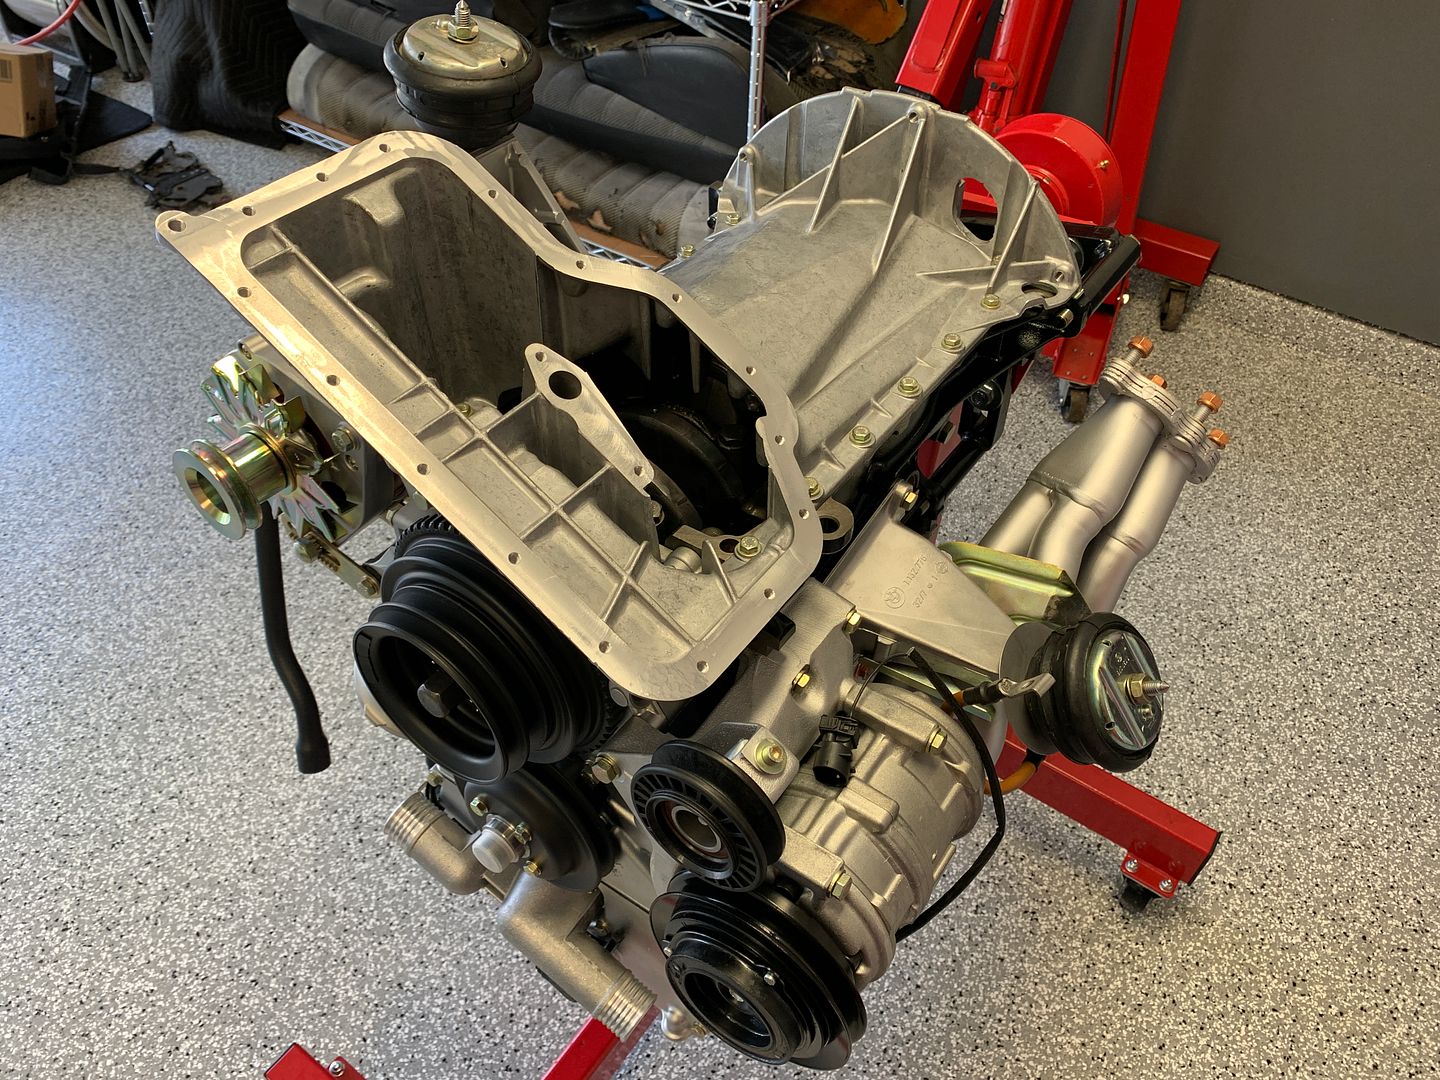
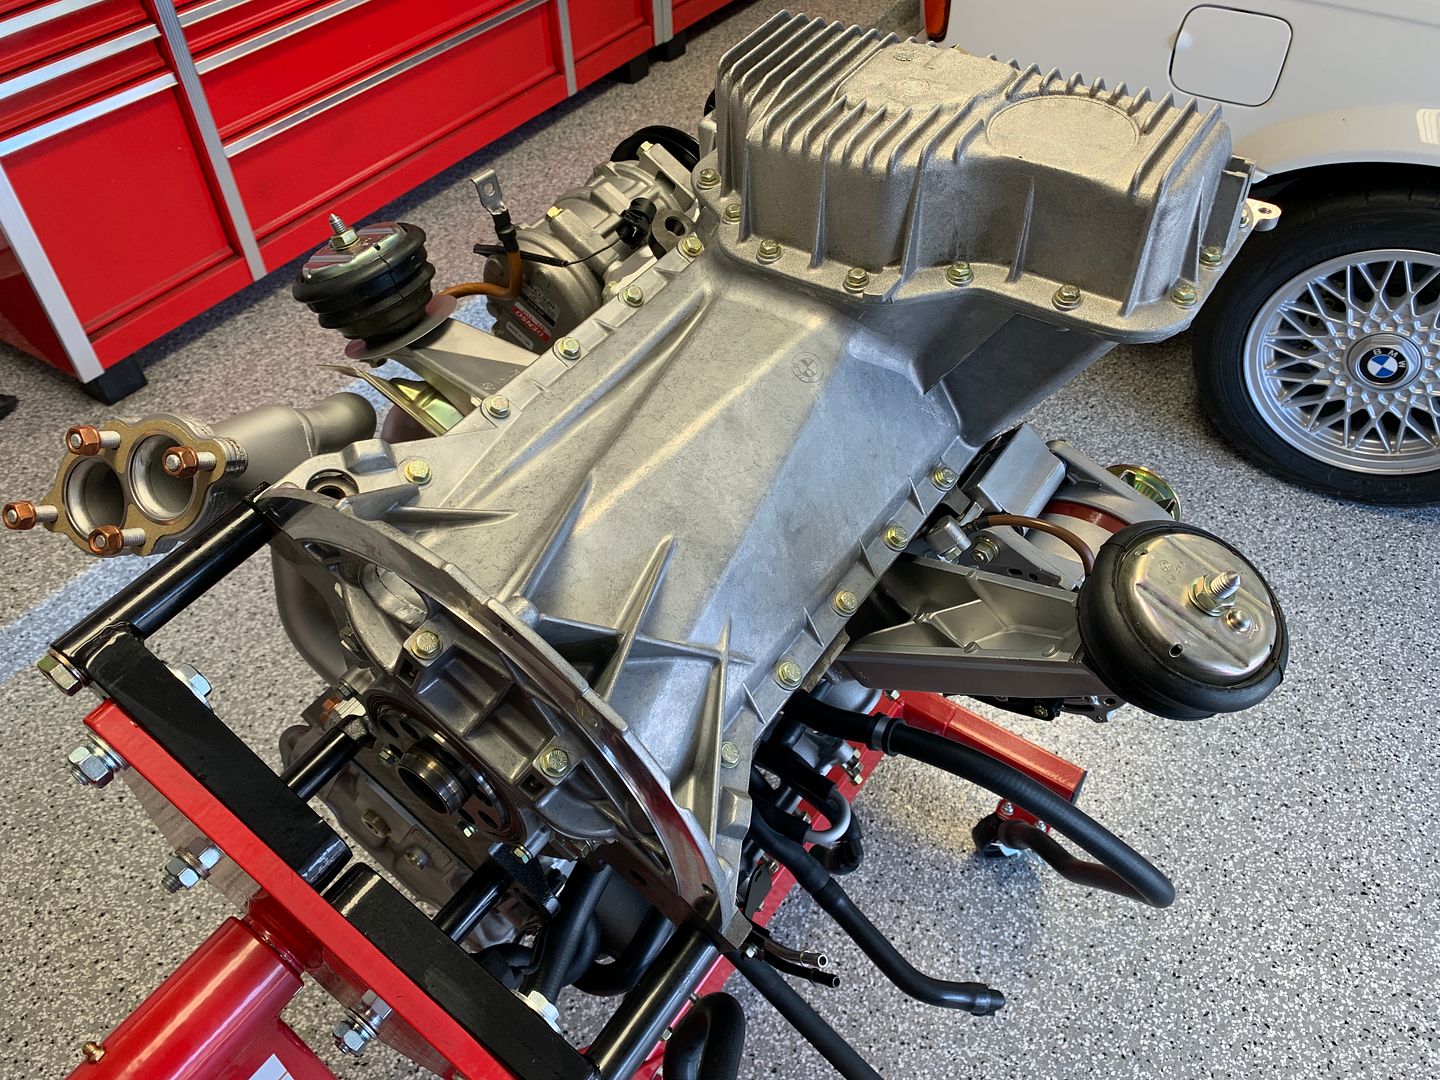
A quick flip upside down to prepare the mating surfaces for the oil pan.
New upper oil pan installed
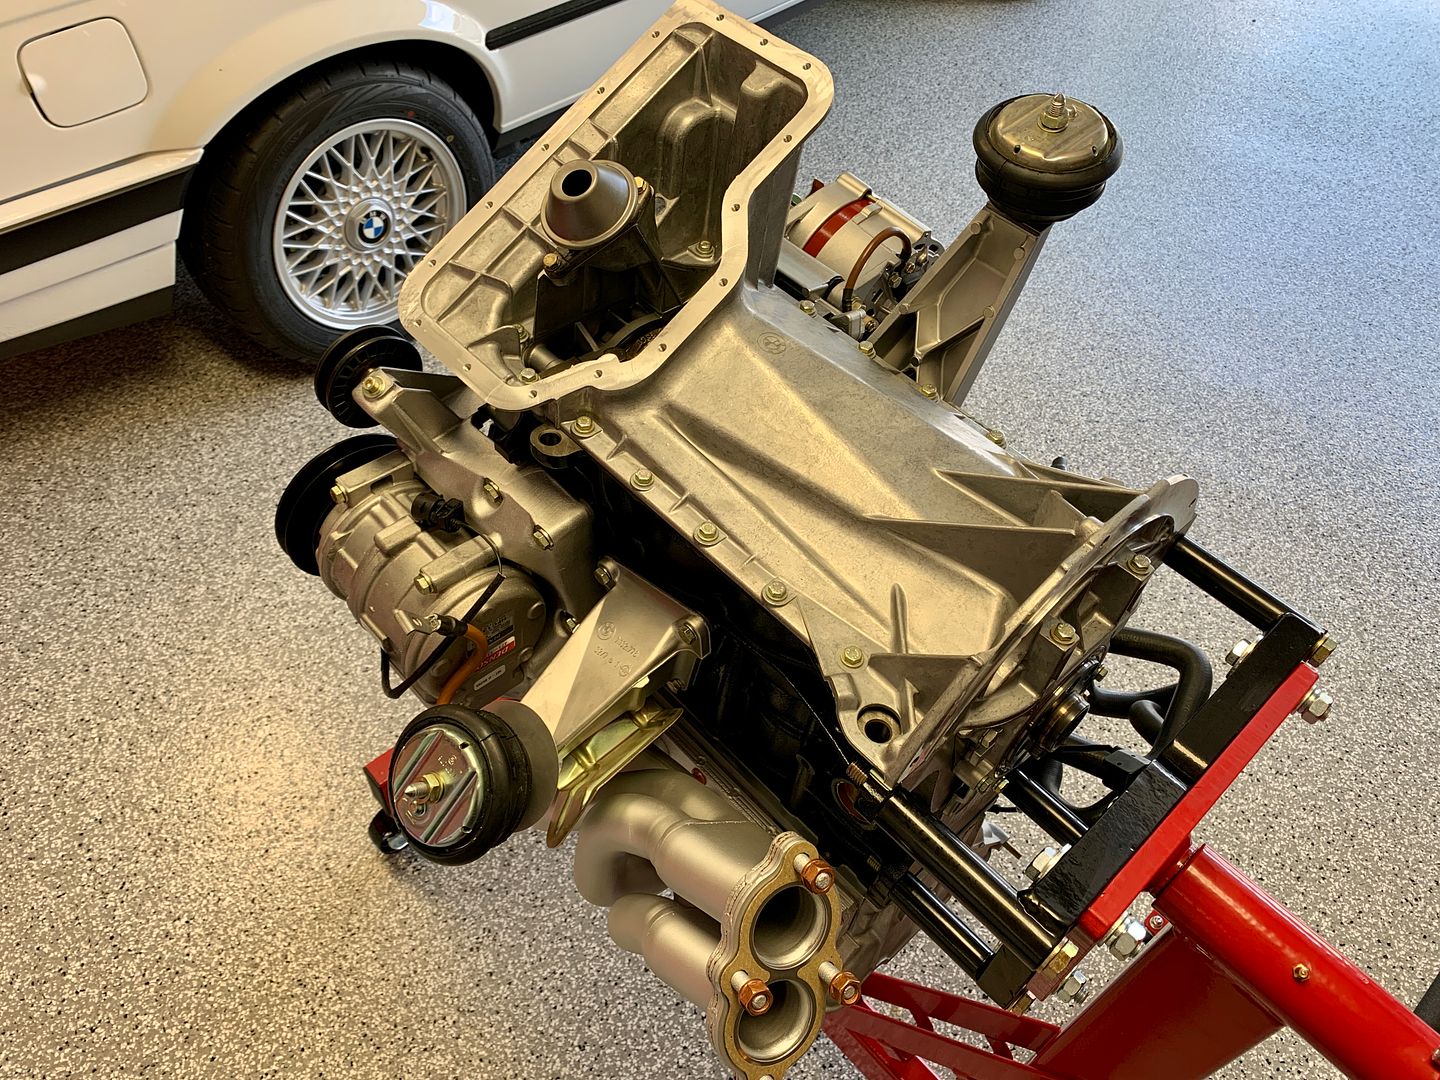
New lower oil pan installed
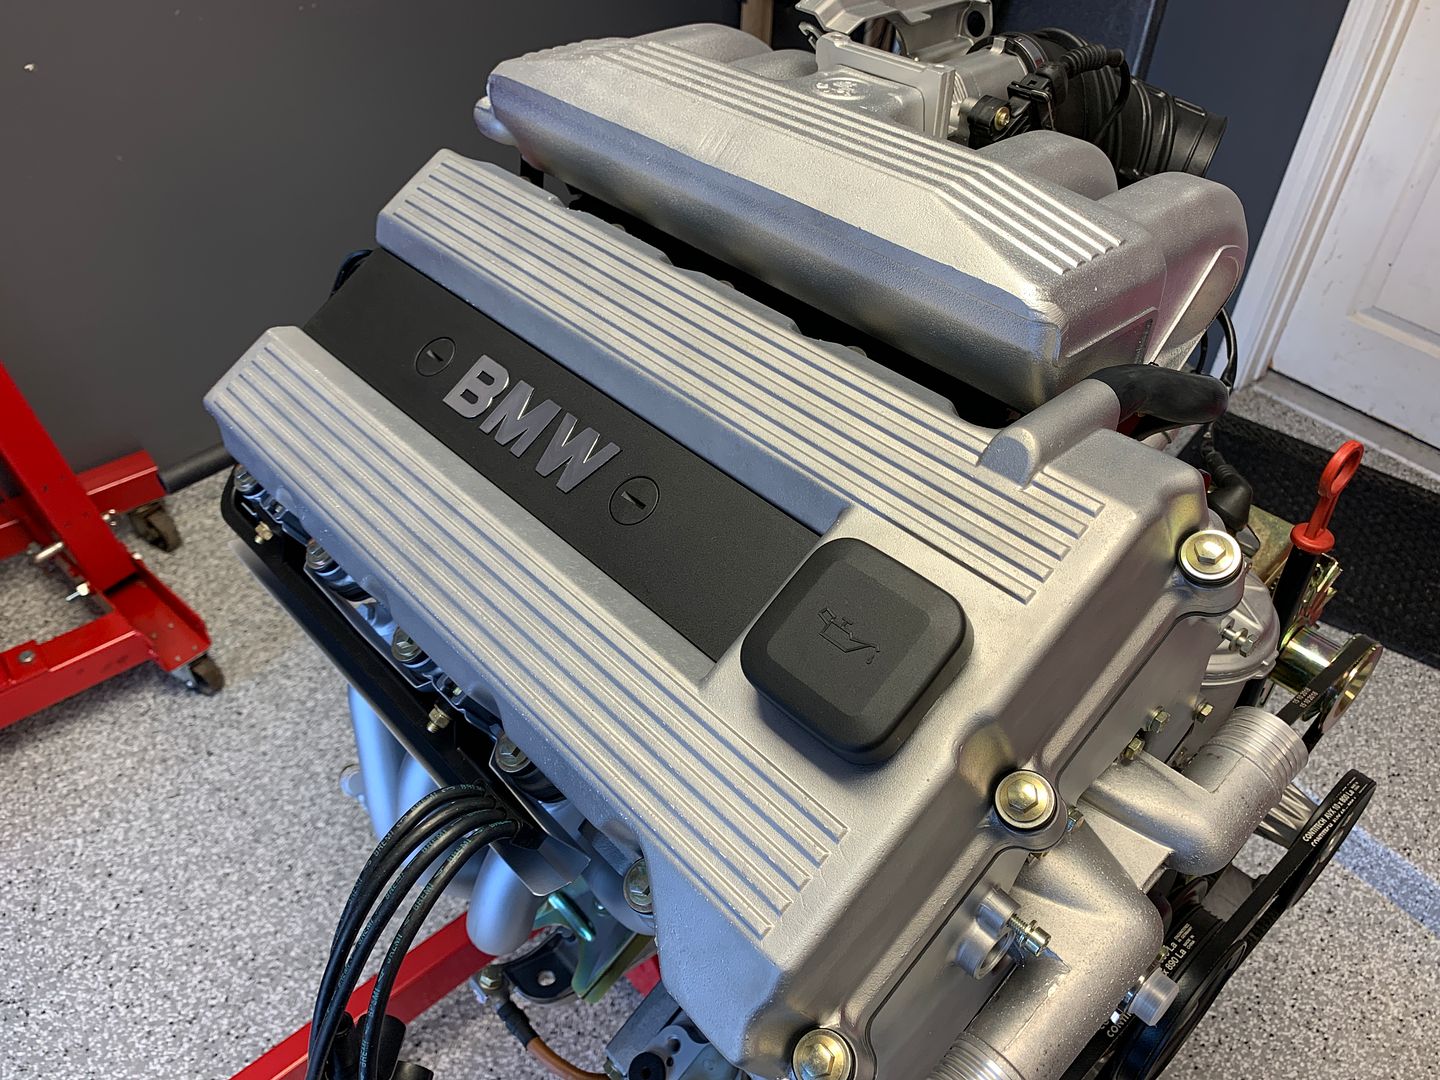
and a valve cover!
Upper intake manifold, dipstick rube
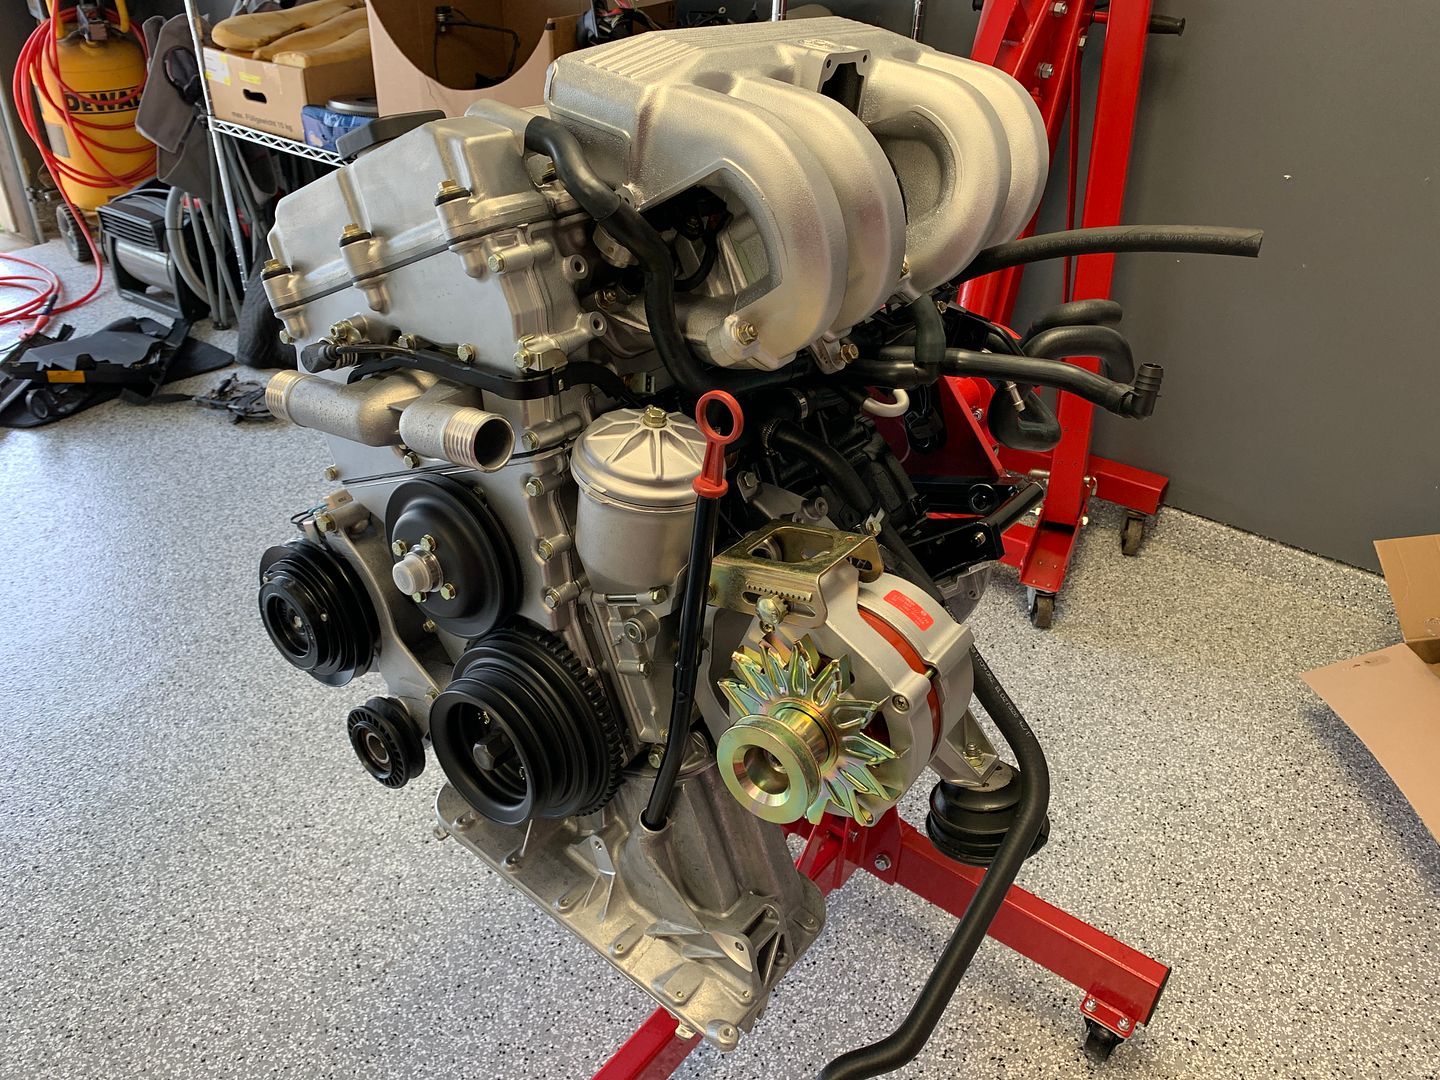
Throttle body heater plates, again with Oetiker clamps to keep it tidy
Throttle body installed
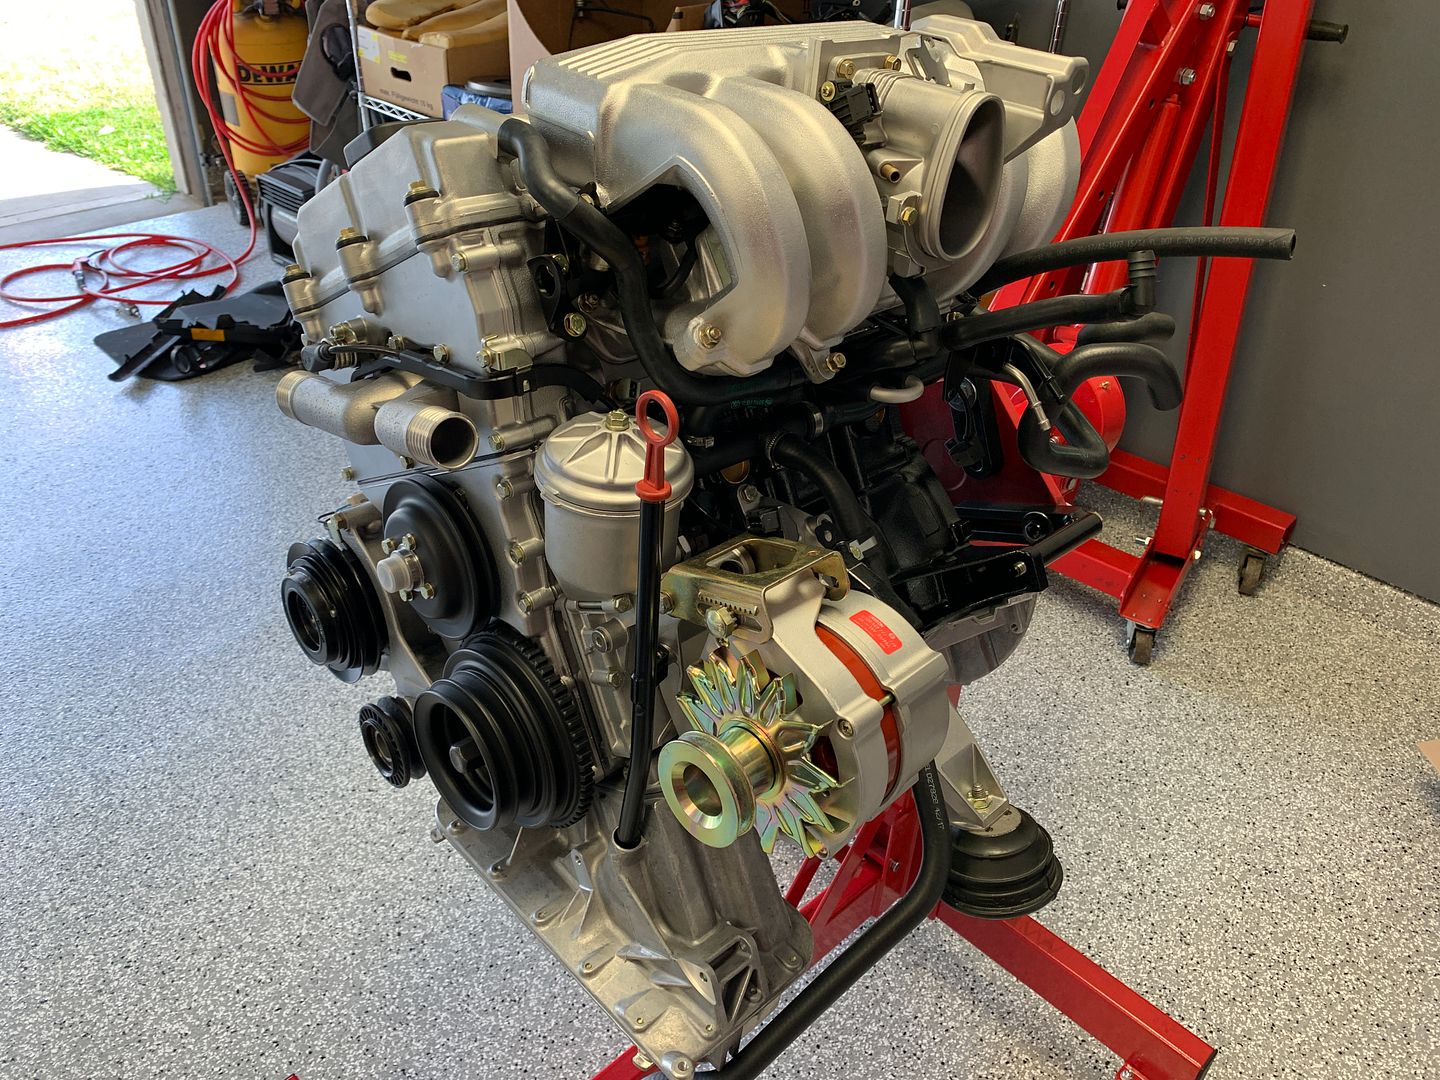
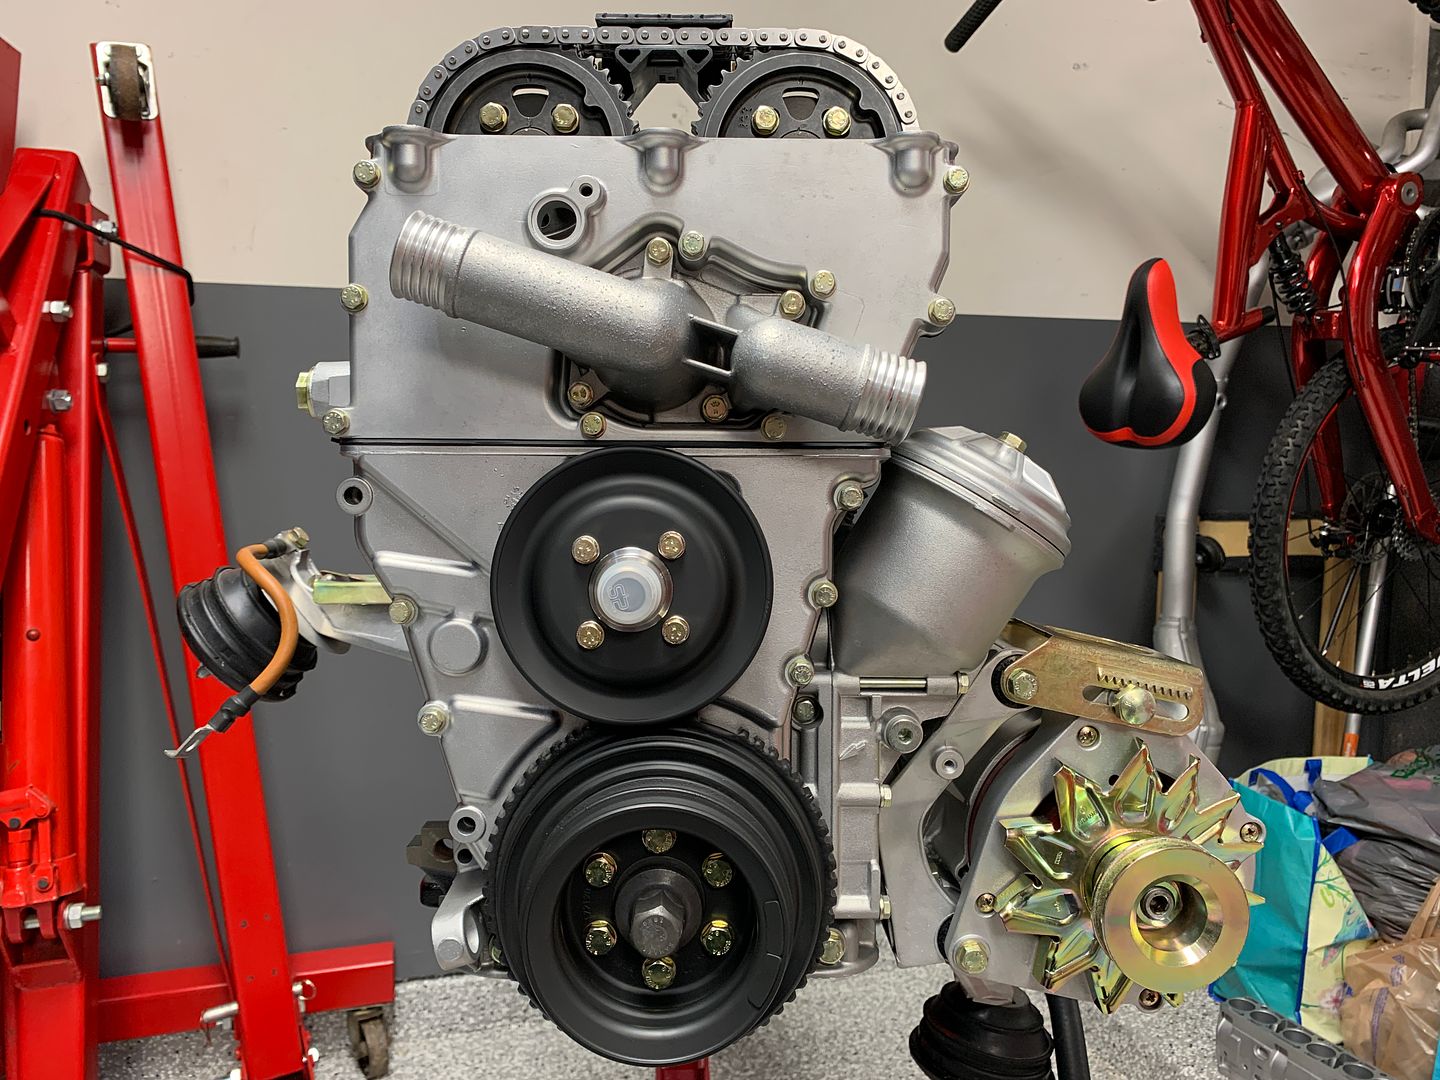
All three drive belts
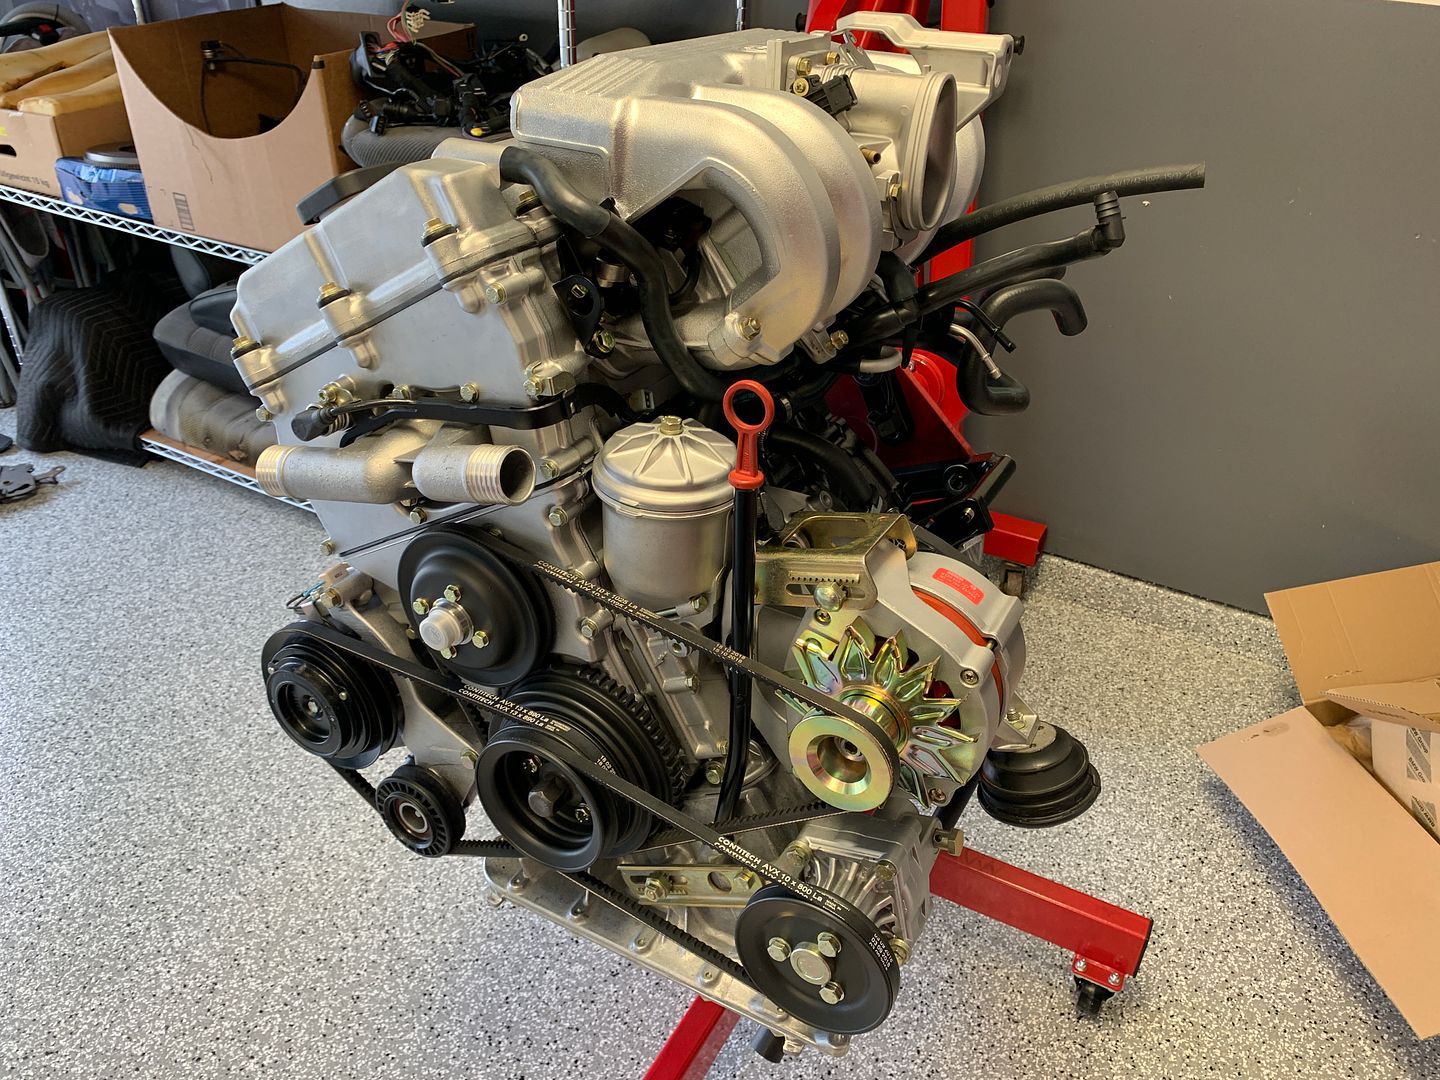
Ignition wires with guide tray, rail and ceramic coated heatshield
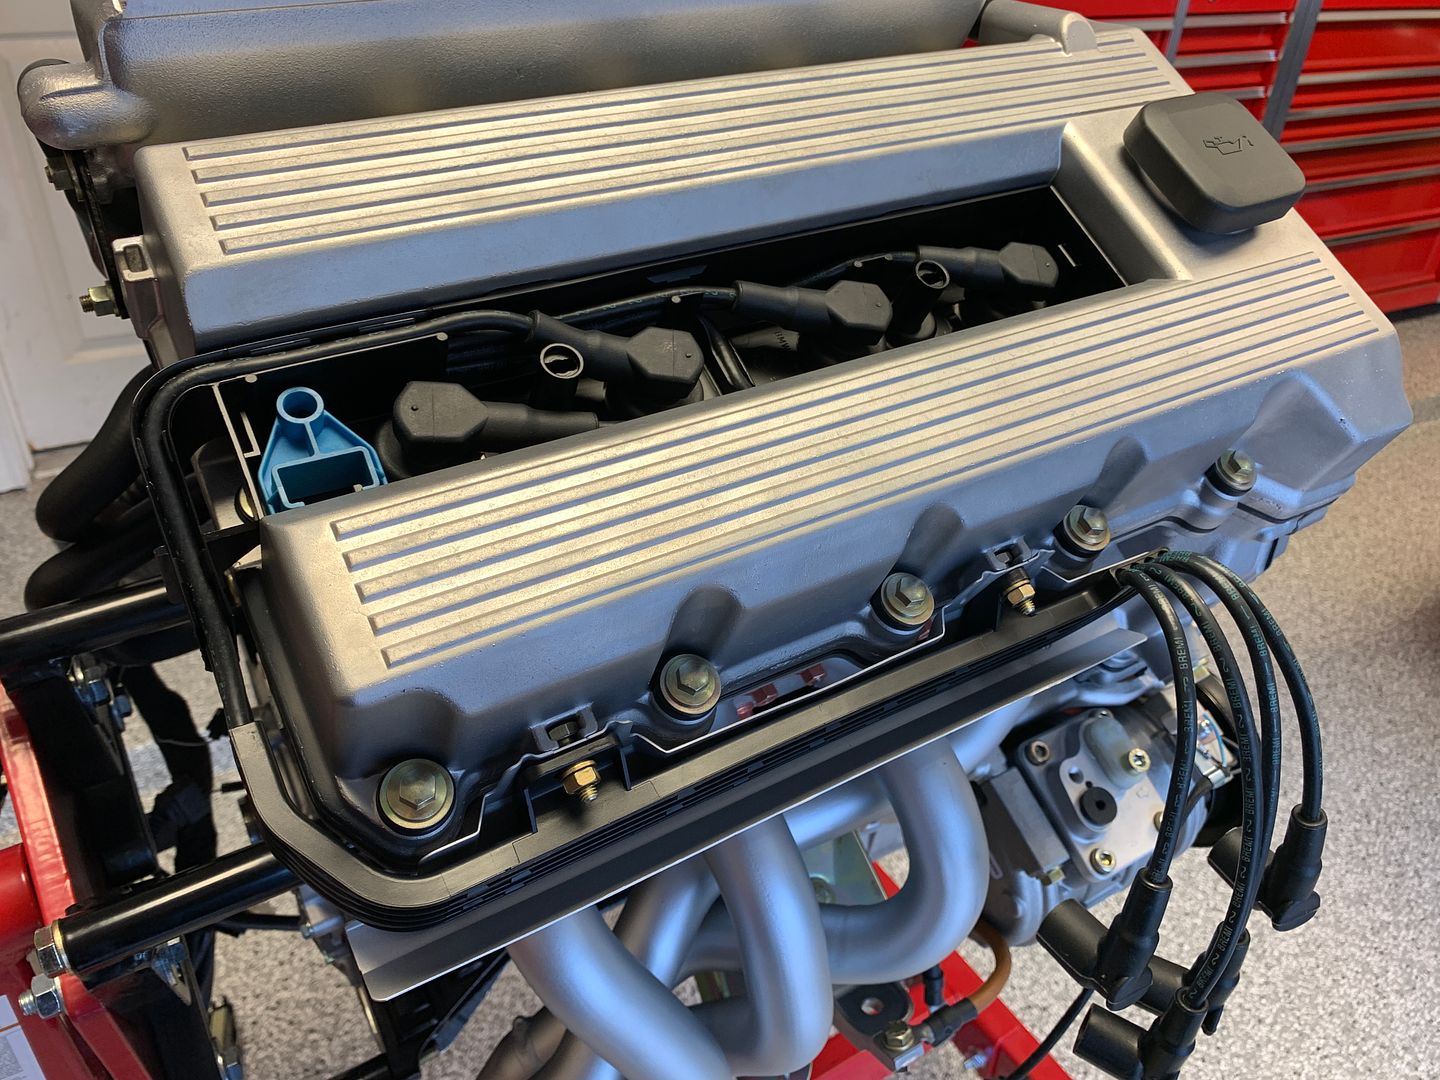
New cover plate

New idle control valve (Barf at the cost of this little shit) and VIN tag.

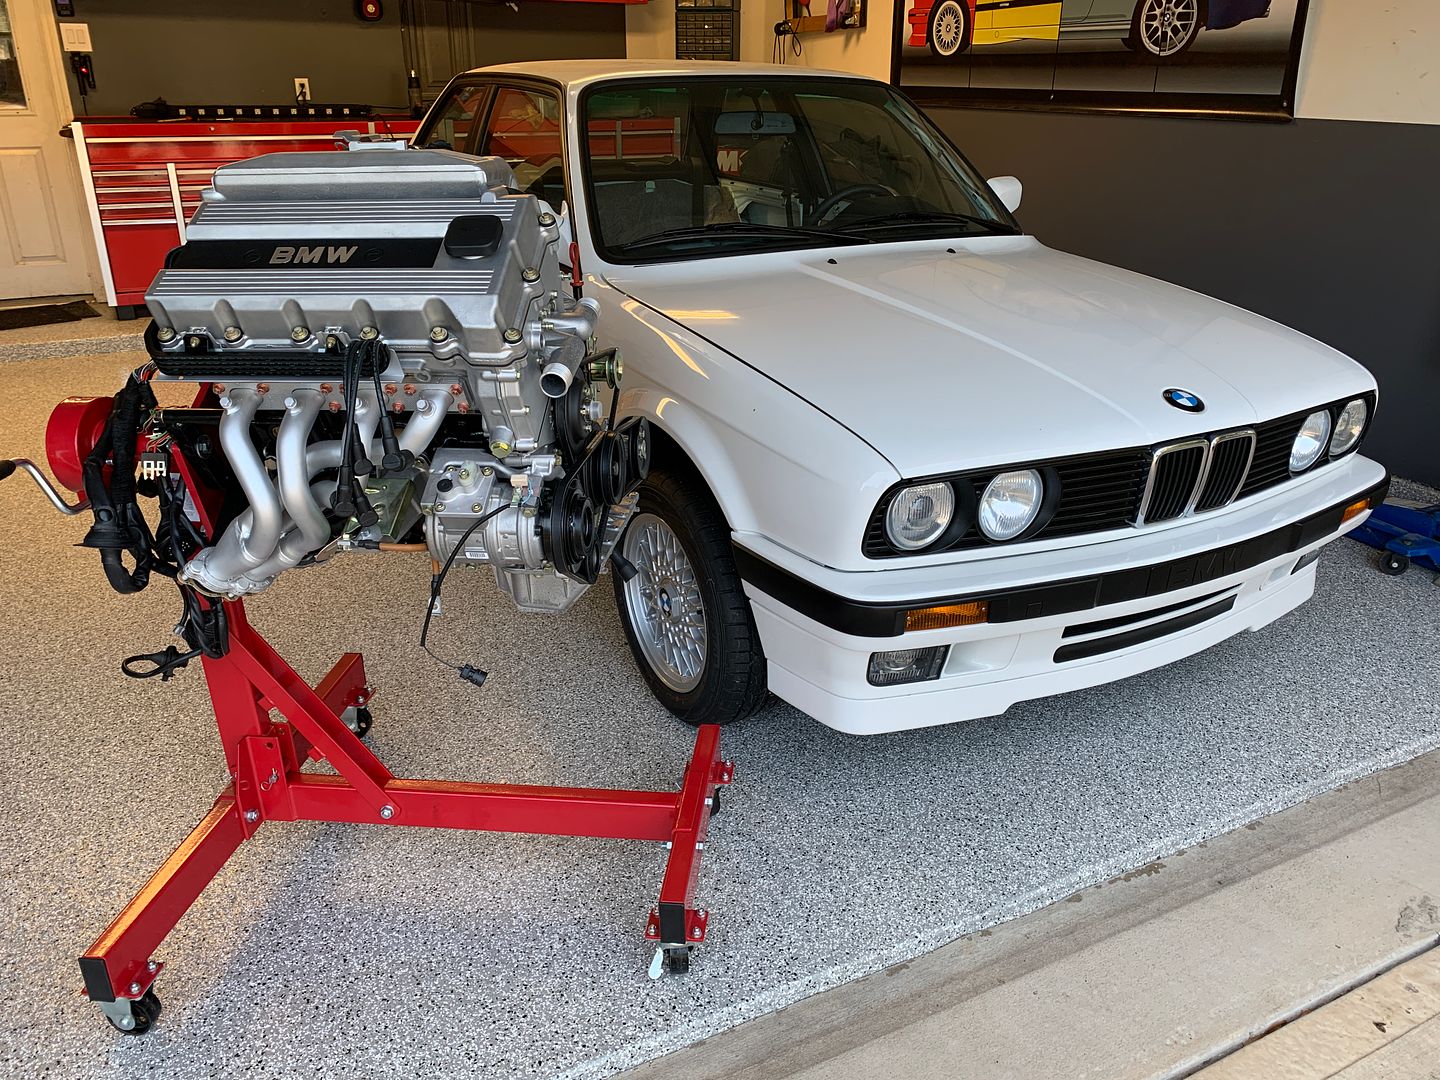
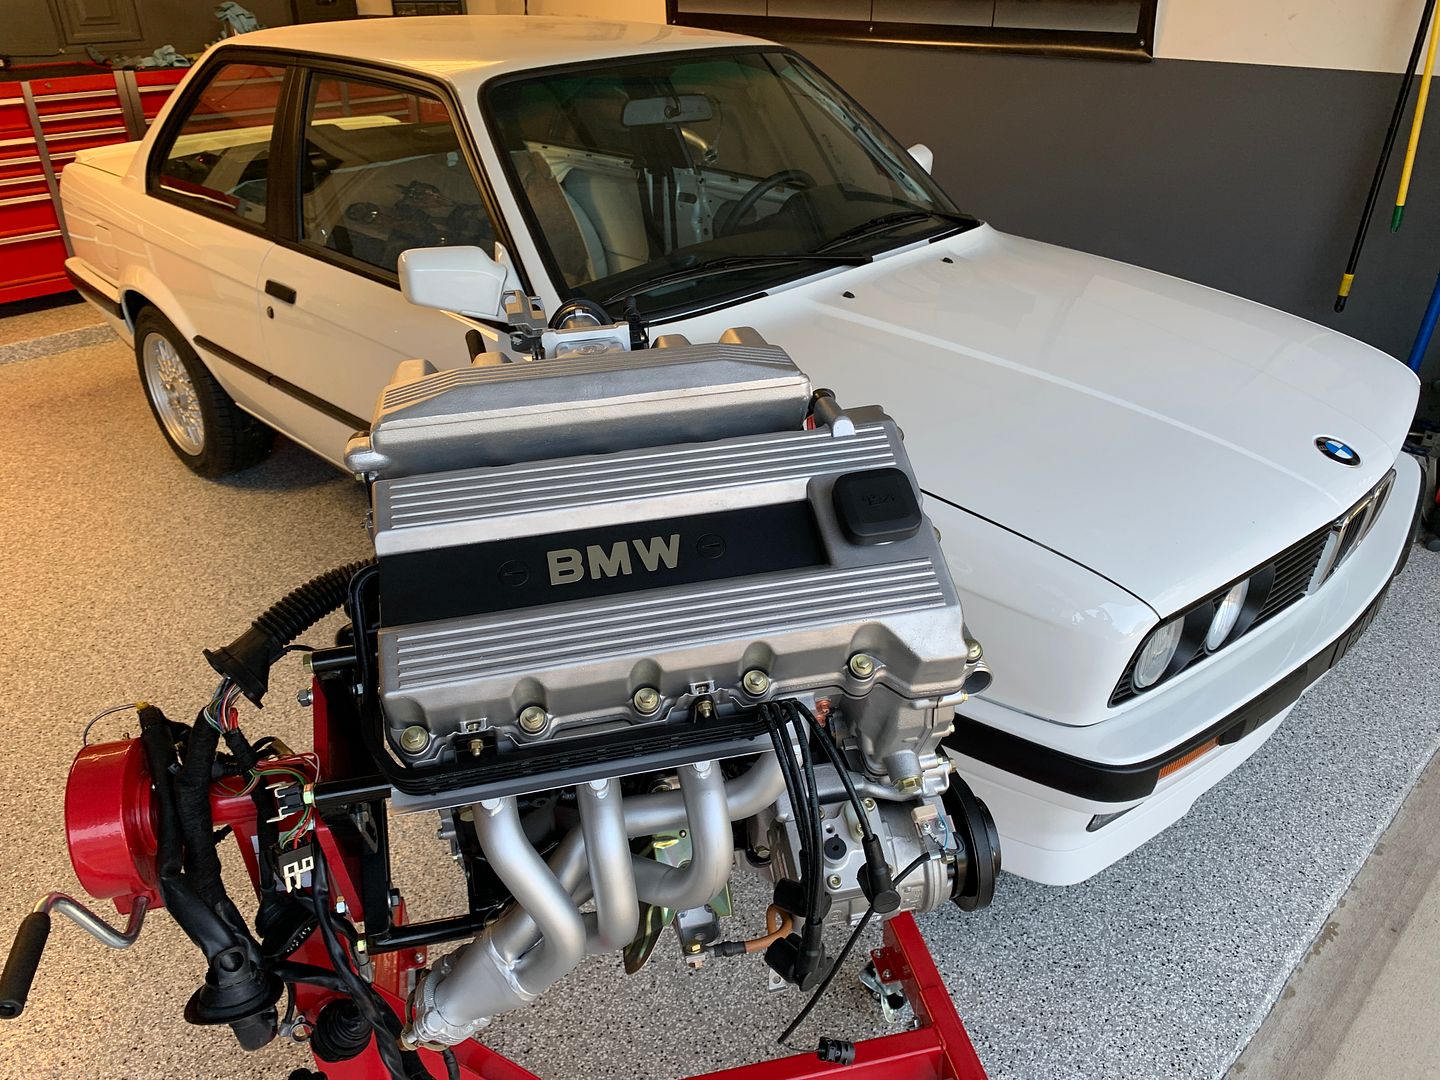
Awaiting a few more small items to arrive from the dealer tomorrow, as of now its essentially ready to drop in the car. Tomorrow is the big day.
 Tenured Automotive Service Professional - Avid BMW Enthusiast
Vapor Honing & E30 ABS Pump Refurbishment Service
https://mtechniqueabs.com/Comment
-
Beast mode unlocked. Drool-worthy work as usual.Comment
-
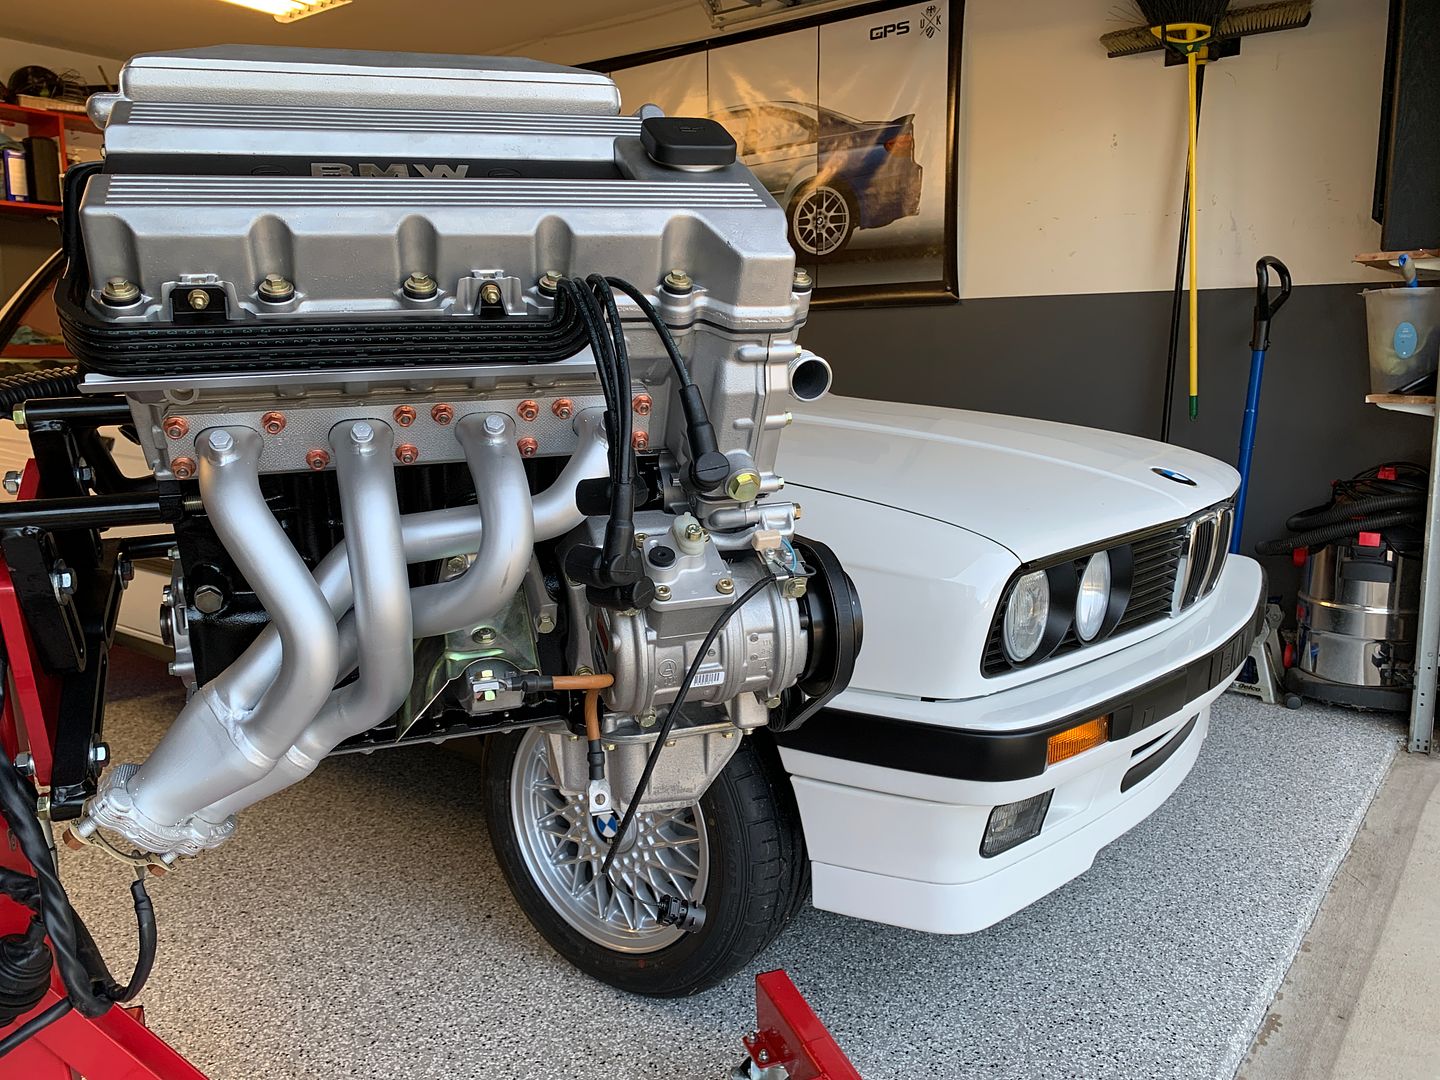
I suppose it's not possible to get some brochure spec photos of it? They are beautiful engines once clean like that.
Comment
-
If there is something in particular you want to see by all means let me know, happy to take more pictures.Tenured Automotive Service Professional - Avid BMW Enthusiast
Vapor Honing & E30 ABS Pump Refurbishment Service
https://mtechniqueabs.com/Comment
-
I’ll be the one to say it.. The cyl 2 header is killing me!
Sucks when things like that happen, but unavoidable sometimes. But that is one beautiful engine for a beautiful car! Almost too good to even run it! You should sell it to the BMW museum in Munich.. Probably better than what they have! Zero minute, zero mile car!
I’d love to see it in person next time I drive out from Austin!"In God we trust. All others must bring data." -W. E. Deming
/// 1987 325is /// Project Thread
Past: 87 is, 88ix, 88 i, 87 ic, 89 ix, 17 others.Comment
-
Yeah, that scuff on the cylinder #2 runner is unfortunate. I had the exhaust stood up in a corner of the garage with that runner touching the drywall and it left the mark. After taking the photo I noted it looks much worse in pictures than it does to the eye but took some 0000 steel wool and buffed the spot, reducing the appearance easily 50% or better. That is fine enough as I'm not waiting weeks for it to be recoated, and once installed you cannot see that spot.
Lots of progress today, and my back is reminding me I'm becoming an old man...
I had a difficult time finding a clear photo that showed the proper routing of the crankshaft and camshaft sensors, so after I got them figured out I took one. Both sensors new Genuine BMW,
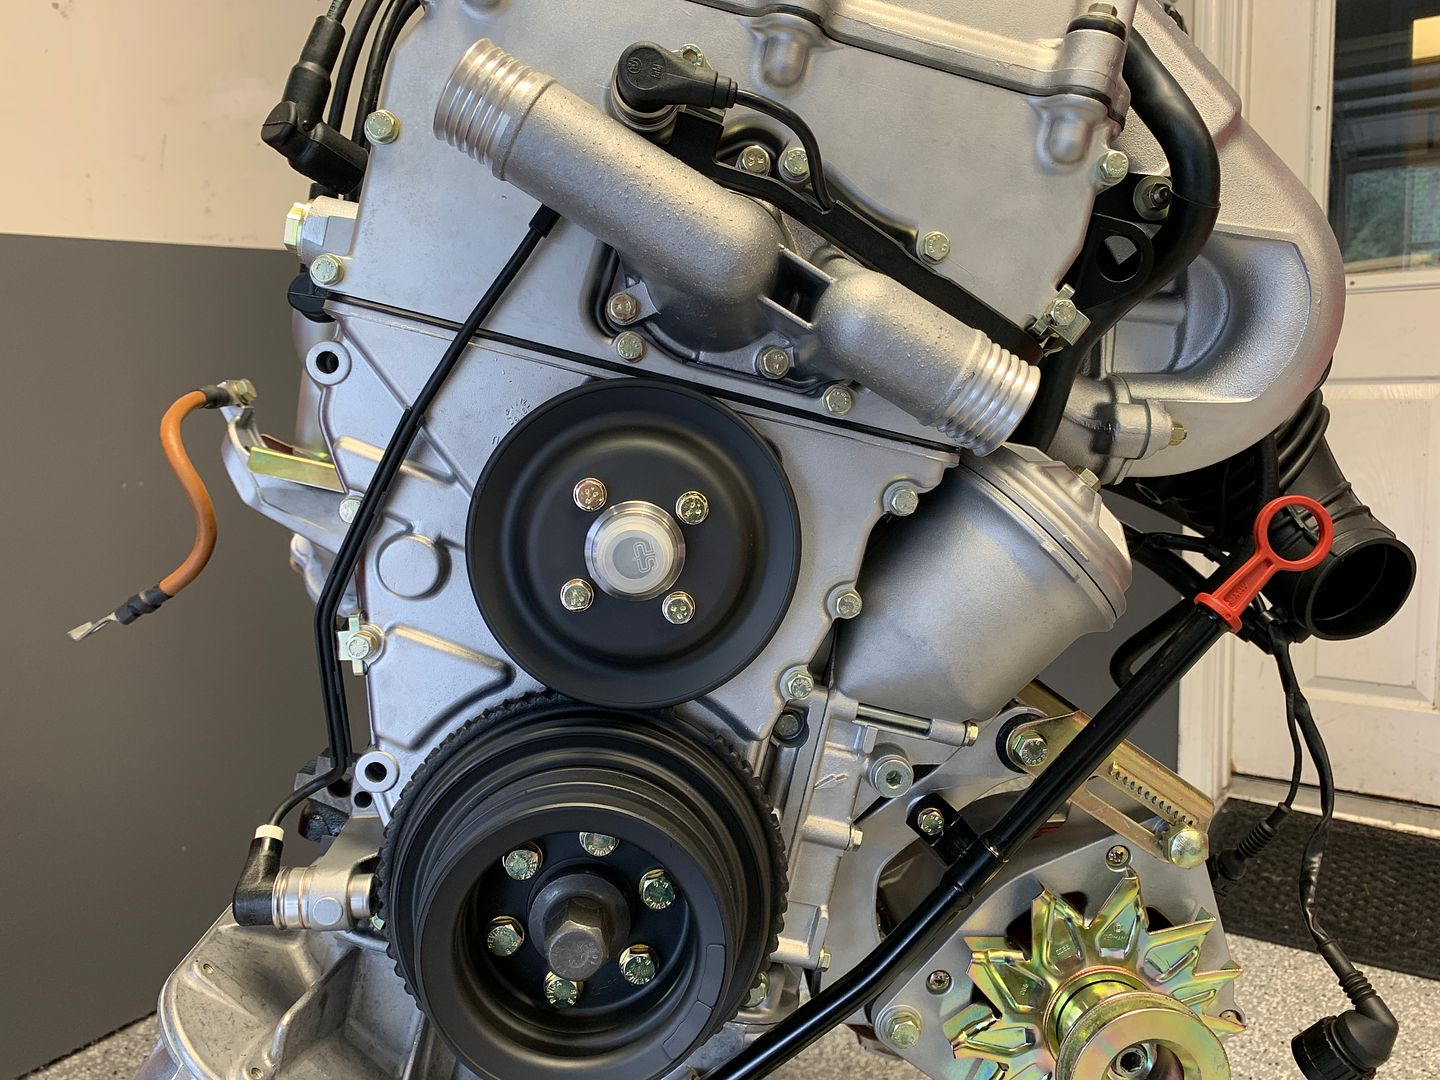
Swapped out the 3x Worldpac Conti belts (because they said Made in China on them) for 3x Genuine BMW belts. Two are Contis (Made in Germany) one is an optibelt, which is also Made in Germany. I've not seen that brand state side before, but as said its Genuine BMW and well its on there now.

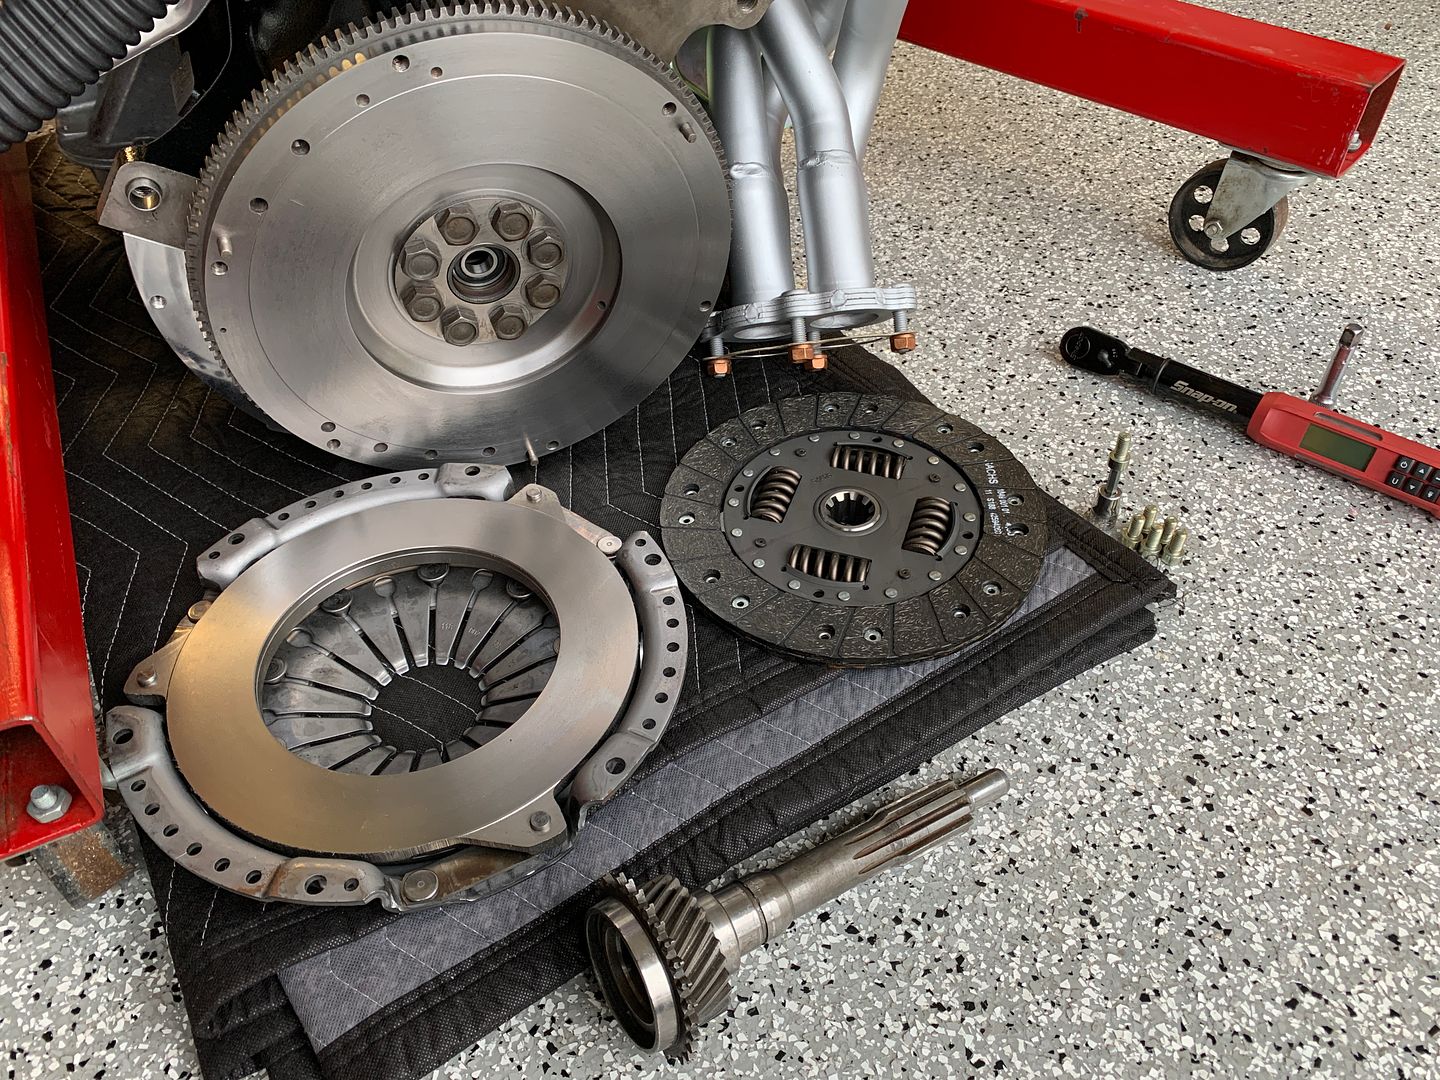
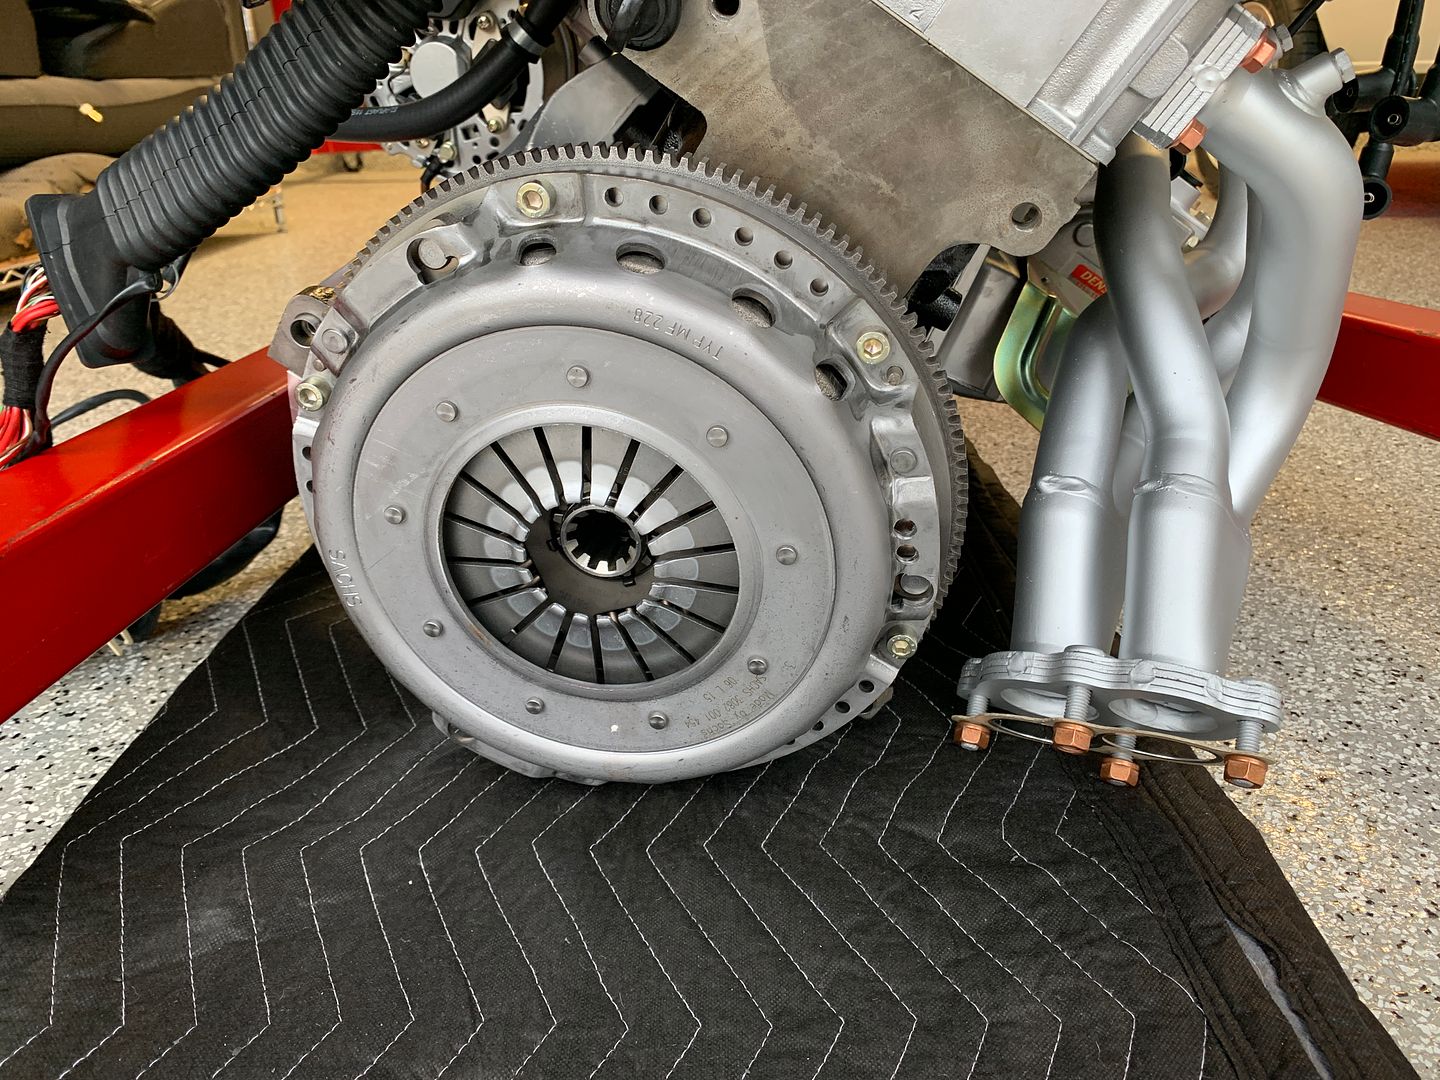
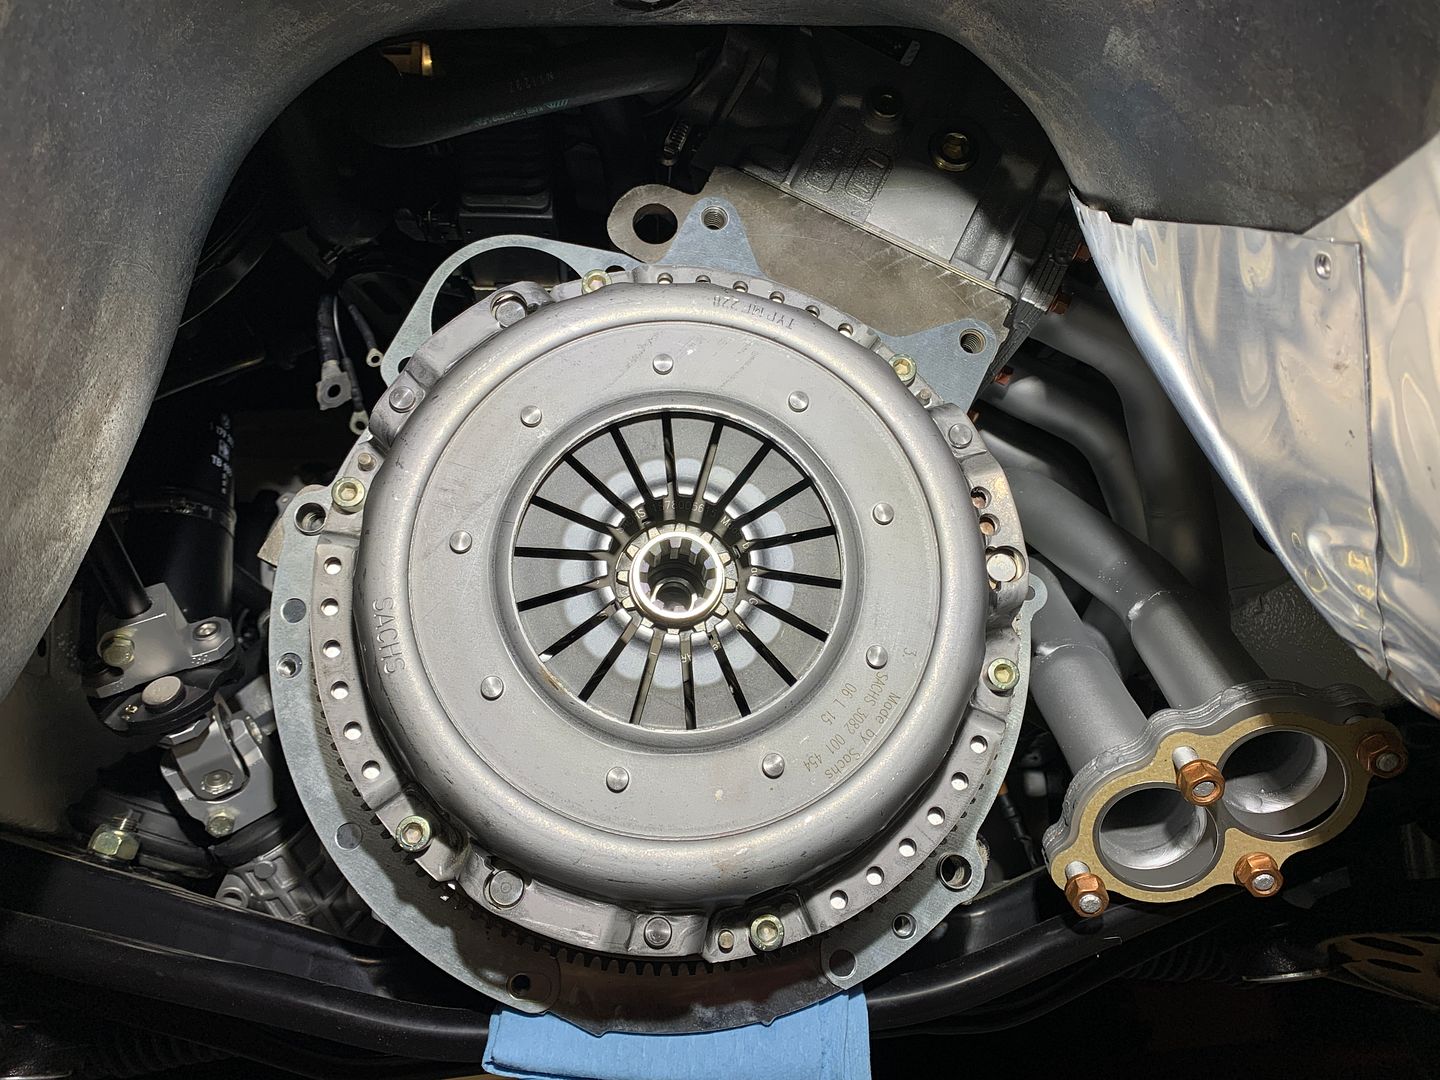
Lightened M20b25 single mass flywheel with 8 bolts loctited and ready to go in and be torqued to spec. Also installed a new pilot bearing at this time.
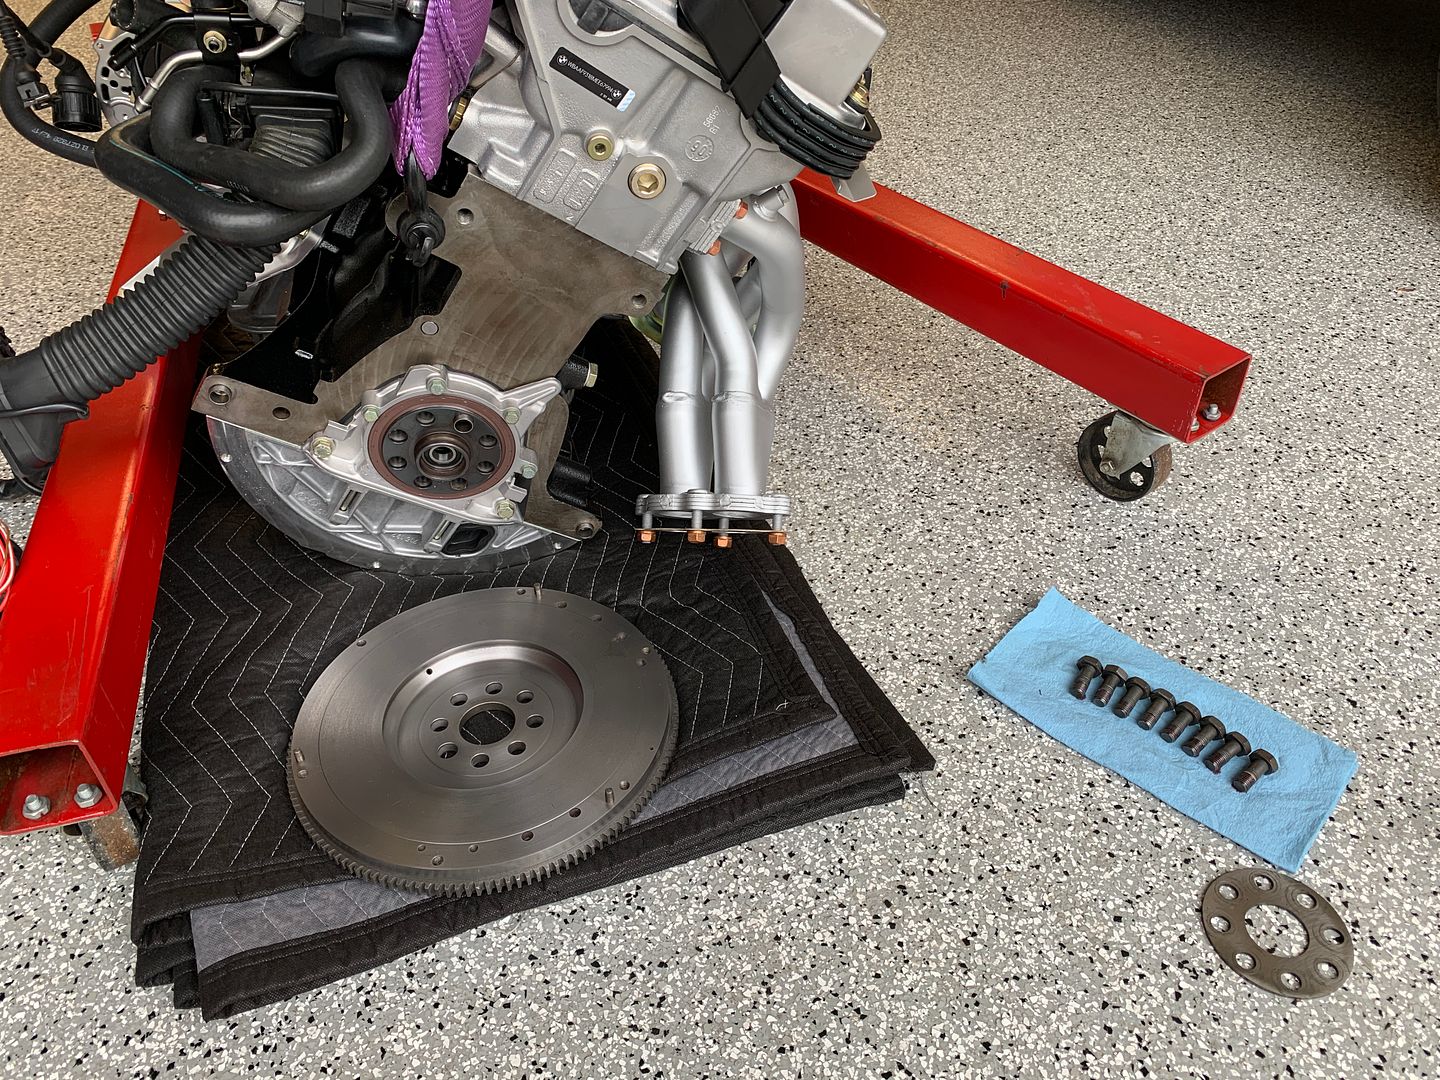
Getting ready to install the new M20b25 clutch kit. If E30's are Gods Chariot, than my broken G240 input shaft is The Lords Centering Tool. I've broken 2 G240's and as luck would have it they were both different sizes and I saved both input shafts for this purpose. The plastic tools that often come with clutch kits suck.
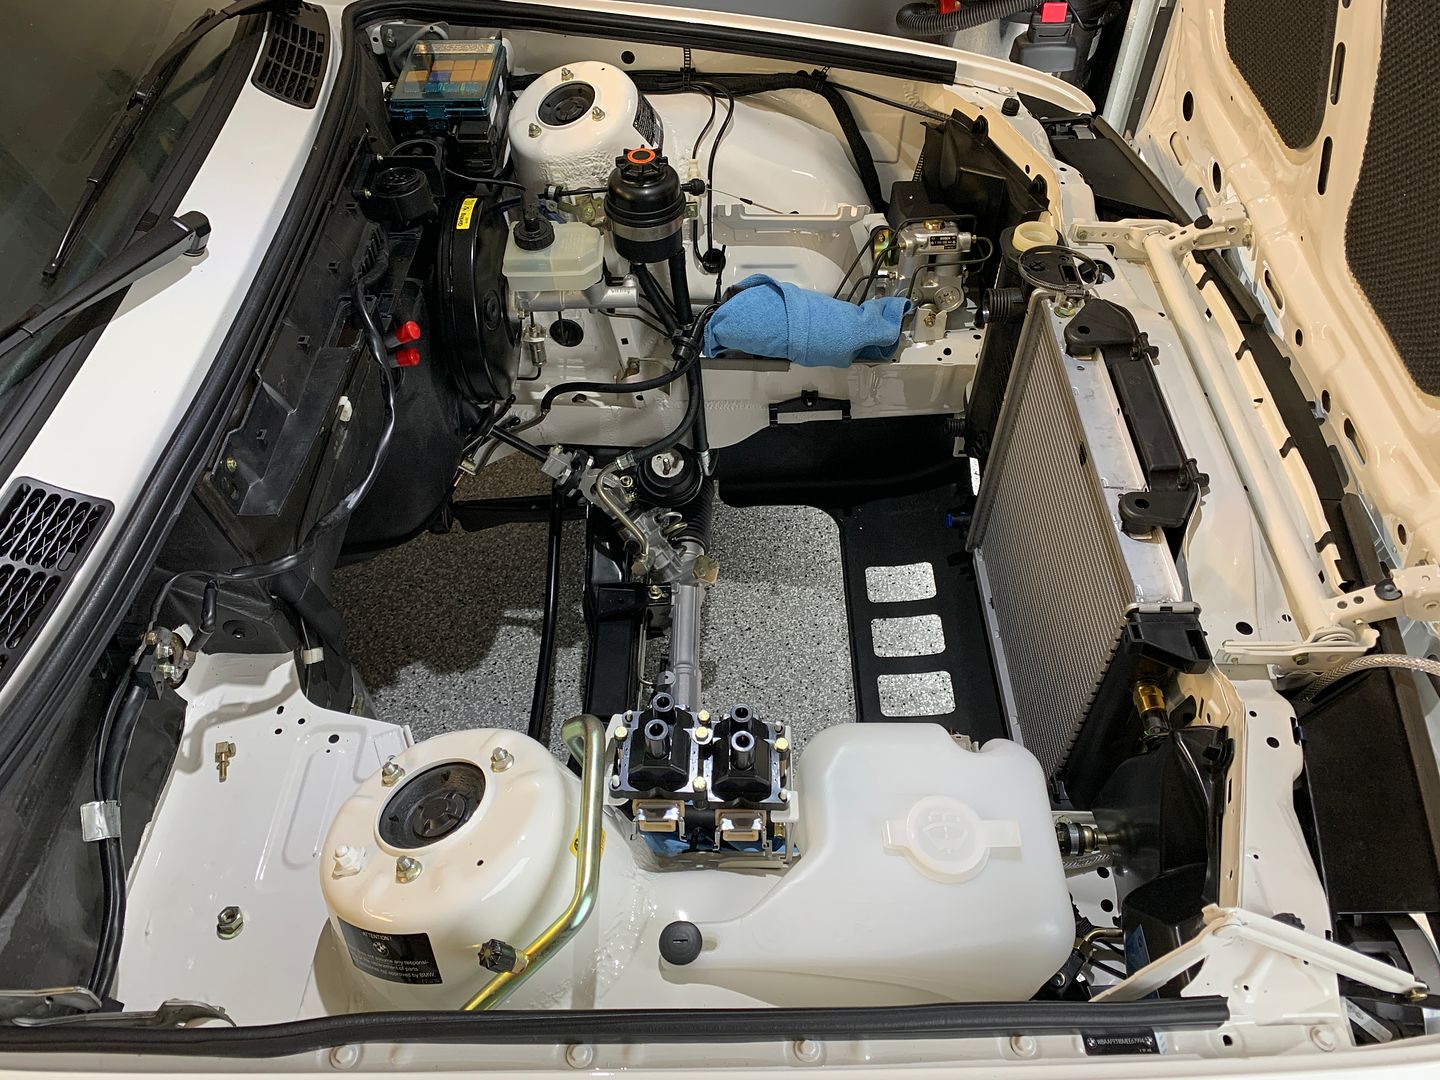
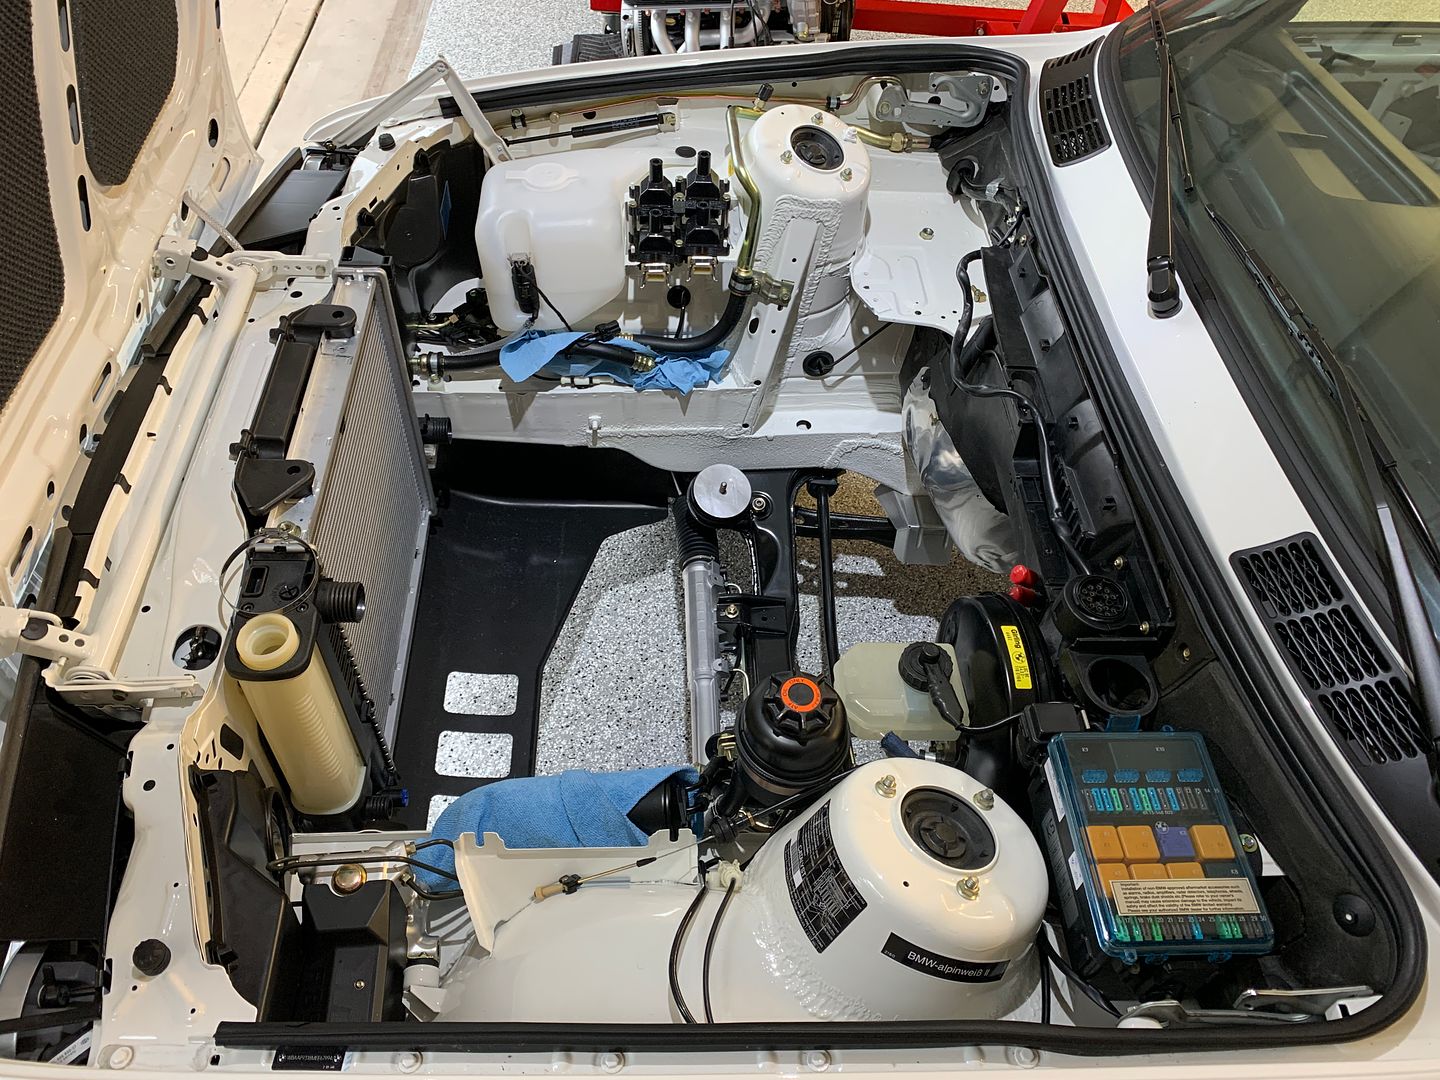
Preparing the engine bay to receive its heart
Up she goes
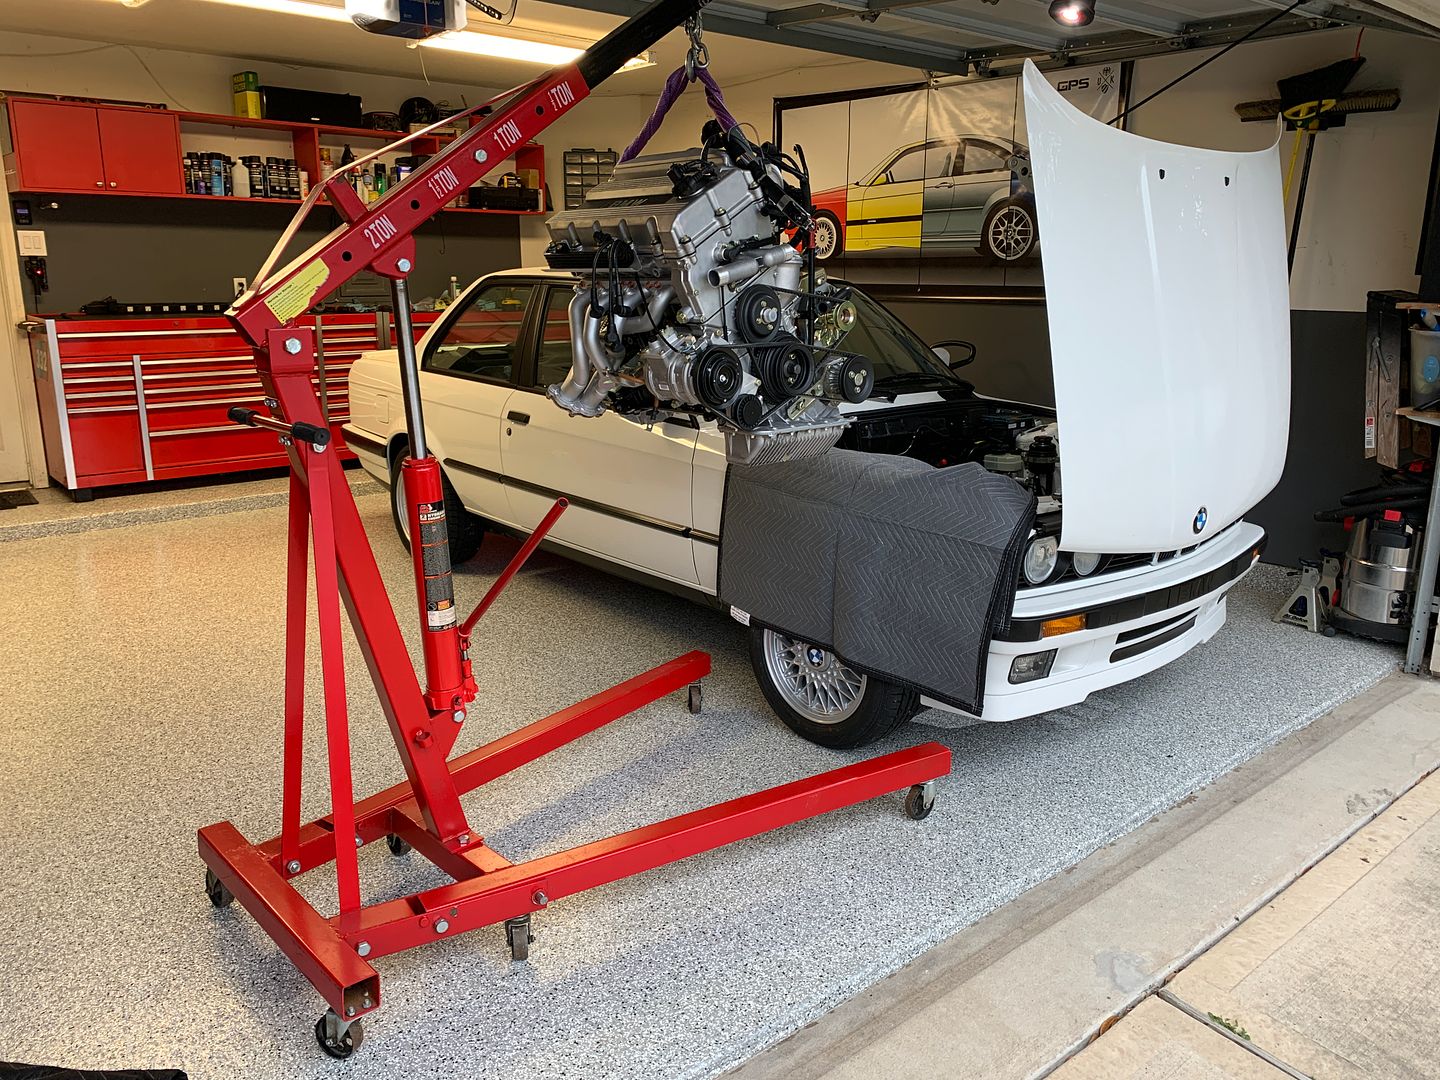
Almost there
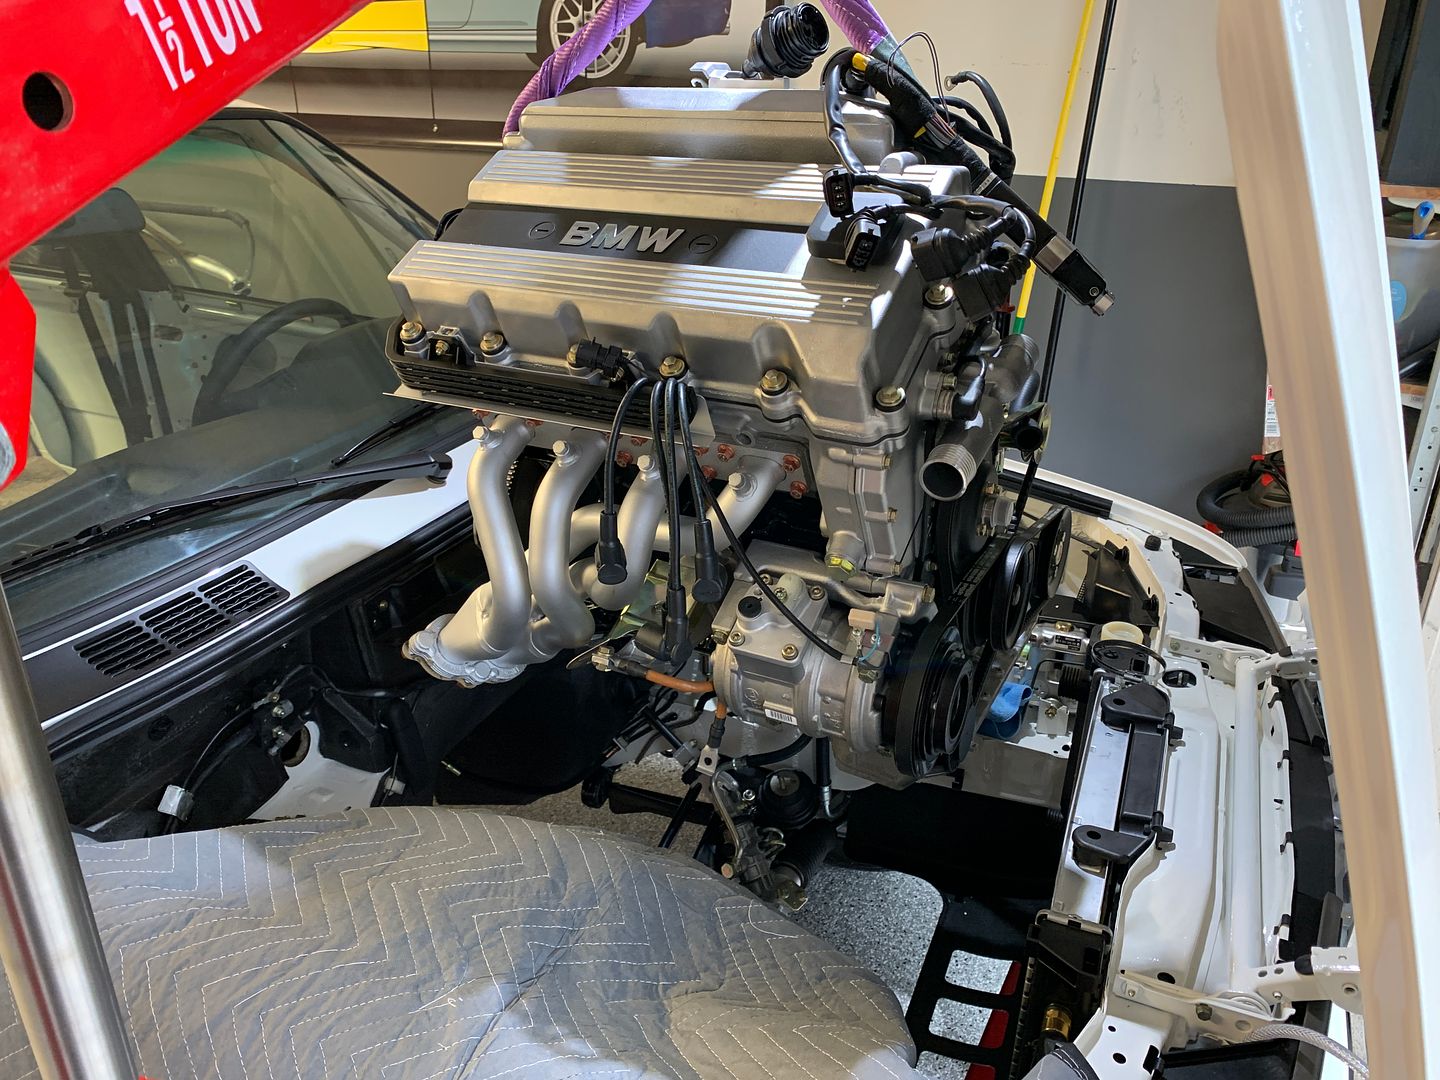
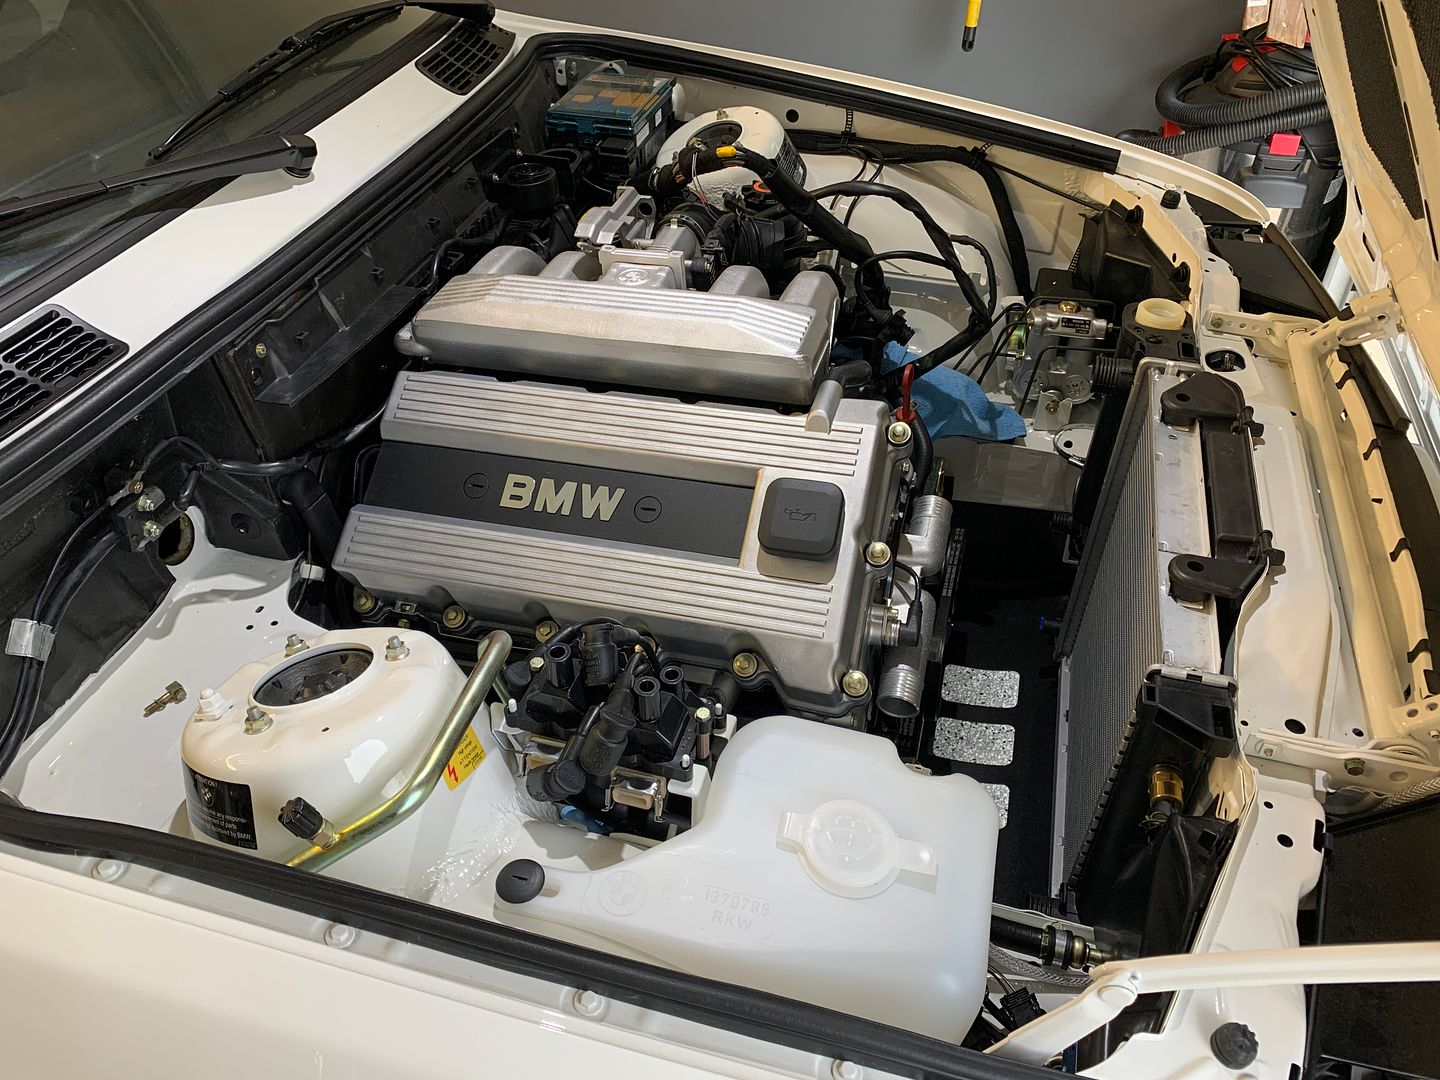
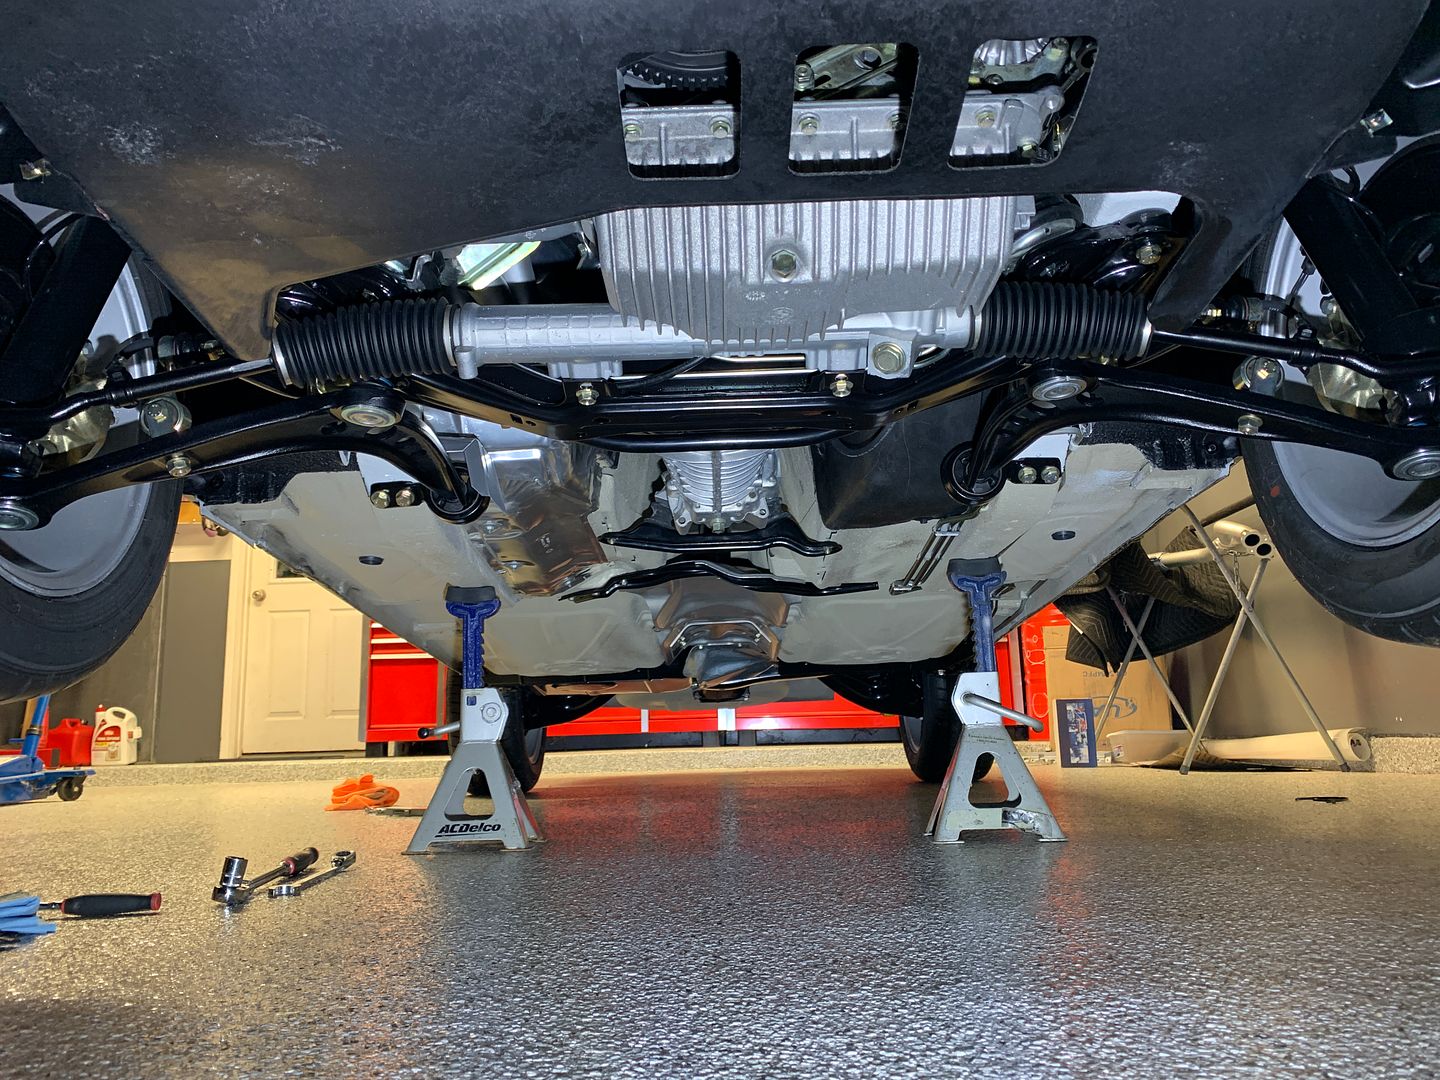
A little nerve racking doing this solo, going down a little bit then checking all around for clearance before proceeding. Mustn't scratch anything! Here she is, in her new forever home
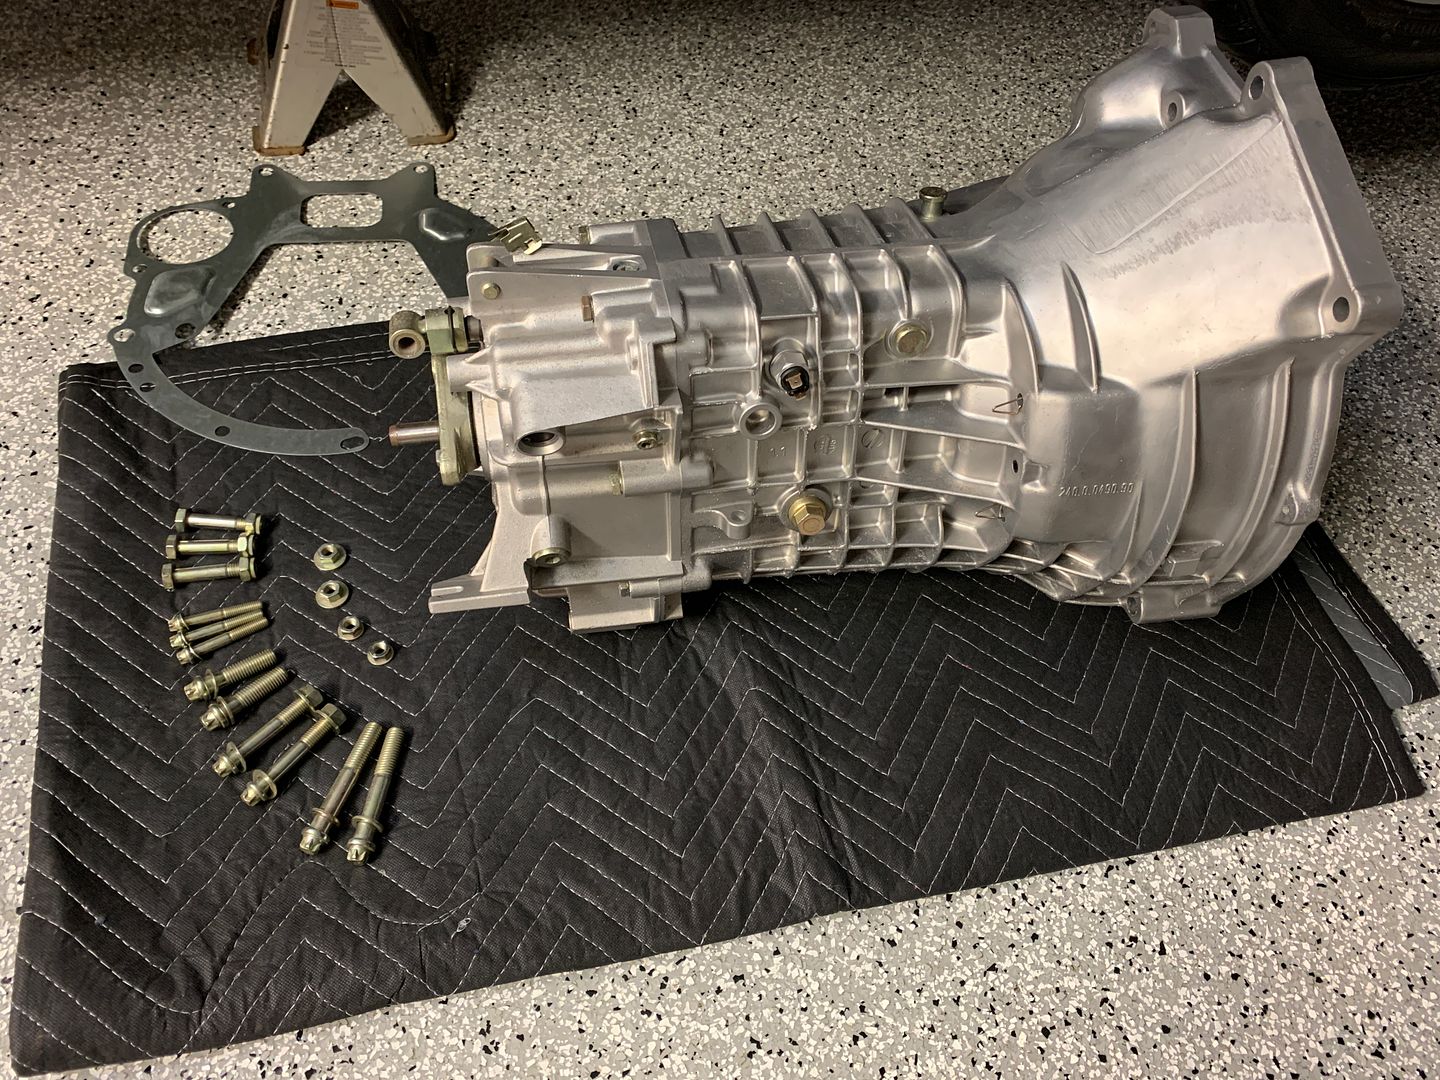
Now its time to get the transmission installed. New release fork with euro 323i throw out bearing
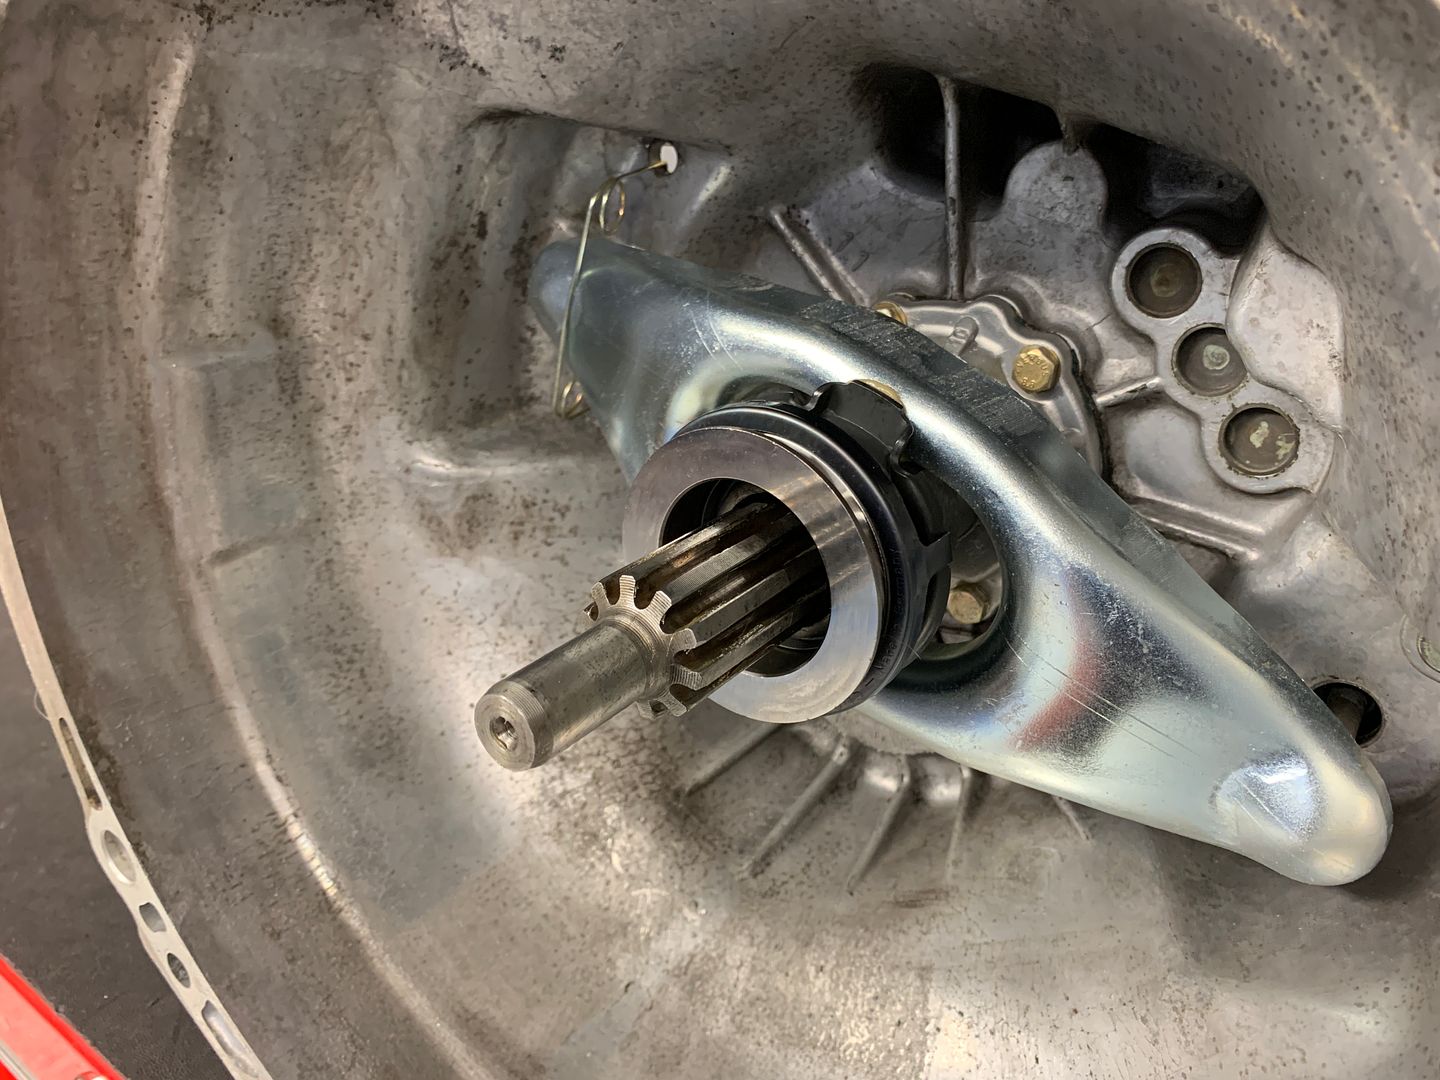
New debris shield with all of the needed hardware
Dust shield installed, while I lay there looking at the transmission I need to sling up in there in a minute.
I bear hugged the transmission and rolled it over up onto my chest before bench pressing it up into place. Slick as shit it slid into place with zero fuss first go. It don't always be like that, but sometimes it do.
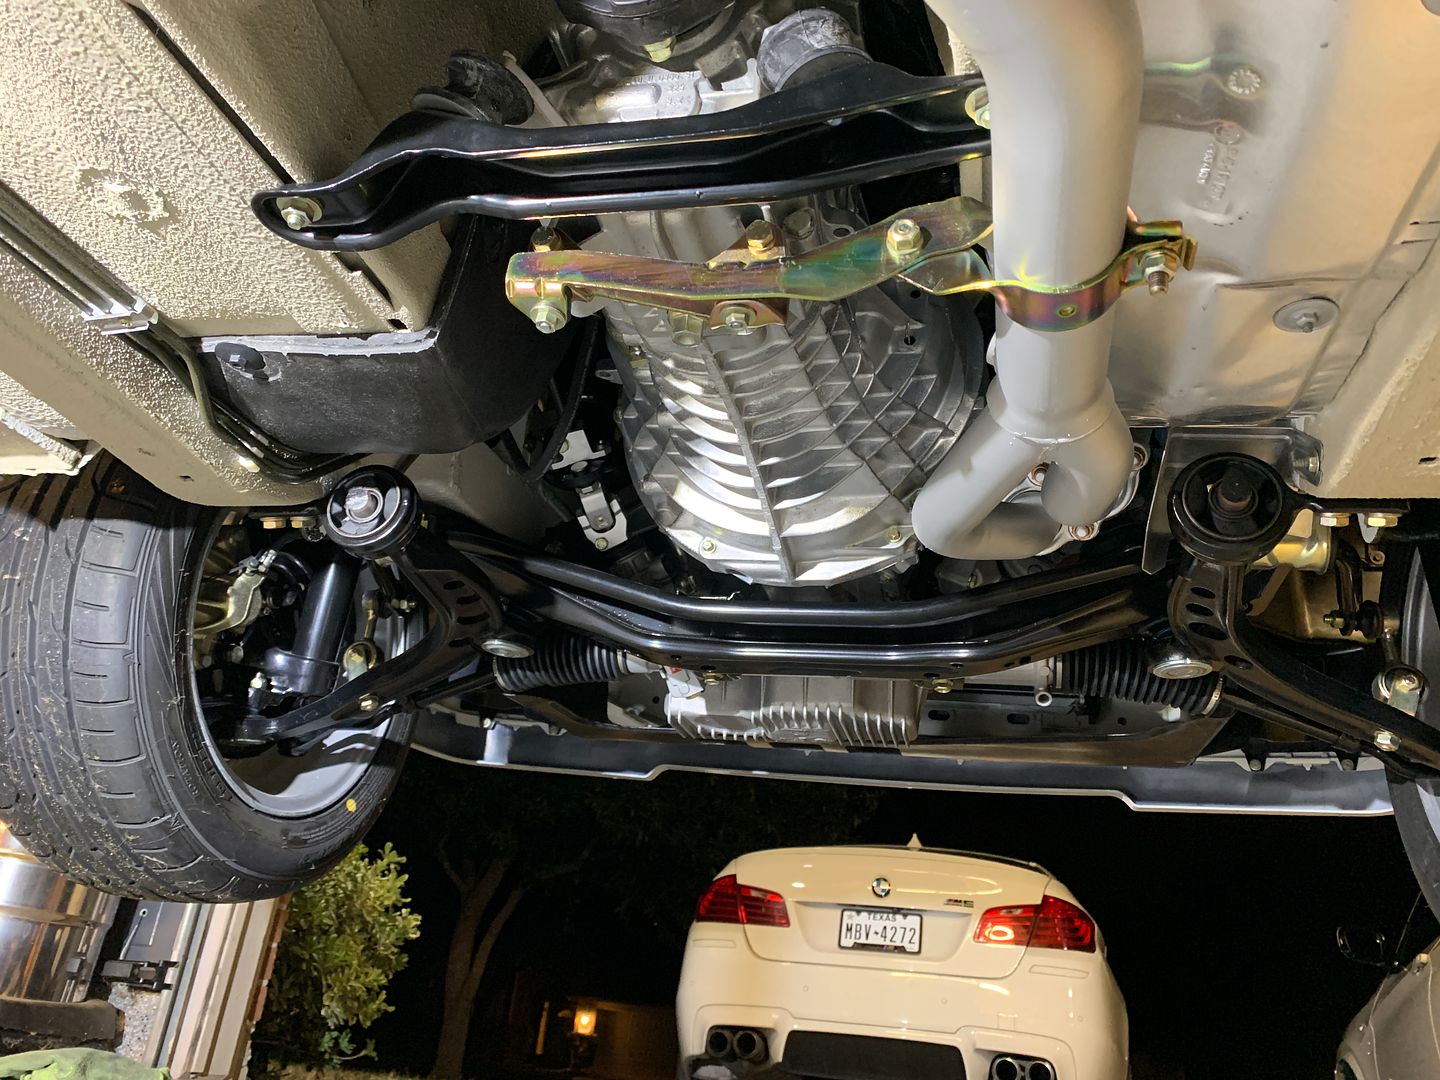
Getting the shifter linkage and driveshaft in place.
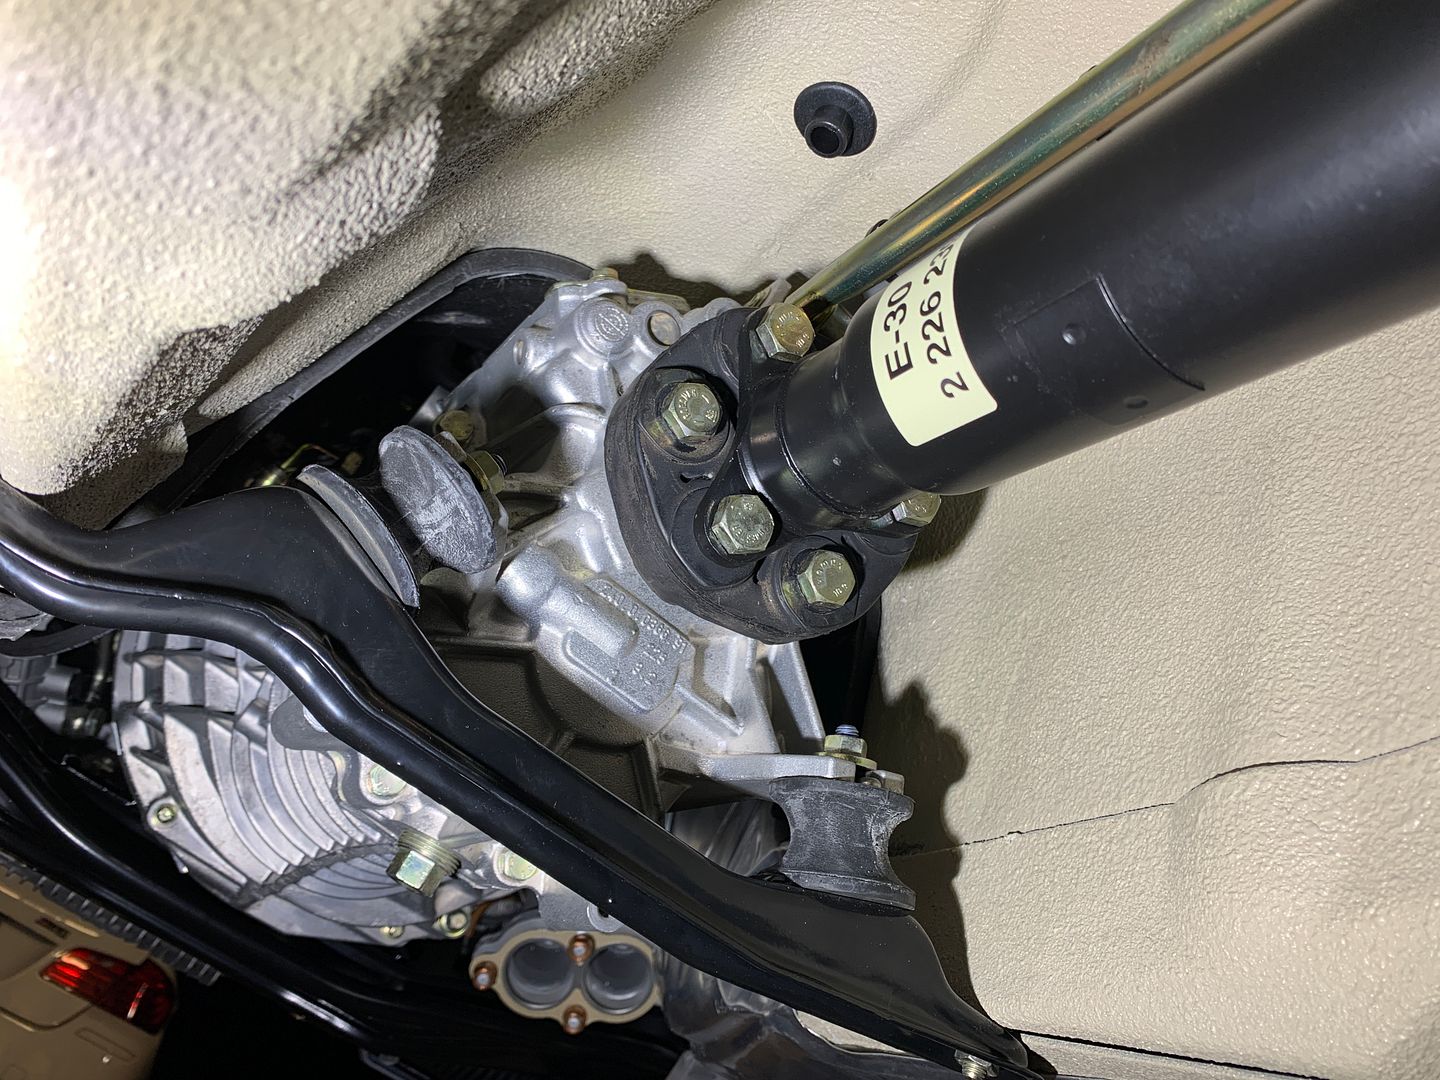

From the front
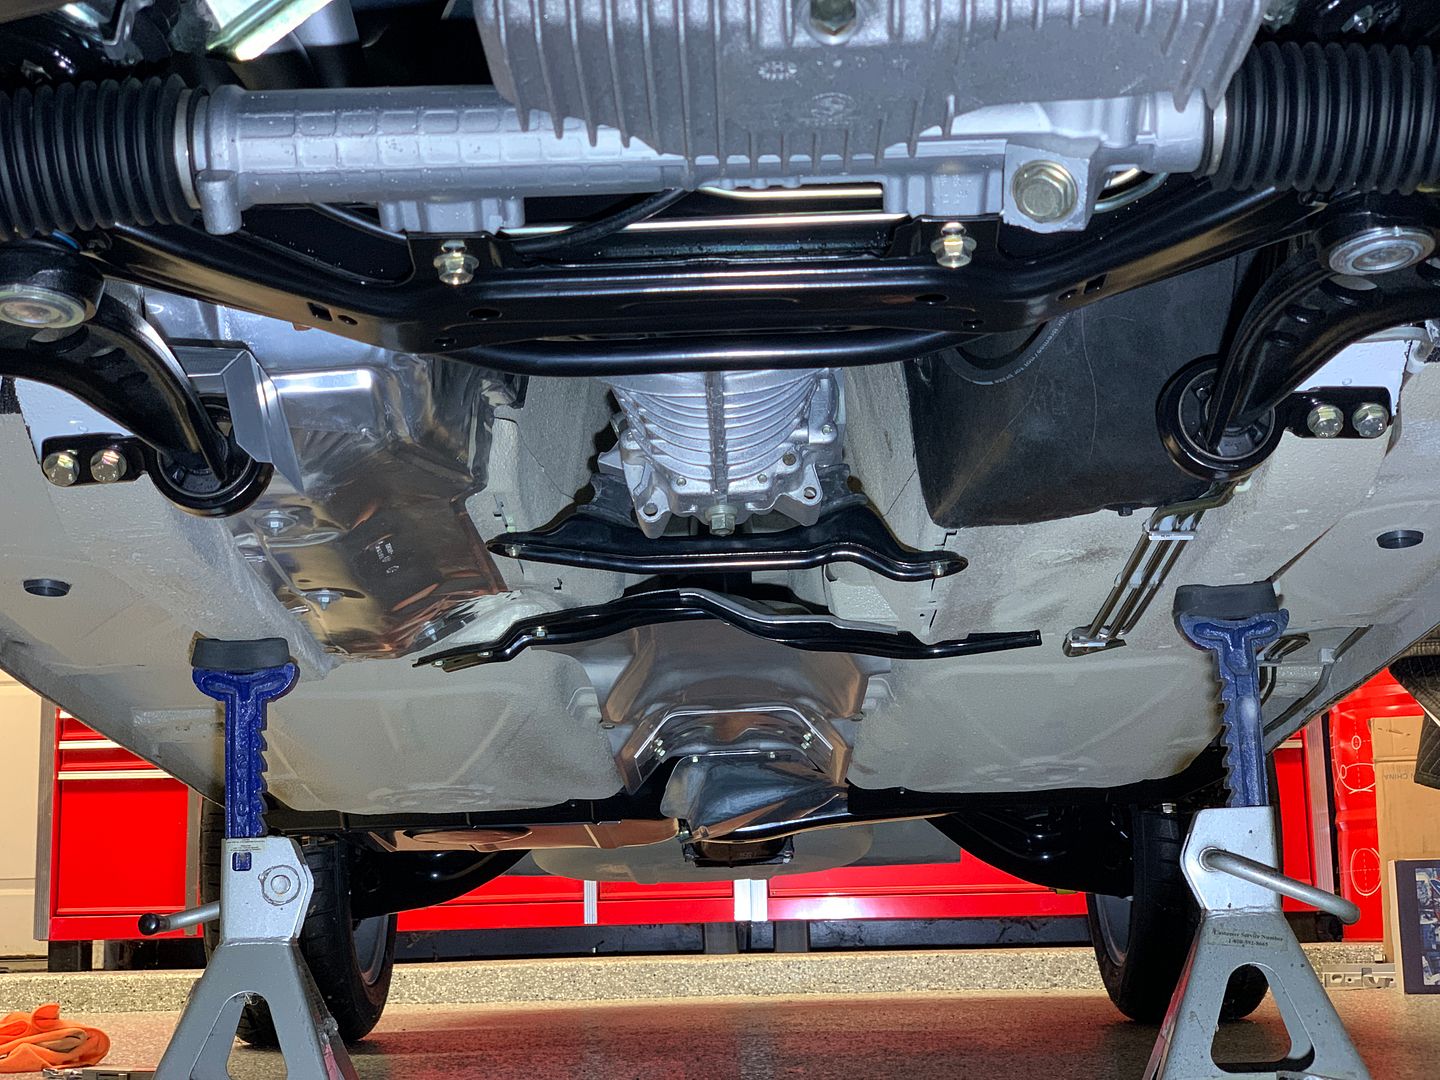
and final task for the evening, installing the forward section of the exhaust with the new hanger
 Tenured Automotive Service Professional - Avid BMW Enthusiast
Vapor Honing & E30 ABS Pump Refurbishment Service
https://mtechniqueabs.com/Comment
-
Looks fantastic!! Sent from my SM-N975U using TapatalkCurrent Cars:
2016 PORSCHE GT3 RS
2017 FERRARI 488GTB
2018 RAPTOR CREW CAB
1991 318is SLICKTOP H&R SPRING SEMA CAR
1991 318IS SLICKTOP STERLING SILVER
1990 325ic BRONZIT/AUTO :)
1989 E30 M3 (SOLD AWAITING SHIPPING)
On Order:
2018 DODGE DEMON
Searching for:
CLEAN E30'S
S54 DRIVETRAIN
E30 DASH
E30 PARTSComment
-
Absolutely amazing.Zelig the Zinno • 300k and counting
http://instagram.com/zelig.the.zinnoComment
-
Kind of sad this project will be coming to an end soon.Comment


Comment