
can you please post a pic of the new exhaust.
did they replace the stock exhaust manifold flange and down pipe flange area in the engine bay with v bands?
-
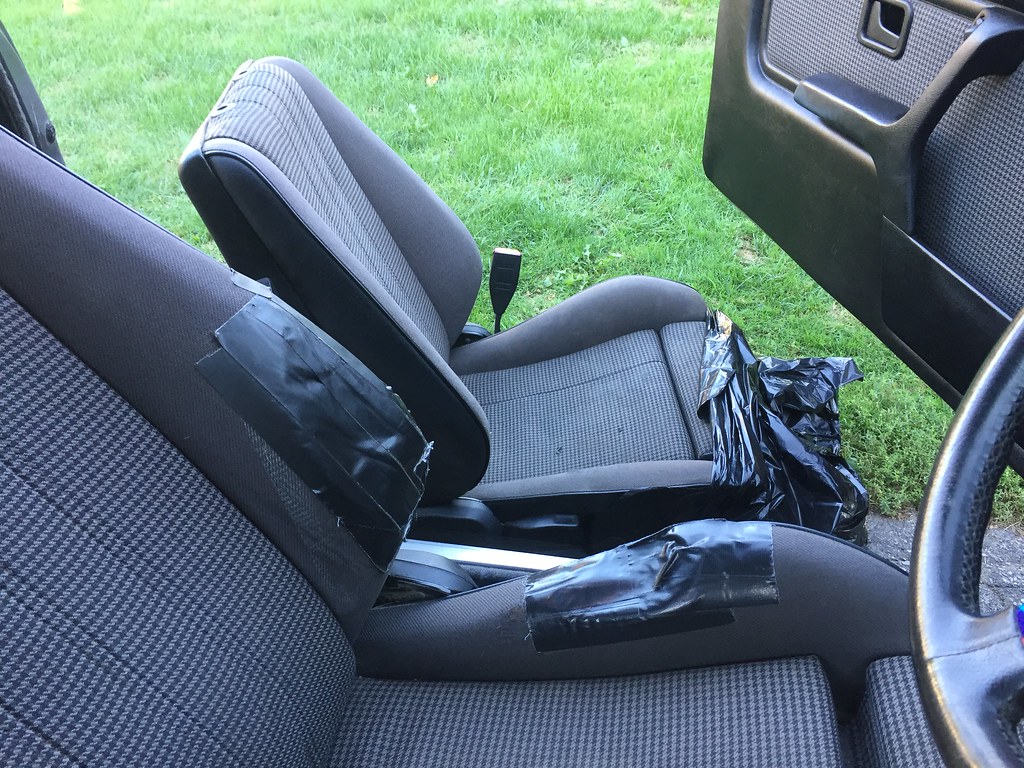
I started taking apart my spare houndstooth passenger seat today.
I got the back section off, and the side bolster I need (foam and fabric) separated successfully.
I can't believe the excellent shape of this seat inside and out (so far). It's mechanically perfect as well, so hopefully parts will transfer to my driver's seat, if I need them.
Unfortunately I didn't get any further as I don't have a pair of circlip pliers here at school. Also, I don't own any hog ring pliers, so I need to buy some of those.
My plan is to tackle the remainder of the seat repair over the winter. When I store the car in a few weeks, I'll pull the driver's seat first.
For reference, i'm following these six guides:
Hard to go wrong with this much info!

http://bmw.e30tuner.com/articles_seatfix.php

-
-
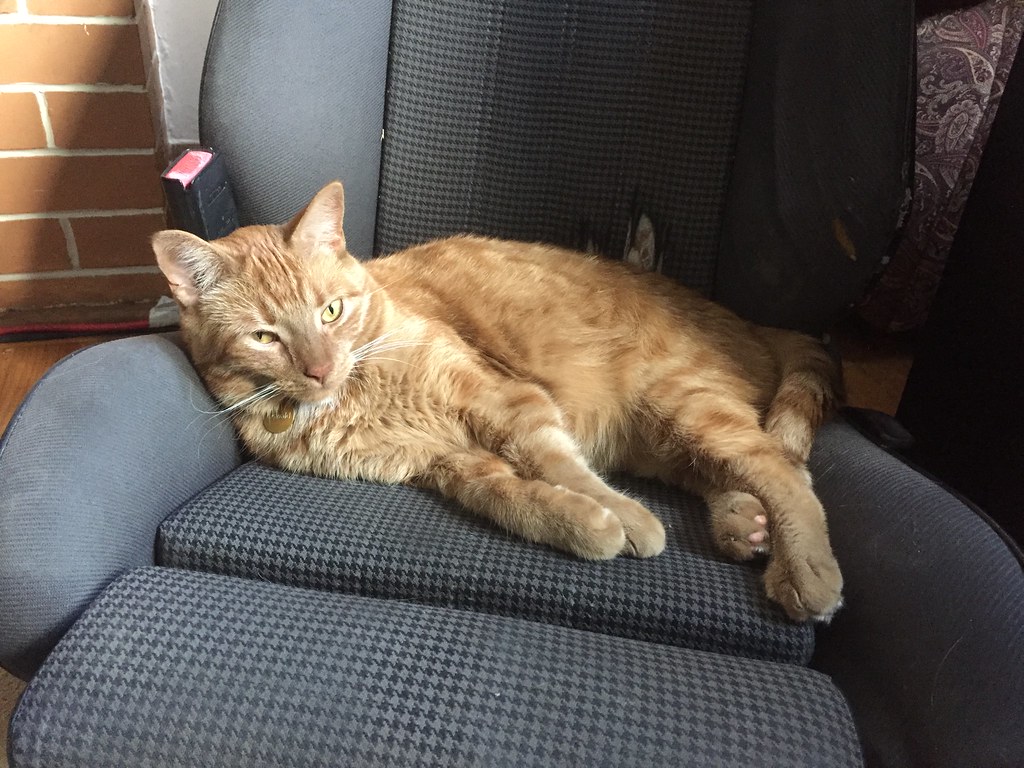
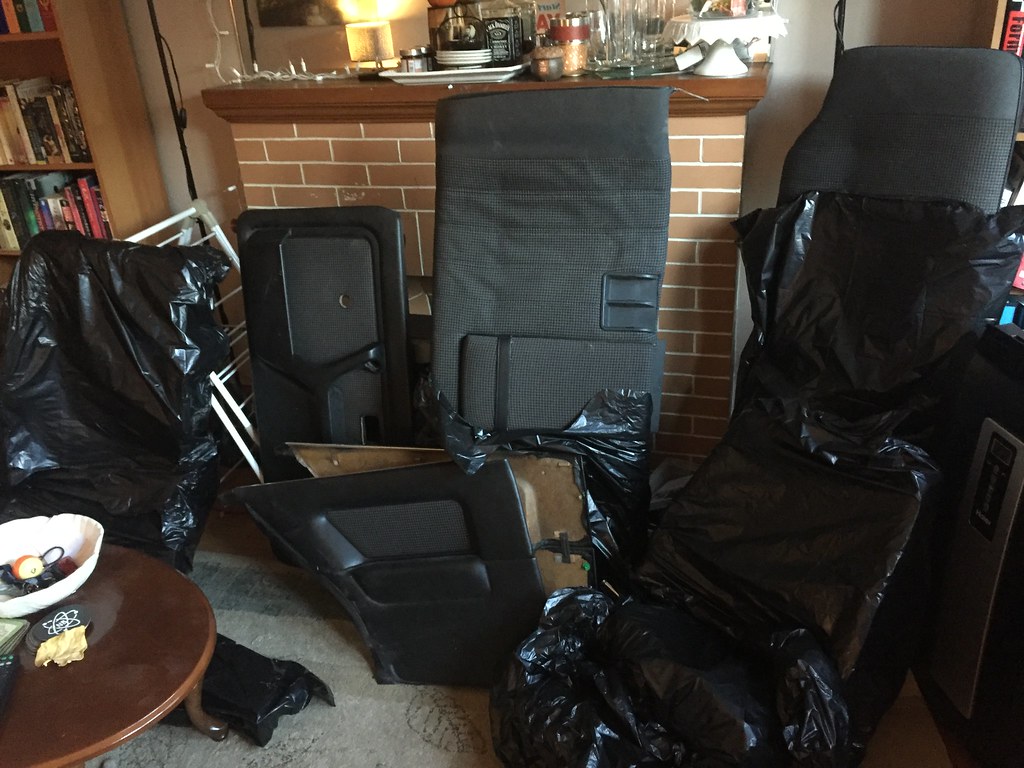
Kitty enjoying the haggard spare driver's seat.
Don't worry, the only undamaged piece of fabric on this entire driver's seat is the inside bottom bolster, and even that is a little thin.

-
-
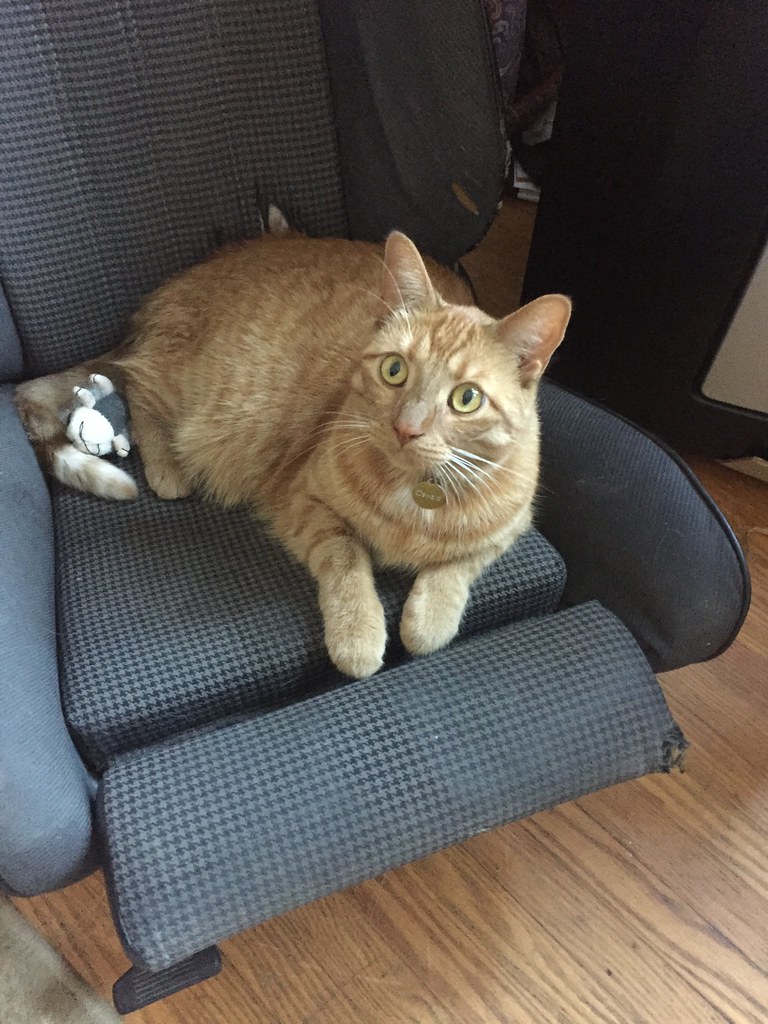
Minty top outer bolster, ready for my original driver's seat.
Level of UV damage to the fabric is almost a perfect match for the seats in my car :)

-
-
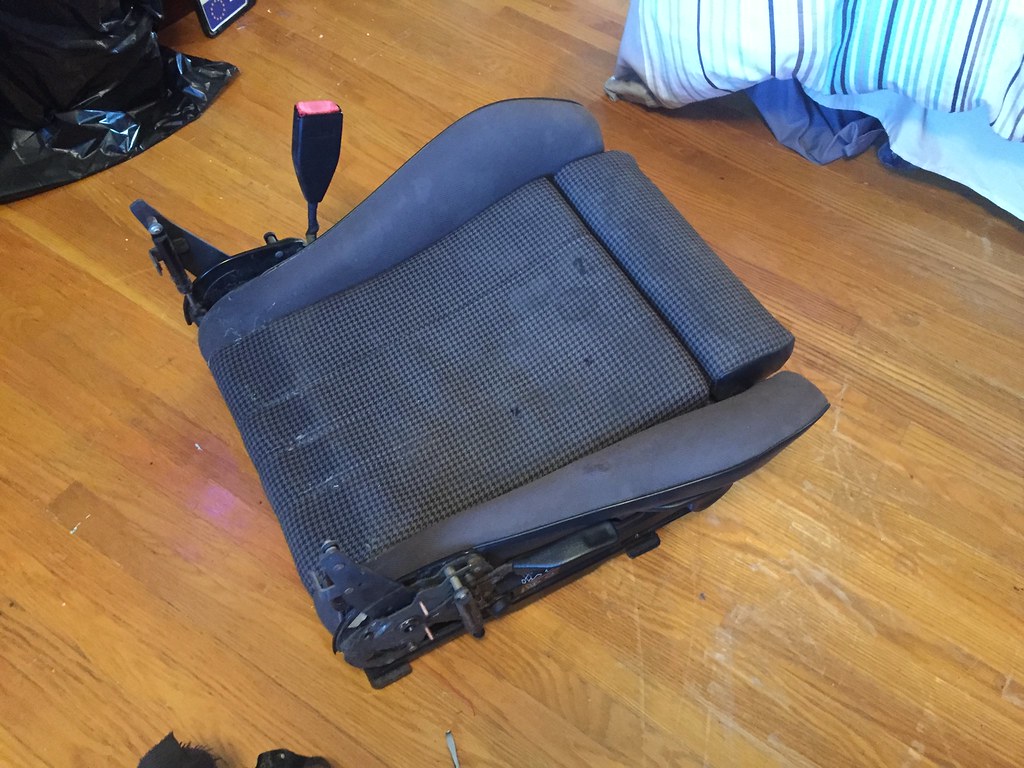
Complete spare passenger seat bottom. Going to use the bottom outside bolster from this one.
 Last edited by Panici; 03-08-2018, 12:15 PM.
Leave a comment:
-
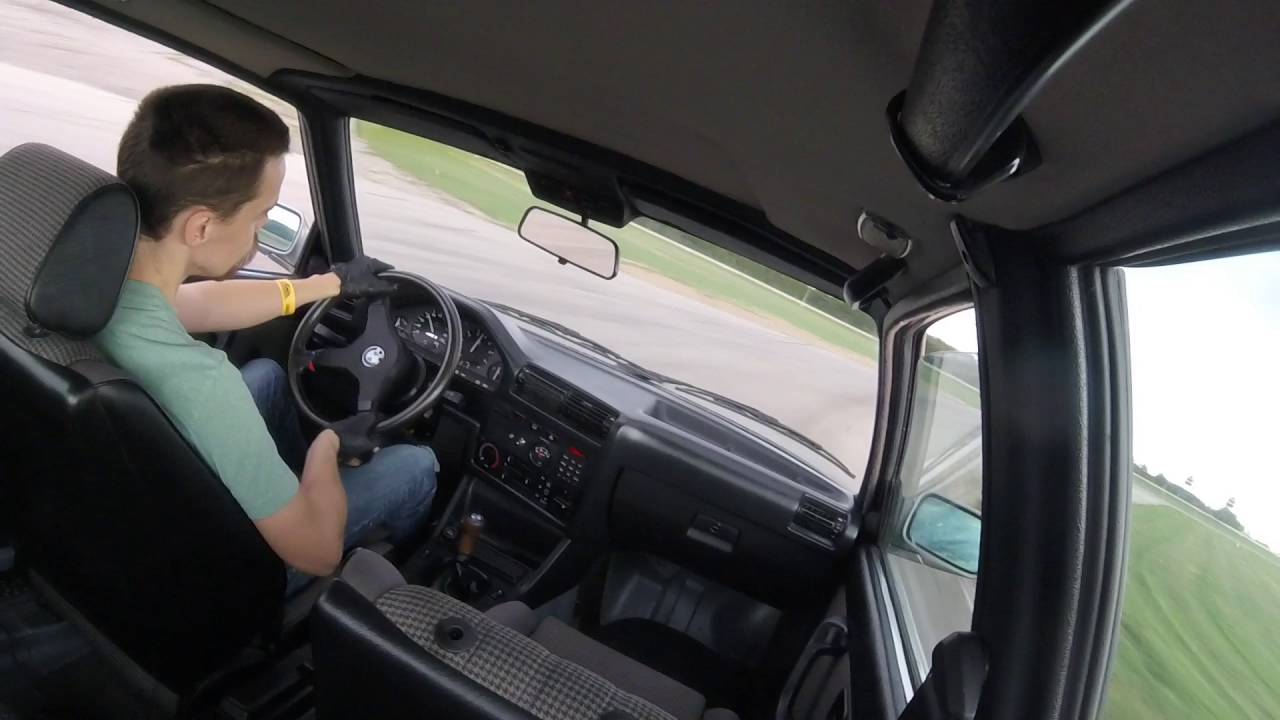
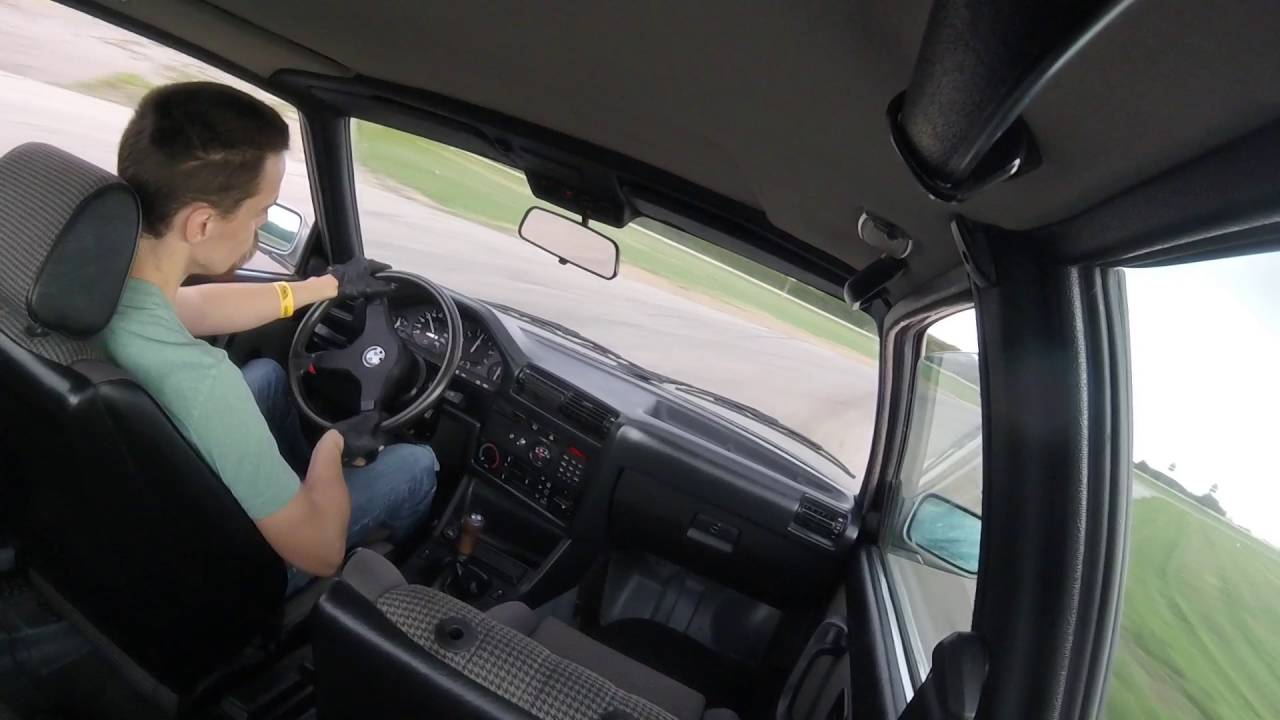
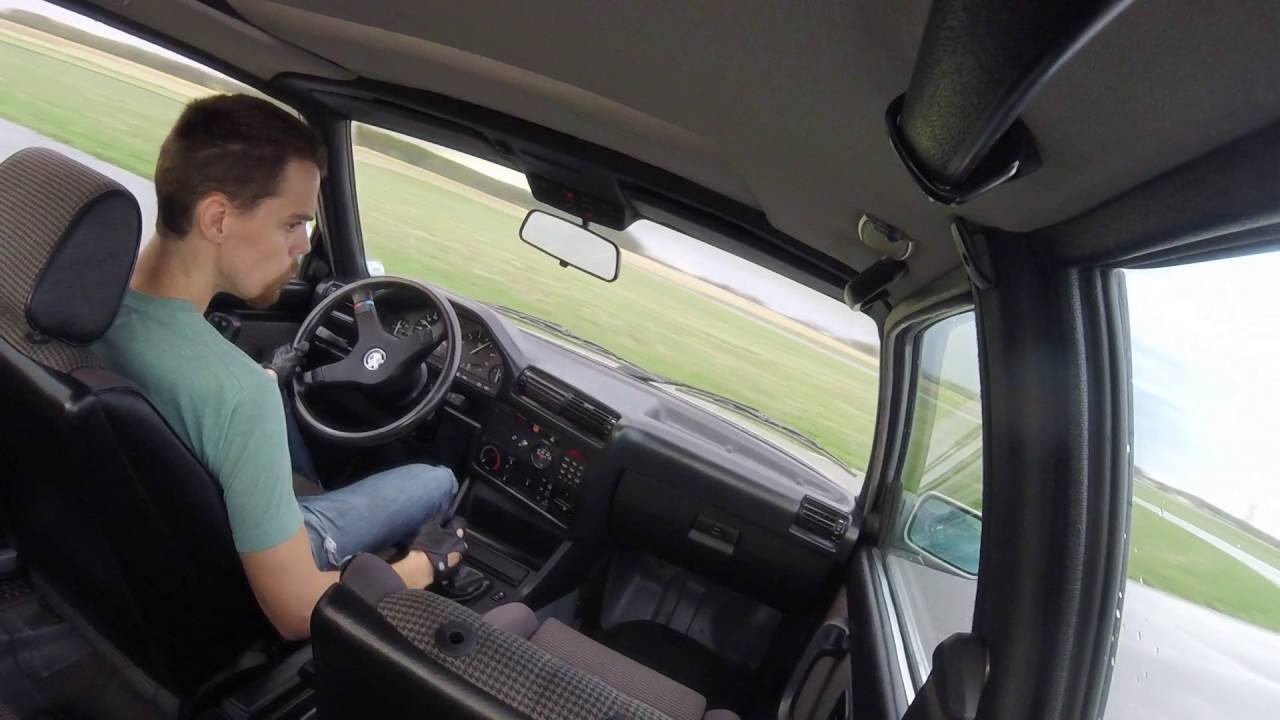
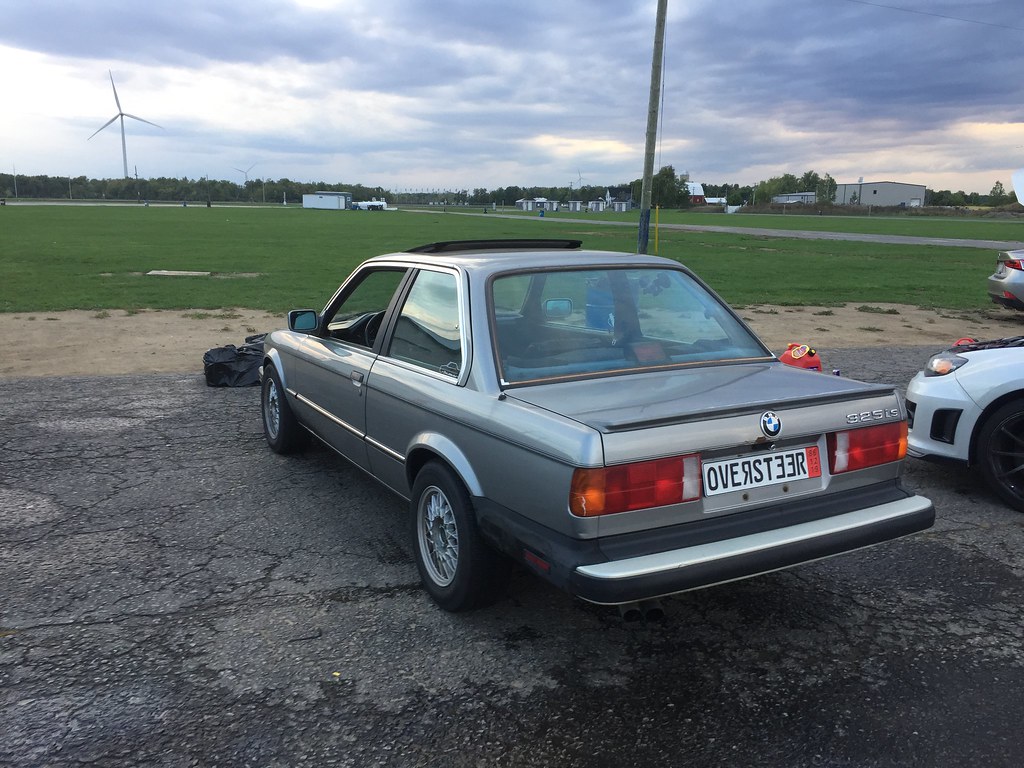
So I finally got my E30 to the track!
Went for a short 4PM-dusk session. I think I did alright for my first ever track session in a car!
Talk about fun, even the rain didn't put a damper on the situation (although it certainly did on the laptimes!)- I've been accused of over-packing. I call it being prepared. I even had ramps!
- Started the tires at my street pressure (cold 33.5F, 35R)
- Managed two back-to-back 1:37s in my 4th (short) session before the rain started
- Never really had any brake fade, although I did start taking it easier (or pitting) when I started smelling them get hot. They are still mostly street brake pads after all, and I didn't want to cook them.
- Took off the centercaps part way through, seemed to help with cooling.
- Dropped tire pressures to (hot 30F, 30R) after my first rainy session
- Next time I will bring more fuel. As it starting getting low, the rear started getting really light, even in the dry.
Overall, i'm very impressed with the car's performance!
It's great that it handles this well, considering it's been primarily built as a comfortable street setup, on 14" wheels and 195 width tires, no less!
I wish I had my laptimes from the end of the day (after it started drying up). Based on how I remember corner speeds at the end of the day, I was probably running mid 1:30s. Next time i'll bring a camera charger.
I wonder how quick the car could run if I pushed the brakes harder/hotter? I guess I'll find out at the next trackday!
Fastest recorded lap:
Full 4th (short) session where I got both 1:37s back-to-back.
https://www.youtube.com/watch?v=xC2t2-Mupoo
Sliding in the rain. Oversteer indeed!:
https://www.youtube.com/watch?v=xLaqdVPD7Hs


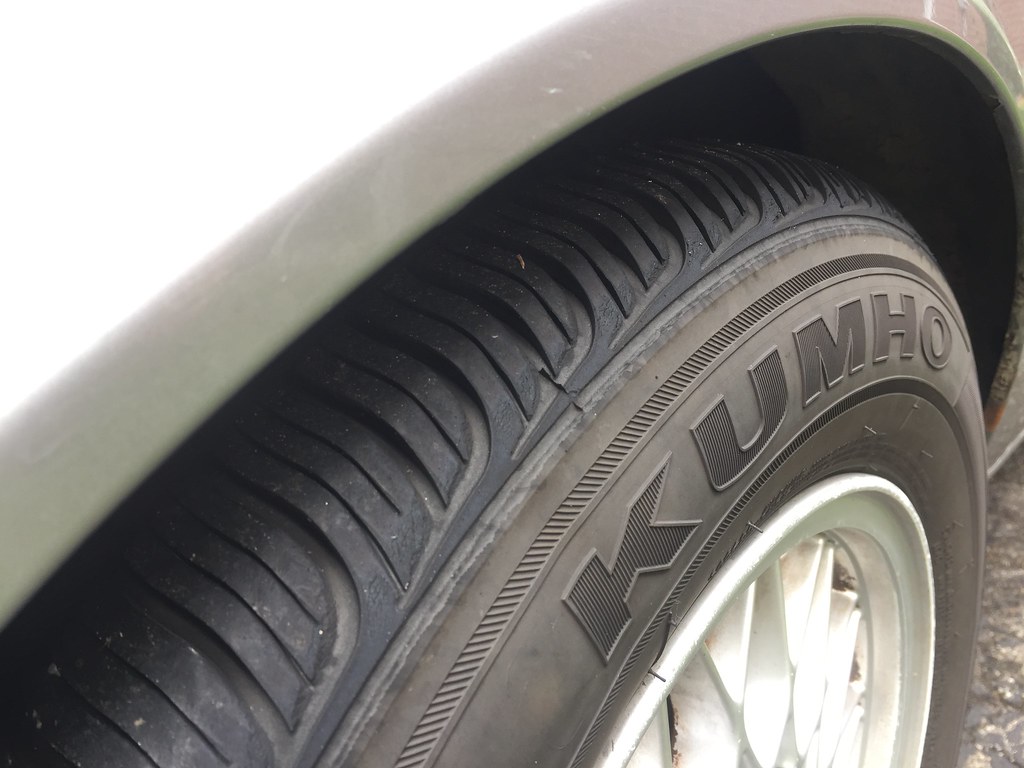
Front tires afterwards (took pictures days later, it rained for a while!)
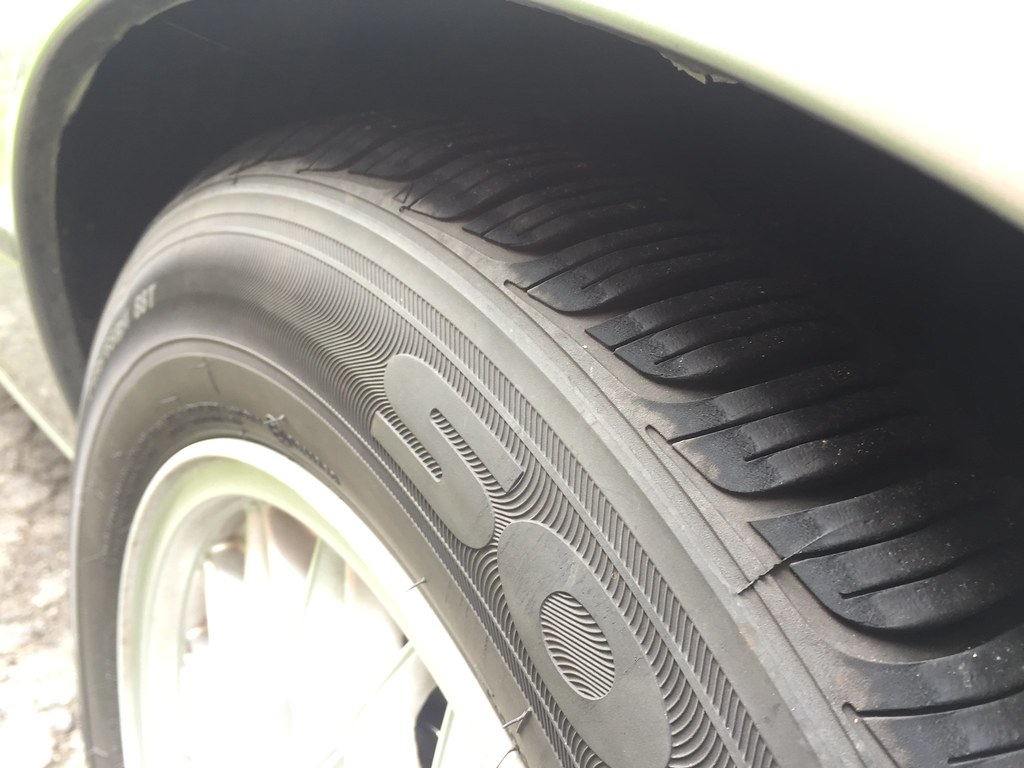
Rear tires afterwards
 Last edited by Panici; 05-25-2020, 06:39 PM.
Leave a comment:
-
-
I know for my 1987is mt has 373, also had 87 vert with added lsd option and that was 373 too with auto transmission.. The auto late model i've had in past had 4:10 diff's gears.Leave a comment:
-
After some recent lengthy drives, I was contemplating my fuel economy and final drive ratio.
I previously thought I had 3.73s, but now I'm thinking I have 4.10s.
- According to the optimistic onboard OBC, I was getting 7.6L/100km (31mpg) with the auto trans.
- Also according to the OBC, I am getting ~9L/100km (26mpg) with the 5-speed
- At 3000rpm (in 5th) my speedometer reads ~118km/h
- At 3000rpm (in 5th) my phone's gps indicates 109km/h
- If the speedometer was accurate, this would indicate 3.73 rear gearing
- If the phone's gps is accurate, this would indicate 4.10 rear gearing
- My VIN decode lists 25% diff lock, but no ratio
- Obviously the ratio tag on the diff was unreadably rusty.
Gear ratio calculator (with my values already in)
I know the '87 iS is kind of an oddball model.
Did the first Auto iS models usually come with a 4.10 rear end?
P.S. - Thinking long-term, if my car does indeed have a 4.10 rear end, there is zero chance I could use it with the M52b28 and ZF320. The 1:1 5th gear would put me at 3800rpm @ 109km/h.Last edited by Panici; 10-03-2016, 06:31 PM.Leave a comment:
-
Some exciting progress today.
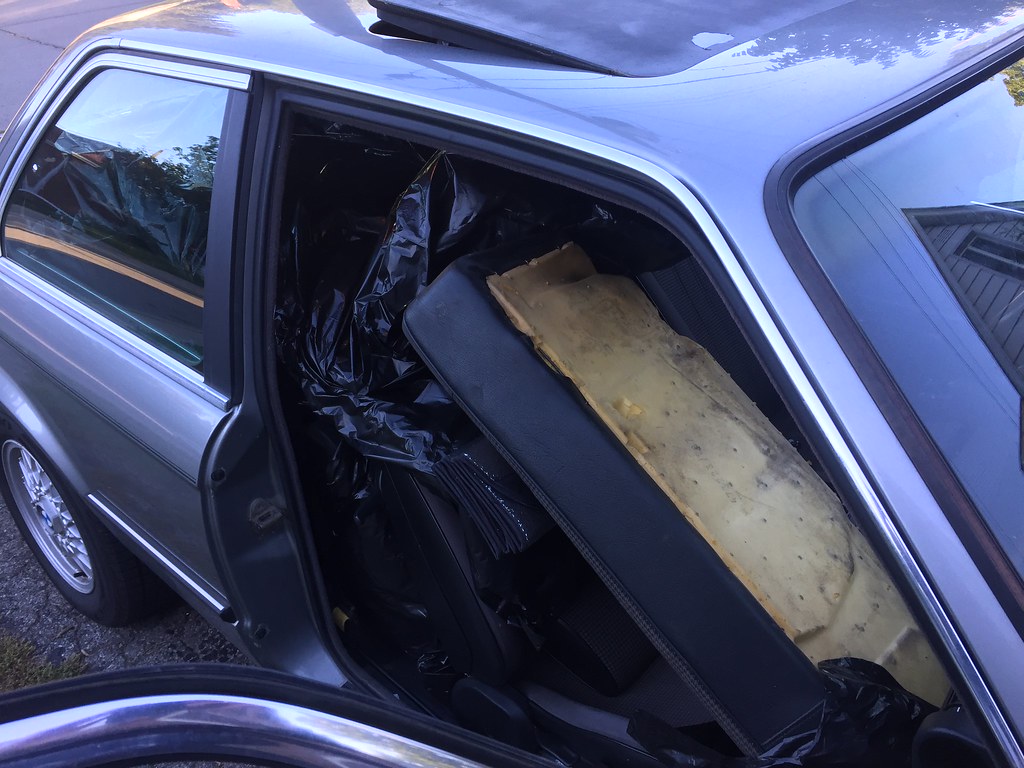
After two years of actively searching, I FINALLY got my hands on some houndstooth interior pieces to fix my driver's seat.
I actually picked up an entire houndstooth sport interior, although one of the seats is pretty rough.
The seller even threw in a front bumper for free (mine is cracked)
Also, just in case you were wondering, it's possible to safely fit an entire extra interior into an E30 if you position it properly.

 Last edited by Panici; 03-08-2018, 12:03 PM.
Leave a comment:
-
I actually used a motorcycle scissor jack that I mounted on wheels. This made it a one man job to work with the assembly.
The blocking you see was just to stop the axle shafts from hanging at full extension for any length of time.
Brake line was called:
AGS NiCopp - CuNiFe alloy tubing. CNC-325. SAE J1650. 3/16"
Thanks for the kind words :)Leave a comment:
-
Balancing all that and pushing it up by yourself is a bear. I finally managed it balancing the whole mess on a floor jack - I think your method of blocking it up was smarter.
Is this the brake line called Cunifer? Copper nickel iron manganese. Seems to be very popular in restorations.
Nice work.Leave a comment:
-
Your car is looking great! :up: Are you bringing it to the maxbimmer cruise this weekend?Leave a comment:
-
Car has been feeling good since the rear end swap.
I've put the rear end to the test with a few launches, and MANY chirped 1-2 and 2-3 shifts.
No more clunking on hard upshifts like there was before.
Thanks! :)
But I still have a lot of work to do.
There is a TON of cosmetic work to be done (both restoration and upgrades).
Actually, I have barely done any cosmetic work to the car so far. I've been focusing on refreshing all the mechanical systems.
Longterm plans include building a turbo M52b28 (aiming for ~450hp, tuning myself with a megasquirt), all necessary chassis upgrades to handle the more powerful motor, full stripdown (possibly including a rotisserie and/or acid dip) and a full respray of the chassis and all panels.
-----------------------------
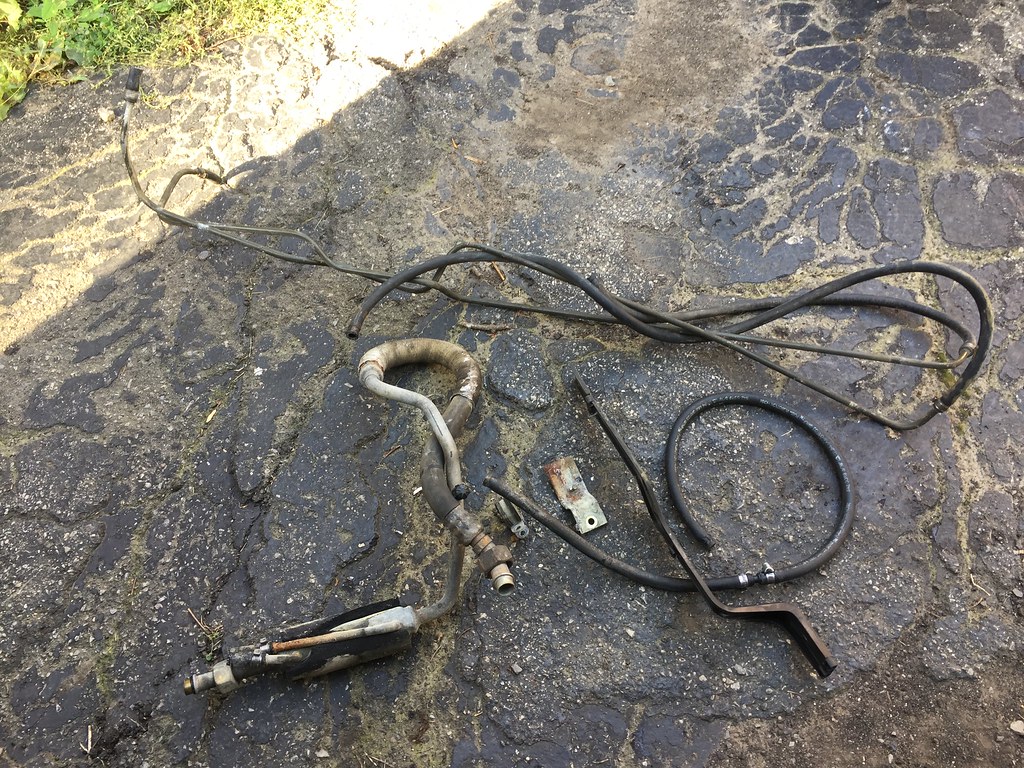
Today I successfully deleted the fuel cooling system.
I have a trackday planned, and I thought it would be prudent to replace the rubber fuel hoses in my engine bay.
All of these pictures of E30s with engine bay fires had me spooked.
What's a fuel cooling system you ask? Here is some info:
http://www.realoem.com/bmw/enUS/show...diagId=16_0301
For reference, I used 4' 1/4" (4.25 feet) of fuel injection hose (ID 5/16") to replace both lines.
The removed items weighed a total of 1.9kg, subtracting the 150g for the new hose, the total weight reduction was 1.75kg (3.85lbs)
I should note, that I had to remove the airbox and intake elbow, as well as put the car on ramps to allow enough working space.
Original configuration went across the engine bay, and interfaced with the AC system. It looked like this (each arrow is a piece of rubber hose) :
Supply hardline -> plastic joiner -> fuel rail -> fuel cooler inlet hardline -> fuel cooler -> fuel cooler outlet hardline -> Return hardline
Final configuration used two pieces of hose, like this:
Supply hardline -> fuel rail -> Return hardline
Here's a shot of the pile of removed parts.
 Last edited by Panici; 03-08-2018, 11:59 AM.
Leave a comment:
-
It looks "done" to me, especially since you're driving it now. What else is planned besides the cosmetic stuff mentioned?Leave a comment:


Leave a comment: