
Disassembly of the BOSCH BEHR R12 air conditioner compressor
So, having "practiced" on a broken compressor, I am now disassembling my working compressor to make sure that it is clean and in good condition inside.

Let's start with the pulley. We unscrew the central bolt on its axis.

To keep the pulley from rotating, my old homemade "special tool" came in handy.

The bolt unscrewed quite easily, but the clutch pressure plate cannot be removed.

The internal thread on it confused me a bit. Although I saw a keyway, I initially thought it was screwed on with some kind of bushing on this thread. I tried to "twist" it with a screwdriver and a hammer, but of course, it was useless. I never understood why that thread was there, because, as it turned out later, it is not used at all. Perhaps on other cars something else is screwed there. But not on the E30.
In the end, having found sensible information on American forums, I understood that the disc is simply removed from the key upwards. But no puller is suitable, because there is nothing to hook it on and push it against. The "wedge-up" method turned out to be effective. That is, I carefully hammered screwdrivers evenly around the circumference, between the pulley and the clutch pressure plate, until it broke off the axis and the key.

The disc has been removed. You can see the cutout for the key. A cylindrical metal spacer and two washers of different thicknesses were installed in it. Obviously, these washers are needed to adjust the gap between the pulley and the clutch pressure plate.

Now there is access to the fastening of the pulley itself.

We clean the nut, bend the ears of the lock washer with which it is fixed.


Using a screwdriver and a hammer, carefully unscrew the nut. Or use a special wrench, if available.

Remove the lock washer from its groove.

Remove the pulley, without much effort.

If you need to replace the bearing, remove the retaining ring and press out the bearing. In my case, the bearing is in excellent condition, so I will not remove it.
Now you can remove the electromagnetic clutch, which is fastened with six screws.


You also need to unscrew one of the nuts holding the coupling diode.


Then we unscrew the compressor oil temperature sensor. In fact, it does not have a through hole and direct contact with the oil. It measures the temperature of the compressor housing.

The electromagnetic clutch with wiring and temperature sensor has been removed.

Unscrew the two screws and remove the inlet fitting.
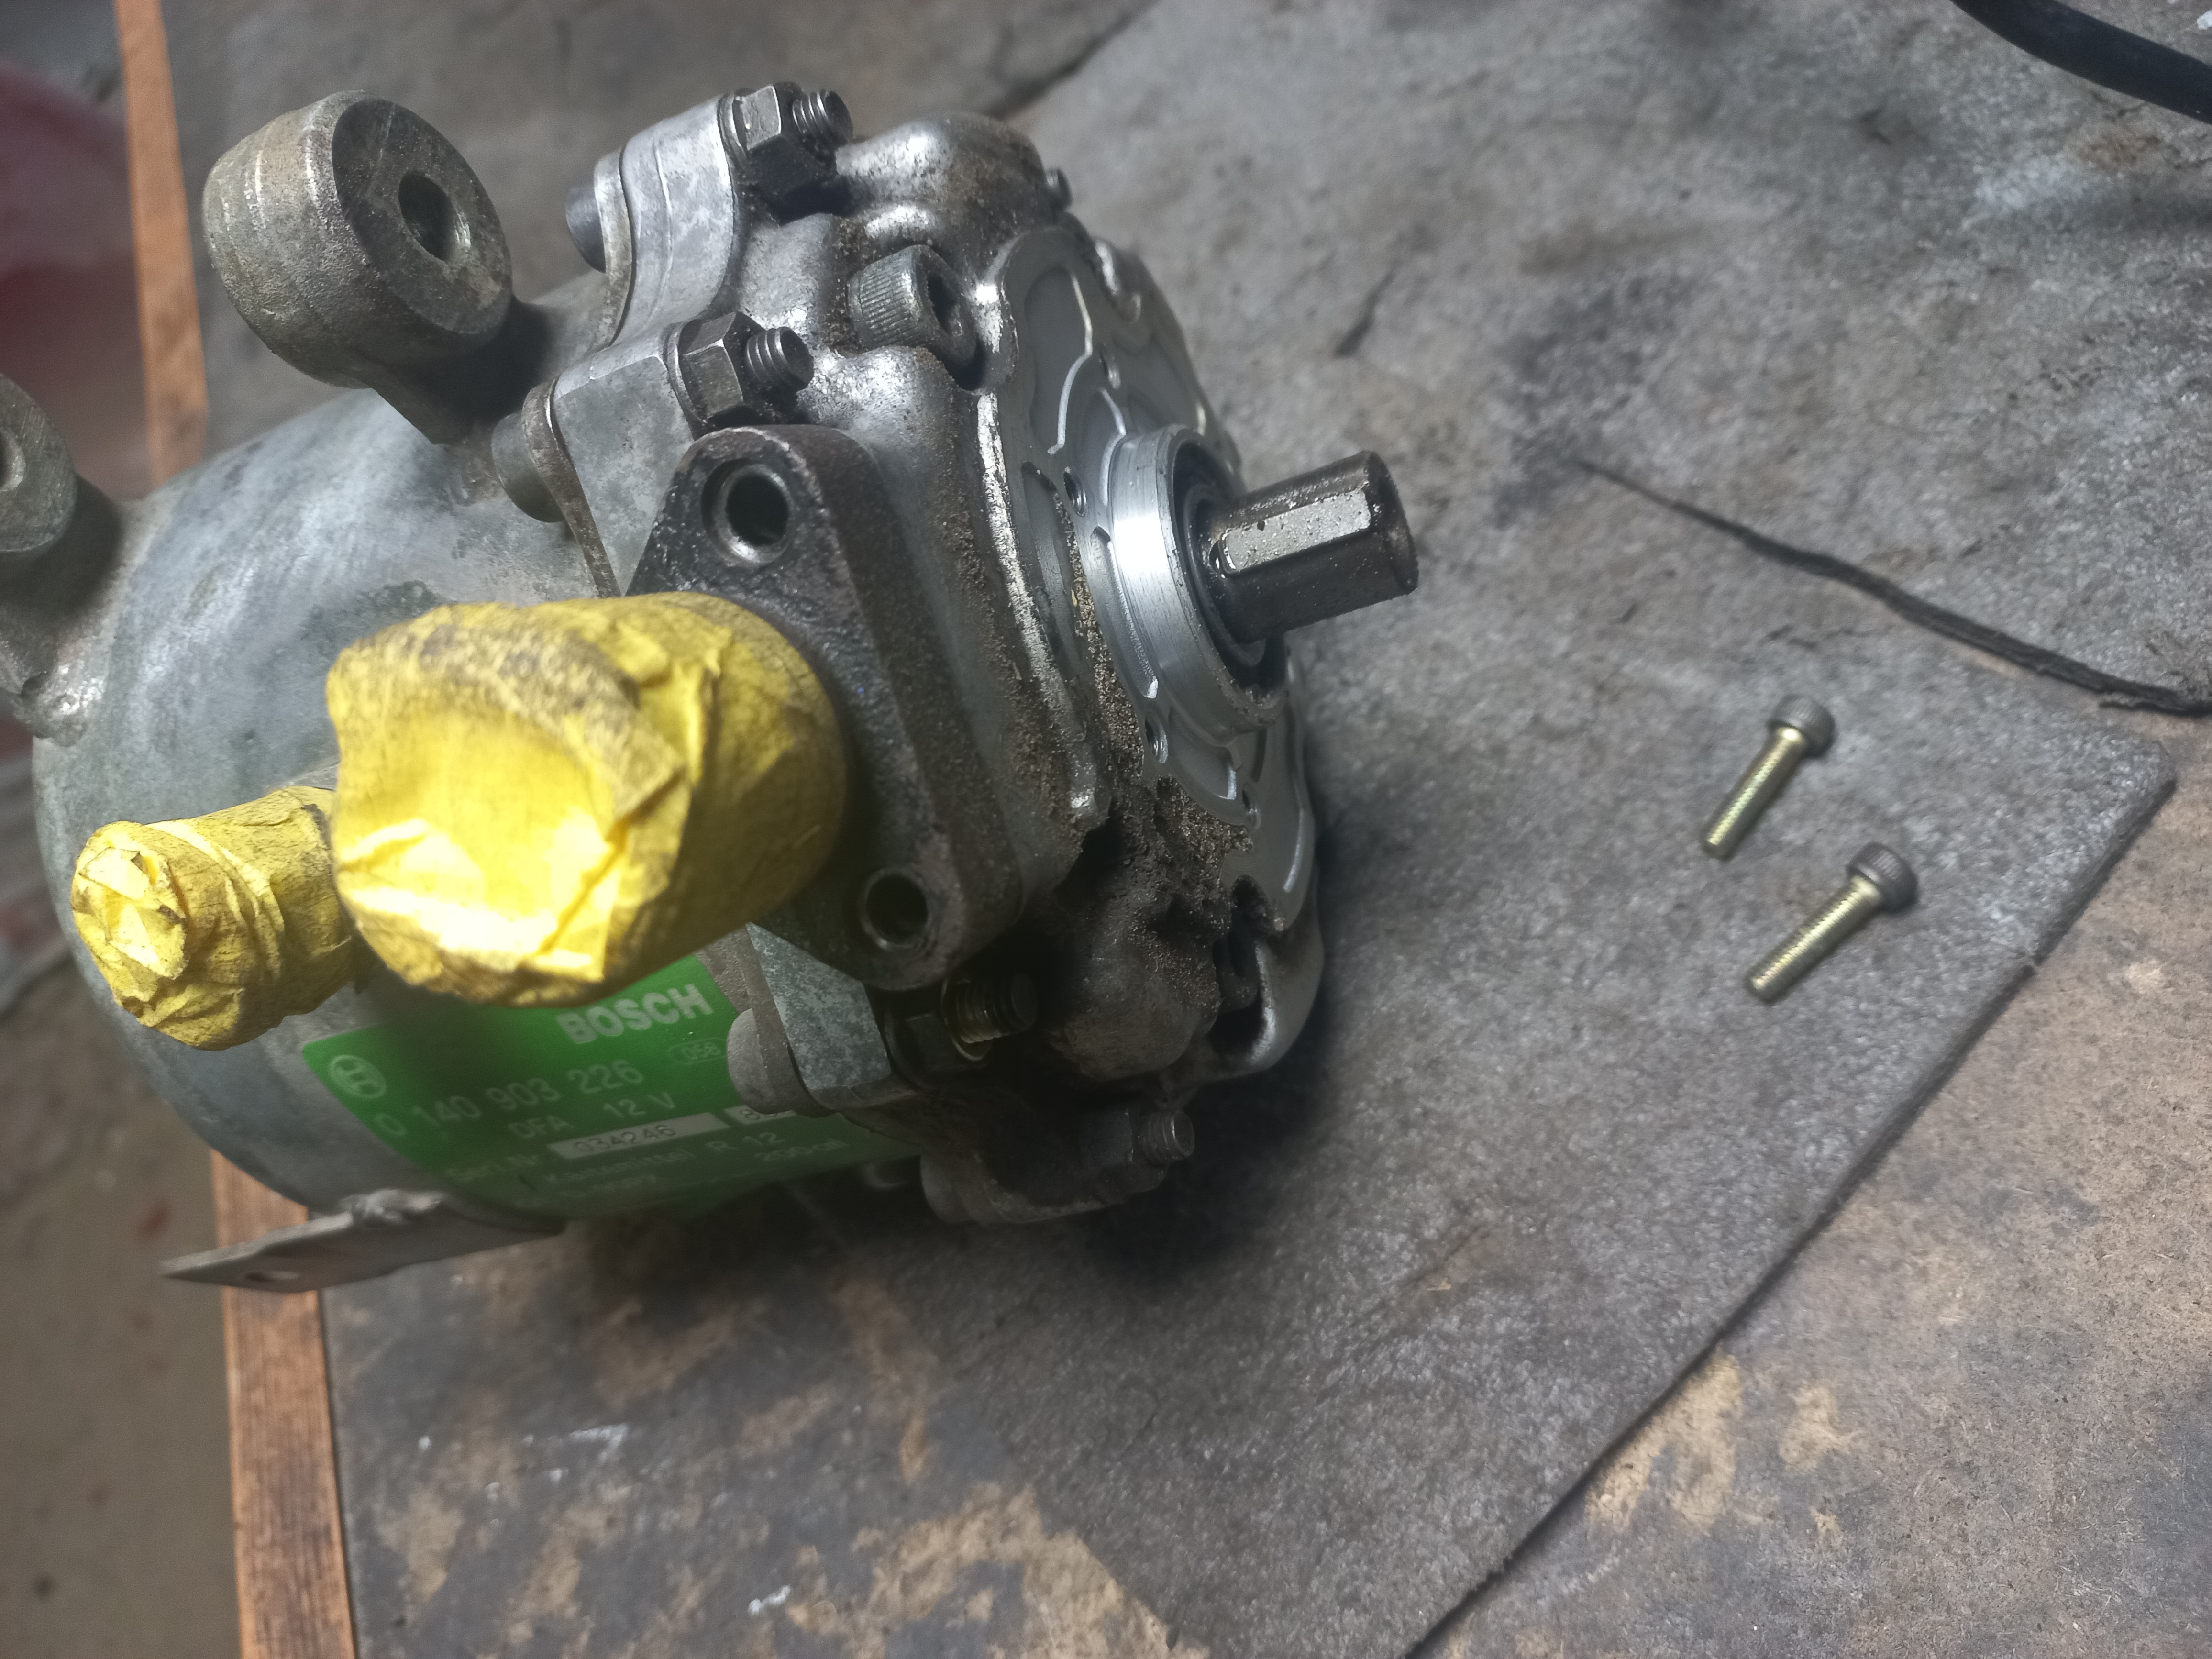
Carefully remove it from the compressor housing. It is removed with little effort, since there is a rubber seal on it.

On the lower part of the fitting there is a check valve with a spring. It is removed simply by slightly bending the four ears of the valve holder from the groove.

It is clean inside. This gives me hope! )

Under the electromagnetic clutch on the cover there is some part that I do not understand - a plastic holder with a felt insert.

It simply lies on the lid in special grooves made according to its shape. Does anyone know what its purpose is? Let's take it out.

We unscrew the eight nuts along the contour of the lid and remove the special bolts with a cut head.

Then you need to unscrew the four bolts with an internal hexagon. At this point, the disassembly stopped a bit. These bolts are tightened with a very high torque. To unscrew them, I had to go to a friend who has a pneumatic impact wrench. There were copper washers under the bolts.

Carefully remove the cover.

Everything is clean and lubricated under the cover - which is pleasing.
Pay attention to the location of the compressor in the housing - a large triangular arrow points to the outlet fitting on the housing.

The lid is clean, but the seals will of course be replaced with new ones.


A metal sleeve is installed in the lid.

Which is fixed externally in the lid with a retaining ring.

Remove the retaining ring and take out the bushing.


A rubber seal is installed on the bushing.

To remove the shaft seal, you need to knock out the key.


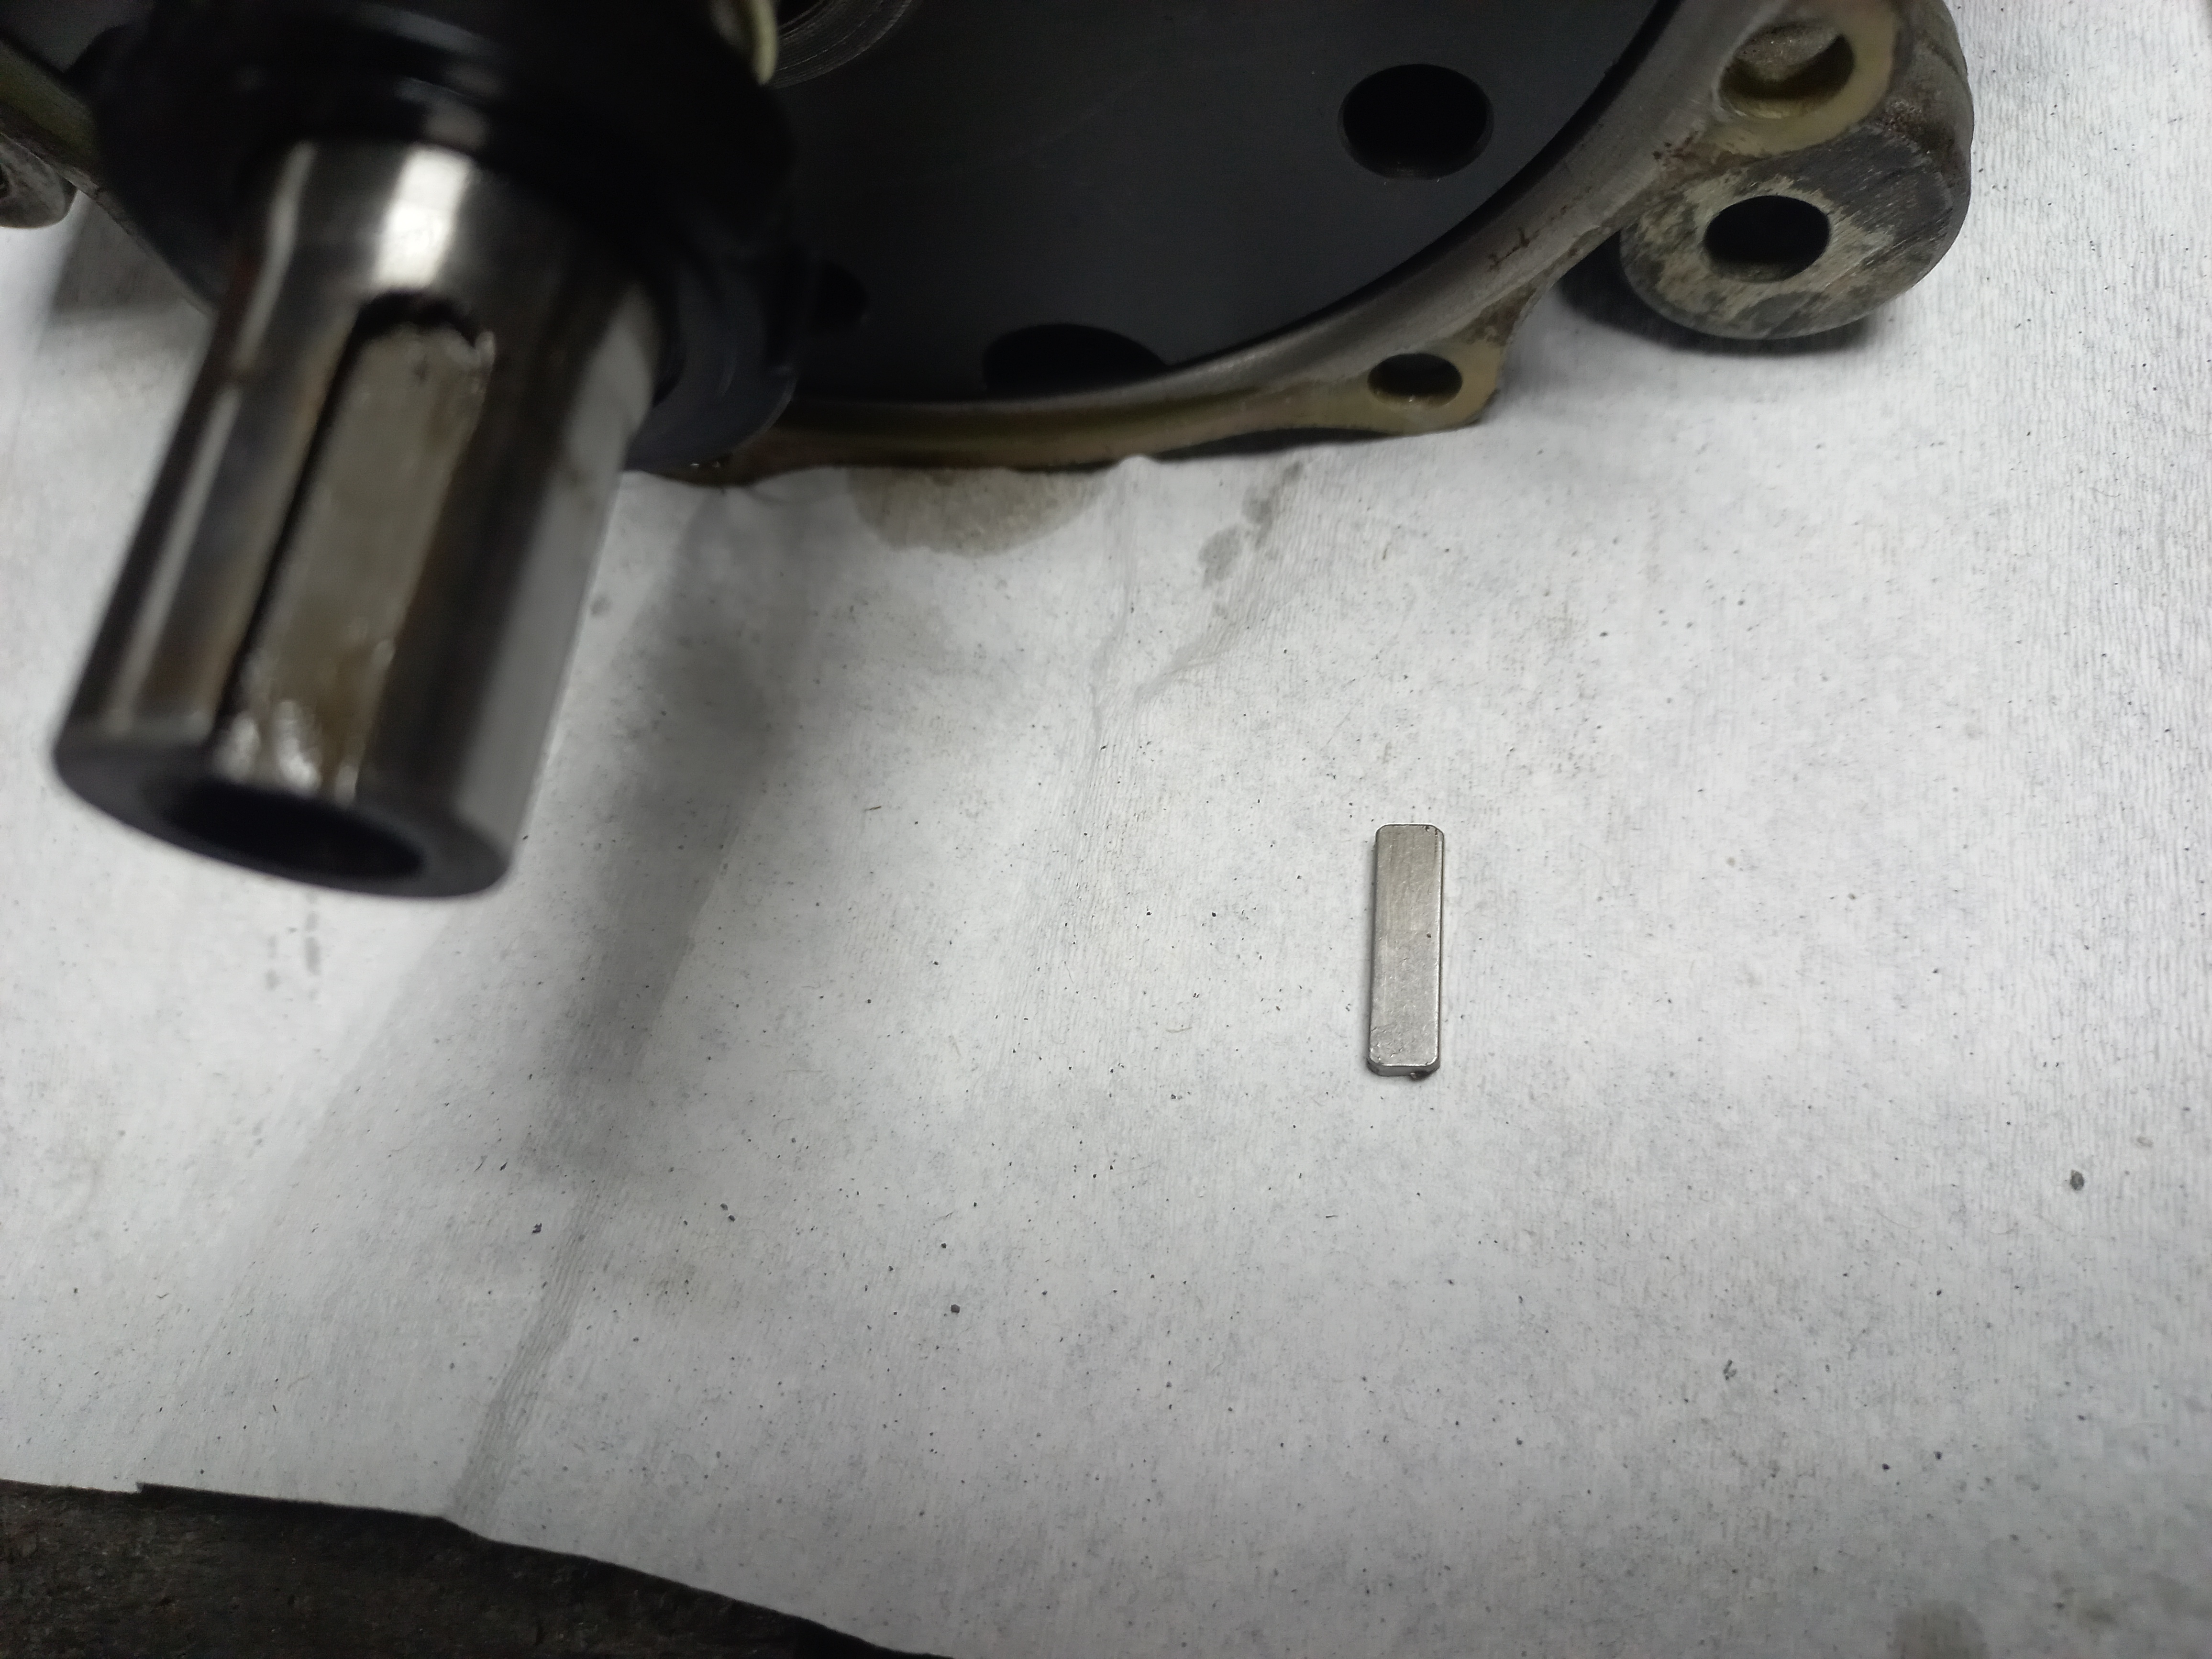
Carefully remove the shaft seal.

It consists of a plastic housing, and a ring made of some kind of carbon, or something similar, that is inserted into the plastic housing.

Remove the spring and rubber seal from the inner hole of the cover.

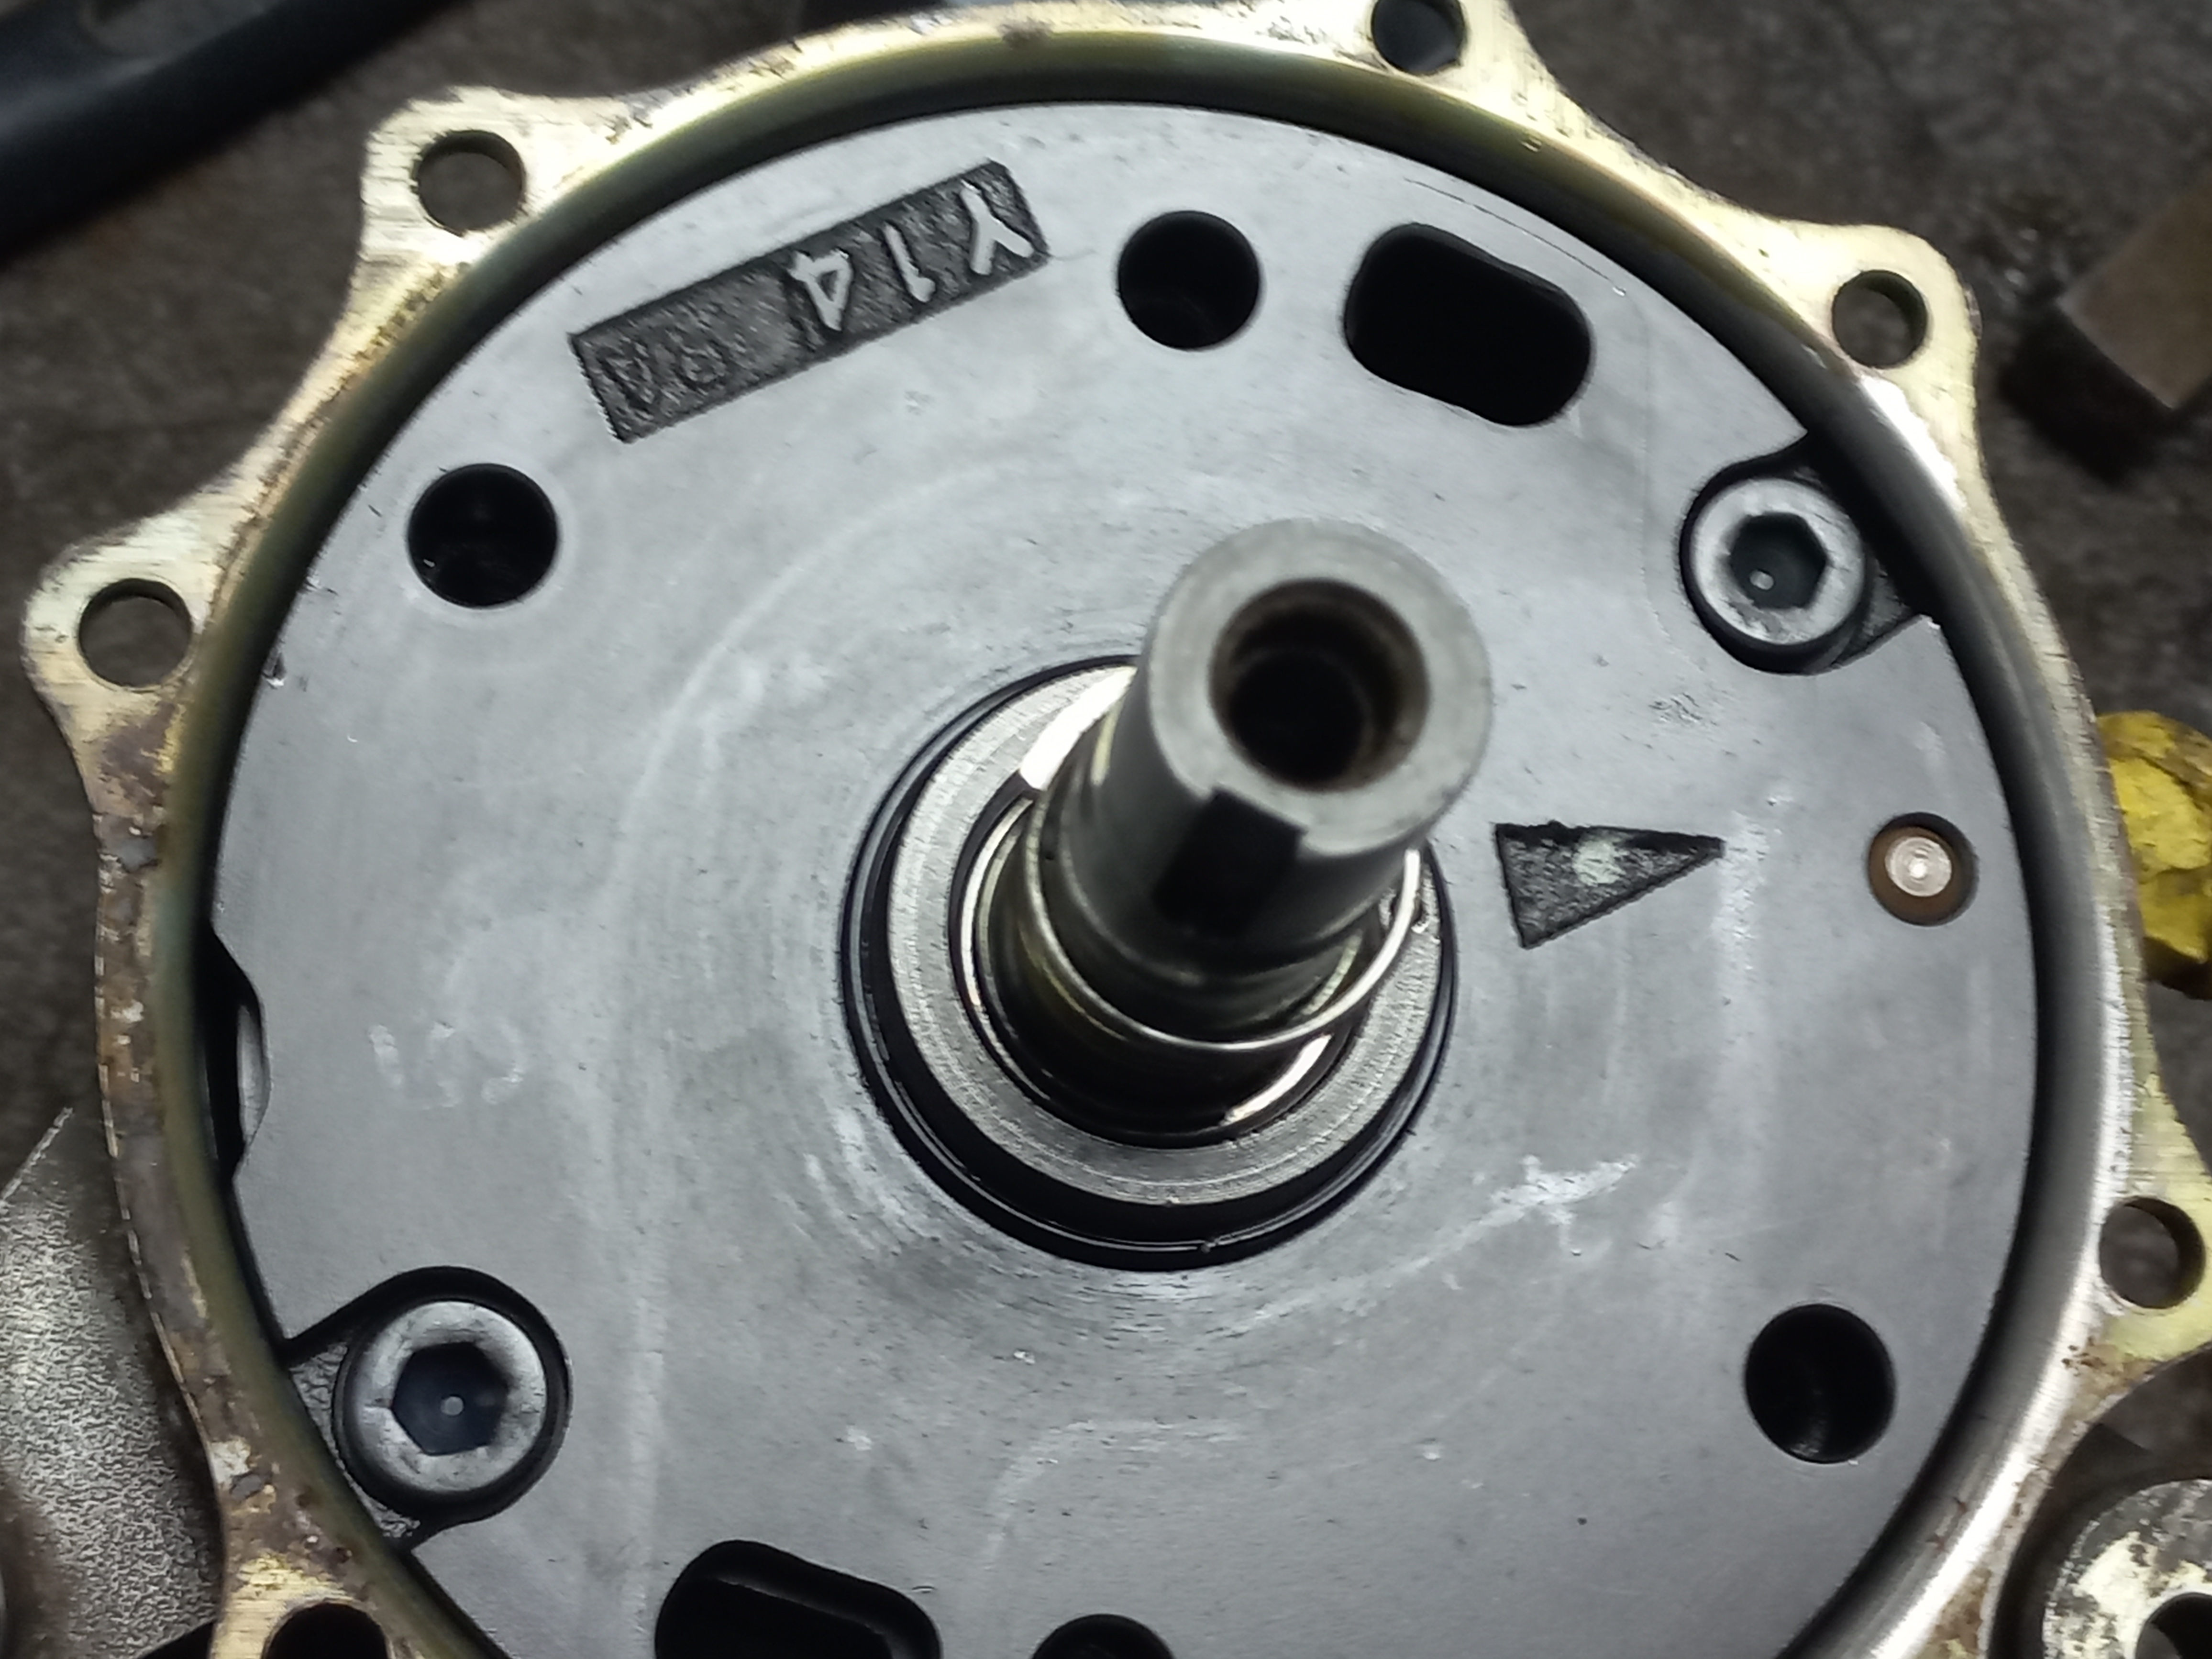

Two parts of the gland. A rubber seal is also installed in the plastic housing.

The lower ring has a special recess for the spring.

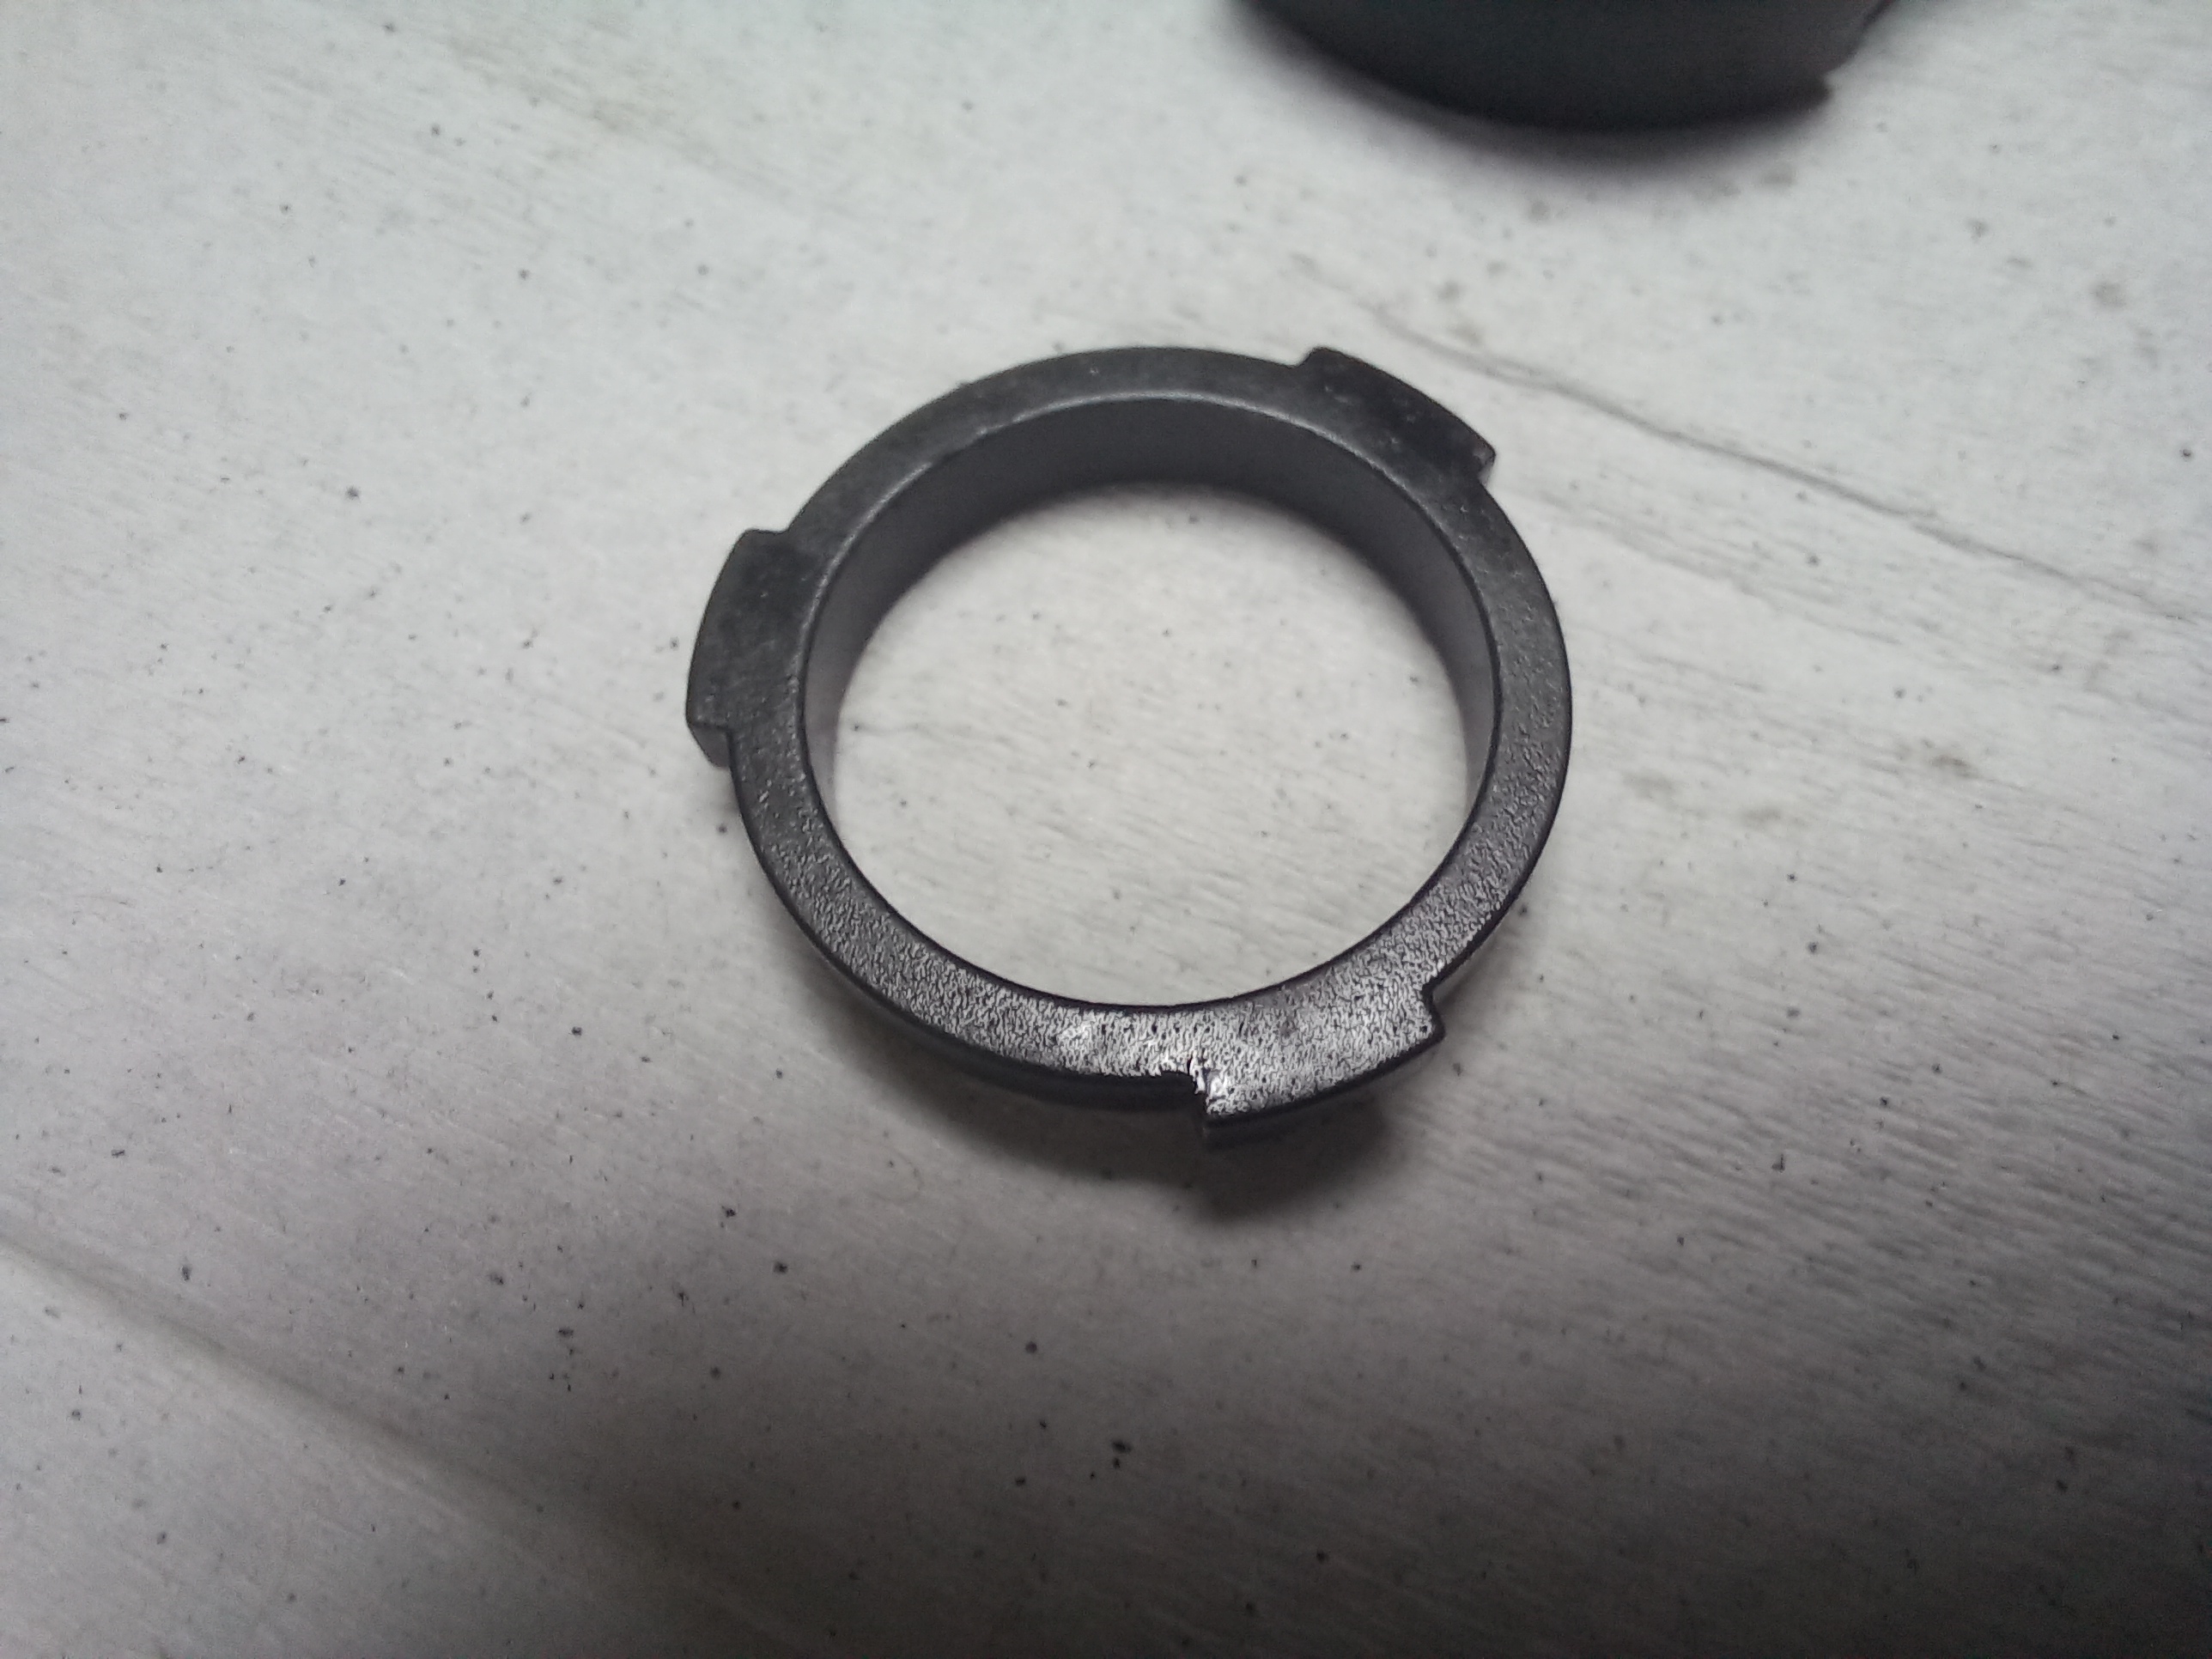
Plastic gland housing.

Rubber seal in plastic gland housing.


Plastic gland housing without gasket.

The compressor sits tightly in the housing, so I took it out like this - turned it over and put it on wooden blocks and lightly tapped the housing.

Clean grease flowed out of it.

I took the compressor out of the housing.

The housing inside is perfectly clean!

I removed the sticker, because now I will definitely galvanize it.
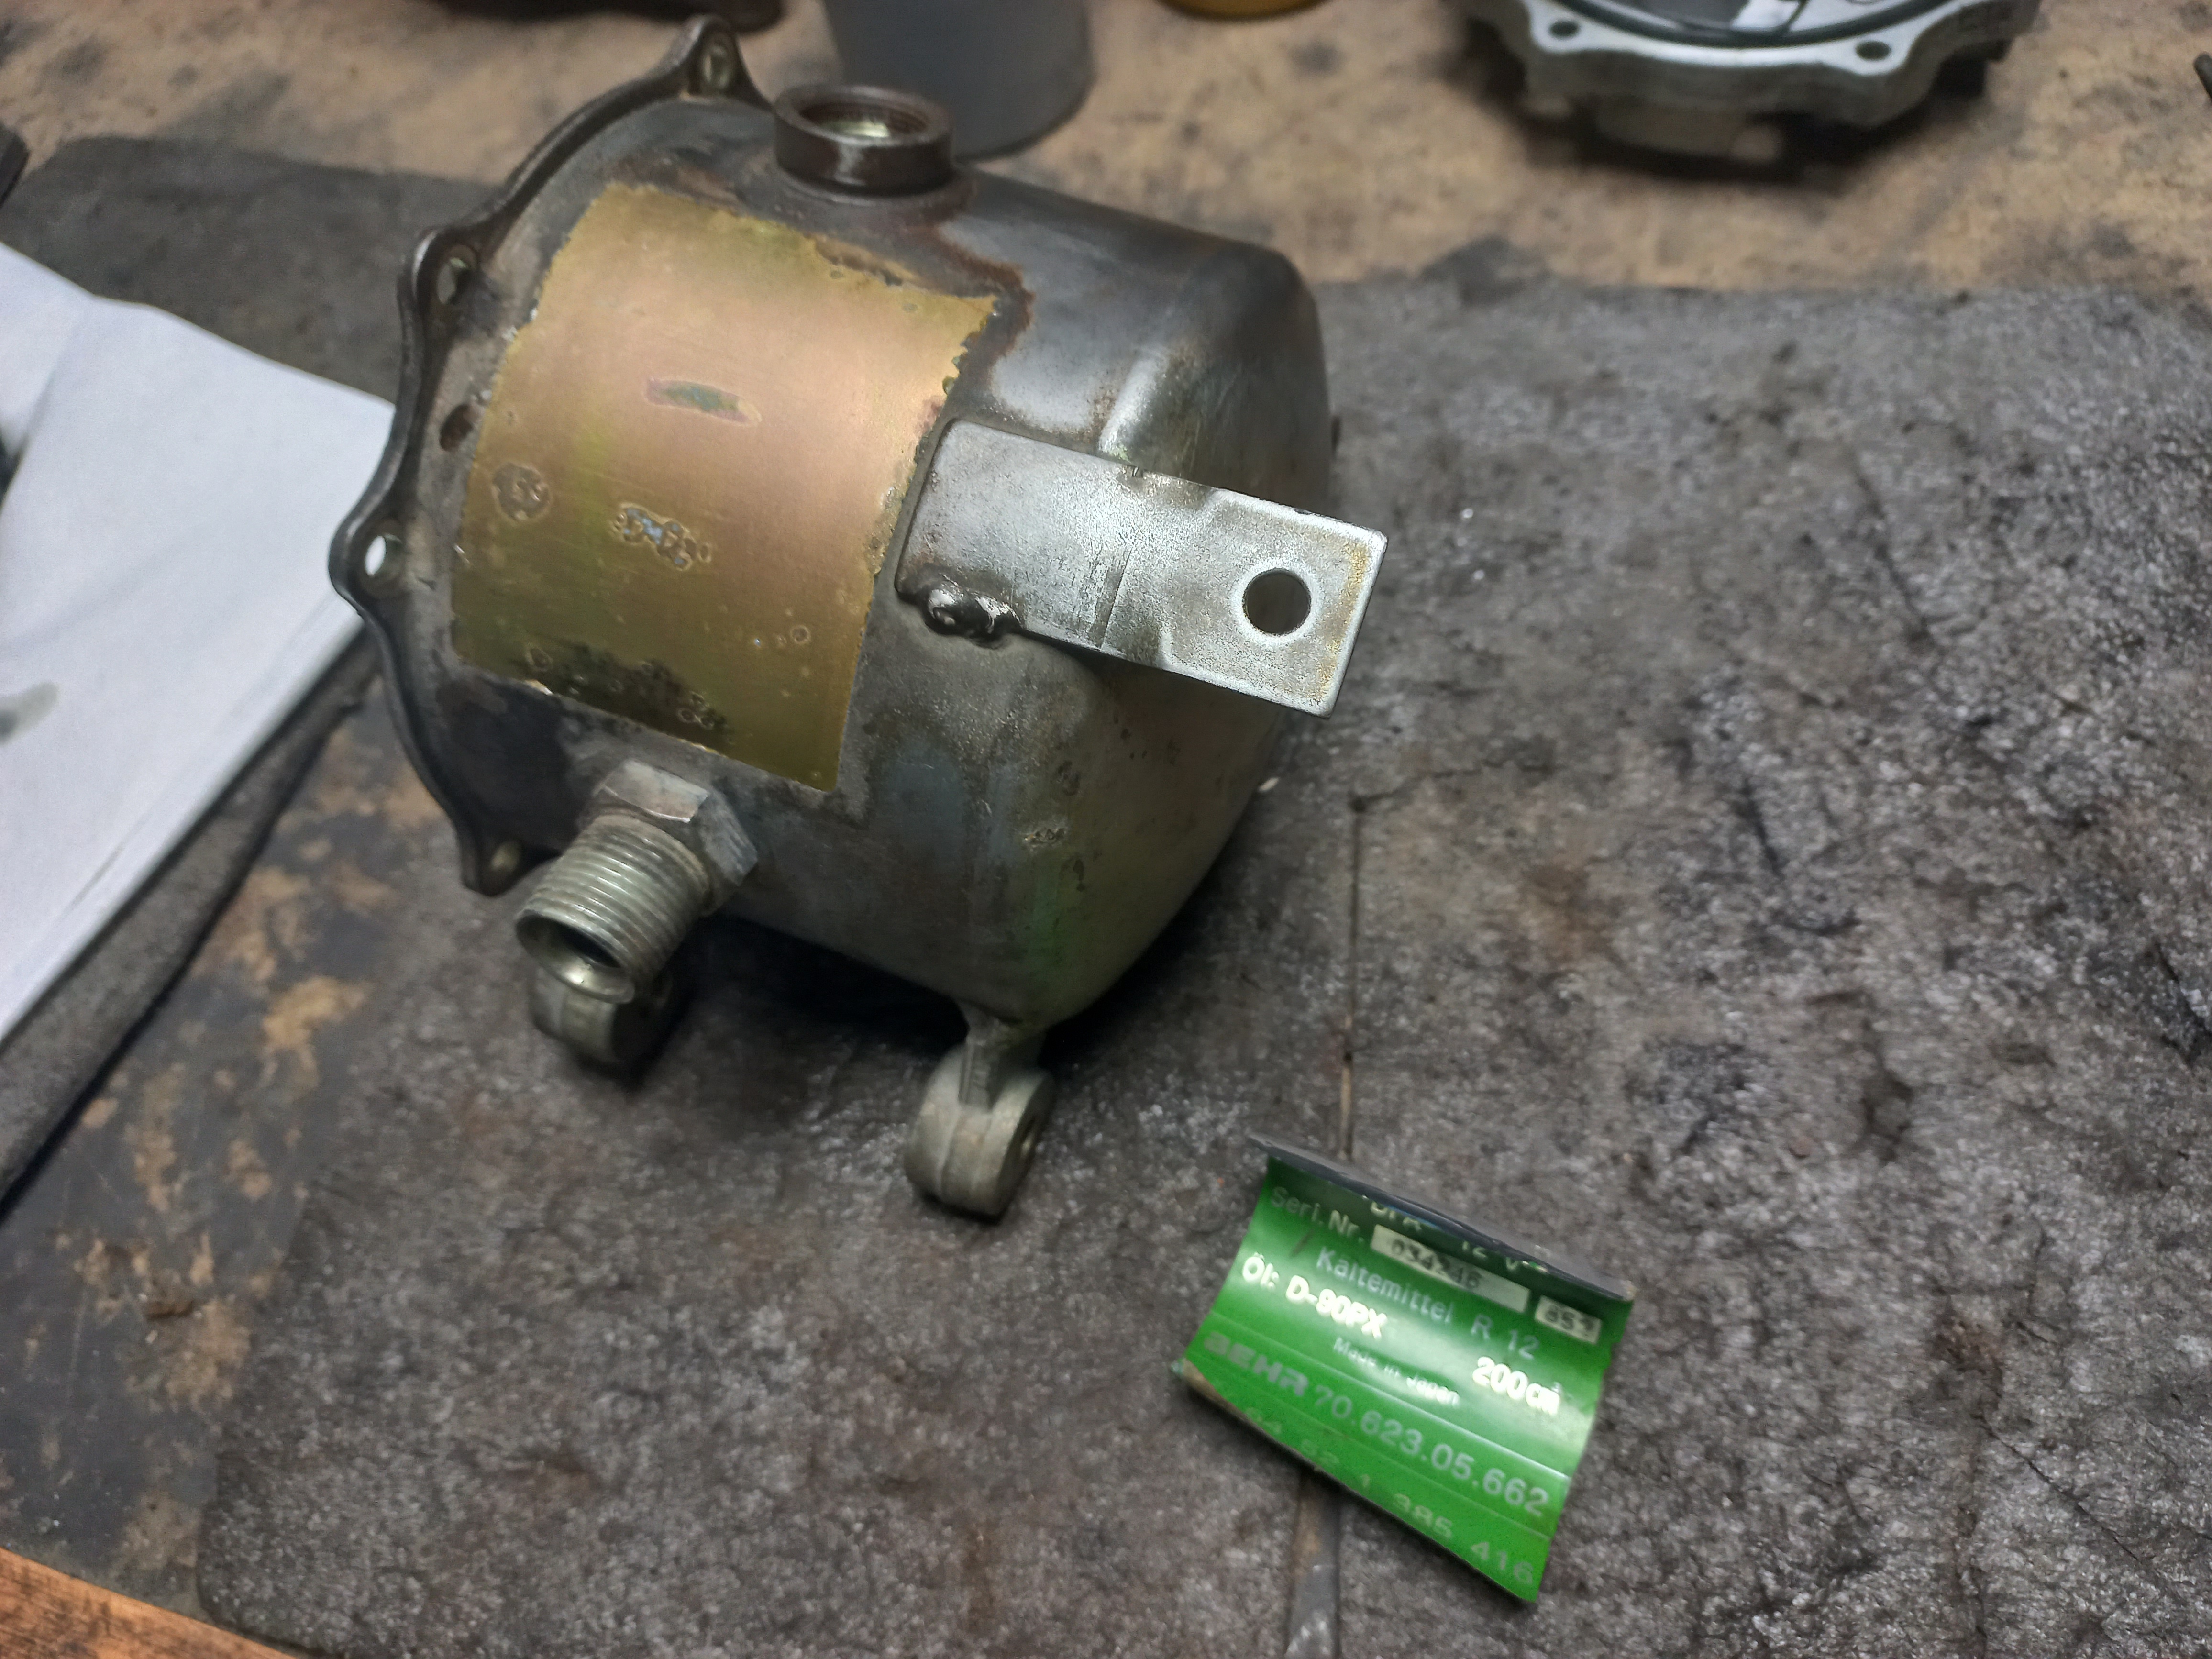
What can I say about the condition of the compressor - it is practically in new condition! Everything is perfectly clean, in clean oil. There is no dirt.


I would show these photos to those "experts" who advised me to throw this compressor in the trash!
At first I was going to disassemble it completely, but the bearings are in perfect condition, there are no backlashes, everything is clean. In addition, to unscrew the bolts of the bottom cover, you need a pneumatic impact wrench again, which I, unfortunately, do not have yet. Therefore, I will not do this.
So, I made sure that the compressor is clean inside. I guess I could have safely installed it on the car right away, and not bother myself! But thanks to the "valuable advice of experts", now my compressor will not only work, but also be beautiful! ))
Everything will be thoroughly washed, cleaned, painted, electroplated, blued, new stickers - everything, as always! ;)

All bolts, housing and clutch pressure plates are sandblasted and ready for galvanizing.


New stickers are ready.

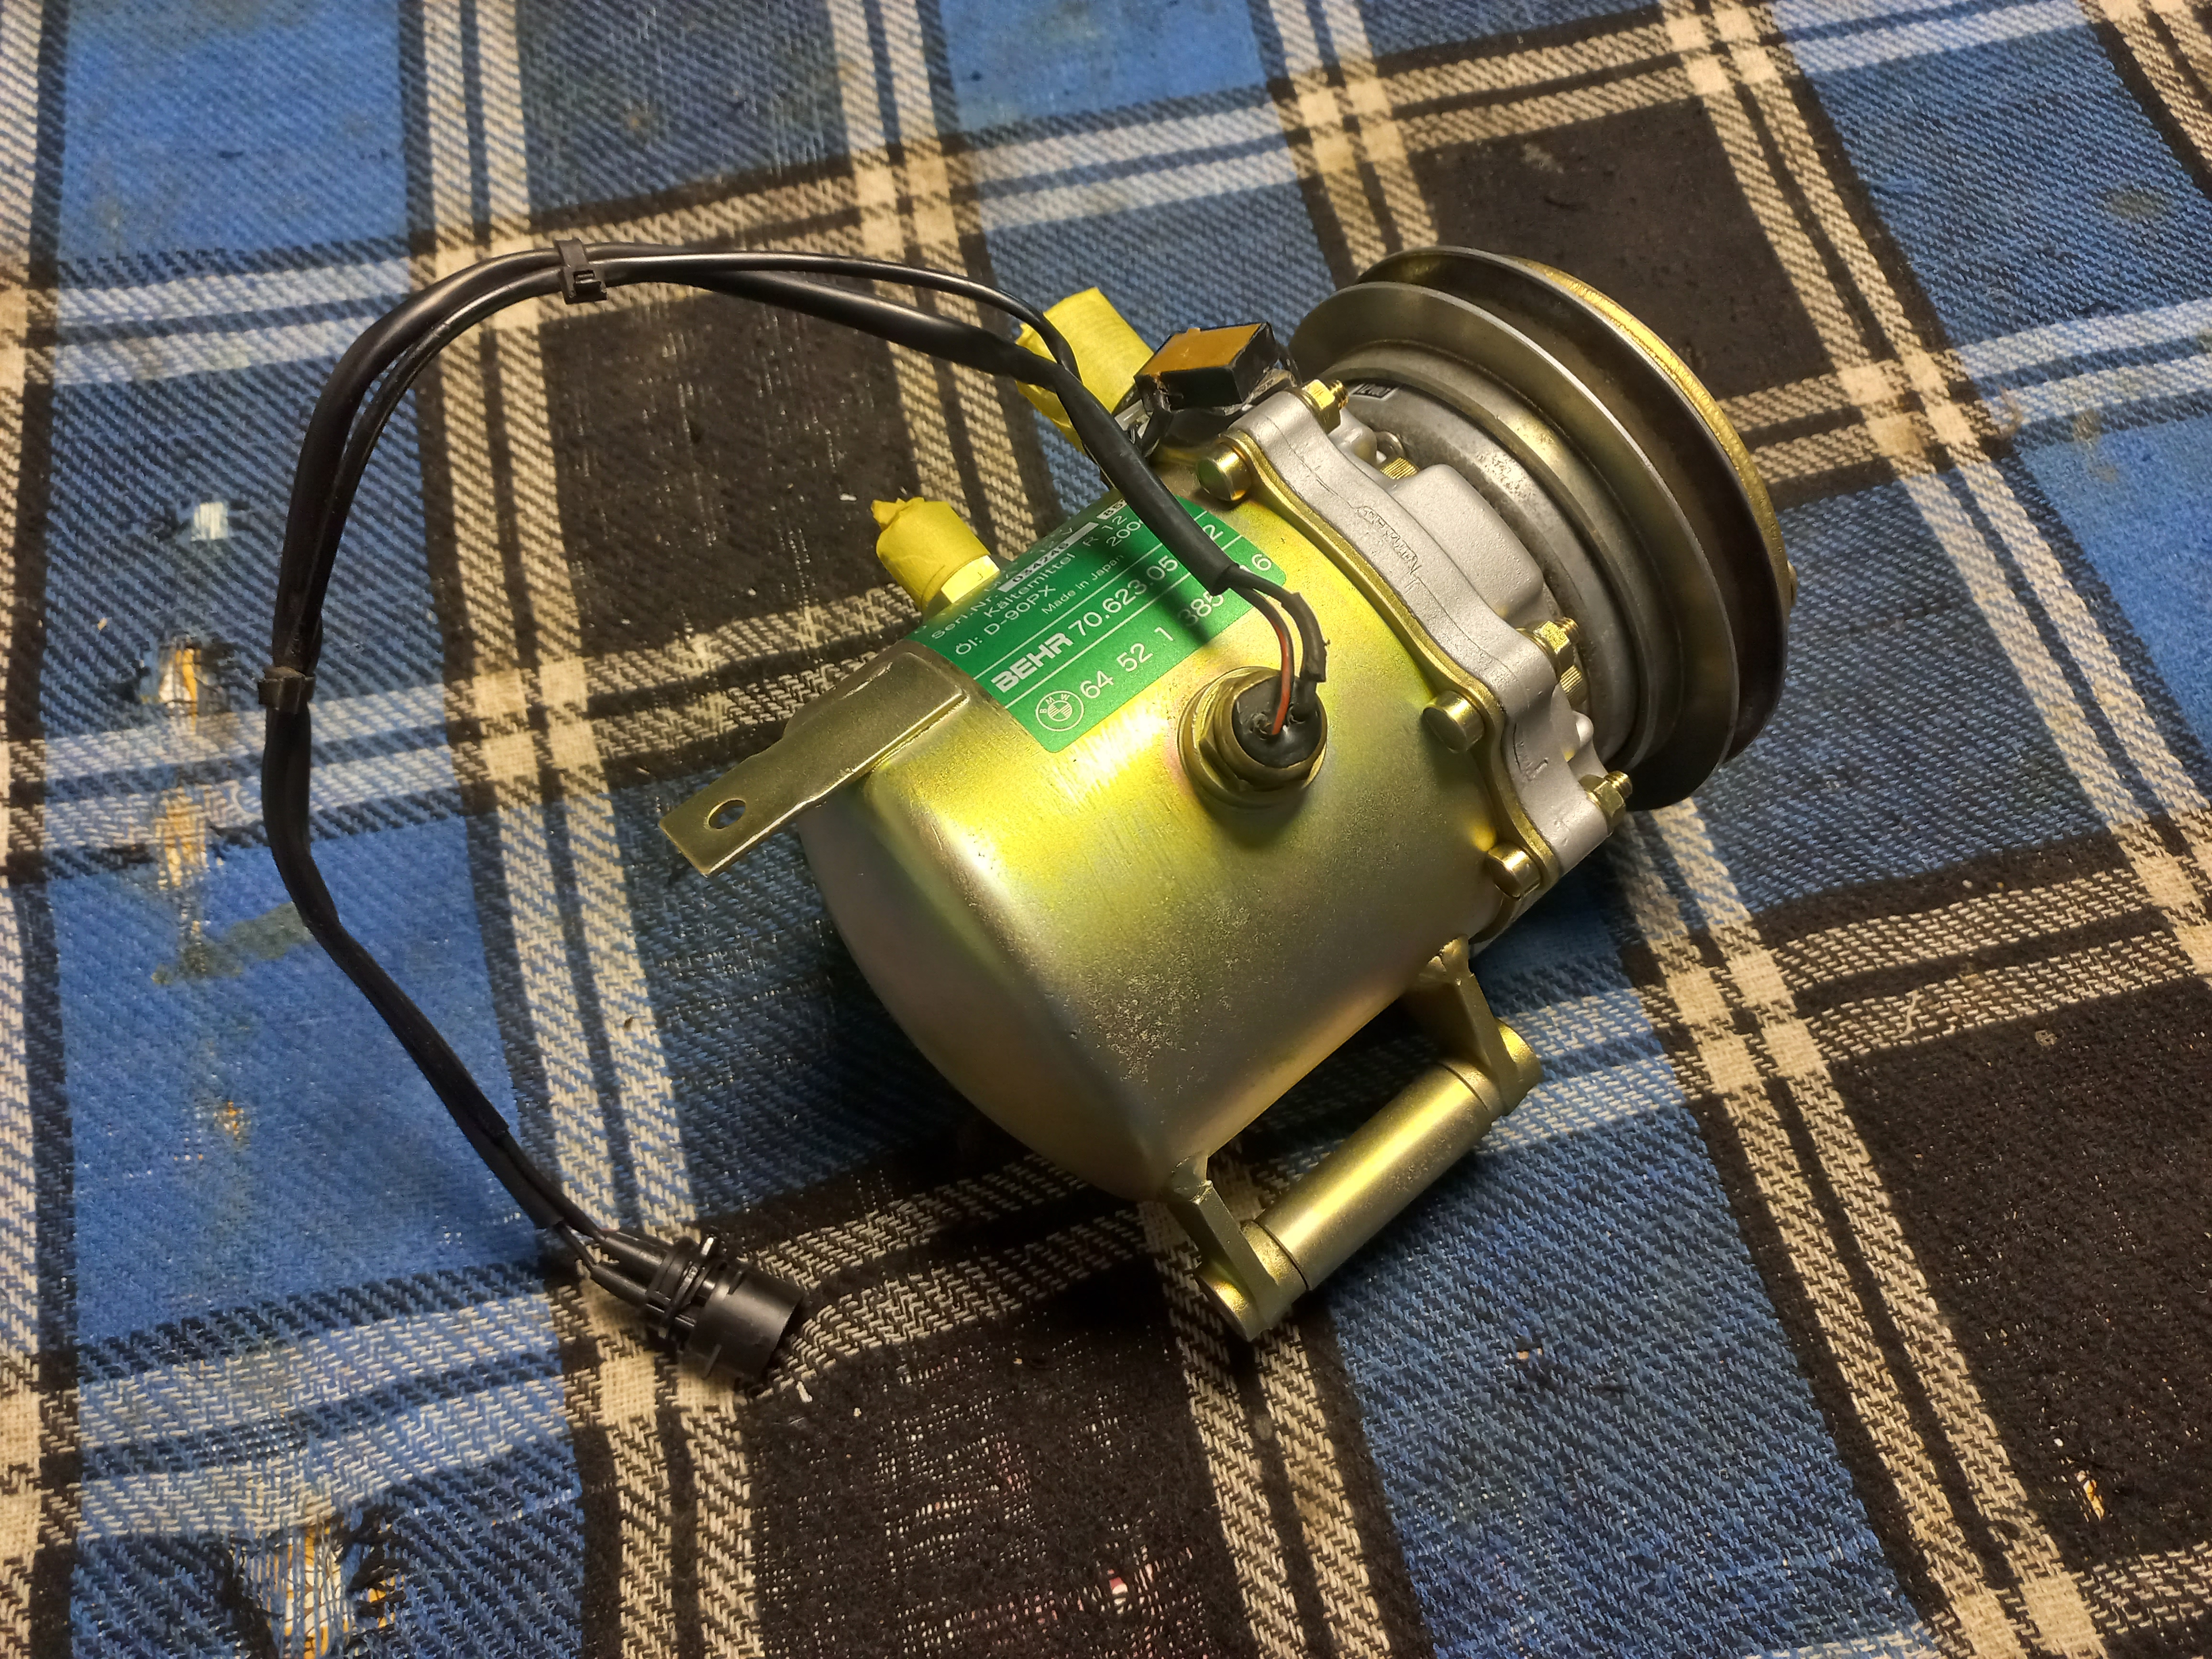
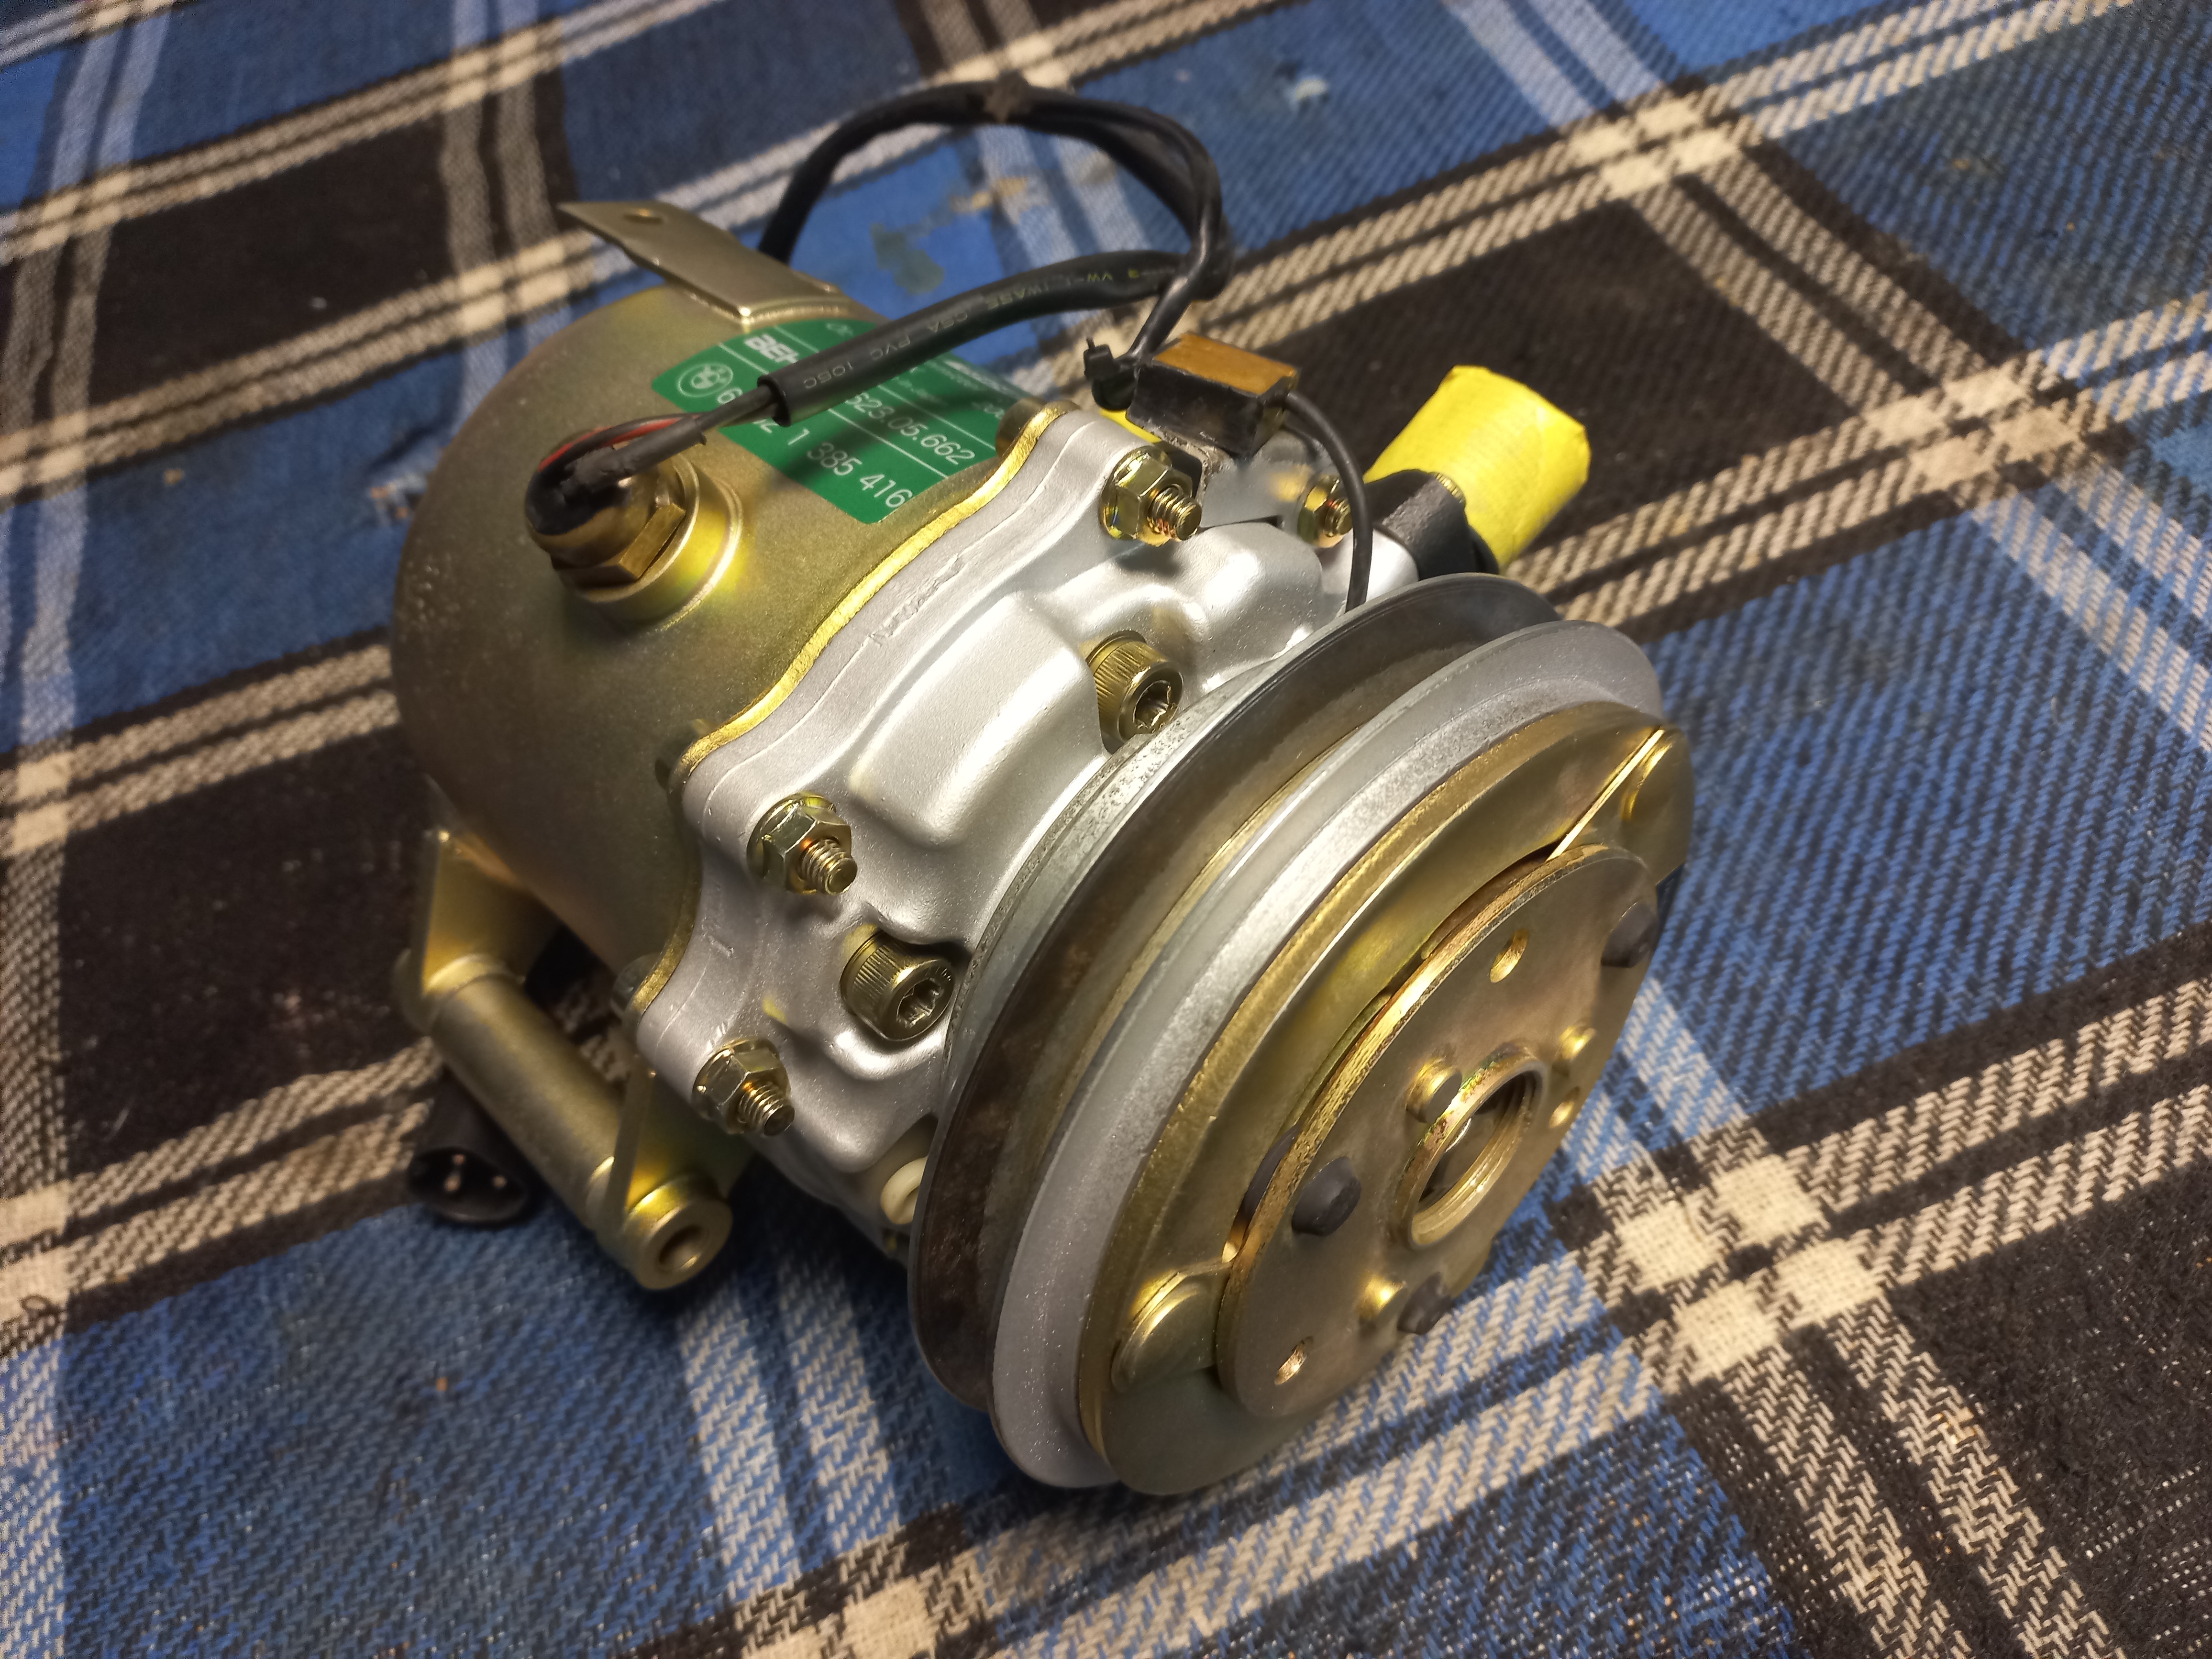
Everything is galvanized, I bought a new set of rubber seals, I also bought mineral oil.

Everything is ready for assembly.
P.S.
The "practice" assembly of the broken compressor has already been successfully completed! ;) Could be a good compressor too....

If it weren't for the holes in the case... )


The electric clutch is working, the front part has been restored - it will be in reserve.
So, having "practiced" on a broken compressor, I am now disassembling my working compressor to make sure that it is clean and in good condition inside.
Let's start with the pulley. We unscrew the central bolt on its axis.
To keep the pulley from rotating, my old homemade "special tool" came in handy.
The bolt unscrewed quite easily, but the clutch pressure plate cannot be removed.
The internal thread on it confused me a bit. Although I saw a keyway, I initially thought it was screwed on with some kind of bushing on this thread. I tried to "twist" it with a screwdriver and a hammer, but of course, it was useless. I never understood why that thread was there, because, as it turned out later, it is not used at all. Perhaps on other cars something else is screwed there. But not on the E30.
In the end, having found sensible information on American forums, I understood that the disc is simply removed from the key upwards. But no puller is suitable, because there is nothing to hook it on and push it against. The "wedge-up" method turned out to be effective. That is, I carefully hammered screwdrivers evenly around the circumference, between the pulley and the clutch pressure plate, until it broke off the axis and the key.
The disc has been removed. You can see the cutout for the key. A cylindrical metal spacer and two washers of different thicknesses were installed in it. Obviously, these washers are needed to adjust the gap between the pulley and the clutch pressure plate.
Now there is access to the fastening of the pulley itself.
We clean the nut, bend the ears of the lock washer with which it is fixed.
Using a screwdriver and a hammer, carefully unscrew the nut. Or use a special wrench, if available.
Remove the lock washer from its groove.
Remove the pulley, without much effort.
If you need to replace the bearing, remove the retaining ring and press out the bearing. In my case, the bearing is in excellent condition, so I will not remove it.
Now you can remove the electromagnetic clutch, which is fastened with six screws.
You also need to unscrew one of the nuts holding the coupling diode.
Then we unscrew the compressor oil temperature sensor. In fact, it does not have a through hole and direct contact with the oil. It measures the temperature of the compressor housing.
The electromagnetic clutch with wiring and temperature sensor has been removed.
Unscrew the two screws and remove the inlet fitting.
Carefully remove it from the compressor housing. It is removed with little effort, since there is a rubber seal on it.
On the lower part of the fitting there is a check valve with a spring. It is removed simply by slightly bending the four ears of the valve holder from the groove.
It is clean inside. This gives me hope! )
Under the electromagnetic clutch on the cover there is some part that I do not understand - a plastic holder with a felt insert.
It simply lies on the lid in special grooves made according to its shape. Does anyone know what its purpose is? Let's take it out.
We unscrew the eight nuts along the contour of the lid and remove the special bolts with a cut head.
Then you need to unscrew the four bolts with an internal hexagon. At this point, the disassembly stopped a bit. These bolts are tightened with a very high torque. To unscrew them, I had to go to a friend who has a pneumatic impact wrench. There were copper washers under the bolts.
Carefully remove the cover.
Everything is clean and lubricated under the cover - which is pleasing.
Pay attention to the location of the compressor in the housing - a large triangular arrow points to the outlet fitting on the housing.
The lid is clean, but the seals will of course be replaced with new ones.
A metal sleeve is installed in the lid.
Which is fixed externally in the lid with a retaining ring.
Remove the retaining ring and take out the bushing.
A rubber seal is installed on the bushing.
To remove the shaft seal, you need to knock out the key.
Carefully remove the shaft seal.
It consists of a plastic housing, and a ring made of some kind of carbon, or something similar, that is inserted into the plastic housing.
Remove the spring and rubber seal from the inner hole of the cover.
Two parts of the gland. A rubber seal is also installed in the plastic housing.
The lower ring has a special recess for the spring.
Plastic gland housing.
Rubber seal in plastic gland housing.
Plastic gland housing without gasket.
The compressor sits tightly in the housing, so I took it out like this - turned it over and put it on wooden blocks and lightly tapped the housing.
Clean grease flowed out of it.
I took the compressor out of the housing.
The housing inside is perfectly clean!
I removed the sticker, because now I will definitely galvanize it.
What can I say about the condition of the compressor - it is practically in new condition! Everything is perfectly clean, in clean oil. There is no dirt.
I would show these photos to those "experts" who advised me to throw this compressor in the trash!
At first I was going to disassemble it completely, but the bearings are in perfect condition, there are no backlashes, everything is clean. In addition, to unscrew the bolts of the bottom cover, you need a pneumatic impact wrench again, which I, unfortunately, do not have yet. Therefore, I will not do this.
So, I made sure that the compressor is clean inside. I guess I could have safely installed it on the car right away, and not bother myself! But thanks to the "valuable advice of experts", now my compressor will not only work, but also be beautiful! ))
Everything will be thoroughly washed, cleaned, painted, electroplated, blued, new stickers - everything, as always! ;)
All bolts, housing and clutch pressure plates are sandblasted and ready for galvanizing.
New stickers are ready.
Everything is galvanized, I bought a new set of rubber seals, I also bought mineral oil.
Everything is ready for assembly.
P.S.
The "practice" assembly of the broken compressor has already been successfully completed! ;) Could be a good compressor too....
If it weren't for the holes in the case... )
The electric clutch is working, the front part has been restored - it will be in reserve.



























Comment